
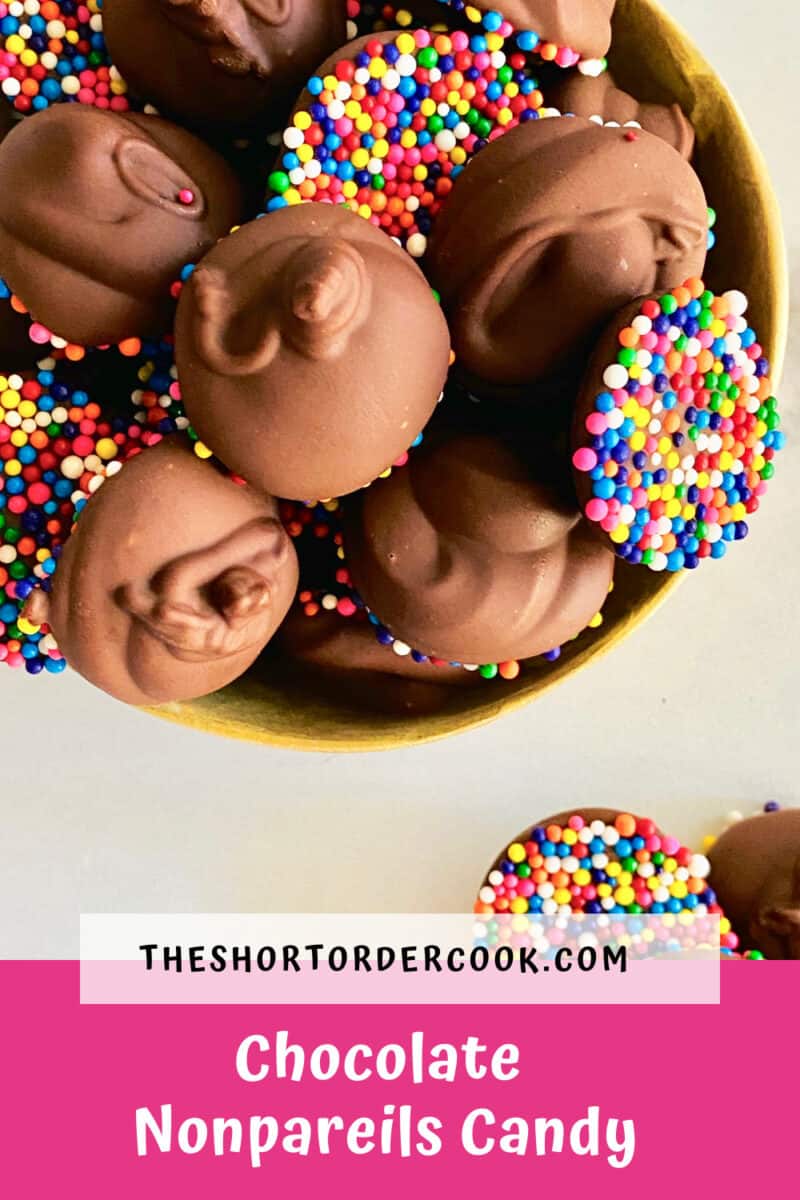
Chocolate Nonpareils Candy is a homemade confection made up of rich chocolate discs with a rainbow nonpareil sprinkle coating on one side. These are small sweet bites that you can pop in your mouth with for a creamy crunchy flavor explosion.

This colorful and fun candy is a delight. Not to confuse from the start, but the term, nonpareil, can also be used to refer to a confection: a chocolate disk dipped in, well, nonpareils. That is what we are making today, chocolate-dipped candies.

Nonpareil sprinkles are a must for this recipe, not just any sprinkle will do. The crunchy rainbow sprinkles are also used on my fun Sprinkle Sugar Cookies recipe. Ok, now we cook!
Jump to:
Ingredients for NonPareil Chocolate Discs
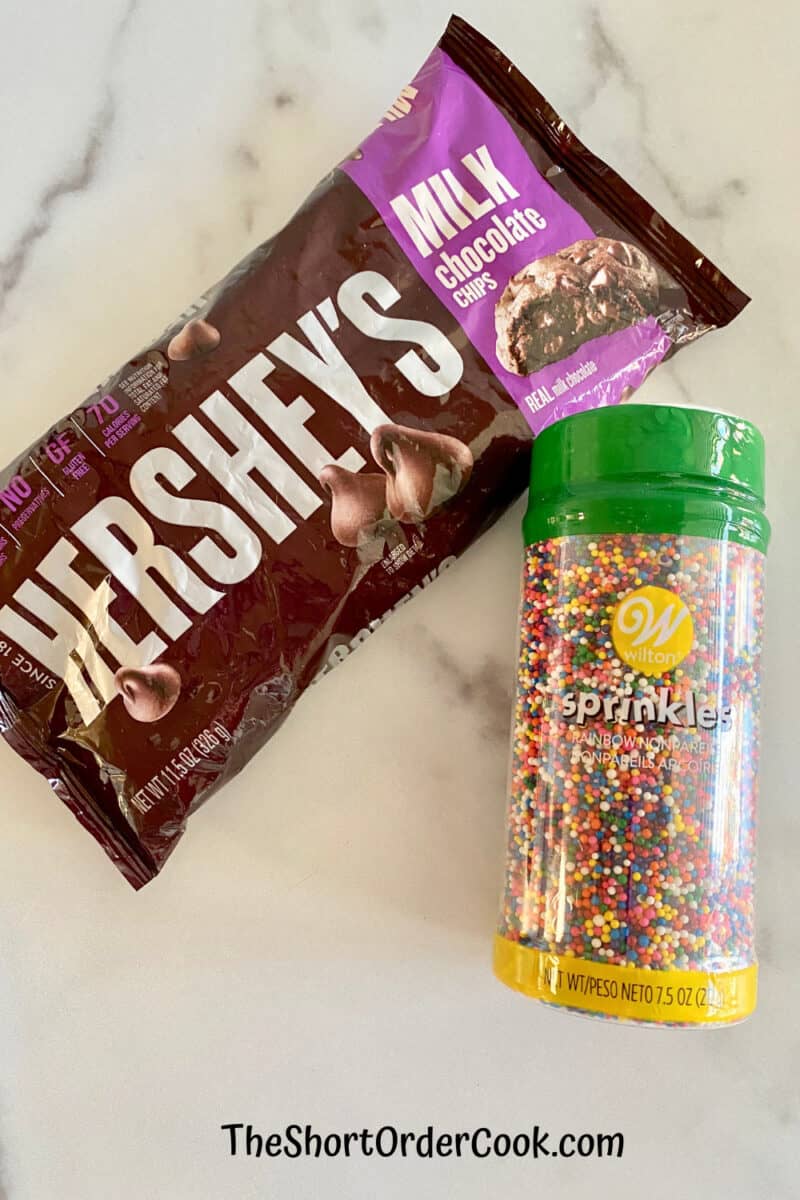
Like my recipe for Chocolate Peanut Clusters, this only takes 2 ingredients for this sweet confection. Wilton sprinkles & a good quality chocolate is important.
What are NonPareil Sprinkles?
This does not work with just any rainbow sprinkle. They need to be nonpareils which are very tiny in size. They are also amazing as a topping with lemon glaze on my recipe for Italian Lemon Ricotta Cookies.
The small rainbow sprinkles are small round dots made of sugar and starch which gives them that familiar crunch. They're also known as "Hundreds and Thousands", and are used as decorative confectionery on all sorts of desserts.
There are all TYPES OF SPRINKLES but make sure you use the classic nonpareils for this homemade candy recipe. Here are the two ingredients needed for this recipe.
- MILK CHOCOLATE CHIPS - 10-11 ounce bag of your favorite
- NONPAREIL RAINBOW SPRINKLES - 4 ounces is enough to cover the bottom of a rimmed baking sheet
Substitution Note: you can use dark, semi-sweet, & even white chocolate chips.
Why is it Called a Nonpareil?
In short, it is because this kind of sprinkle is so awesome and delicious. There is nothing like the firm texture and flavor that the little candies give.
The name actually refers to the small candy balls and is from the French word for "without equal." I agree, there is no better rainbow sprinkle than a nonpareil so when you add discs of chocolate to them - the candy is special and has no equal.
How to Make Homemade Nonpareil Chocolates
The first step is to prep the surface area where the candies will be made and set to harden. You will need a rimmed baking sheet.
You want it to be rimmed because these tiny balls will roll everywhere and try and get away if you don't contain them. You will end up with a mess, a pretty & tasty mess but a mess nonetheless.
Here are the easy steps for making Chocolate NonPareils Candies:
- Spread out the Sprinkles
- Melt the Chocolate in a Double Boiler
- Squeeze the Chocolate into Discs
- Let the Chocolate Set & Enjoy
See the step-by-step instructions with photos below plus the recipe card at the end of the post.
1 -Spread out the Sprinkles
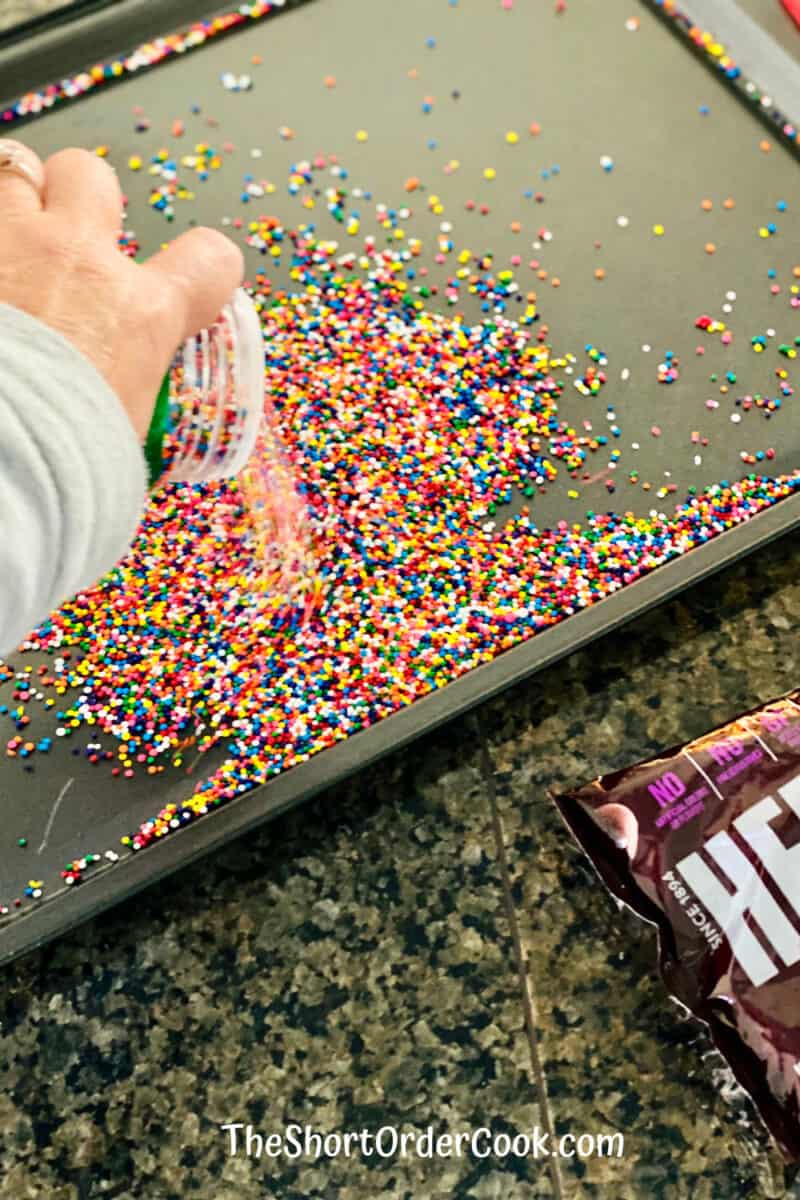
To your rimmed baking sheet, pour on enough of the sprinkles to coat the bottom of the pan. You will want one even layer. I used about half of the 7.5oz container of Wilton Rainbow Nonpareil Sprinkles.
2 - Melt Chocolate in a Double Boiler
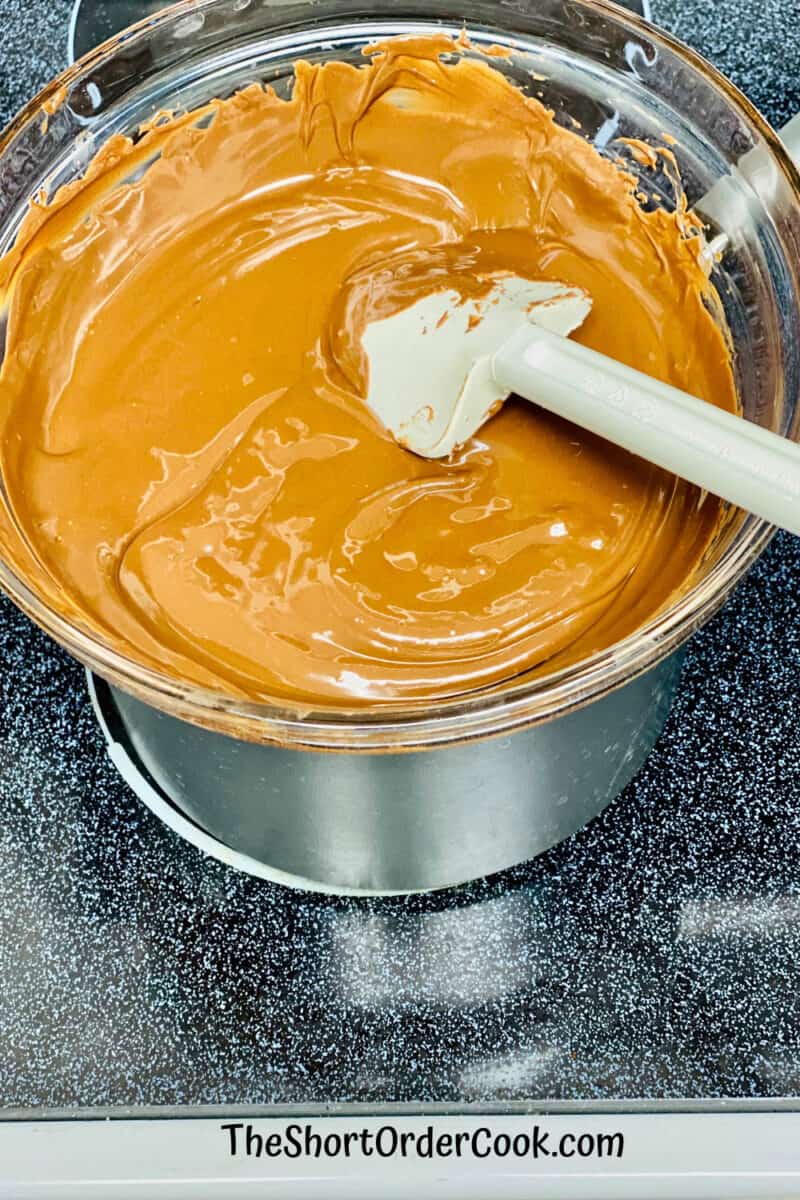
Next is to melt the chocolate chips. In a double-boiler, simmer about an inch of water in the lower half. In the top half add the chocolate chips. Over low heat, slowly stir until they are melted and smooth.
No Double Boiler - No Problem! You can still melt chocolate and make candy even if you do not have a double-boiler. I actually do not own one and for decades have fashioned my own out of two everyday pieces of kitchen equipment. It is so easy to do and you do not need to spend the money or use the kitchen space for a double-boiler if you don't want to. It is so easy to use a double boiler substitute.
I use a heatproof glass mixing bowl on top of a pot of simmering water. The key is to make sure the bowl sits just barely into the pot so that the bowl is a few inches above the simmering water.
You also want to make sure the bowl doesn't slip around too much or let steam or water bubble up the sides. It is a hazard that could cause burns but also any steam or water into melting chocolate will ruin it.
3- Squeeze the Chocolate into Discs
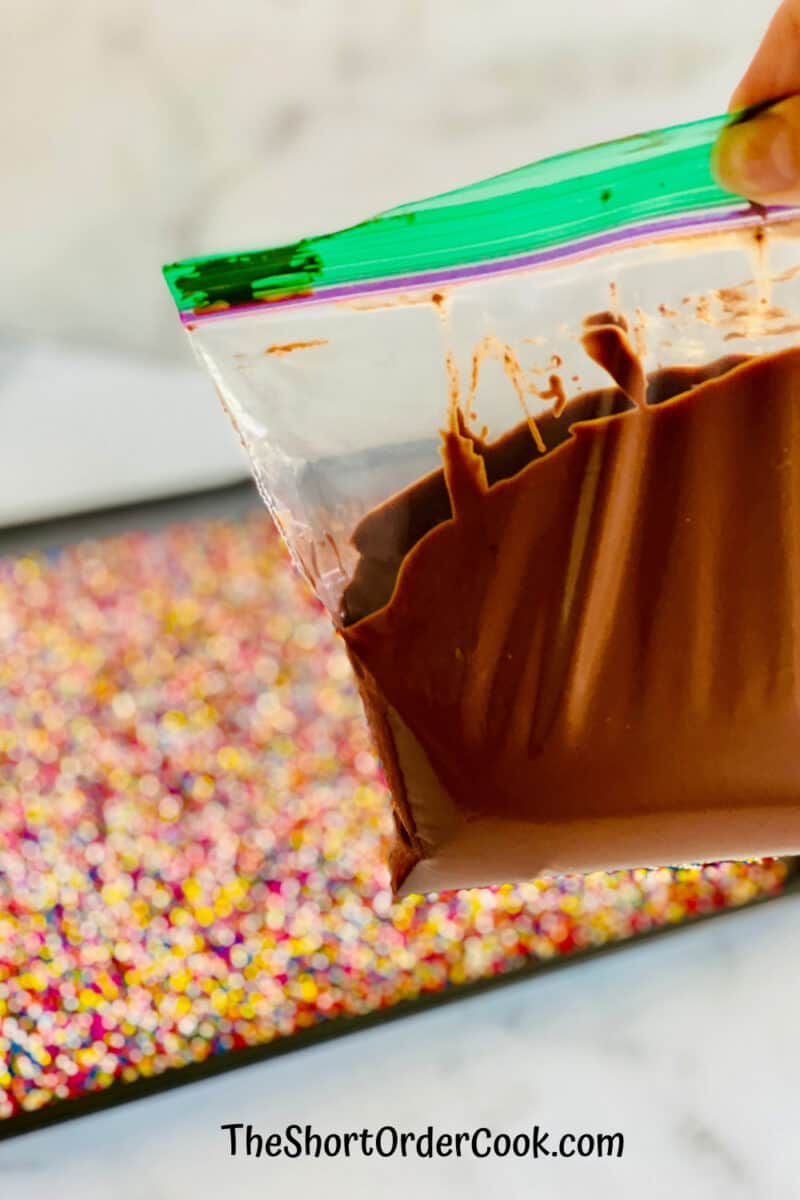
Once the chocolate is smooth and melted, it is time to start making the candy discs. You do not need a fancy pastry bag for this recipe.
If you do have one use it but a Ziploc bag works just fine too. Spoon the warm chocolate into a Ziploc bag and seal it tightly. Then cut a VERY SMALL tip off the bottom corner.
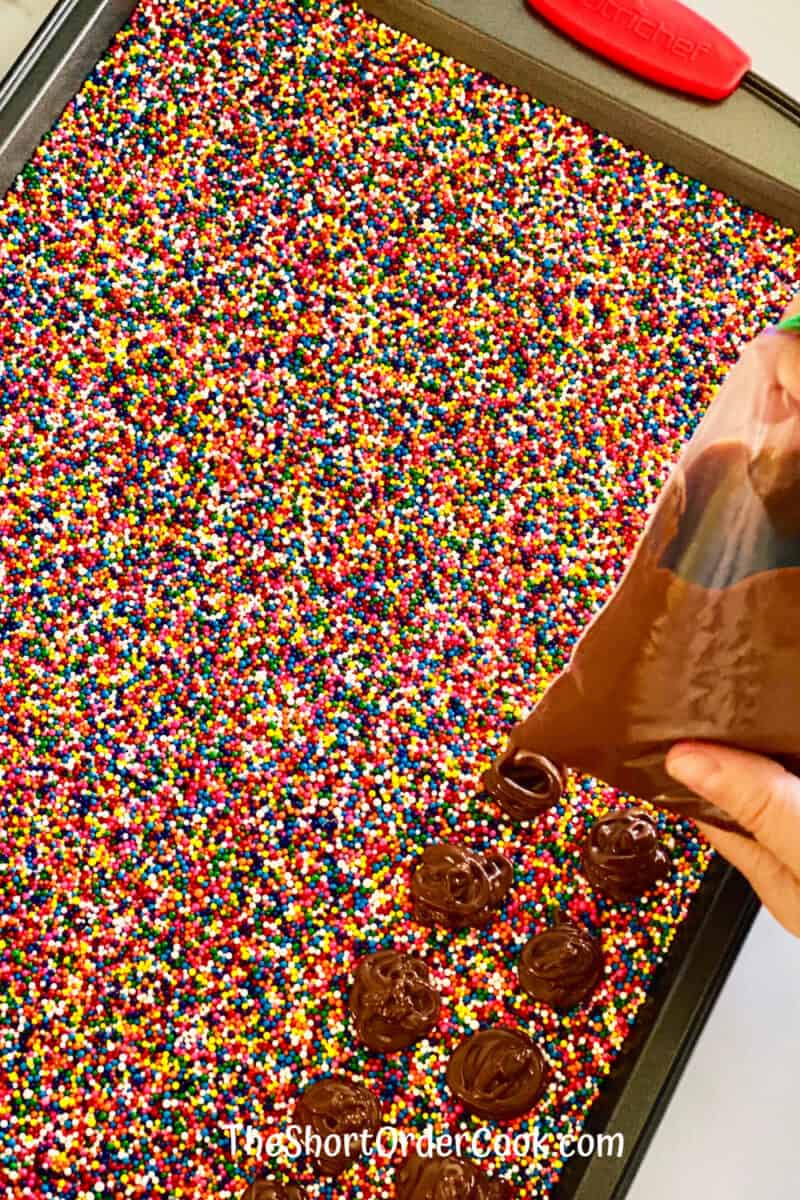
Now that the chocolate is ready to work with, it is time to make the candy discs. To the tray of nonpareil sprinkles, slowly make 1" in diameter discs of chocolate on top of the round sprinkles.
To do this, gently squeeze the bag and either make small circles around & around to make a rippled-looking disc. Or you can squeeze in one spot and let it spread in a circle. A very small cut works best for the circular look and a bigger slit works best with the one big dot look.
The image below is with the circular system. The one after it shows a close-up of those I did with a bigger corner and one big squeeze.
4 - Let the Chocolate Set & Enjoy
Once all the chocolate has been dropped into disc shapes on the baking sheet, the candies are ready to cool.
To set the chocolate, place the baking sheet carefully into your refrigerator. It takes 1 hour for the nonpareil chocolates to harden.
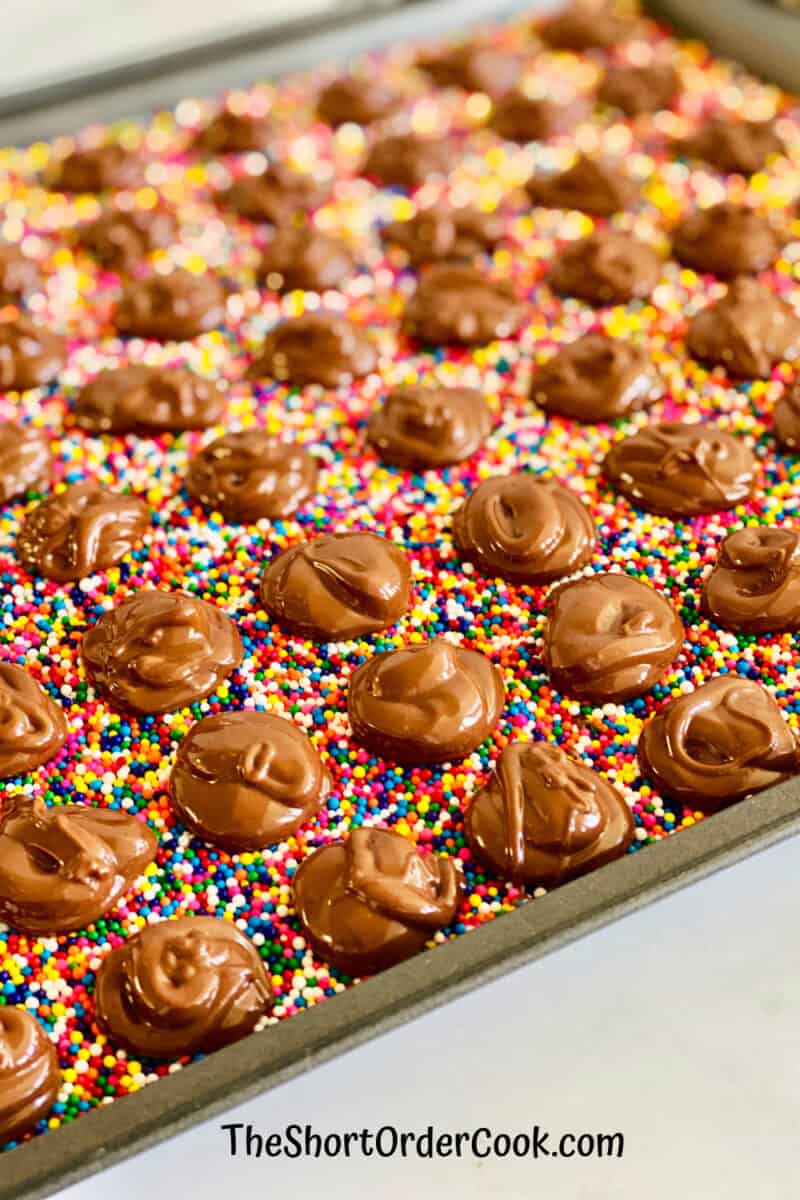
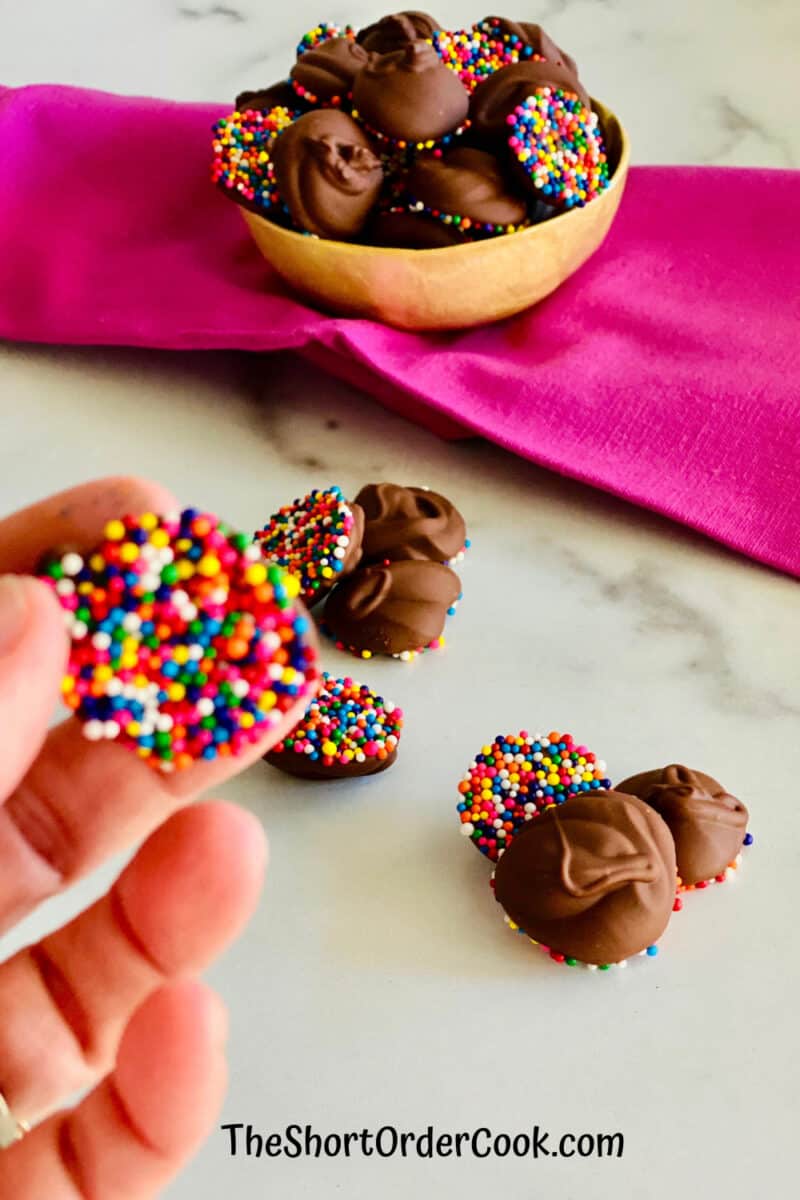
After an hour in the refrigerator, the chocolate discs should pull up off the baking sheet easily. Simply grab each one off and place them in a bowl or on a plate to enjoy.
There will be a lot of leftover sprinkles on the baking sheet that didn't get any chocolate, that is fine - they are still good to use next time. Place them back into the container or make a batch of my Easy Funfetti Shortbread Bites.
Storing & Freezing Homemade Nonpareils Candy
It is important to store these candies in a cool dry place. The best place is to store them in an air-tight container in the refrigerator. If stored properly they will last for 3 months in the refrigerator.
You can freeze nonpareil candy also for up to 5 months. Keep in mind that chocolate that has been melted then frozen tends to get a white finish on them once defrosted to eat. It does not change the flavor or safeness of the candies but may change the appearance.
Holiday Tips & Gift Giving
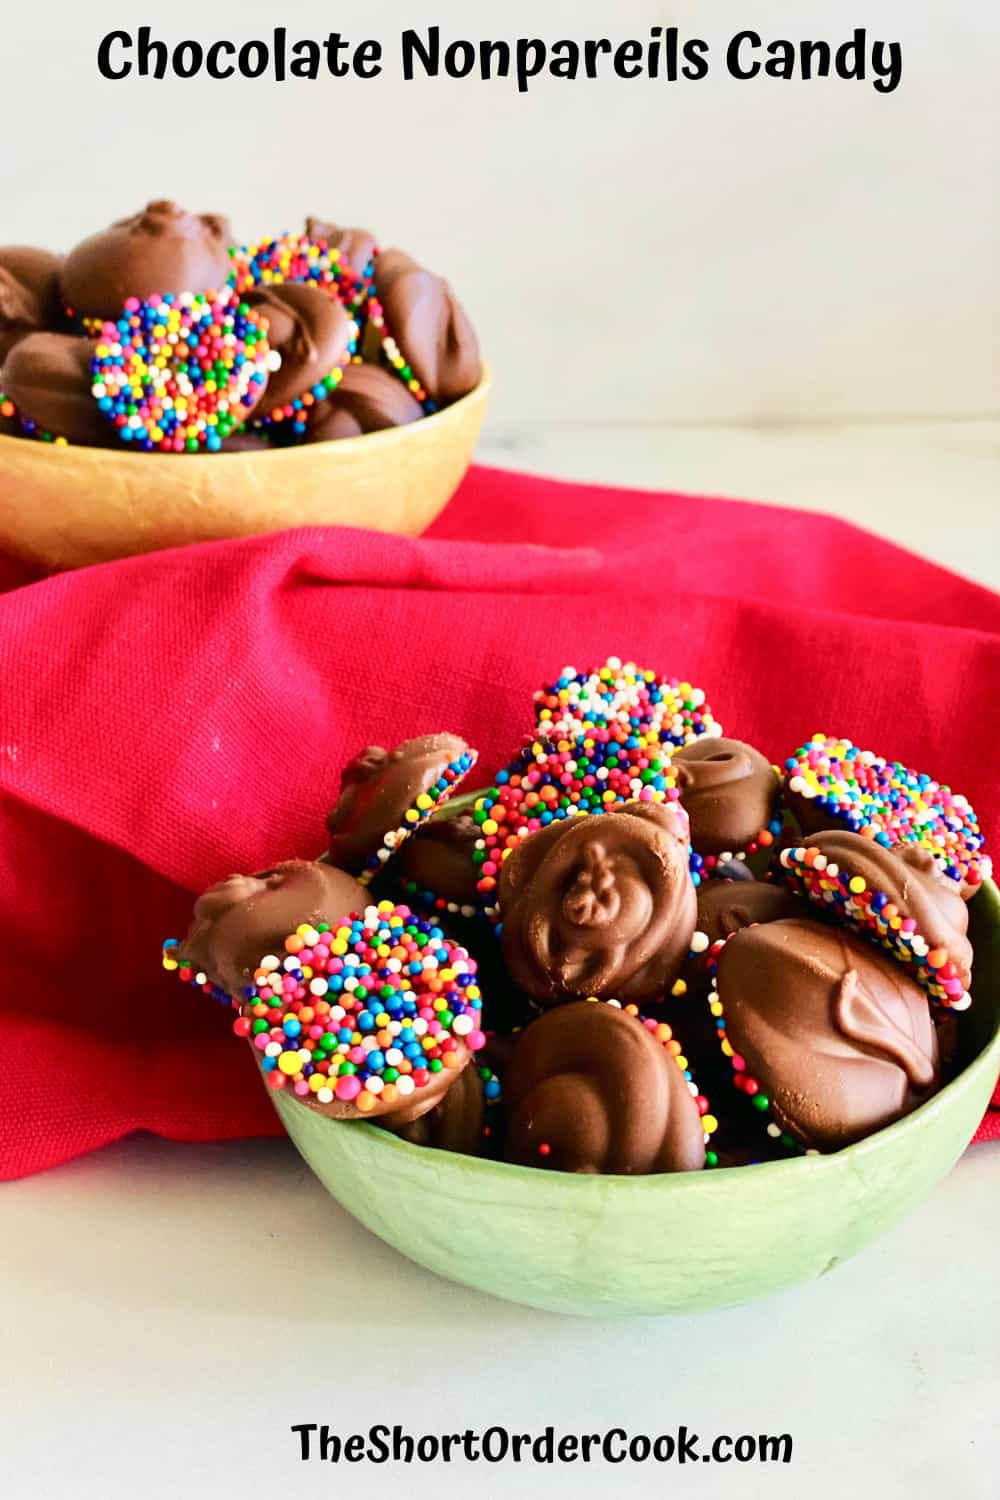
Since this candy stores so well, it is a great make-ahead recipe. The rainbow sprinkles are fun for birthdays, Easter, or Christmas candy. You can buy nonpareil sprinkles in orange and white for Halloween or just green for St. Patrick's Day.
These small morsels of chocolate with the nonpareil coating are great additions to throw into Easter baskets, Christmas cookie trays, or birthday goodie bags.
So much to love and a lot of great ways to share them. It is one of my favorite Old-Fashioned Candy Recipes.
RECIPE NOTE: this recipe was originally published January 2022. It has been updated to include similar recipes, substitutions, additional photos, concise steps, and tips for republishing in 2026.
Chocolate Nonpareils Candy

Equipment
- rimmed baking sheet
Ingredients
- 1 bag milk chocolate chips 10-11 ounces
- 1 container Wilton Rainbow Nonpareil Sprinkles 7.5 ounces
Instructions
- To your rimmed baking sheet, pour on enough of the sprinkles to coat the bottom of the pan. You will want one even layer. I used about half of the 7.5oz container of Wilton Rainbow Nonpareil Sprinkles.
- In a double-boiler, simmer about an inch of water in the lower half. In the top half add the chocolate chips. Over low heat, slowly stir the chocolate chips until they are melted and smooth.
- Once the chocolate is smooth and melted, transfer it into a pastry bag with a tiny tip or a Ziploc bag. For a Ziploc bag, make sure to seal it tightly. Then cut a VERY SMALL tip off the bottom corner.
- To the tray of nonpareil sprinkles, slowly make 1″ in diameter discs of chocolate on top of the round sprinkles. To do this, gently squeeze the bag and either make small circles around & around to make a rippled-looking disc. Or you can squeeze in one spot and let it spread in a circle. --- see above for more information and images.Leave a little space between each morsel. On my baking sheet, I got 10 rows of 8 for a total of 80 candies.
- To set the chocolate, place the baking sheet carefully into your refrigerator. It takes 1 hour for the nonpareil chocolates to harden.
- After an hour in the refrigerator, the chocolate discs should pull up off the baking sheet easily. Simply grab each one off and place them in a bowl or on a plate to enjoy.
- LEFTOVER STORAGE -There will be a lot of leftover sprinkles on the baking sheet that didn’t get any chocolate, that is fine – they are still good to use next time. You can put them back into the Wilton container for the next dessert decorating recipe. The best place is to store them in an air-tight container in the refrigerator. If stored properly they will last for 3 months in the refrigerator. You can freeze nonpareil candy also for up to 5 months
Notes
- Make sure to store in a cool dry place. They can be refrigerated and frozen to enjoy later.
Nutrition
More Homemade Candy Recipes
Here are some similar recipes for candy you can make at home. All are easy to make & 100% the best way to curb your sweet tooth:
Liza says
This was a cute and fun recipe to make with the kids. They each got a bag of chocolate to squish. They were not very round but we had fun making and eating these.