
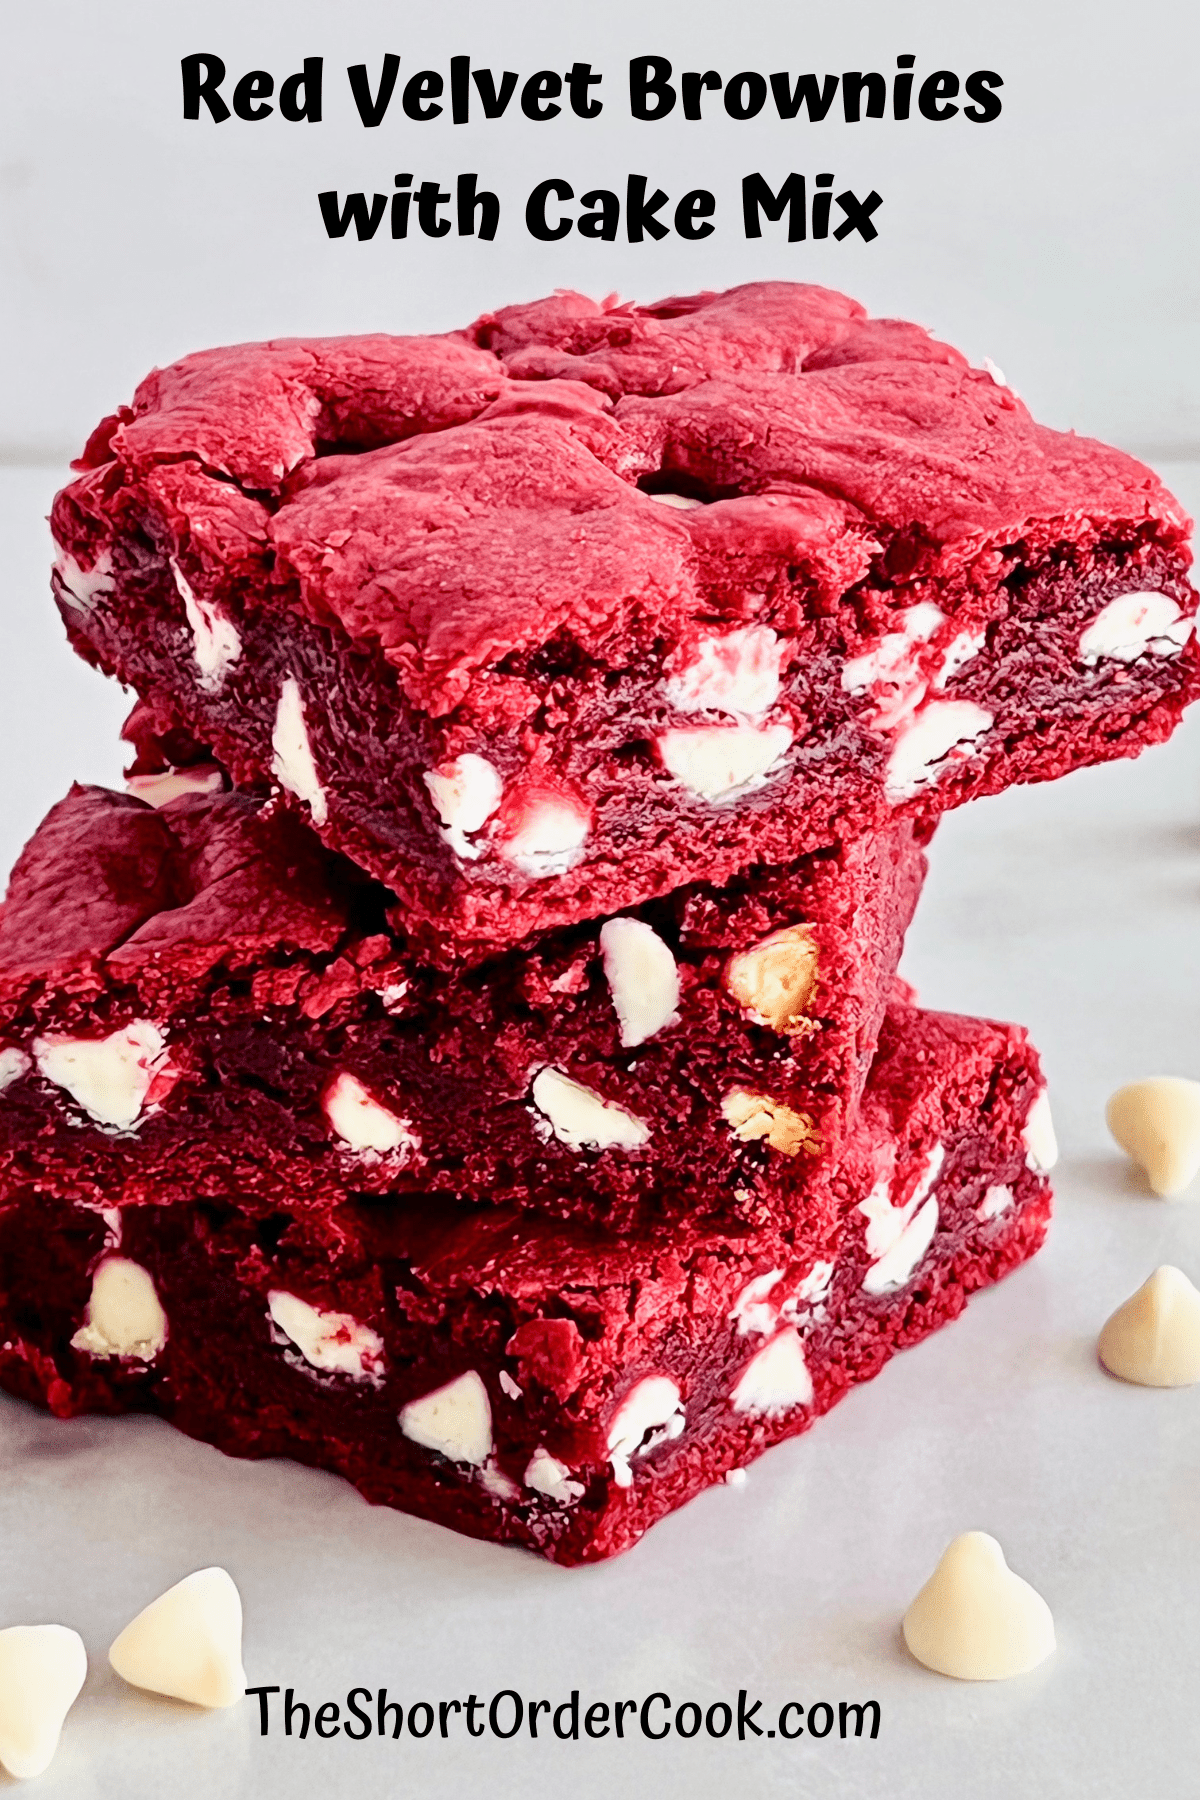
Gorgeous chewy Red Velvet Brownies made with cake mix could not be more fun & delicious. Rich, decadent, & fudgy texture for a bite that is chocolate heaven. All of that yumminess from this super quick & easy recipe.
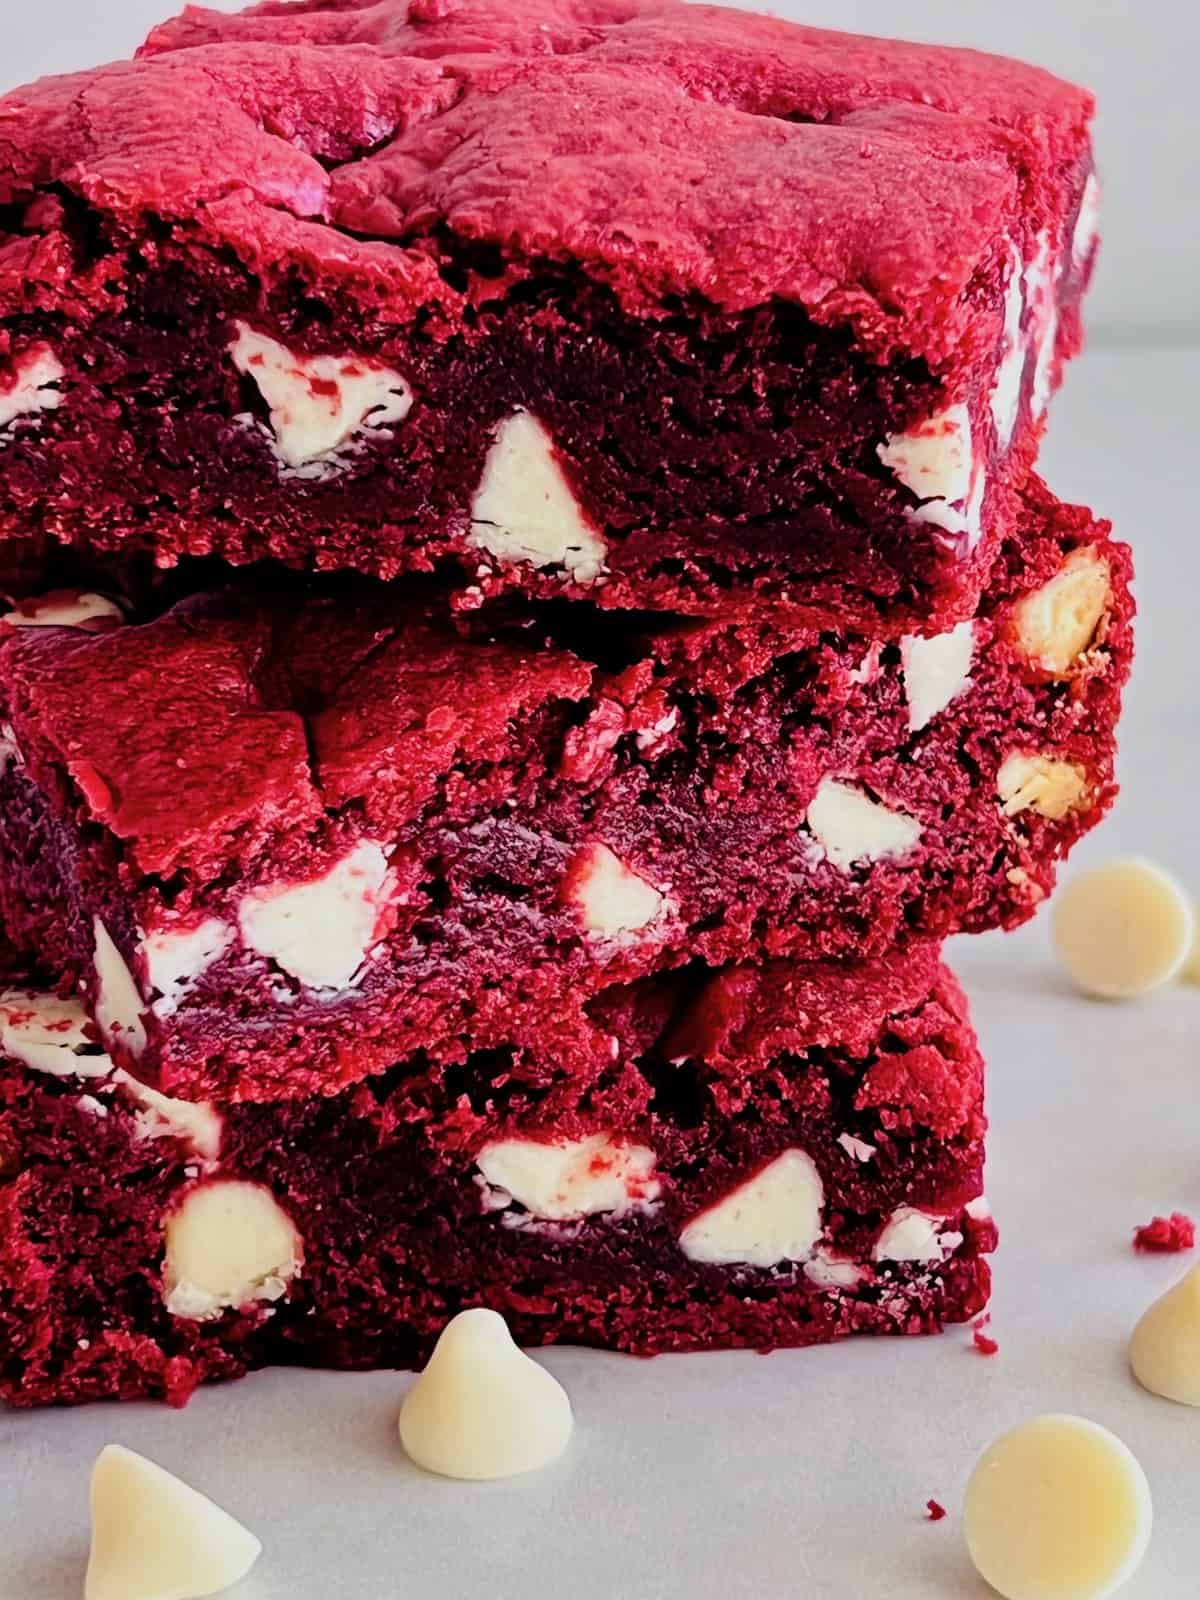
Why this Red Velvet Brownie Recipe is Amazing: The simple recipe using Betty Crocker Red Velvet cake mix makes the chewiest, most gooey, & loaded with white chocolate chips brownies ever - no joke!
Using store-bought shortcuts when baking is so easy. I love these time-savers. It is what makes my 2-ingredient Cinnamon Roll Pie one of my other popular holiday recipes.
This was inspired by my recipe for Red Velvet Crinkle Cookie Sandwiches. They are so good but are a bit complicated versus this recipe which any beginning baker can have success. Ok, now we bake!
Jump to:
Ingredients
This red velvet brownie recipe only needs 5 ingredients. A box of your favorite brand of red velvet cake mix is the star of this brownie recipe.You wont need to follow the cake mix, use only the ingredients I share below.
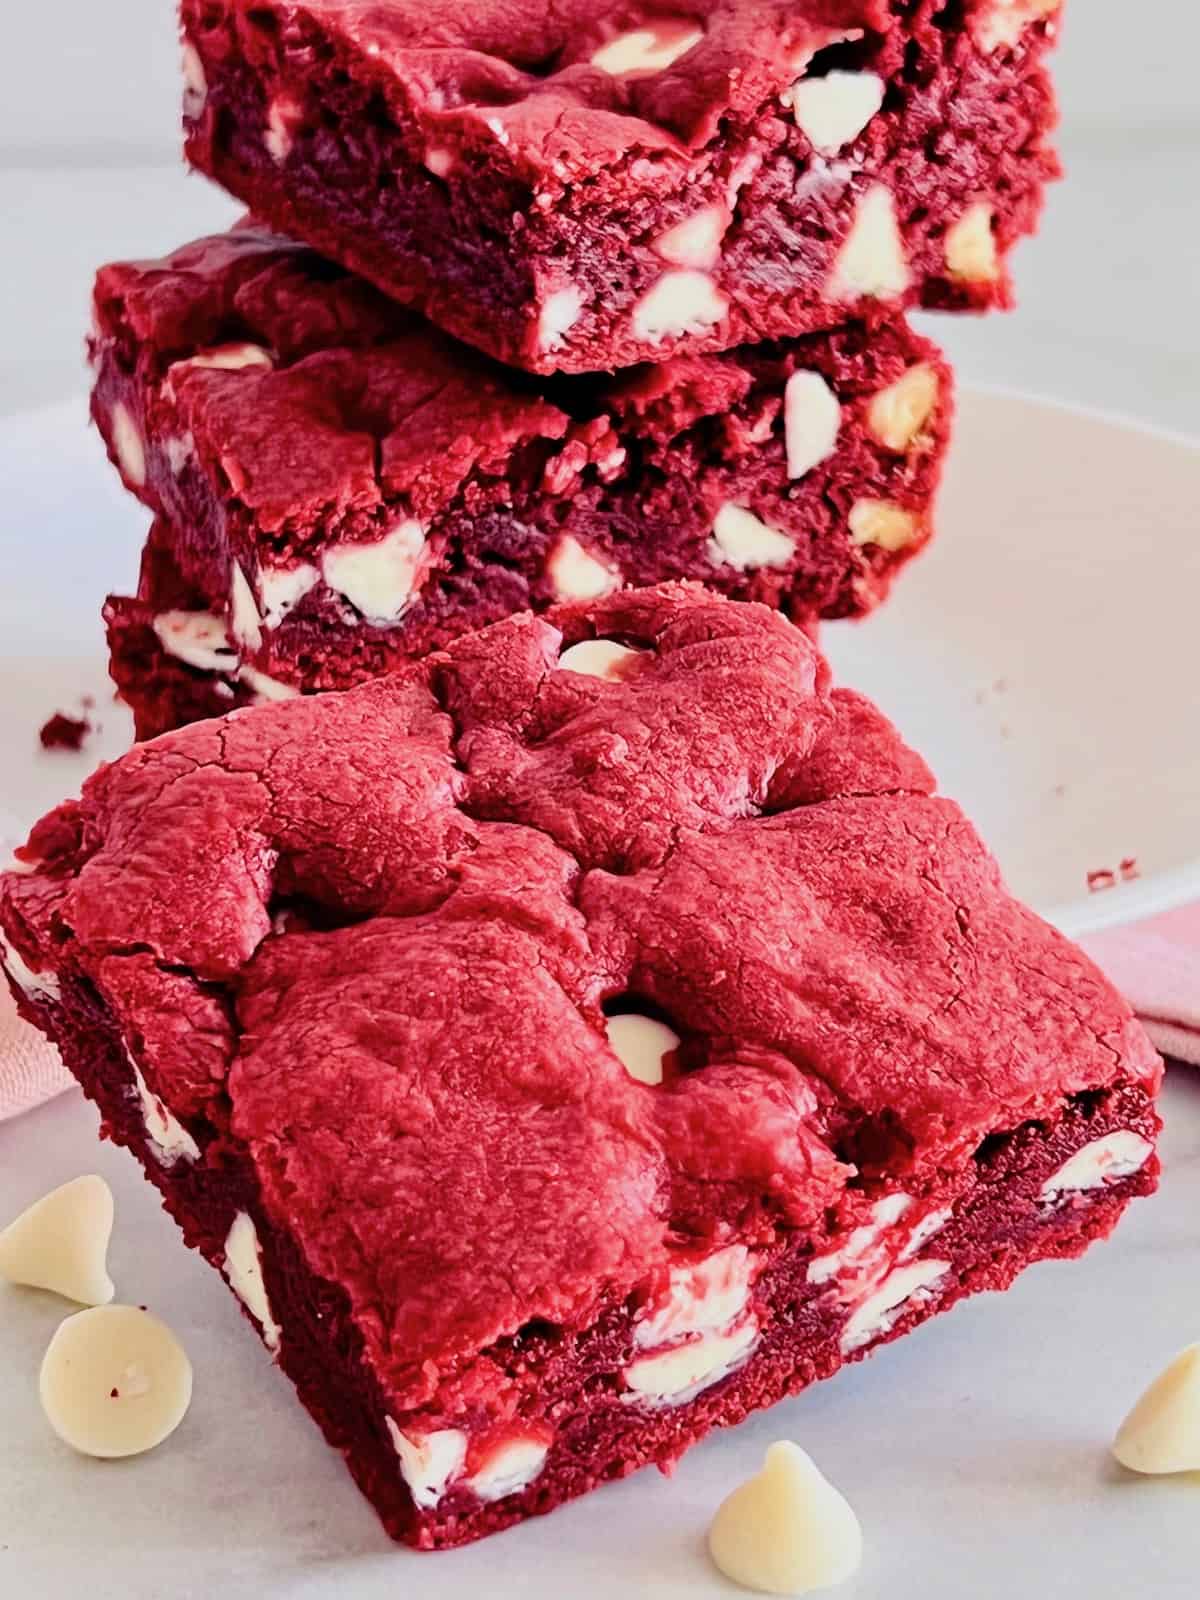
Oh and don't skip the white chocolate chips. Like in my recipe for Cherry White Chocolate Chip Cookies, the red & white color is so pretty & it tastes the best!
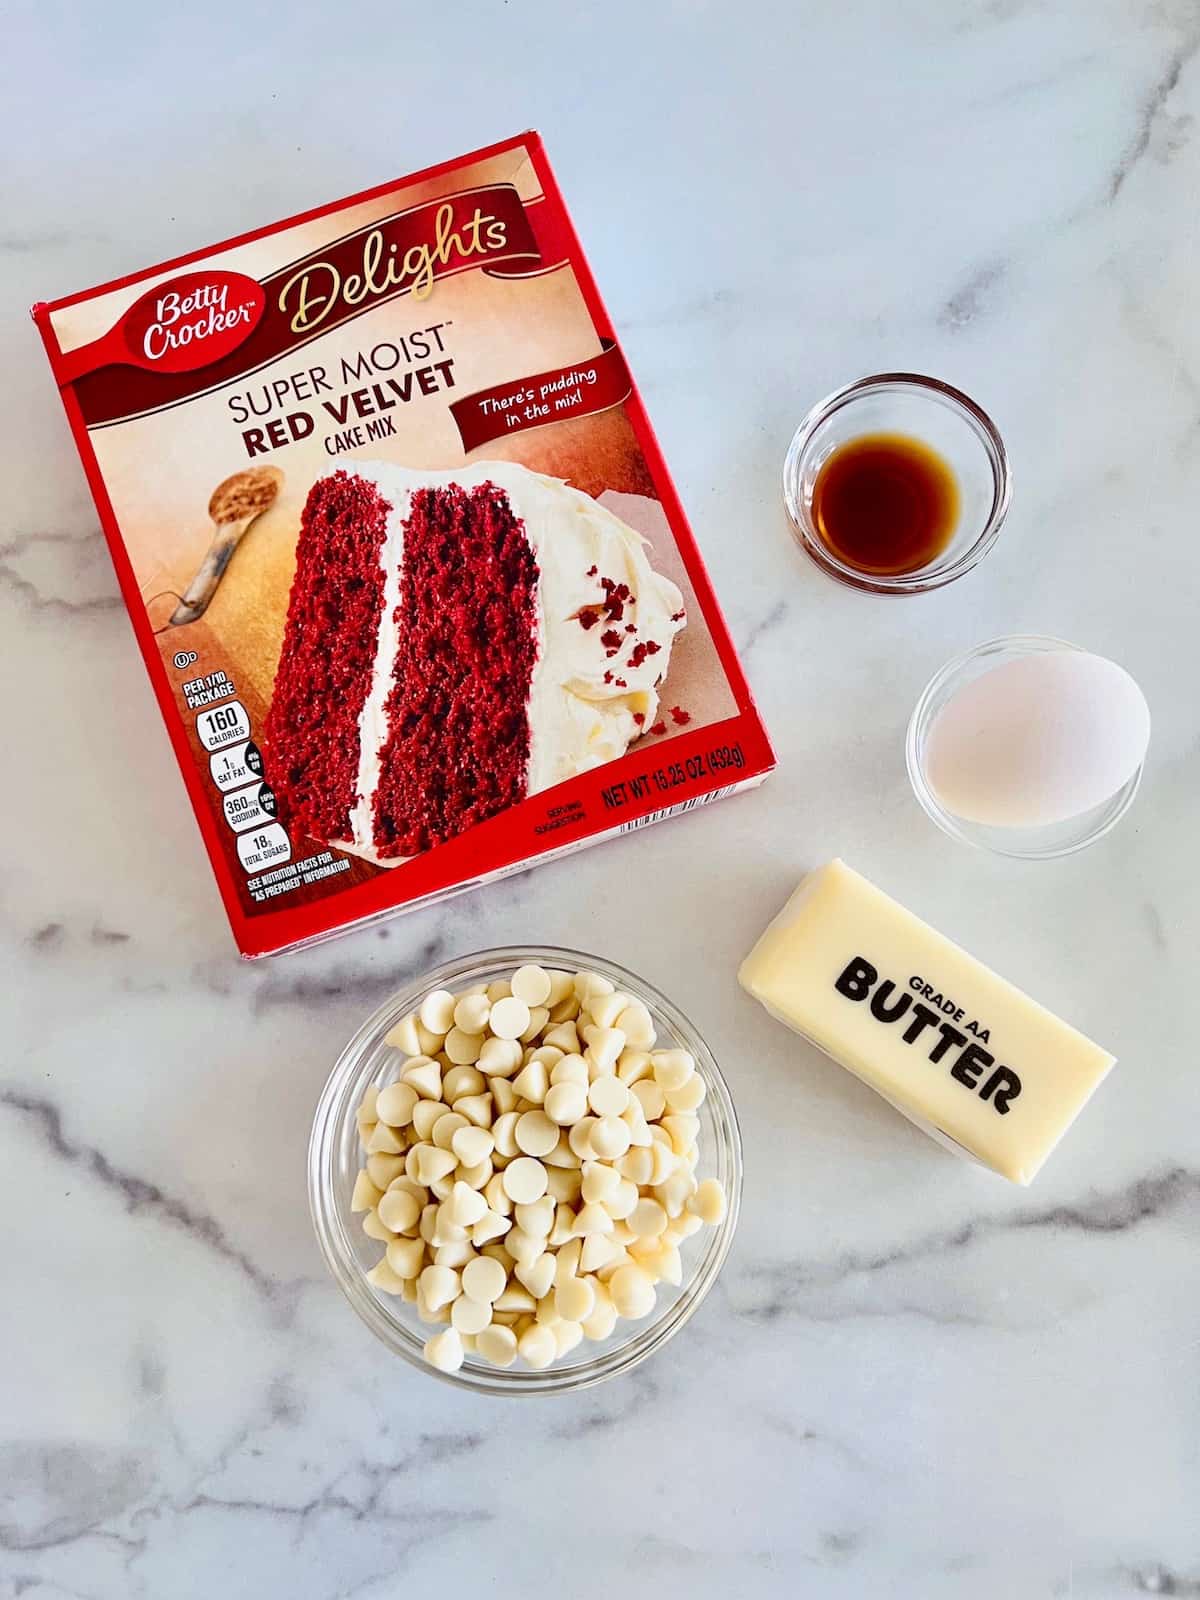
- Red Velvet Cake Mix - any boxed brand will work. I am using Betty Crocker, try Pillsbury or Duncan Hines.
- Egg - one at room temperature.
- Salted Butter - to give it a chewy rich texture.
- Vanilla Extract - added flavor that is classic in any red velvet recipe.
- White Chocolate Chips - great flavor, color contrast, and texture.
- Optional - white candy melts or cream cheese frosting
See the recipe card for quantities.
How to Make Brownies from Cake Mix
This recipe is so quick & easy. Begin by setting the oven to 350° to preheat. It will take the oven longer than you to be ready. So do that right away.
Here are the easy steps for making fresh-baked Red Velvet Brownies.
- Mix the Batter
- Add the Chips
- Add to Prepared Pan
- Bake in Oven
See the step-by-step instructions with photos below plus the recipe card at the end of the post.
1 - Mix the Batter
I like to use a room-temperature egg because I find they mix easier. But if you don't have that additional time, 20 minutes, you can use an egg straight from the refrigerator.
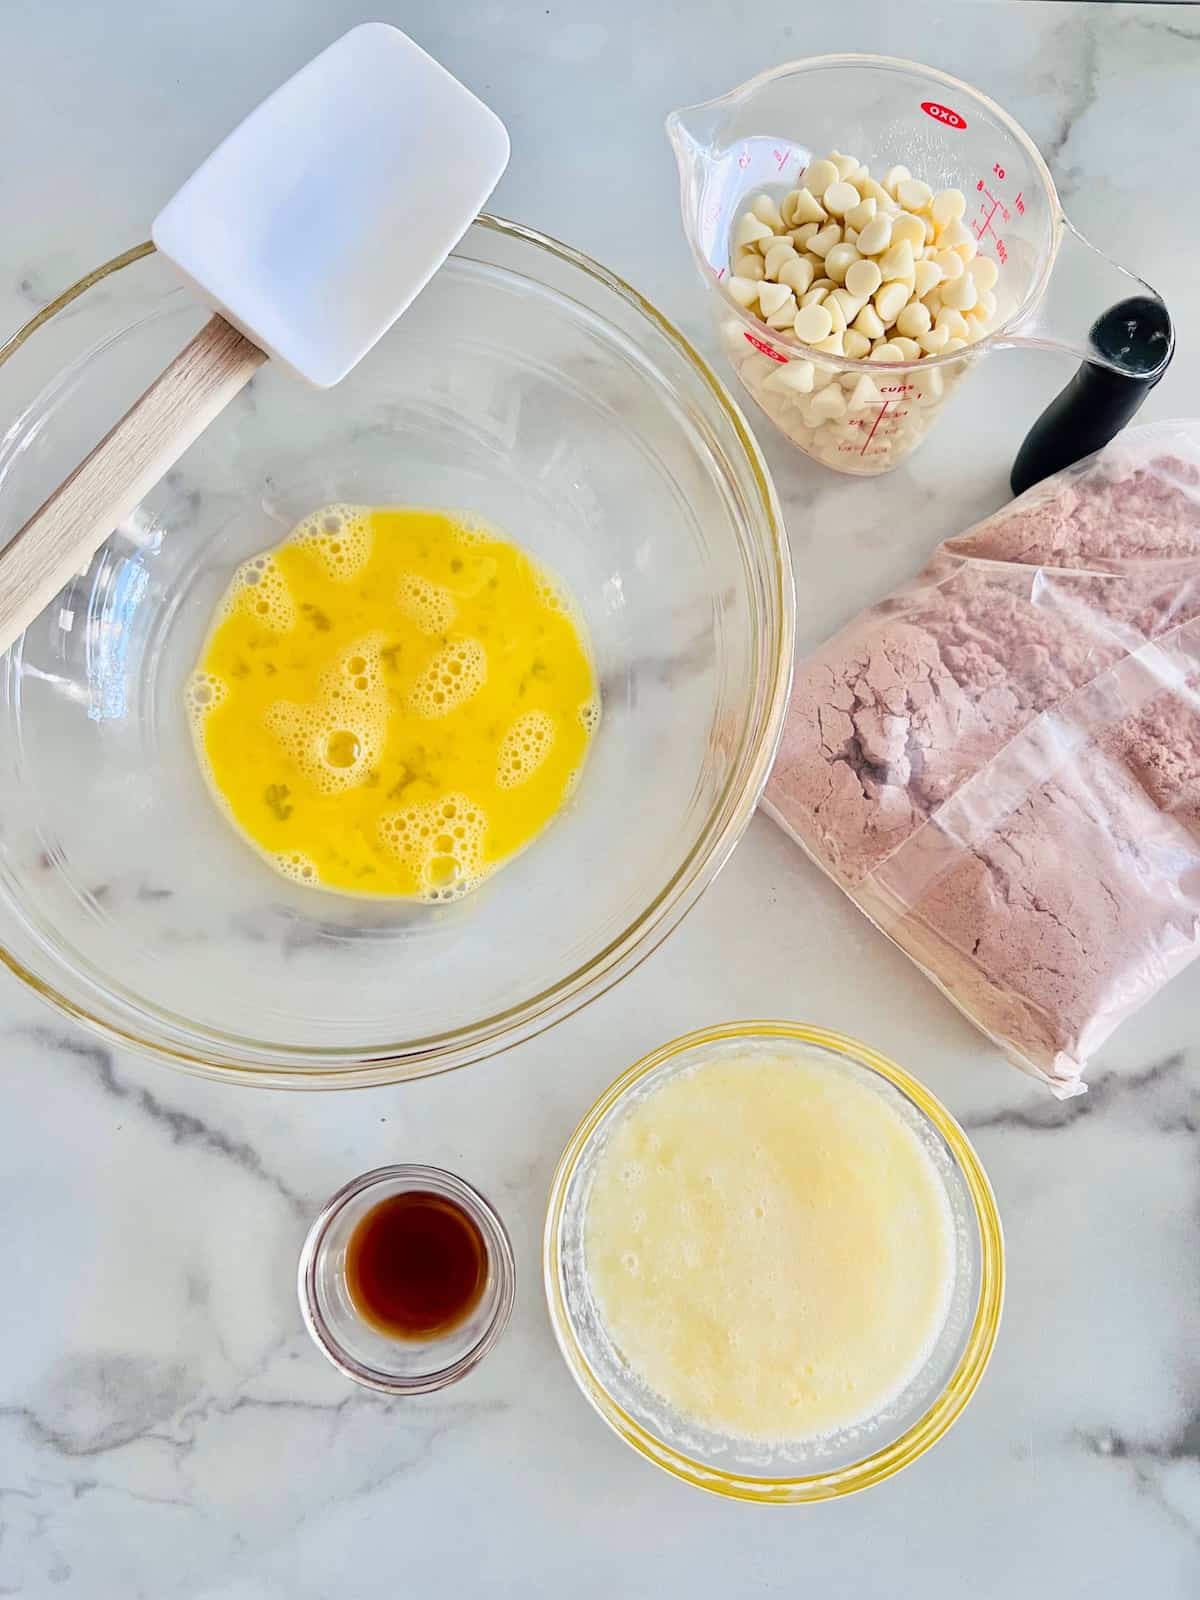
In a large mixing bowl, whisk the egg until frothy.
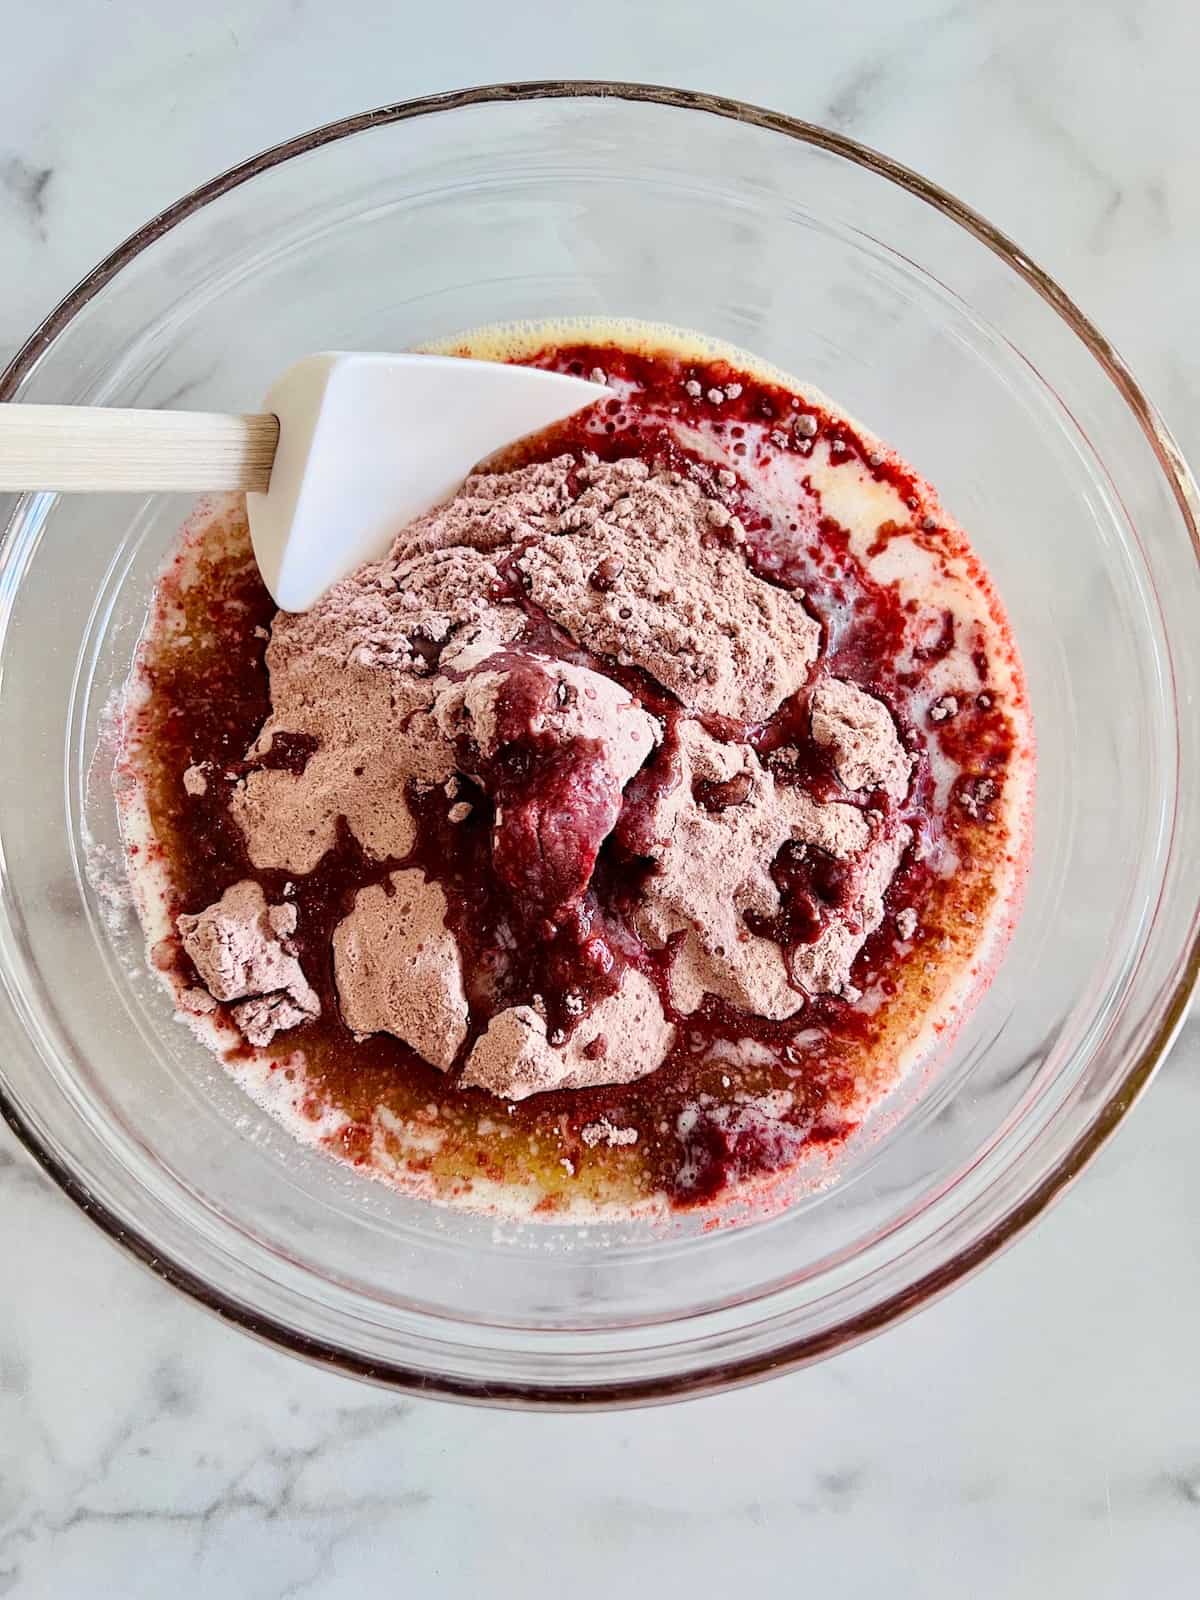
Next add the red velvet cake mix, melted butter, & vanilla extract.
Using a wooden spoon or spatula spoon (spoonula) mix the ingredients together. As soon as all the wet ingredients are combined with the cake mix, stop mixing. Do not over mix.
2 - Add the Chips
Sprinkle in the white chocolate chips and fold them into the batter. Try to get them evenly distributed so every brownie is loaded with tons of chips.
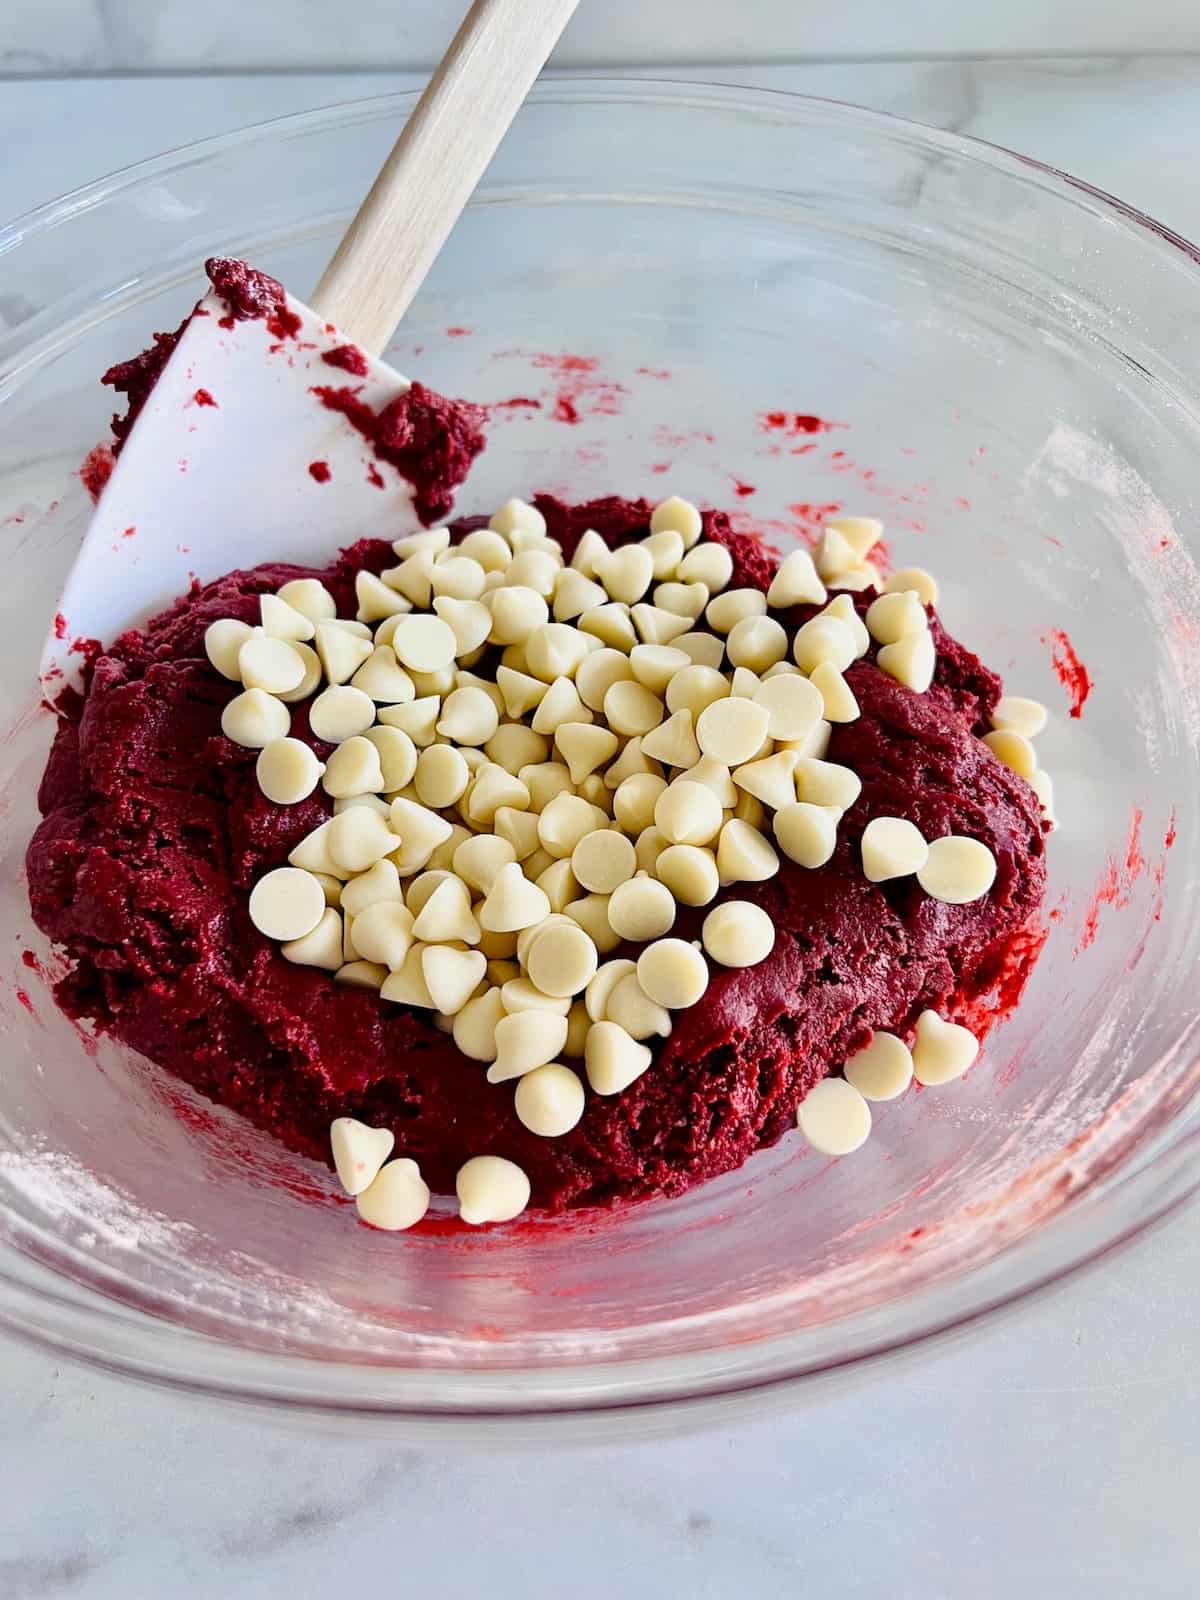
NOTE: The batter will not be thin and cake-like. It will be firm and stiff. It is exactly how it should be if you really have to dig it out of the bowl to get it into the pan.
3 - Add to Prepared Pan
While it preheats, prepare an 8x8 square brownie pan with parchment paper. I like to use large binder clips on two sides to hold it in place - kitchen hack!
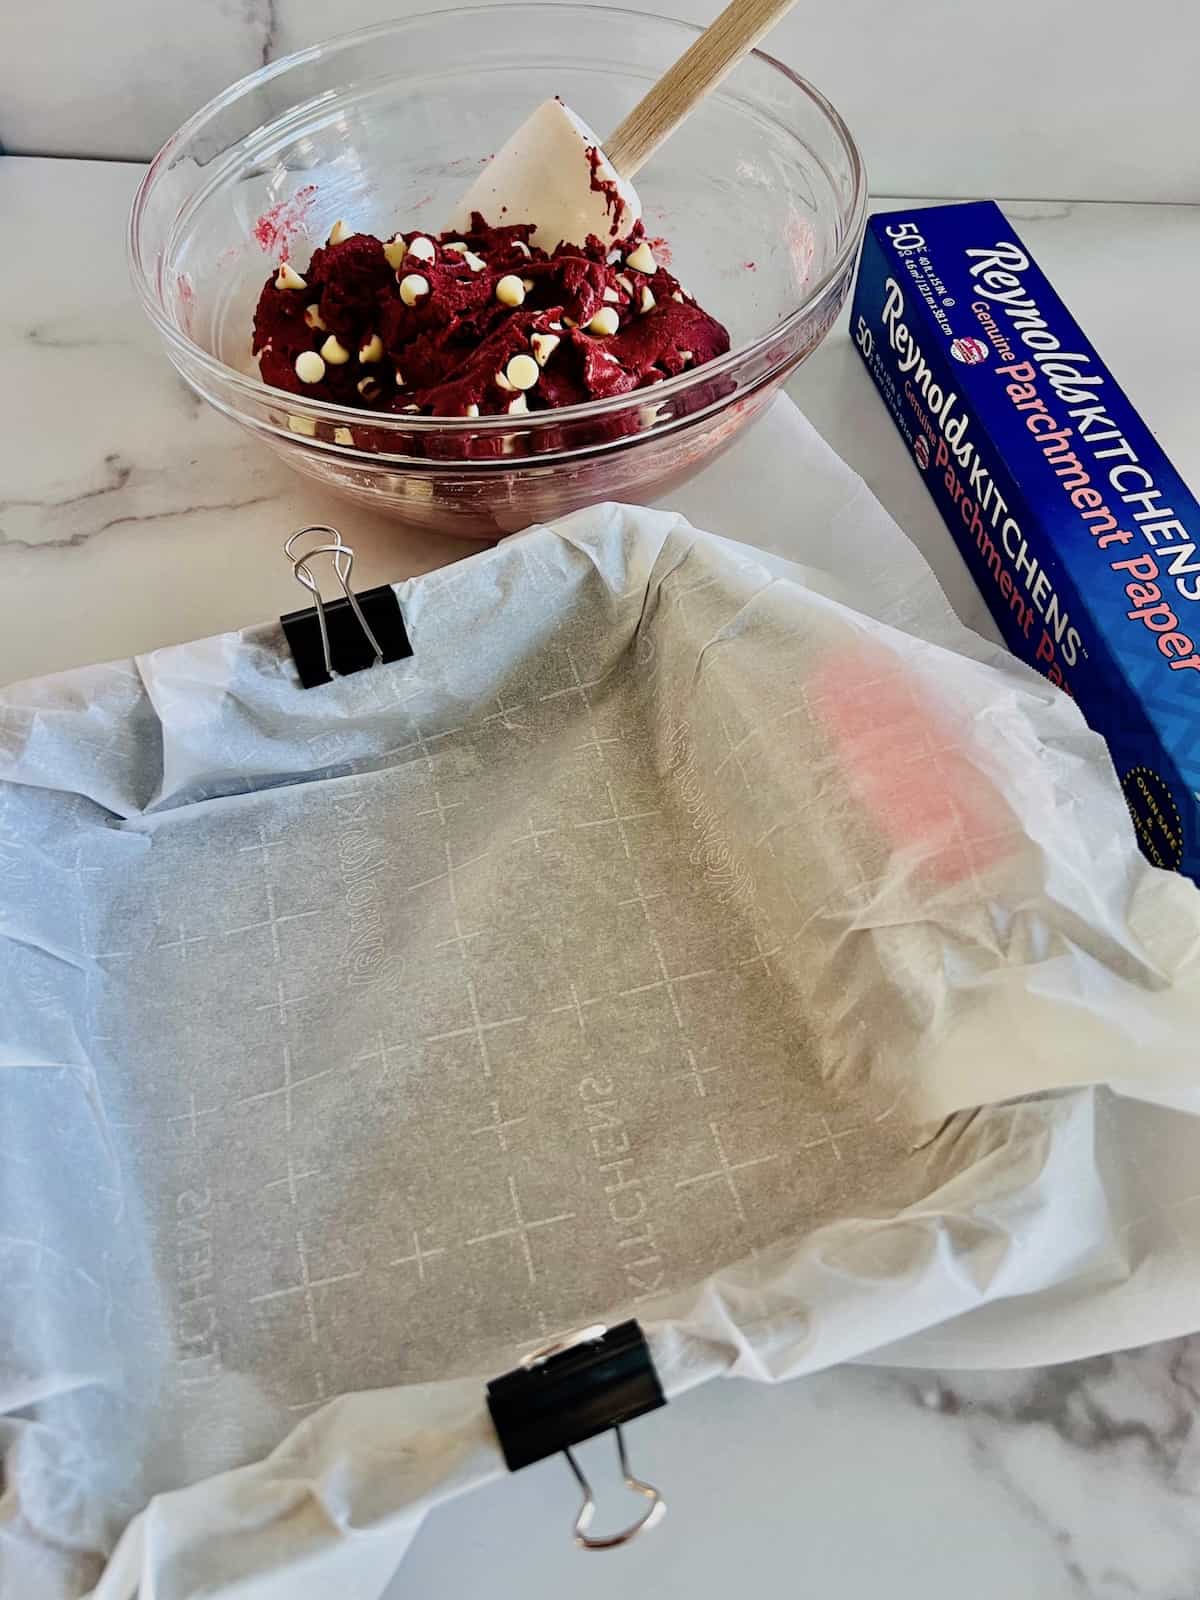
Scoop the batter into the prepared brownie pan. The red velvet brownie batter will be thick. Press it in the pan so it is evenly distributed and the same thickness in all edges, corners, & center of the pan.
Optional - add a few extra white chocolate chips to the top & press in the batter.
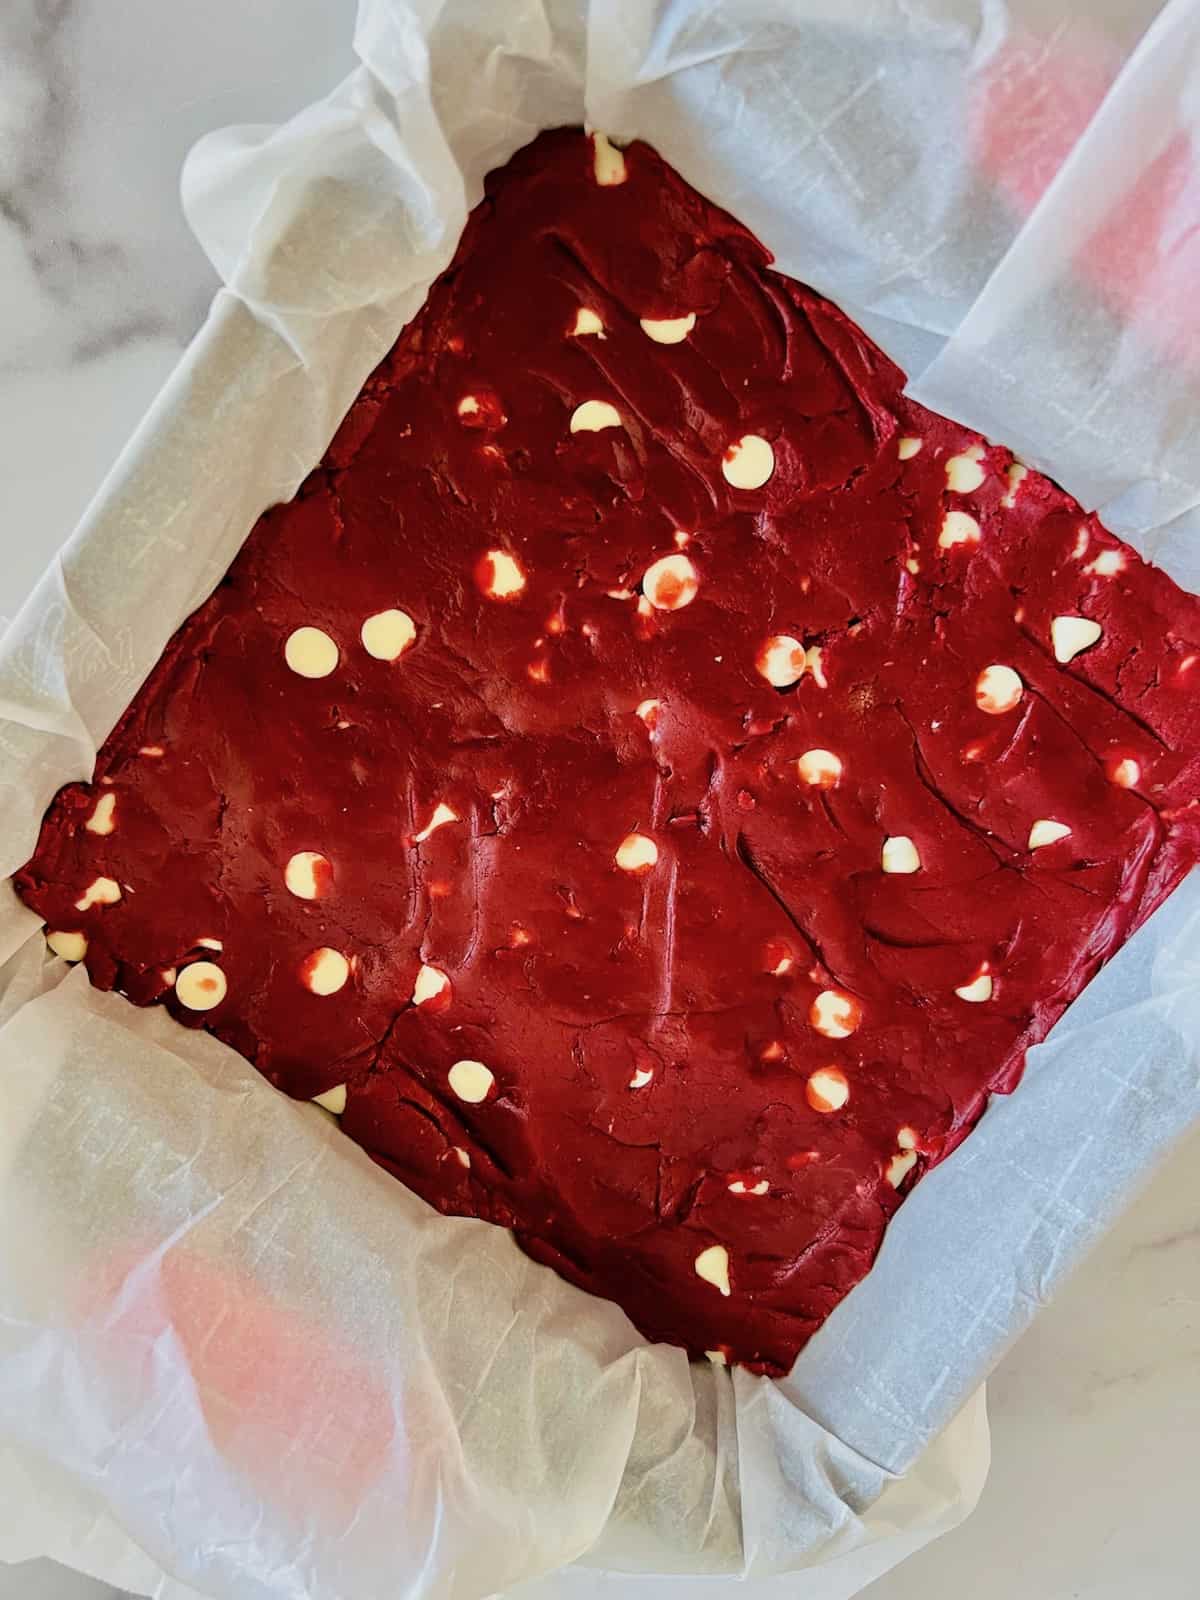
4 - Bake the Red Velvet Brownies
Place the brownies in the oven and bake for 20-25 minutes. My 8x8 metal pan took 23 minutes.
DO NOT overbake the brownies. You want the edges to just be set and the center should have a slight give when you carefully touch it. The top will be firm but just under you can tell it is soft in the center. This is when they are done and ready to come out!
Remove them from the oven carefully using oven mitts. Let the brownies cool for 30 minutes in the pan until they are set.
Once they are cool enough to lift the parchment-lined brownies out of the pan. Place on a cutting board.
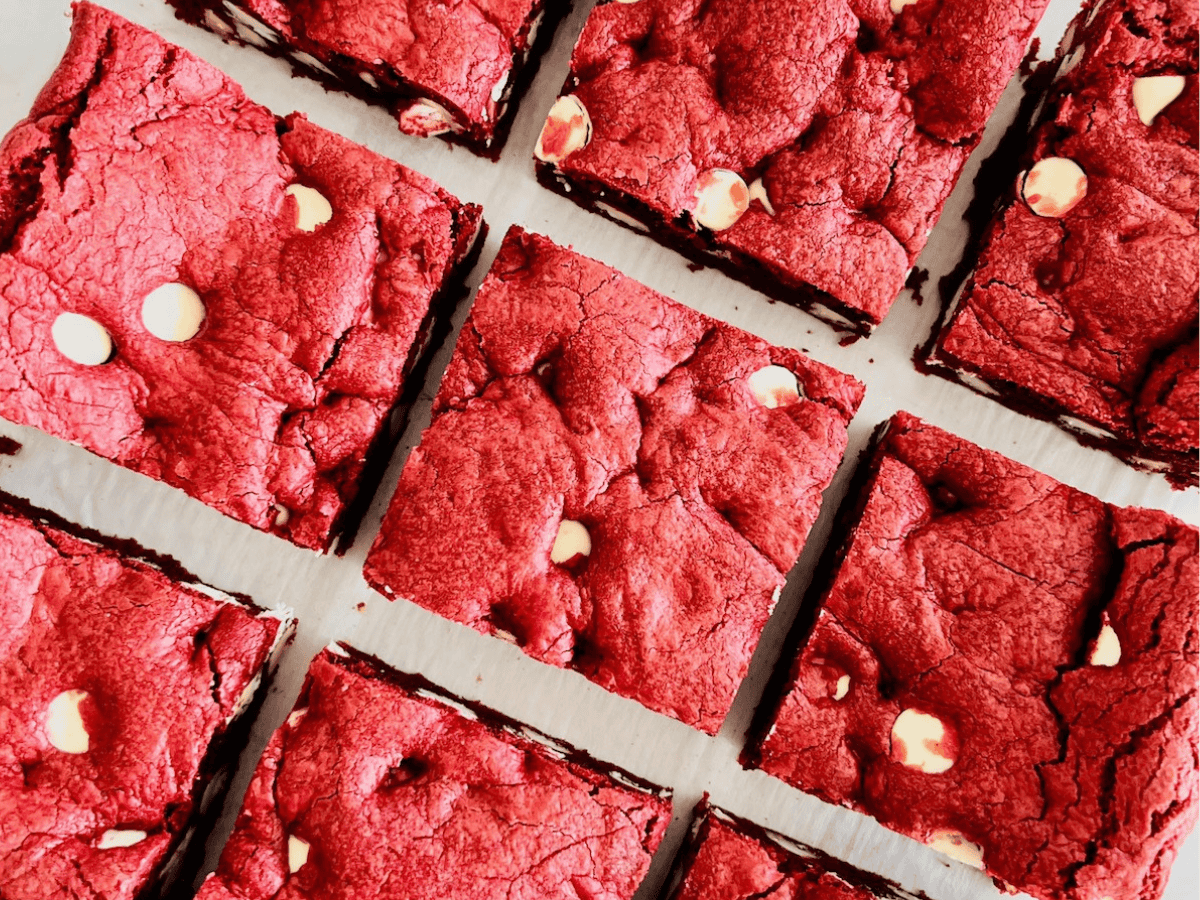
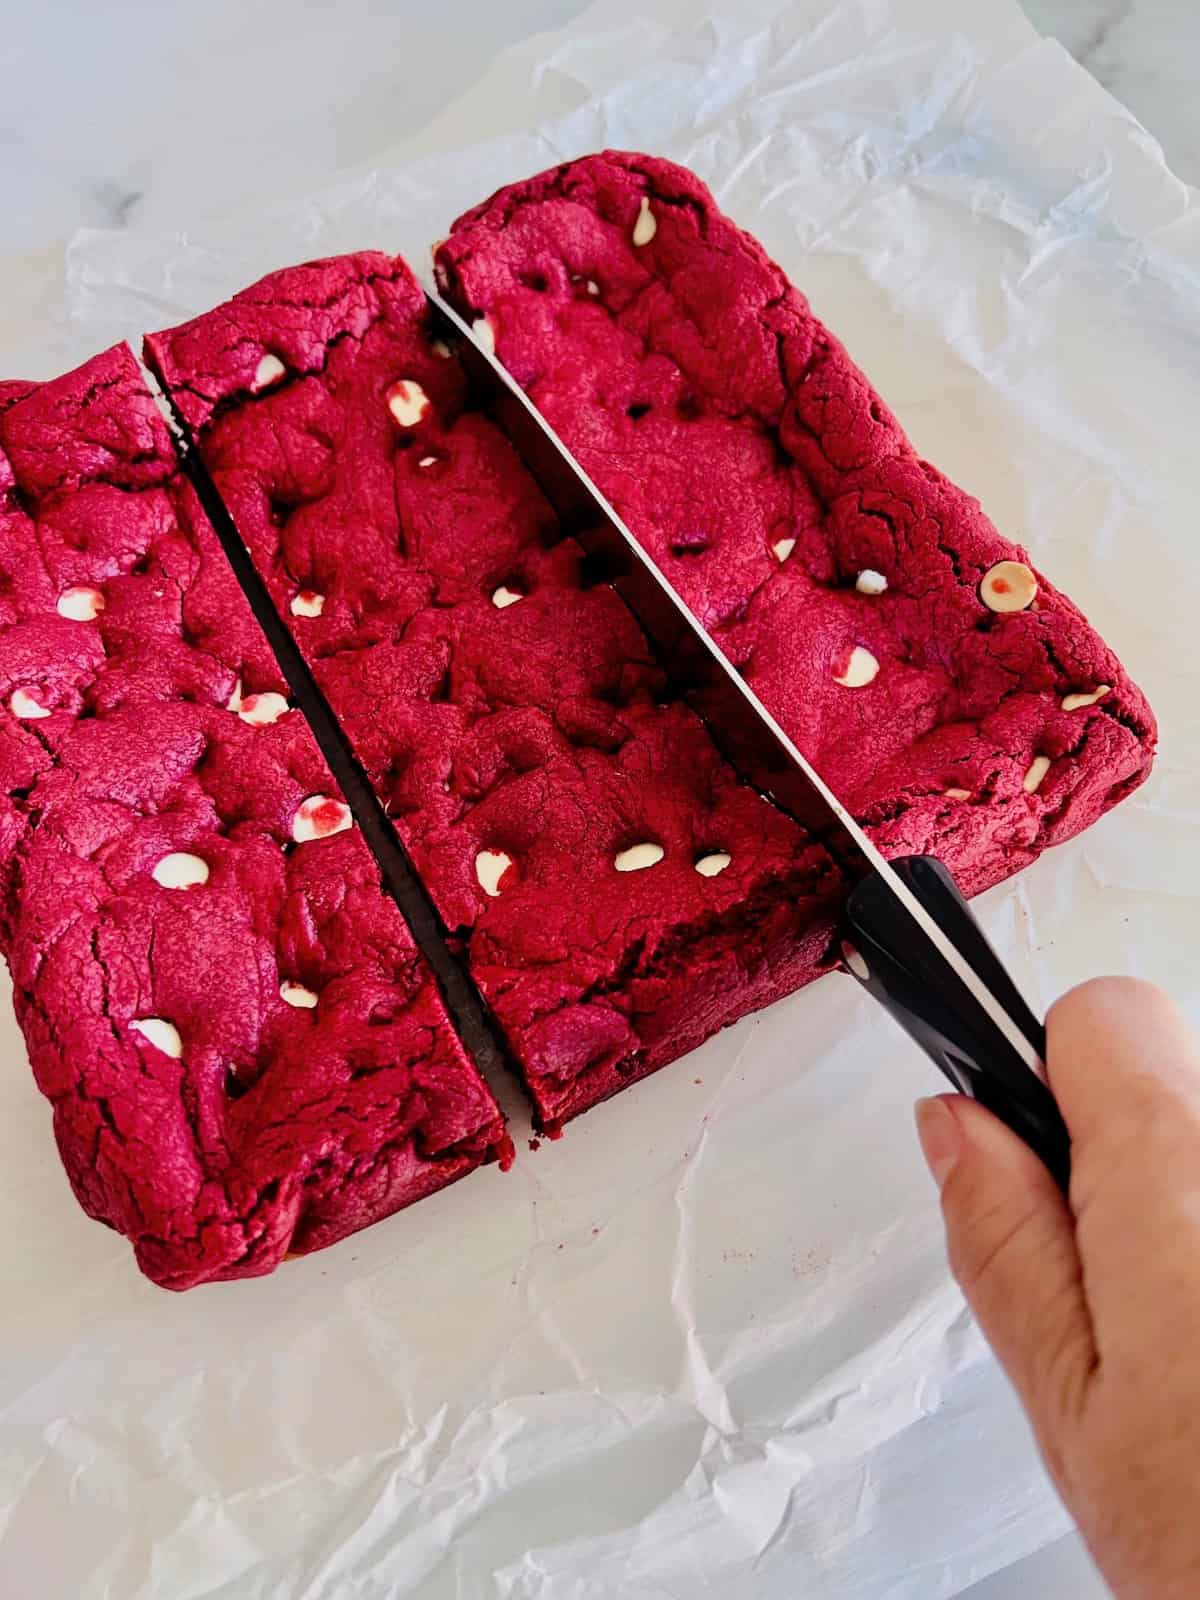
Best Way to Cut Brownies
The best way to cut brownies is to use a sharp chef's knife. A straight blade works so much better than a serrated knife.
When cutting the brownies use an even downward chopping & rocking motion. If you "saw" back & forth the brownies will tear
Hint: If the brownie sticks, you can use nonstick spray on the knife so it cuts cleanly. Or simply wipe the knife carefully to clean between cuts.
Top Tips
All of these great tips are shared in the recipe. But these are so good and important they are worth mentioning again so you don't miss them.
- Use parchment paper to ensure the brownies do not stick & lift out of the pan easily. Even if you have a nonstick pan, this is a top tip. Simply lift them out of the pan without the brownies falling apart.
- Only mix by hand or fold the ingredients. Do not use a hand mixer which will over-mix the batter and make it tough.
- The batter will be THICK & not thin/pourable.
- Do NOT over bake or they will be dry & crumbly. The brownies should have a slight giggle in the middle. As they cool in the pan they will set up.
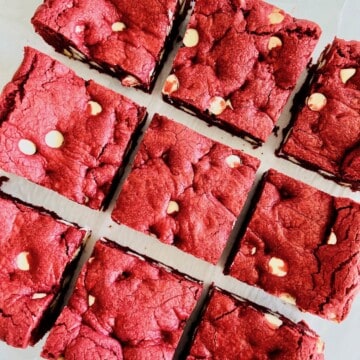
- Use a sharp straight-blade knife to cut into nice even squares this way. Wipe the knife clean between cuts so that the brownies do not fall apart.
- Serve on a Valentine's Charcuterie dessert board with my Valentine's Day Caramel Pretzel Bites.
- Love white chocolate chips, try my recipe for a classic - White Chocolate Macadamia Cookies.

When to Bake Red Velvet Brownies
These cake mix brownies are great whenever your sweet tooth has a craving. But what I love most about this red velvet brownie recipe is the color is ideal for Valentine's Day, Independence Day, Canada Day, Christmas, or any holiday that is red-themed.
Also fun & one of the best recipes for potlucks, bake sales, church or school functions, & birthdays. Any time a colorful handheld dessert is needed, this is the best go-to recipe.
FAQ
I do not recommend using a serrated or bread knife. These types of knives tend to stick to the brownies when cutting them into squares.
I recommend using a sharp knife with a straight blade, such as a chef's knife. When cutting "chop" straight down. Do not use a back & fourth or sawing motion. This will only tear the brownies apart and make a mess.
I do not recommend coloring a brownie mix to make red velvet brownies. The boxed mix is so deeply dark and rich, it would take A LOT of red food coloring to make them red & honestly I am not sure it would ever be red enough.
Using a cake mix is the best option for making red-colored brownies. Brownie mix and cake mix are often the same exact ingredients. It is all about what you add to the boxed ingredients that make it a cake or a brownie. For example, fewer eggs make the texture more fudgy like brownies.
Yes, these are so good you will want to share and have plenty. To make a double batch, you can double all the ingredients together in one bowl. Or you can just mix twice if you worry about dividing the batter.
However, I do not recommend baking it in a bigger pan. I suggest dividing it in half evenly and still baking it in two 8x8 pans. this way the brownies cook evenly for a crunchy edge & gooey center red velvet brownie. The time and temperature should remain the same as found in the recipe card.
LOVE THIS RECIPE & WANT TO SEE MORE?
Summarize this recipe content below
NOTE: The Short Order Cook is not responsible for third party content including the use of AI websites.
Red Velvet Brownies with Cake Mix
Equipment
- 9x9 or 8x8 square baking pan
Ingredients
- 1 egg room temperature
- 1 Red Velvet Cake Mix Betty Crocker or other brands
- ½ cup salted butter melted
- 2 teaspoon vanilla extract
- 1.25 cups white chocolate chips
Instructions
- Preheat oven to 350°.Prepare the square backing pan by lining it with parchment paper.
- In a medium-sized mixing bowl, add the room-temperature egg & whisk.
- Melt the stick of salted butter in a microwave-safe bowl.
- To the egg add the cake mix, butter, & vanilla. Using a wooden spoon or spatula spoon, stir to combine. Do NOT over mix, only mix until the dry ingredients are mixed it. It may have small lumps and bumps - that is ok. This is a dense batter.
- Pour in the white chocolate chips and fold them to combine so they are evenly distributed. The batter will be thick/
- Spoon the batter into the prepared baking pan. Spread it out so it is even in the pan and all edges and center have the same thickness. This ensures it cooks evenly.
- Bake uncovered for 20-25 minutes. The edges will be set but the center will still have a slight give if you lightly press on the top. This allows for a gooey rich center.If you want a firmer brownie, bake for an additional 5 minutes for a total of 30 minutes.
- Remove from oven when done and let cool for 30 minutes. Once completely cool, lift the parchment paper from the pan and place it on a cutting board. Cut into 9 squares. Enjoy!
- Optional - melt white candy melts and drizzle on the top. Or top them with cream cheese frosting.
- Store leftovers in an air tight container. Place in the pantry or other cool dark place. Brownies will stay fresh for up to 3 days.
Notes
- Use milk or dark chocolate chips instead of white.
- Use 2 eggs if you want a more "cakey" texture.
- Add ½ cup chopped nuts if you like them in your brownies.
- Fun Holiday decorations - add white or cream cheese frosting & sprinkles for a festive look such as red/green for Christmas or red & pink for Valentines day or rainbow sprinkles for Easter.
- Store leftovers in a cool dry place covered in the pan or in a container with a lid for up to 3 days.
- Freeze individual brownies in a single layer. Once frozen, they can then be placed in an air-tight container/stacked or Ziploc bag. Store in the freezer for up to 3 months.
- Defrost overnight in the refrigerator to enjoy later.
Nutrition
More Cake Mix Recipes
For more easy-to-bake dessert recipes, try one of these reader favorites. They may be your new favorite too.
Rachel says
So easy & seriously good. I never made brownies from a cake mix before and wow they are so good. The kids cannot rave enough about them.
Angela says
I love hearing this. My kids loved them too.
Miz Helen says
Your post is awesome and thanks so much for sharing with us at Full Plate Thursday, 627. Happy Valentine Day and come back to see us soon!
Miz Helen
Tammy says
I'm such a sucker for red velvet. These look fabulous and rich...such a delightful treat and so easy to make too!
Angela says
We are too. I hope you give it a try and let me know what you think! Enjoy.
Jennifer Casale says
I need to make a bunch of mini desserts so I was wondering if you could do these in a mini cupcake tin?
Angela says
I have not tried that so I have not tested cooking time or temperature for mini versions. If you wish to give it a try, I suggest about 1 - 1.5 tablespoon of batter in each muffin tin & bake at 350° for 10-12 minutes. Let me know if you give it a try and if it turns out.
Alayne says
Hello thank you for sharing your recipe. I was just wondering so we are going to omit the milk, aren't we? And to freeze them, would you suggest to let them cool completely first? Thank you
Angela says
I am not sure about your milk question? As for freezing, I would let them cool completely before freezing.
Alice says
These turned out great!! I was a little worried because the batter was so thick but they are wonderful. Will definitely make again.
Angela says
Yes, the batter is a bit thick but they bake up perfectly chewy & delish. Glad you enjoyed them & thank you so much for the comment and recipe rating.
Reese says
I was a bit worried since it was thicker than I was expecting and hard to get in the pan. Glad I gave it a shot and followed the directions because they came out great. I printed this and it's a keeper.
Angela says
Yes glad you followed the recipe as I wrote it. The batter is quite thick & hard to spread but the gooey results are worth it.