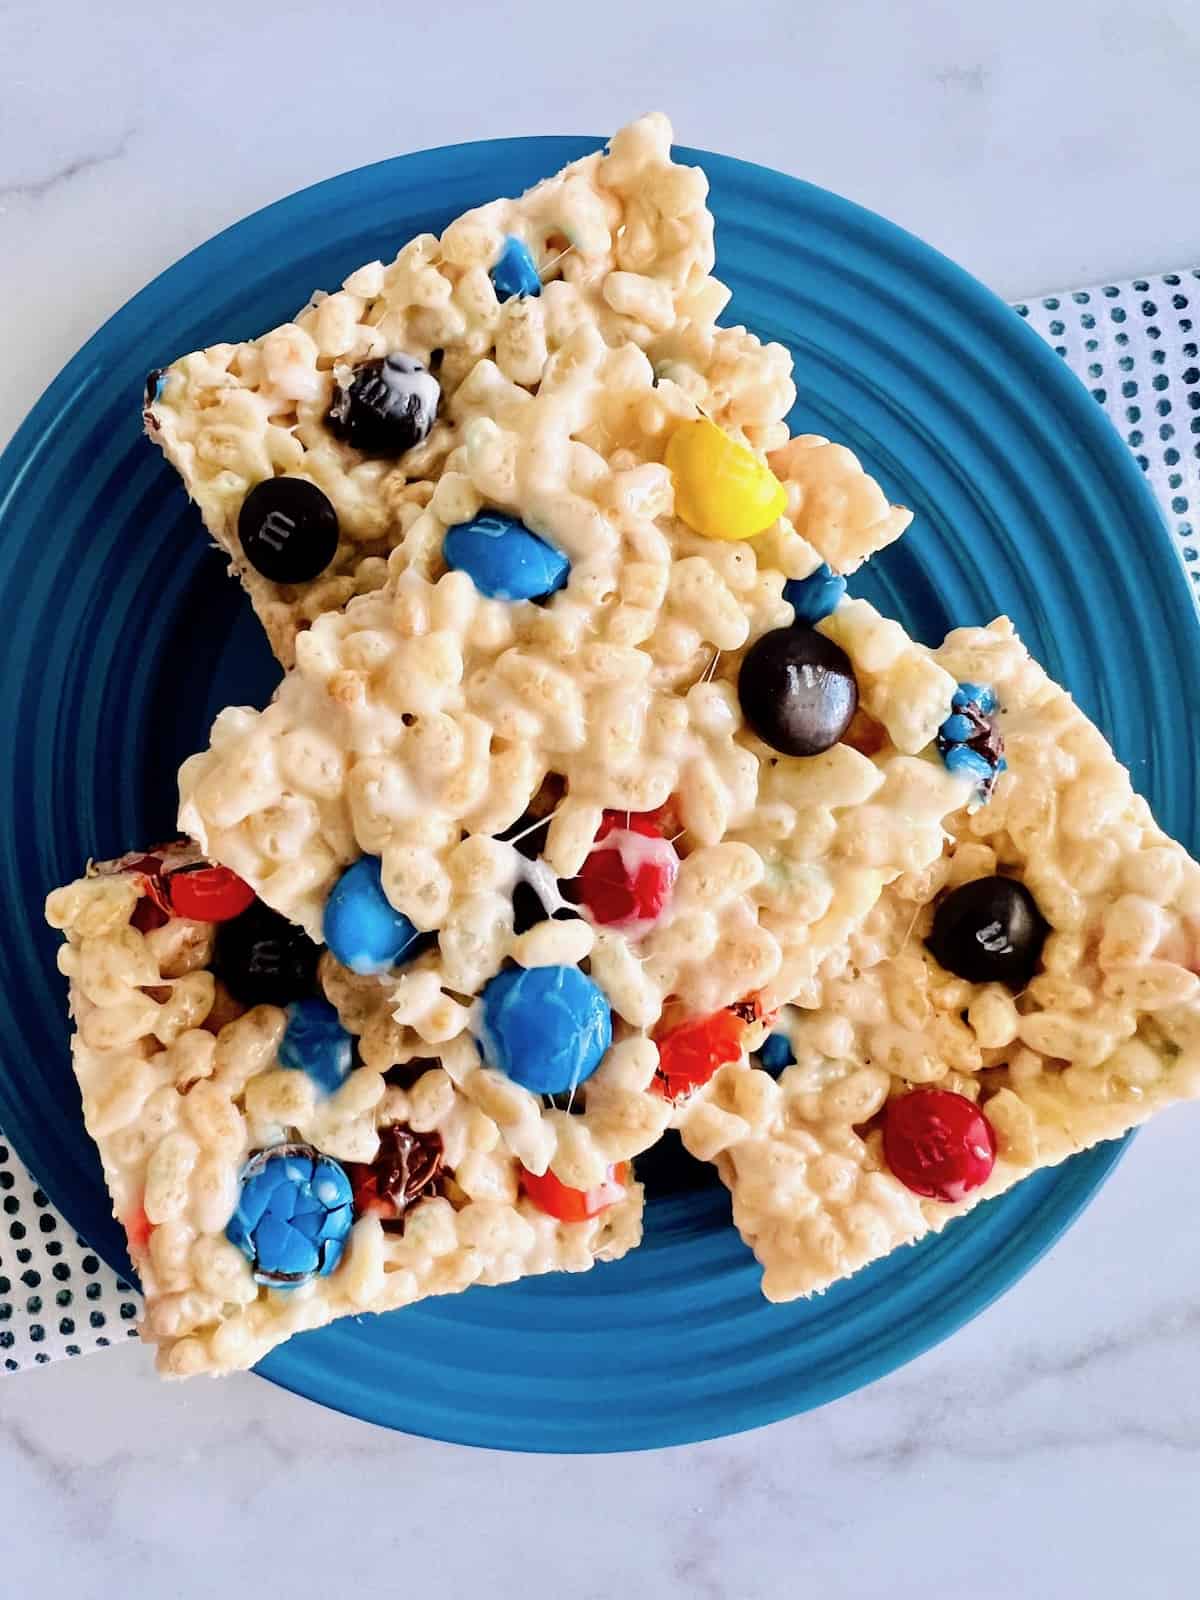
There is nothing better than gooey & crunchy rice crispy treats, except M&M Rice Krispies treats. All the marshmallow & cereal chewiness you love plus colorful chocolate M&M candies to set these squares over the top.
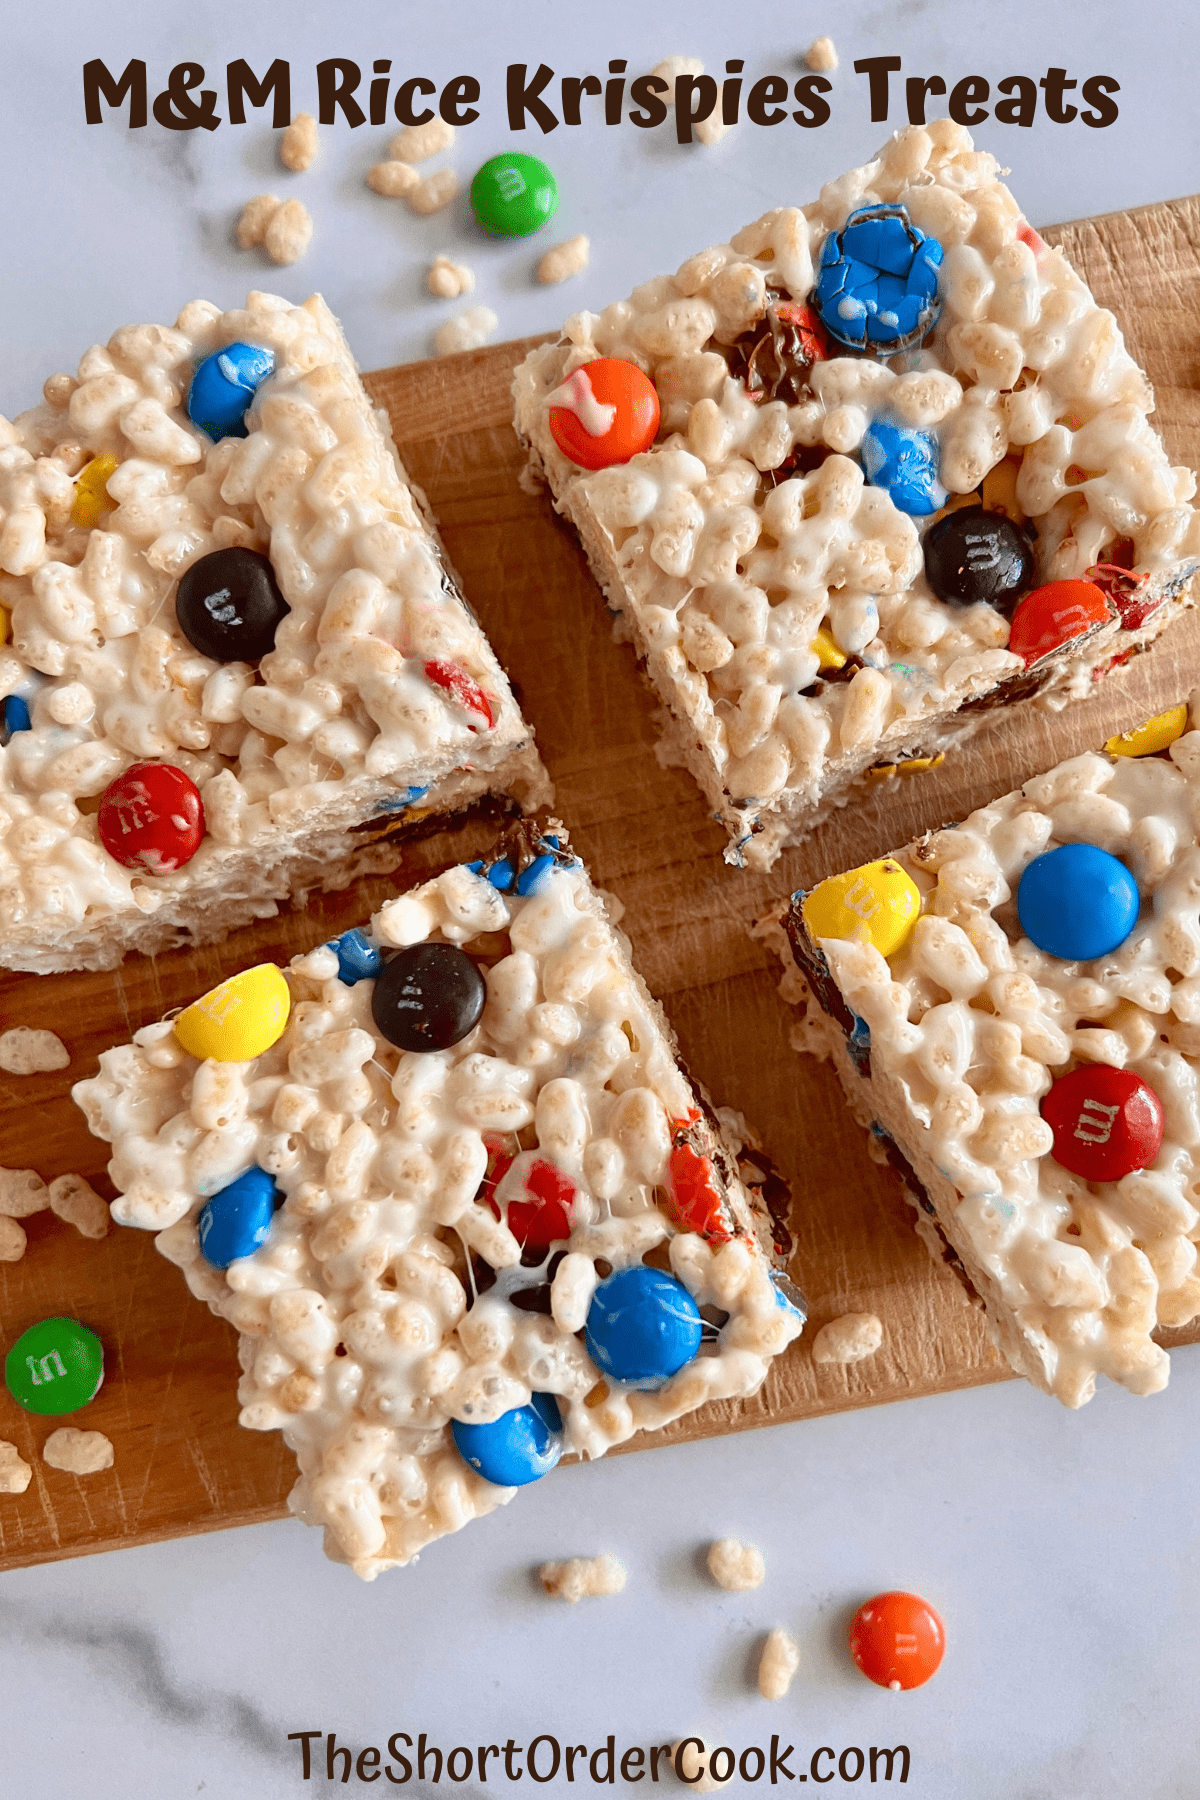
These treats are great for snacks and desserts. What I love about them most is they are great for taking places like potlucks, parties, school events, and more. They are not only easy to make ahead of time but travel well.
I admit we make rice cereal treats at our house quite often. We like to experiment and make fruity pebbles treat bars instead of plain rice. Or add food coloring and make festive shapes like a holiday favorite, Christmas Rice Krispies Treat Wreath.
Jump to:
Ingredients for M&M Rice Krispies Treats
To make these easy rice cereal treats with M&Ms, you need only 4 ingredients. This extra marshmallowy (yes its a new word!) recipe is so chewy you will fall in love.
This version is similar to the one on the original Kellogg's box. However my copycat recipe, besides adding the candy pieces, has way more marshmallows. Make sure you follow the amounts I have in this recipe so they turn out perfect.
Why so many marshmallows? The quantities for these need a higher marshmallow to Rice Krispies ratio. This is so there is enough stickiness for the M&M candies stay in place. Plus it is way better with extra gooey chewiness.
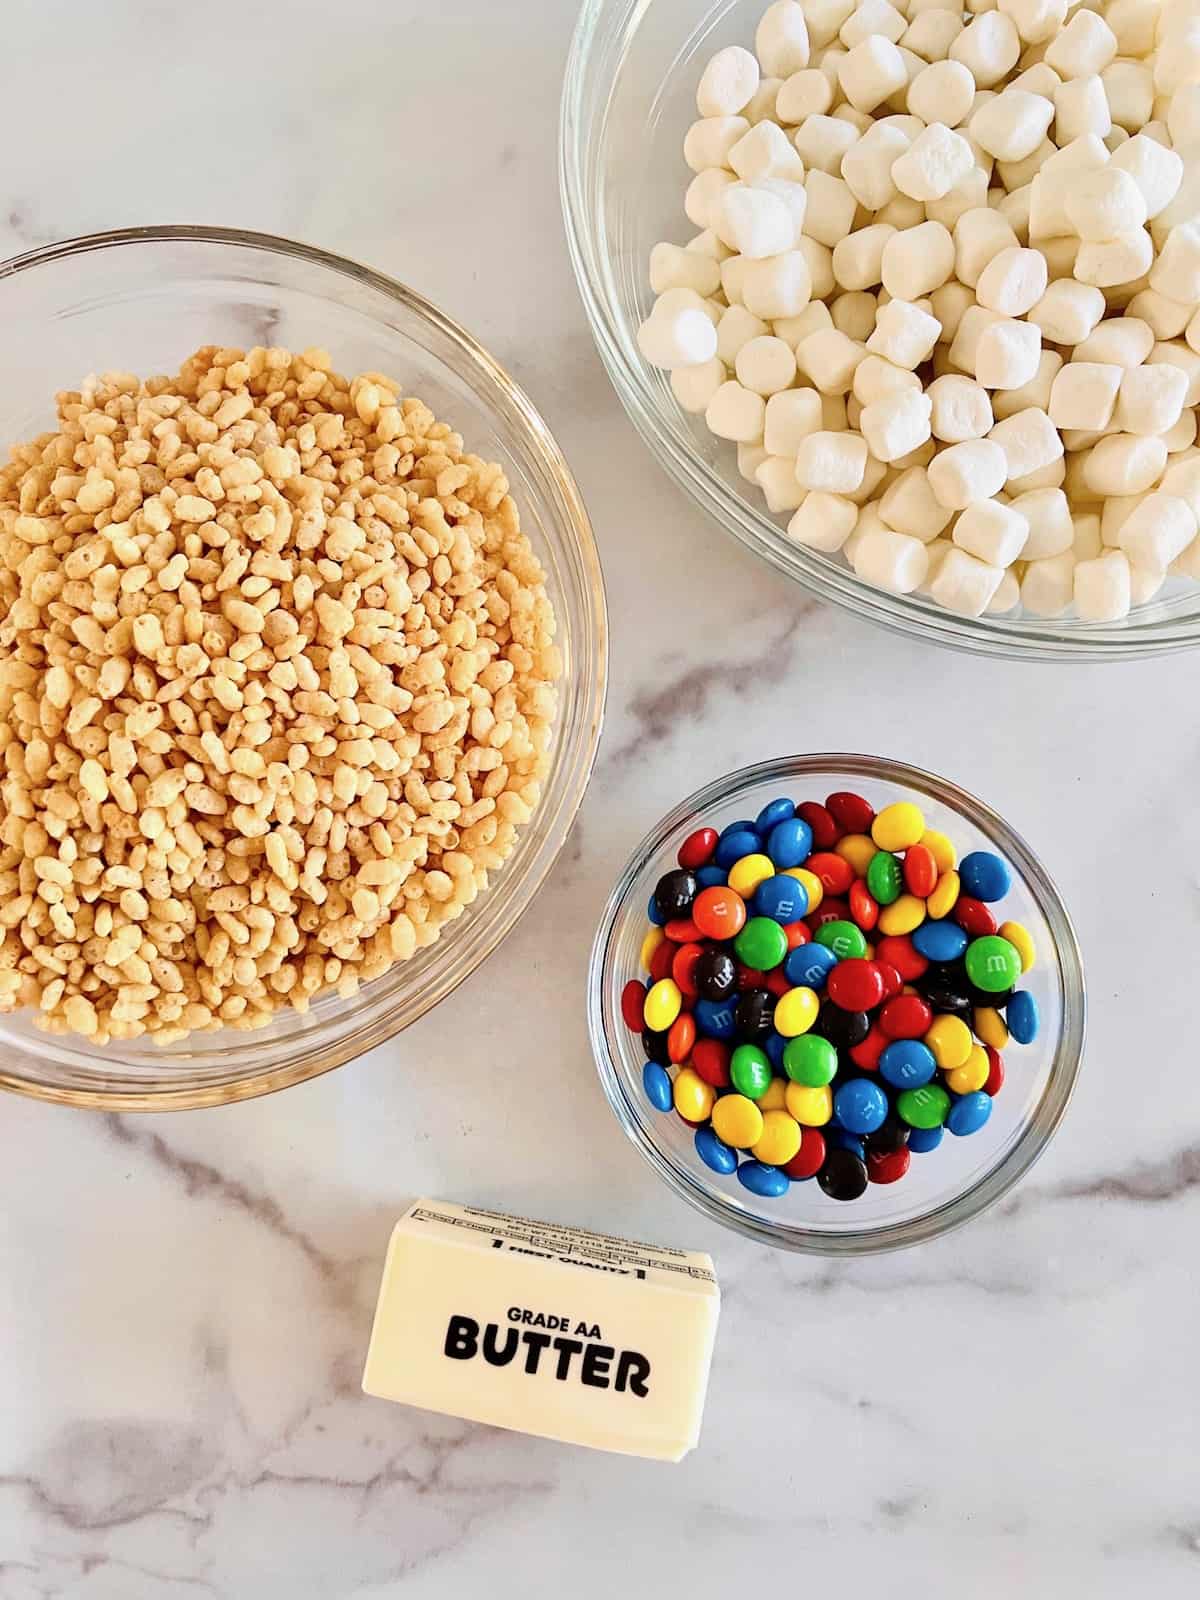
- Salted Butter - better than regular butter since that bit of salt helps the overly sweet treats balance.
- Mini Marshmallows - do not use large puffed marshmallows, mini ones melt quicker & more easily.
- Rice Krispies Cereal - the star of the recipe, use brand name or generic brands.
- M&Ms - the regular classic M&Ms in any color combination are what is used; not peanut or any other fun new versions.
See the recipe card for quantities.
How to Make Rice Krispies Treats with M&Ms
If you love marshmallow treats and chocolate, this is the yummy no-bake recipe for you. Here are the steps for making M&M Rice Krispie Treats:
- Prep the Pan & M&Ms
- Melt the Marshmallows in Butter
- Stir in the Rice Krispies
- Add the M&Ms
- Cool & Cut
1 - Prep the Pan & M&Ms
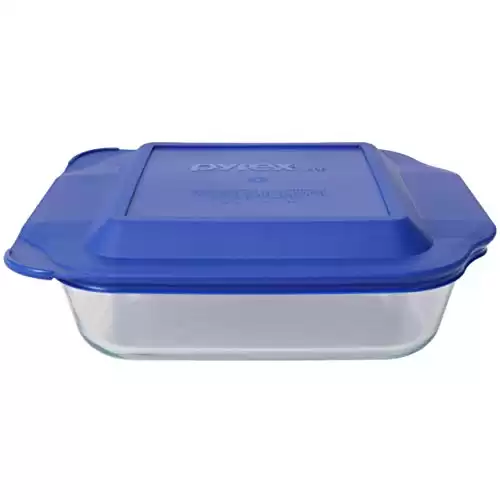
Prepare an 8x8 or 9x9 square baking dish with a nonstick spray. I love my Pyrex glass baking dish and it works perfectly when making a big batch of Rice Krispies treats. This will help you get the yummy treats out once you cut them.
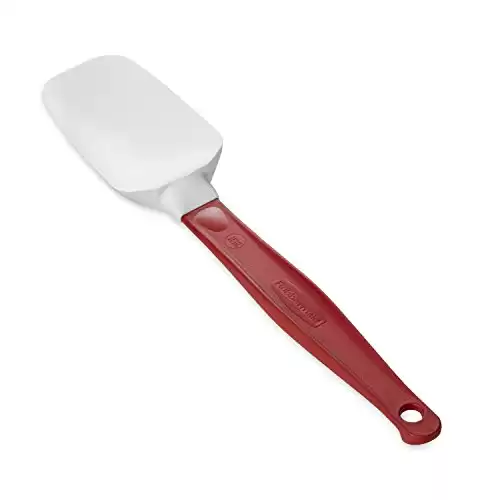
I also recommend using the spray on a rubber or silicone spatula. This helps you stir, scoop, and press the mixture with ease.
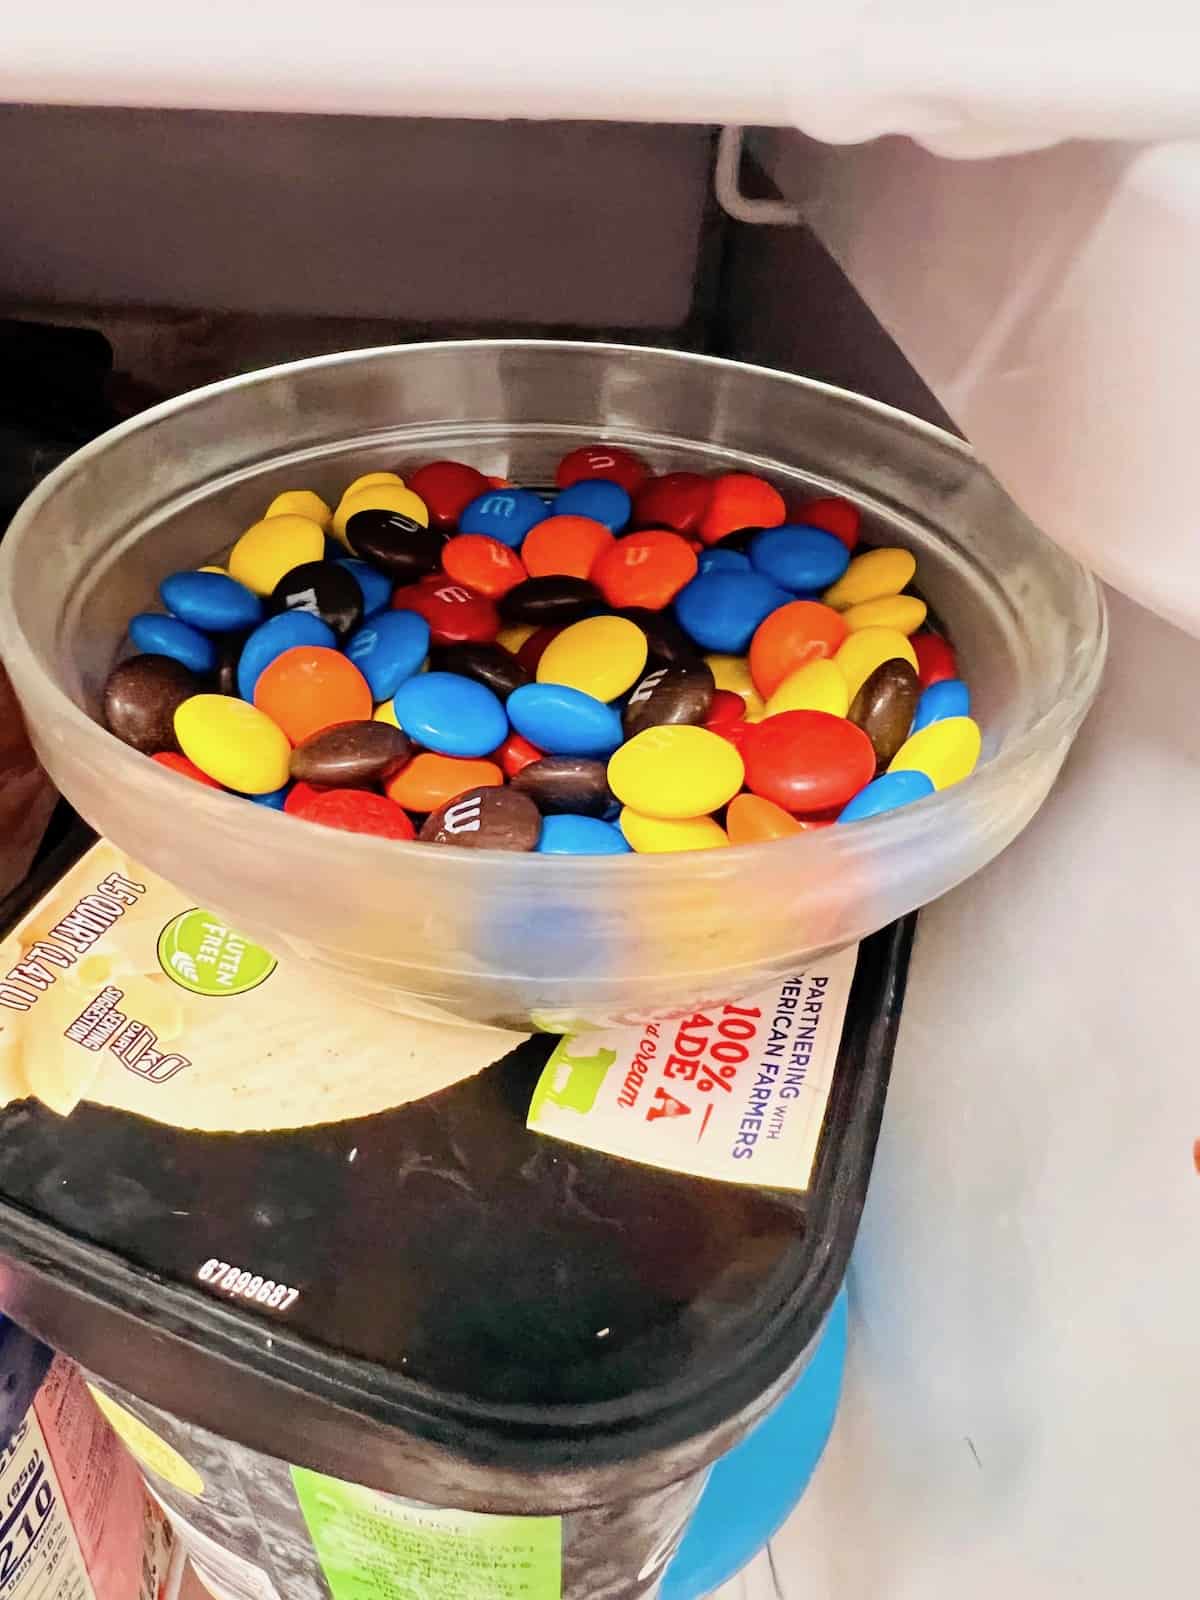
Begin by placing the M&Ms in the freezer. Frozen M&Ms hold up better and do not melt as quickly once they hit the warm marshmallow mixture.
2 - Melt the Marshmallows in Butter
This is a stovetop rice crispy & marshmallow recipe. I prefer doing it this way versus in the microwave.
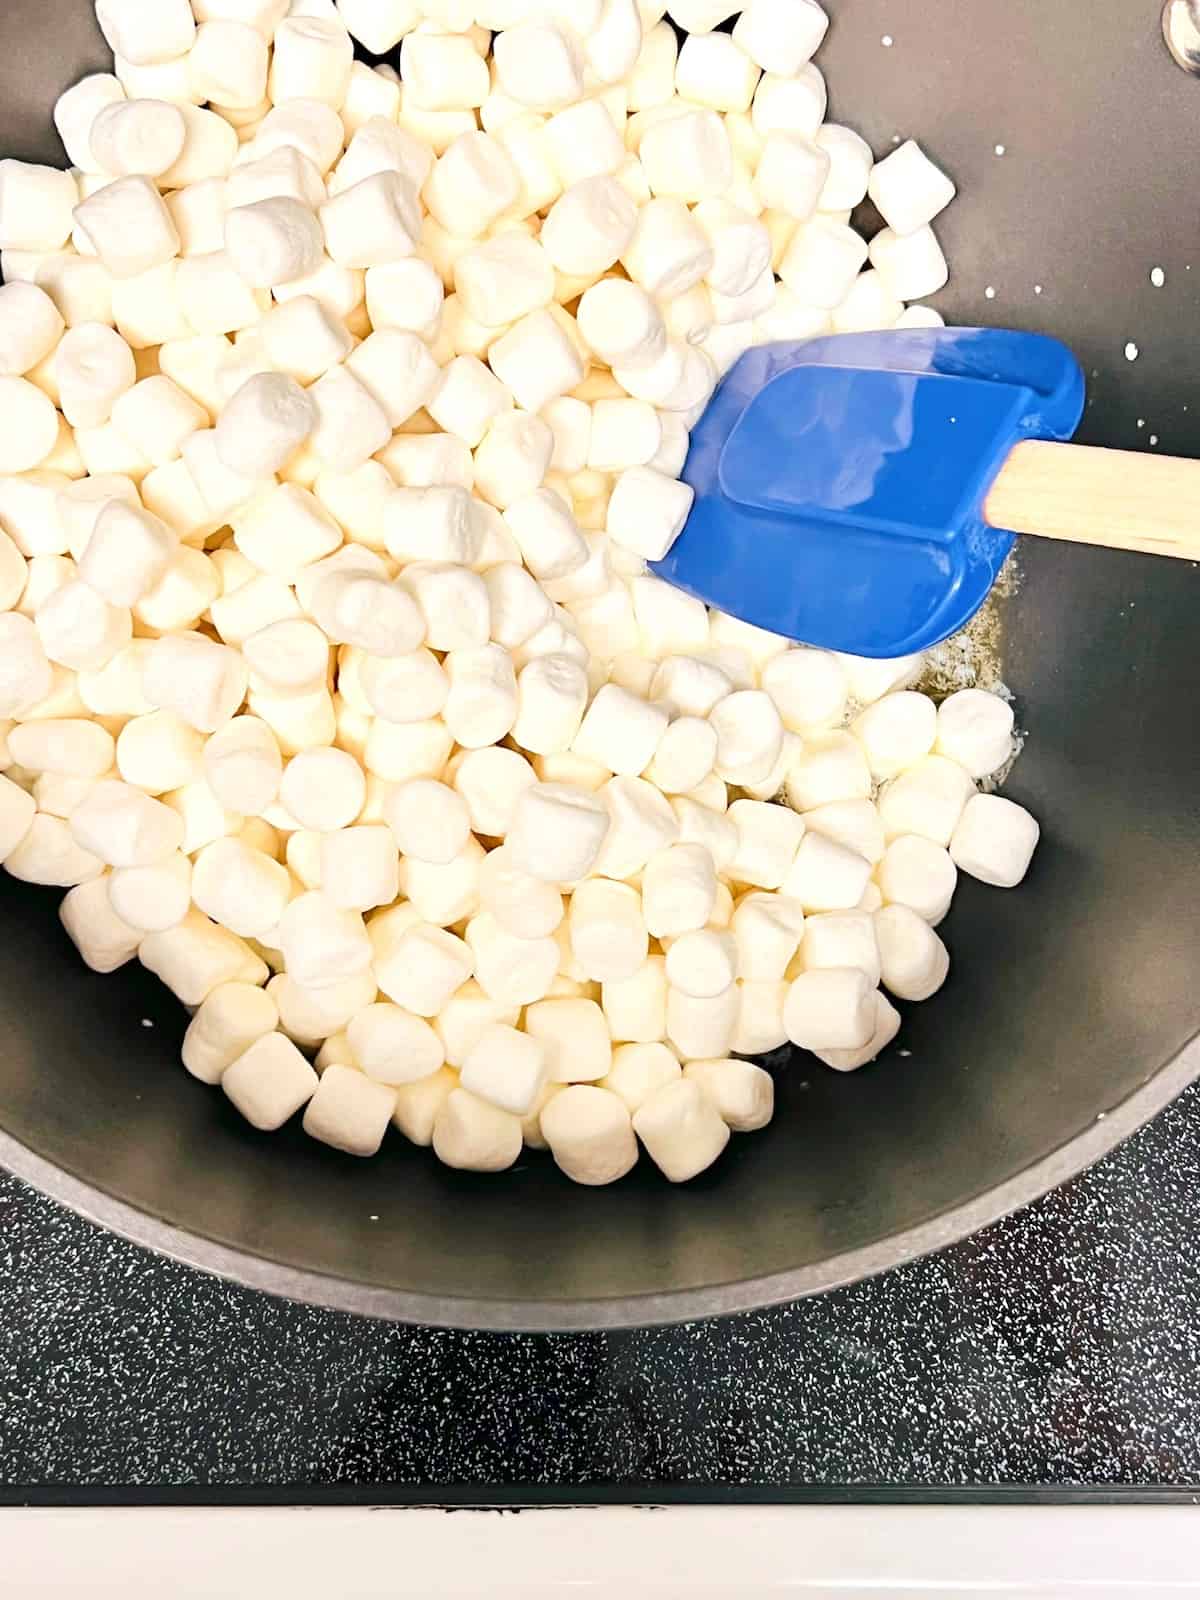
In a large pot melt the butter over medium heat. Next, add the mini marshmallows and melt while stirring constantly. It should take about 3-5 minutes.
3 - Stir in the Rice Krispies
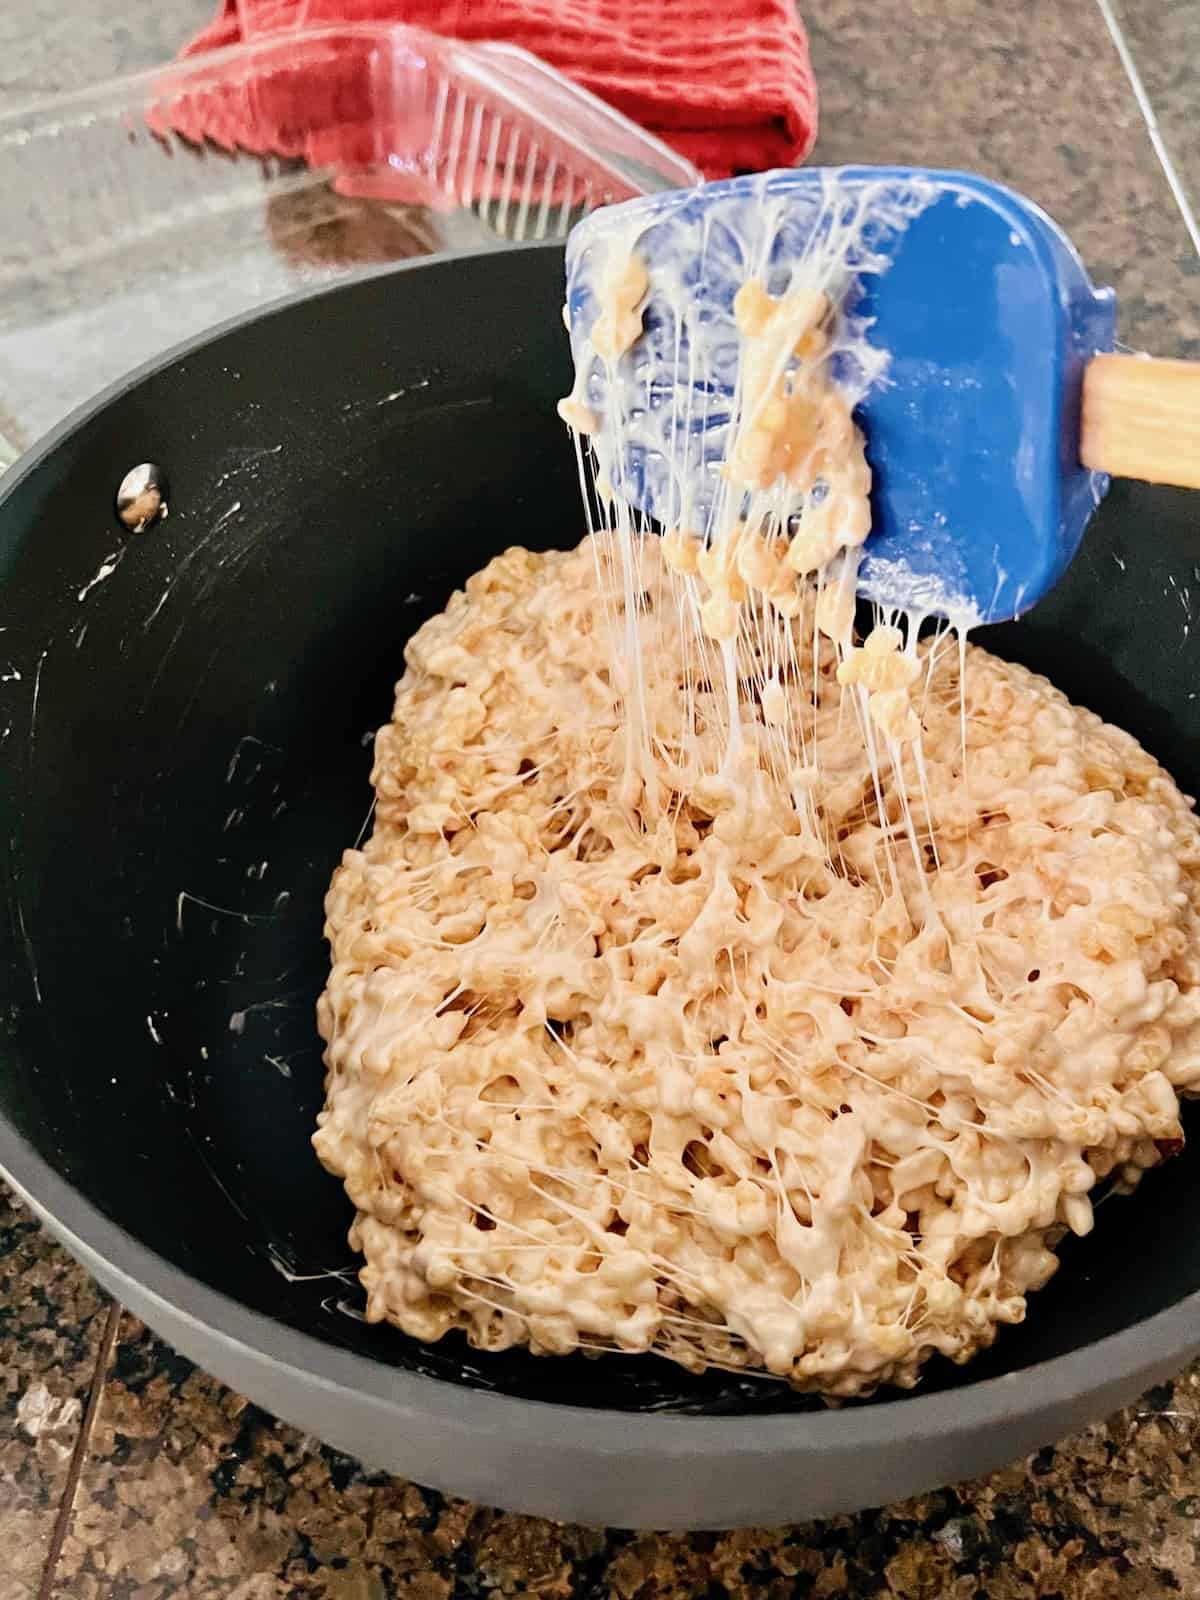
Remove the pot from the stove. Pour in the rice cereal and stir to combine. It will be very sticky.
Work fast so they don't cool & set to much. You still need to fold in the chocolate candies.
4 - Add the M&Ms
Grab the frozen M&Ms from the freezer & sprinkle them into the rice krispie mixture. Fold them in gently so they stay whole with minimal breakage.
Immediately pour into the prepared pan. Using the spatula press it down to get an even layer. Press in additional M&M candies on the top if desired.
Hint: Work fast so that everything comes together before the marshmallows cool and set. It is best to have all the ingredients and equipment ready before you start melting the marshmallows. That includes your greased pan & frozen M&Ms.
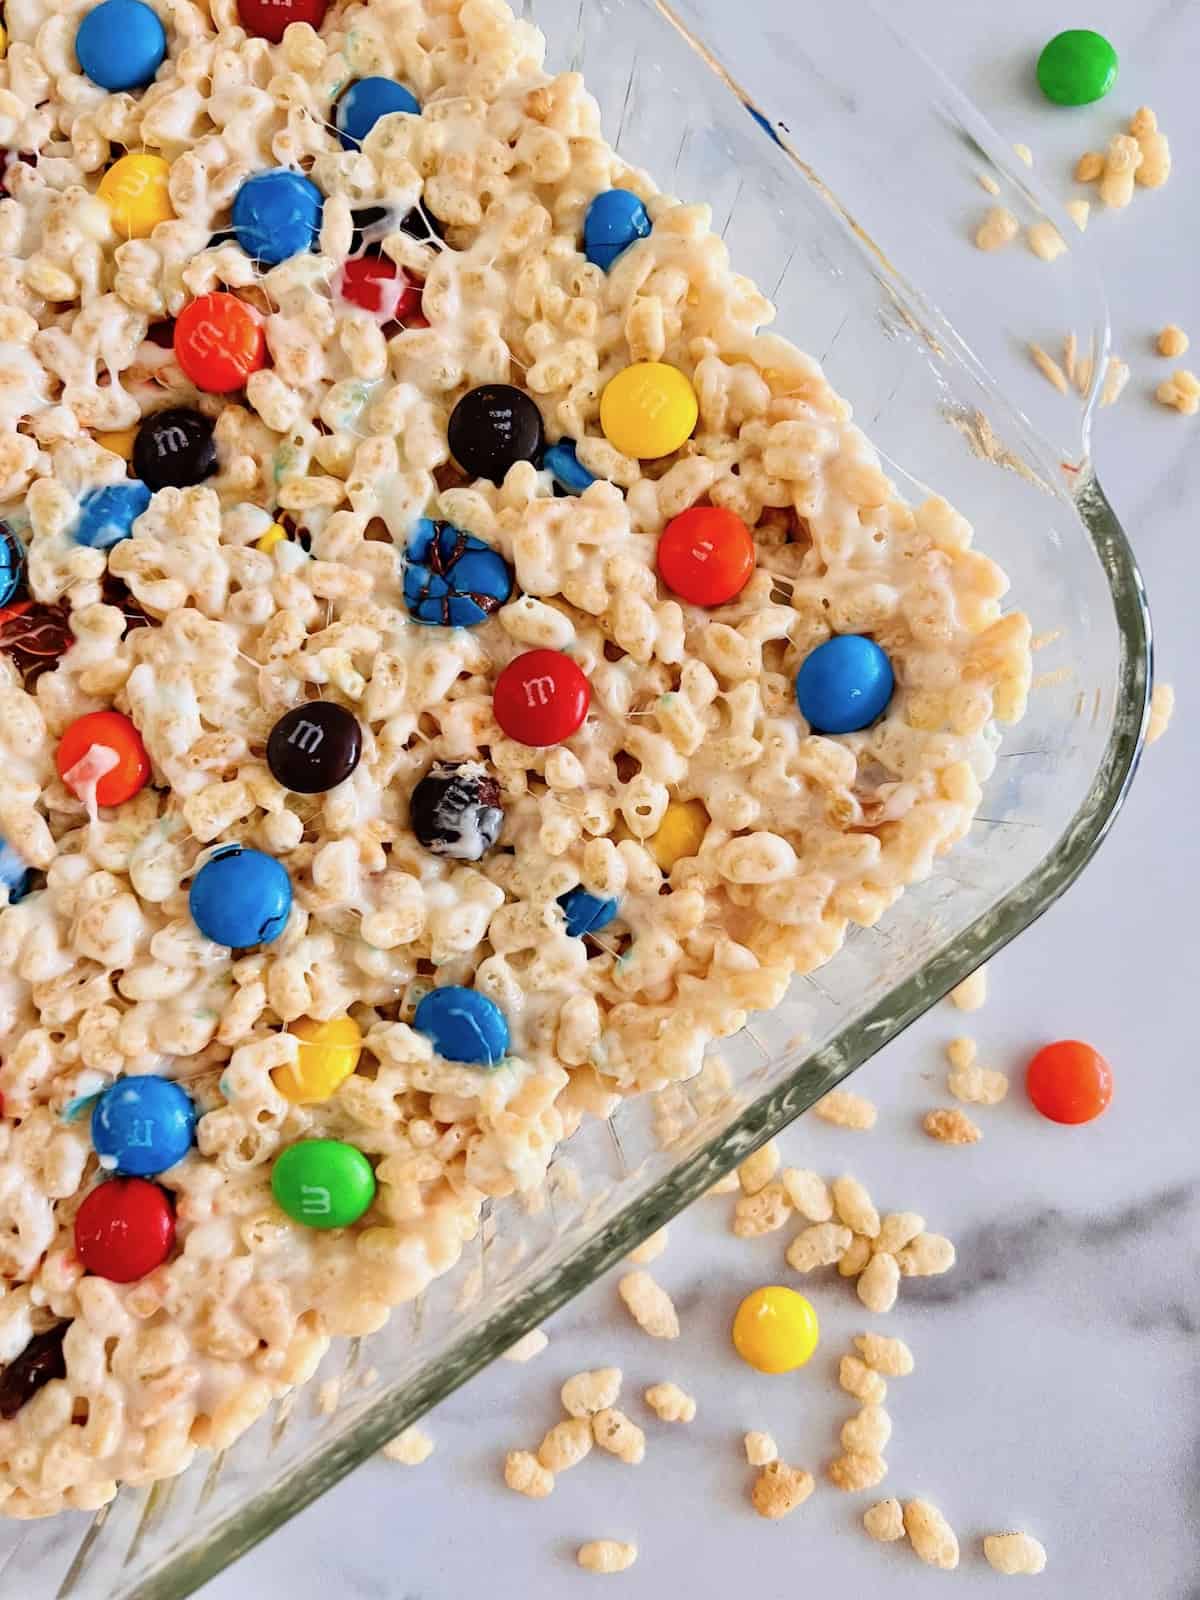
5 - Cool & Cut
It doesn't take long for the rice cereal, marshmallows, and candies to set when making these treats. Traditional Rice Krispies treats can be cut and ready to eat in about 30 minutes.
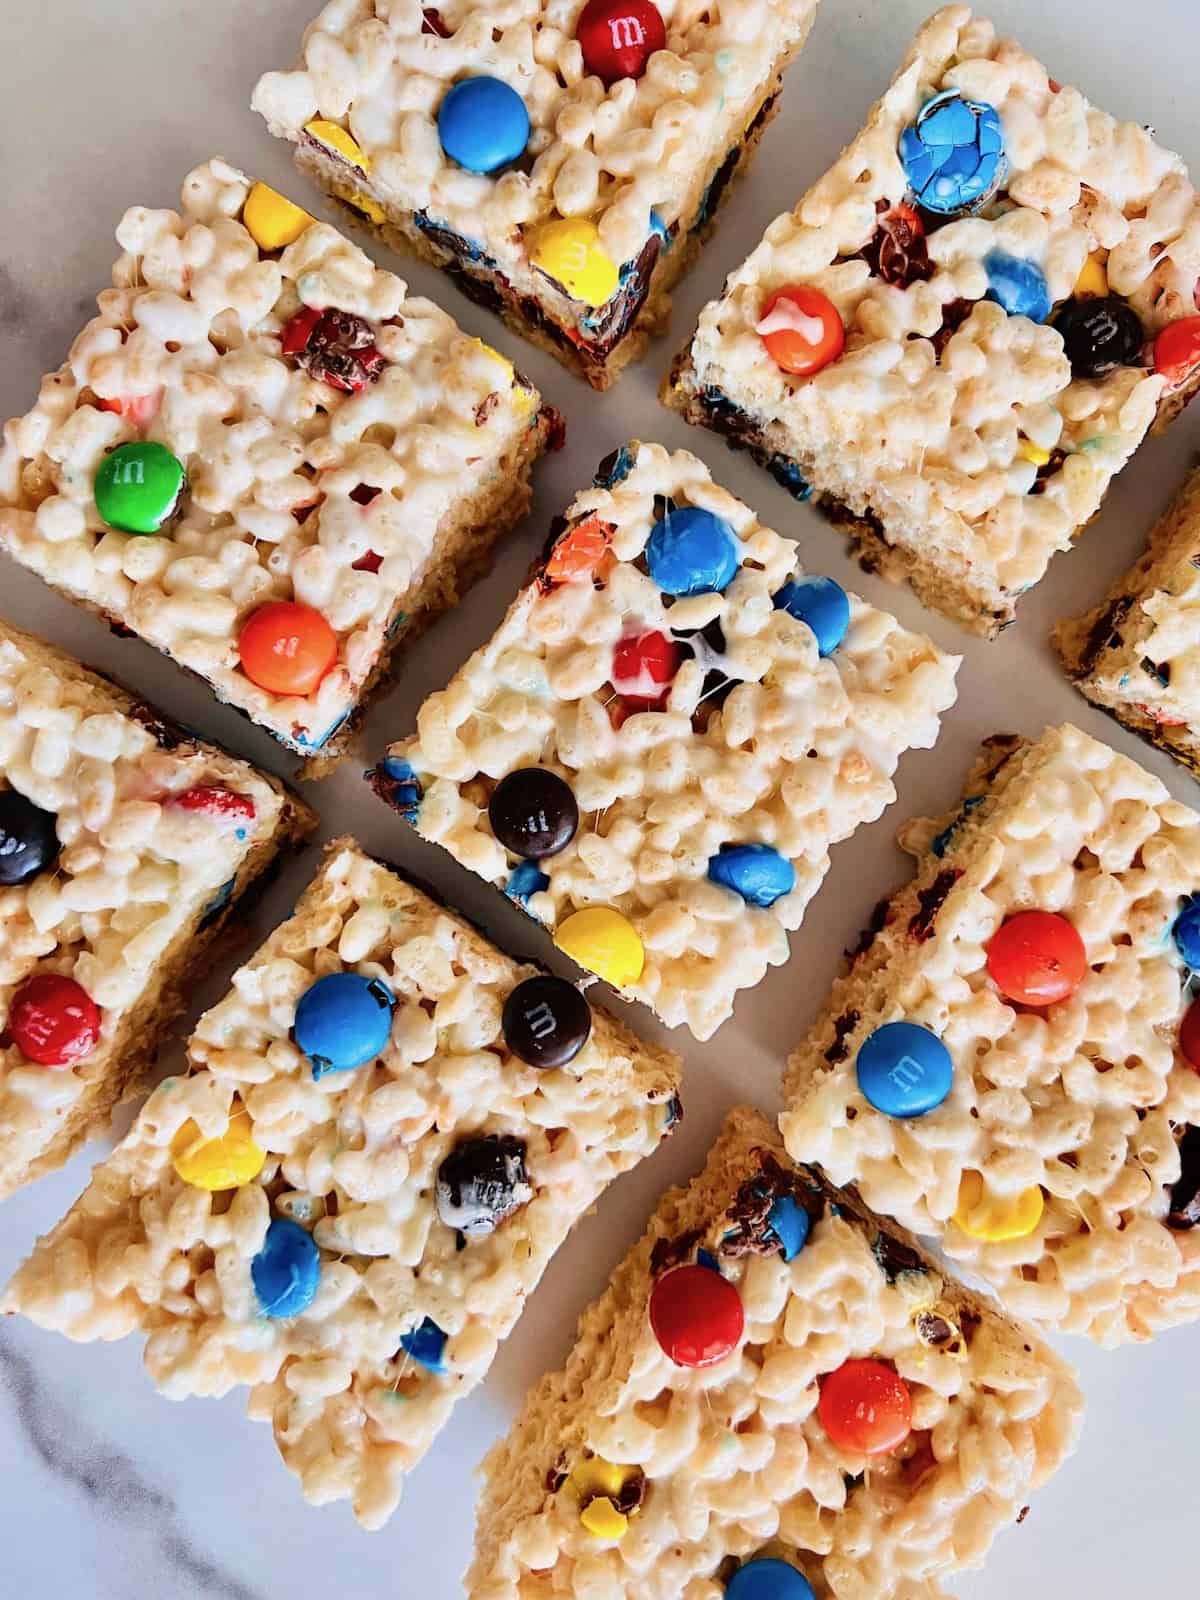
For these, I recommend you wait a bit longer. The M&Ms really benefit from setting for a full hour before cutting. This way when cutting the candy-coated chocolates stay intact and do not fall out of the squares. It is tempting to eat them right away but if you can wait - let them set in that pan for an hour.
Now it is time to cut them. Depending on if you want large treats or smaller squares, you can get anywhere from 9-12 servings with this recipe. We like 9 large ones so we aim for that many. The nutritional information below will be based on 9 big squares.
Equipment
You will need a square baking dish that is 8x8 in size. Having nonstick spatulas and cooking spray really helps with this also. Here are my recommended items to make this recipe.
The Short Order Cook is a participant in the Amazon Services LLC Associates Program. As an Amazon Associate, I earn from qualifying purchases. If you click on a link and make a purchase, I may earn a small commission on the sale at no additional cost to you. This helps with the costs of running the blog. Thank you!
How to Store Rice Krispies Treats
Storing leftovers is easy. If your 9x9 glass baking dish comes with a lid, you win. All you need to do is snap on the lid.
If not, place foil over the top of the dish so it is sealed. Keeping the air out ensures they don't harden.
If you want to remove them from the dish they were made in, you can do that too. I suggest stacking rice crispy treats with parchment paper between layers so they do not stick together. Next, wrap them in foil or plastic wrap so they are airtight.
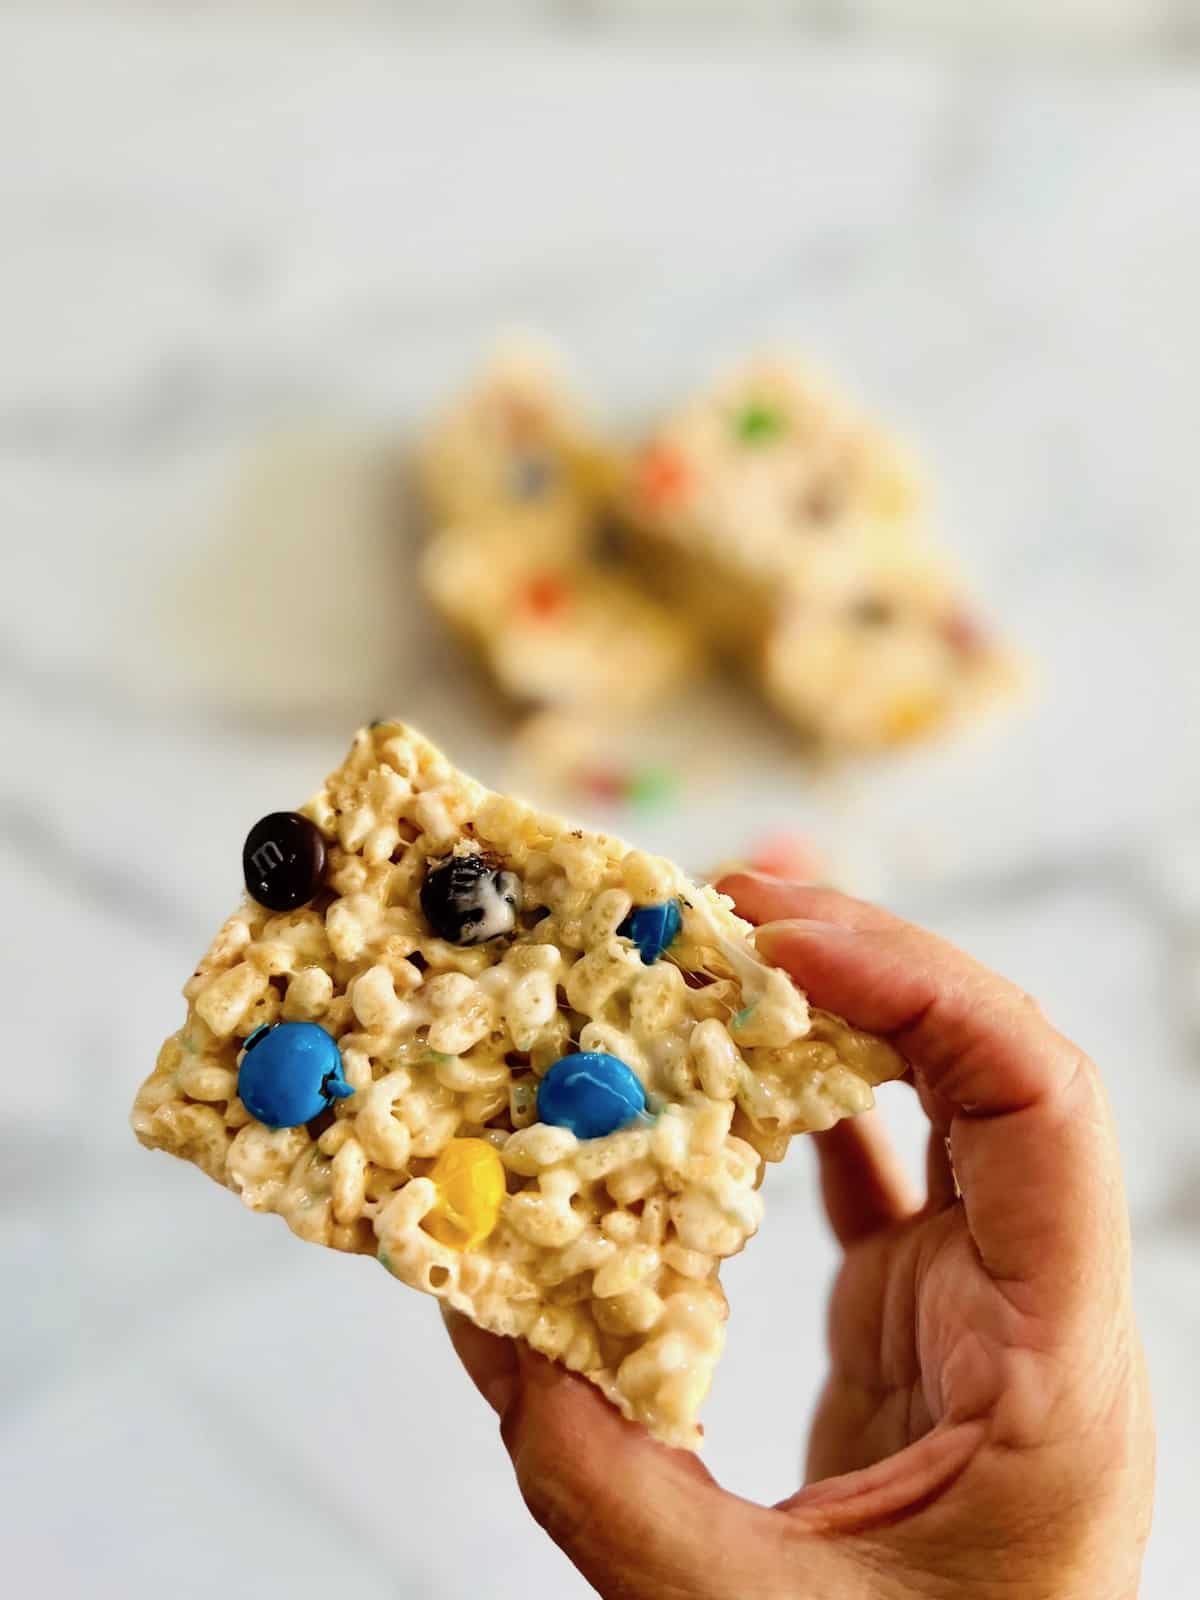
Leftover Rice Krispies treats should be stored in a cool dry place. Place them on your counter or in a pantry or kitchen cupboard. They will last for 5 days but will be at their best and the chewiest within 2 days. I do not recommend freezing these treats.
Top Tip
If you do not like to use cooking spray, I recommend using parchment paper. Place it in your square glass pan. I like to use binder clips to hold it down that clip easily to the rim of the dish. Then add your marshmallow & rice cereal mixture.
FAQ
The number 1 reason your treats are not sticking together is - not enough marshmallows. As I said, I love them with extra marshmallows for a reason. They not only are chewier and taste way better in my opinion but they ensure the cereal and the M&Ms in this recipe stay together.
If they are falling apart, you didn't have enough marshmallows or you added too many Rice Krispies and/or candy pieces. Unfortunately, I have no advice on how to fix the current batch. They will taste good but just may not cut into good squares. Just make sure you measure correctly in the future.
Your treats may be hard for a number of reasons. The first one is improper storage and they were exposed to air or extreme temperatures. See above for proper storage information.
If they are not chewy, this could also be a result of compacting them in too hard. If you pressed them into a smaller-sized dish than recommended, they may be too dense and hard now. Or there is simply not the correct ratio of butter to cereal to marshmallows. Often too little butter when melting the marshmallows will result in a dense treat that is crumbly.
I have always used mini marshmallows when making cereal treats. I find they melt quicker and more evenly than when using the large or jumbo-sized marshmallows that are best for roasting and making s'mores.
However, you can use them if that is all you can find. It will take longer for them to melt in the butter on the stove and you will want to be sure to stir constantly at the end so nothing burns as the last chunks try and melt.
This recipe calls for regular candy-coated chocolate M&Ms. If you have another kind on hand, you can try them instead.
Larger ones like the peanut M&Ms may not stick as well or make it hard to cut with the peanut likely falling out of the shell. If you are using bigger M&Ms just keep that in mind.
The treats set as the marshmallows cool. There is no reason to refrigerate them. In fact, I highly advise you not to refrigerate Rice Krispies treats. They will likely dry out and become hard. See above for the proper way to store them.
Often time expiration dates are a guide and not something to live by. However, if you have an opened bag or an unopened bag make sure they are good.
If the marshmallows are hard, dry, smell/look off, or are clumped together, they are no longer good. I would not use stale marshmallows when making Rice Krispies treats since they will not melt smoothly and could be unsafe.
All ingredients used in this recipe are gluten-free, including the M&Ms & the rice cereal. Please check the ingredients & labels for the brands that you use to be 100% sure.
M&M Rice Krispies Treats
Equipment
- double-boiler
- 9x9 baking dish
Ingredients
- 3 tablespoon salted butter
- 6 cups mini marshmallows 10 ounce bag
- 4 cups Rice Krispies cereal
- 1 cup M&M candies about 2 individual bags
Instructions
- Prepare ahead of time the M&Ms and baking dish. Add the candies to the freezer for 30 minutes. Spray an 8x8 or 9x9 square baking dish with nonstick spray. You can also use parchment paper, see my Top Tip above.
- Melt the butter on medium heat in a large nonstick pot. Add the marshmallows. Using a rubber or silicone spatula, stir. Let them melt over medium heat. It should take about 3-5 minutes. Turn off the heat.
- Once fully melted, remove from the stove. Slowly pour in the crispy rice cereal. Stir to combine.
- Pour in half the M&M candies and fold them into the mixture. Add a bit more (reserving about a dozen or so for the end) and fold in those M&Ms as well.
- Transfer the mixture to the 9x9 pan. Using the spatula or sprayed hand, press the mixture evenly into the dish. Top with the remaining candies and press them into the Rice Krispies Treats.
- Let cool for about 60 minutes, then cut into 9 squares and enjoy!
Notes
| Nutrition Facts | |
|---|---|
| Servings: 9 | |
| Amount per serving | |
| Calories | 208 |
| % Daily Value* | |
| Total Fat 4.9g | 6% |
| Saturated Fat 3.1g | 16% |
| Cholesterol 11mg | 4% |
| Sodium 140mg | 6% |
| Total Carbohydrate 39.3g | 14% |
| Dietary Fiber 0.1g | 1% |
| Total Sugars 19.1g | |
| Protein 1.4g | |
| Vitamin D 3mcg | 13% |
| Calcium 7mg | 1% |
| Iron 2mg | 12% |
| Potassium 14mg | 0% |
| *The % Daily Value (DV) tells you how much a nutrient in a food serving contributes to a daily diet. 2,000 calorie a day is used for general nutrition advice. | |


Brandon says
They are chewy with extra marshmallow stickiness. The whole batch was gone within 24 hours.
Stephanie says
Confession. I did try to use peanut M&Ms. that was all I had. Some stayed and mixed in but many do fall out when I cut them or bit in them. I recommend using regular M&Ms. I will try these again and follow the recipe better. They were good and just not pretty like the pictures.
Angela says
Uh oh! Messy but tasty!