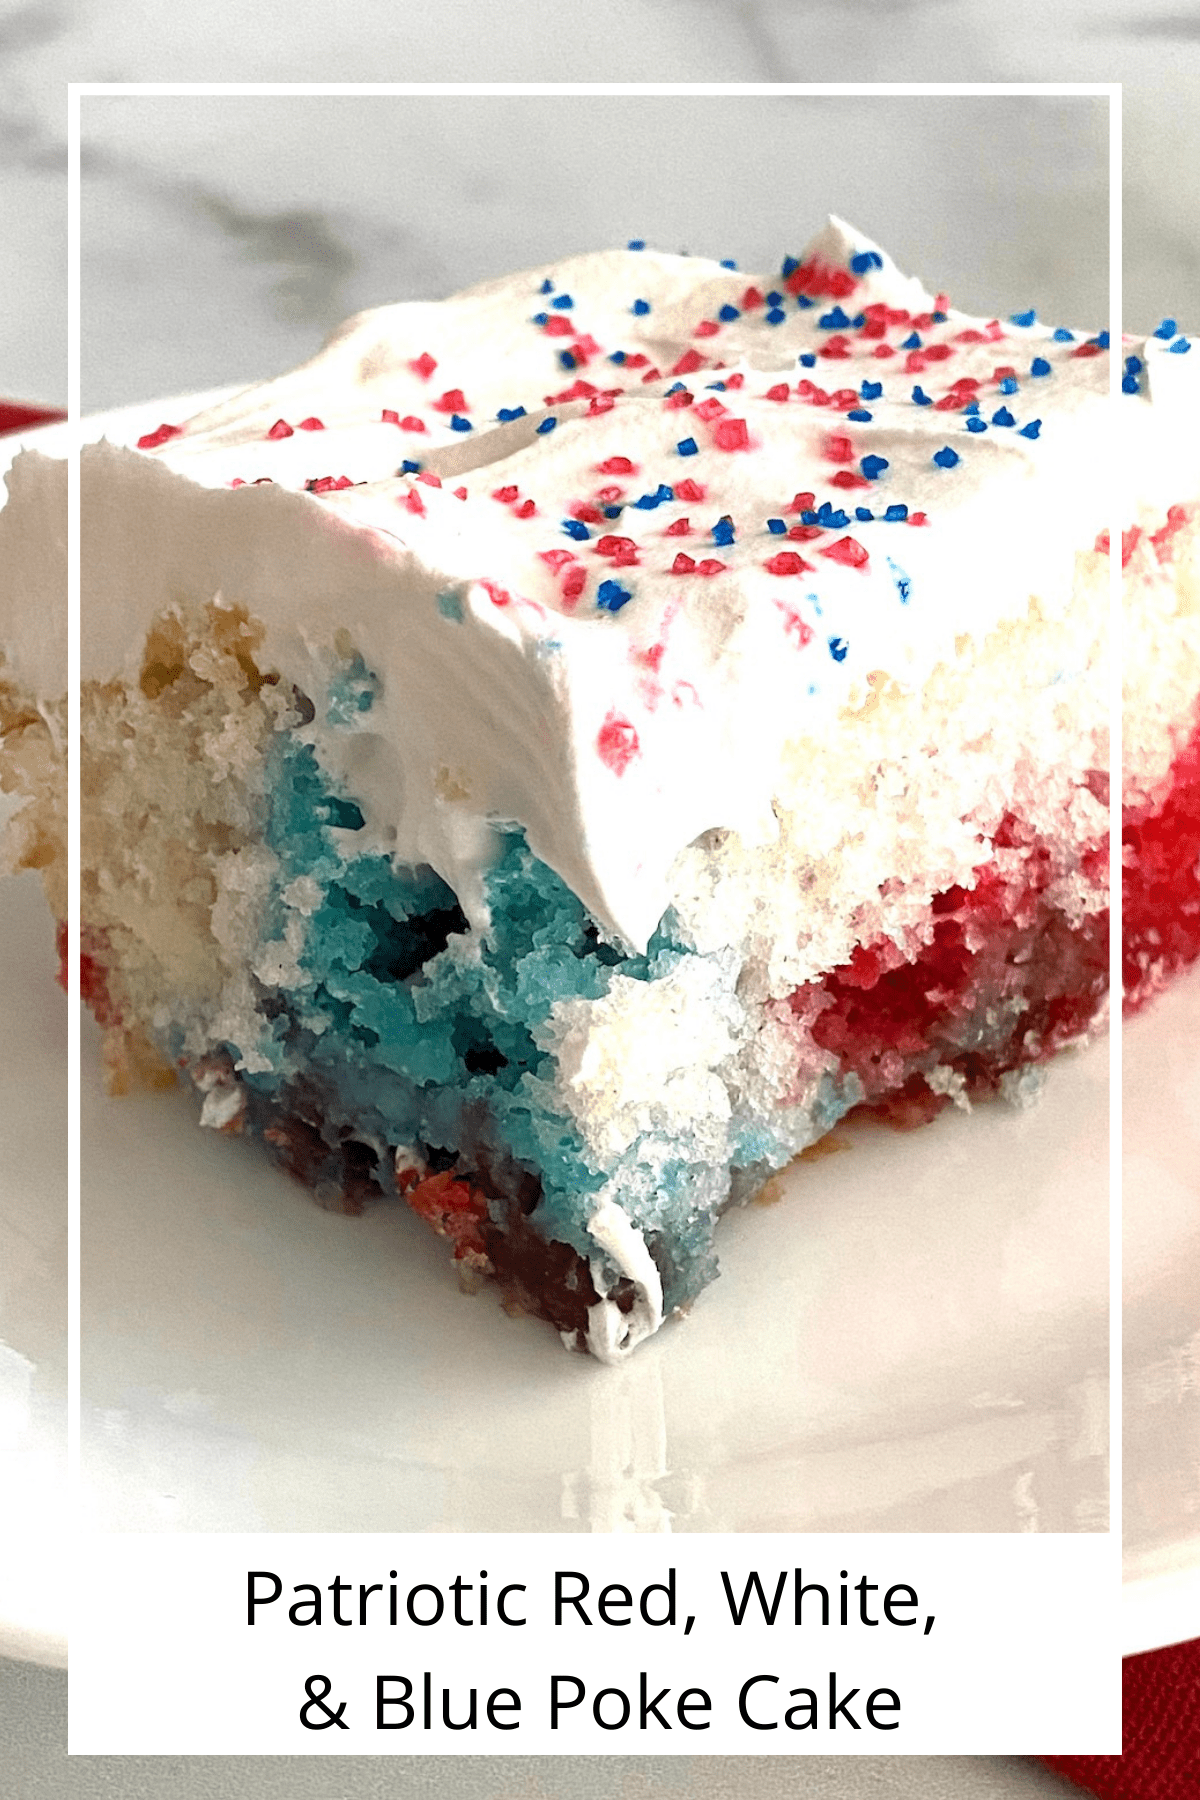
For a Patriotic dessert to show your red, white, & blue pride, this poke cake is perfect. The moist white cake with red & blue streams of colored gelatin is so pretty. The yummy cherry and berry blue Jell-O adds some fruity bright flavors that make a boxed white cake so much more fun & tasty.
This sheet cake recipe is great for feeding a crowd. It is also a chilled cake that is cool, light, and refreshing. Simply wonderful for hot days. That makes it the best dessert for your summer meals or parties. Serve this with my recipe for Red, White, & Blue Strawberries and really throw a great 4th of July party.
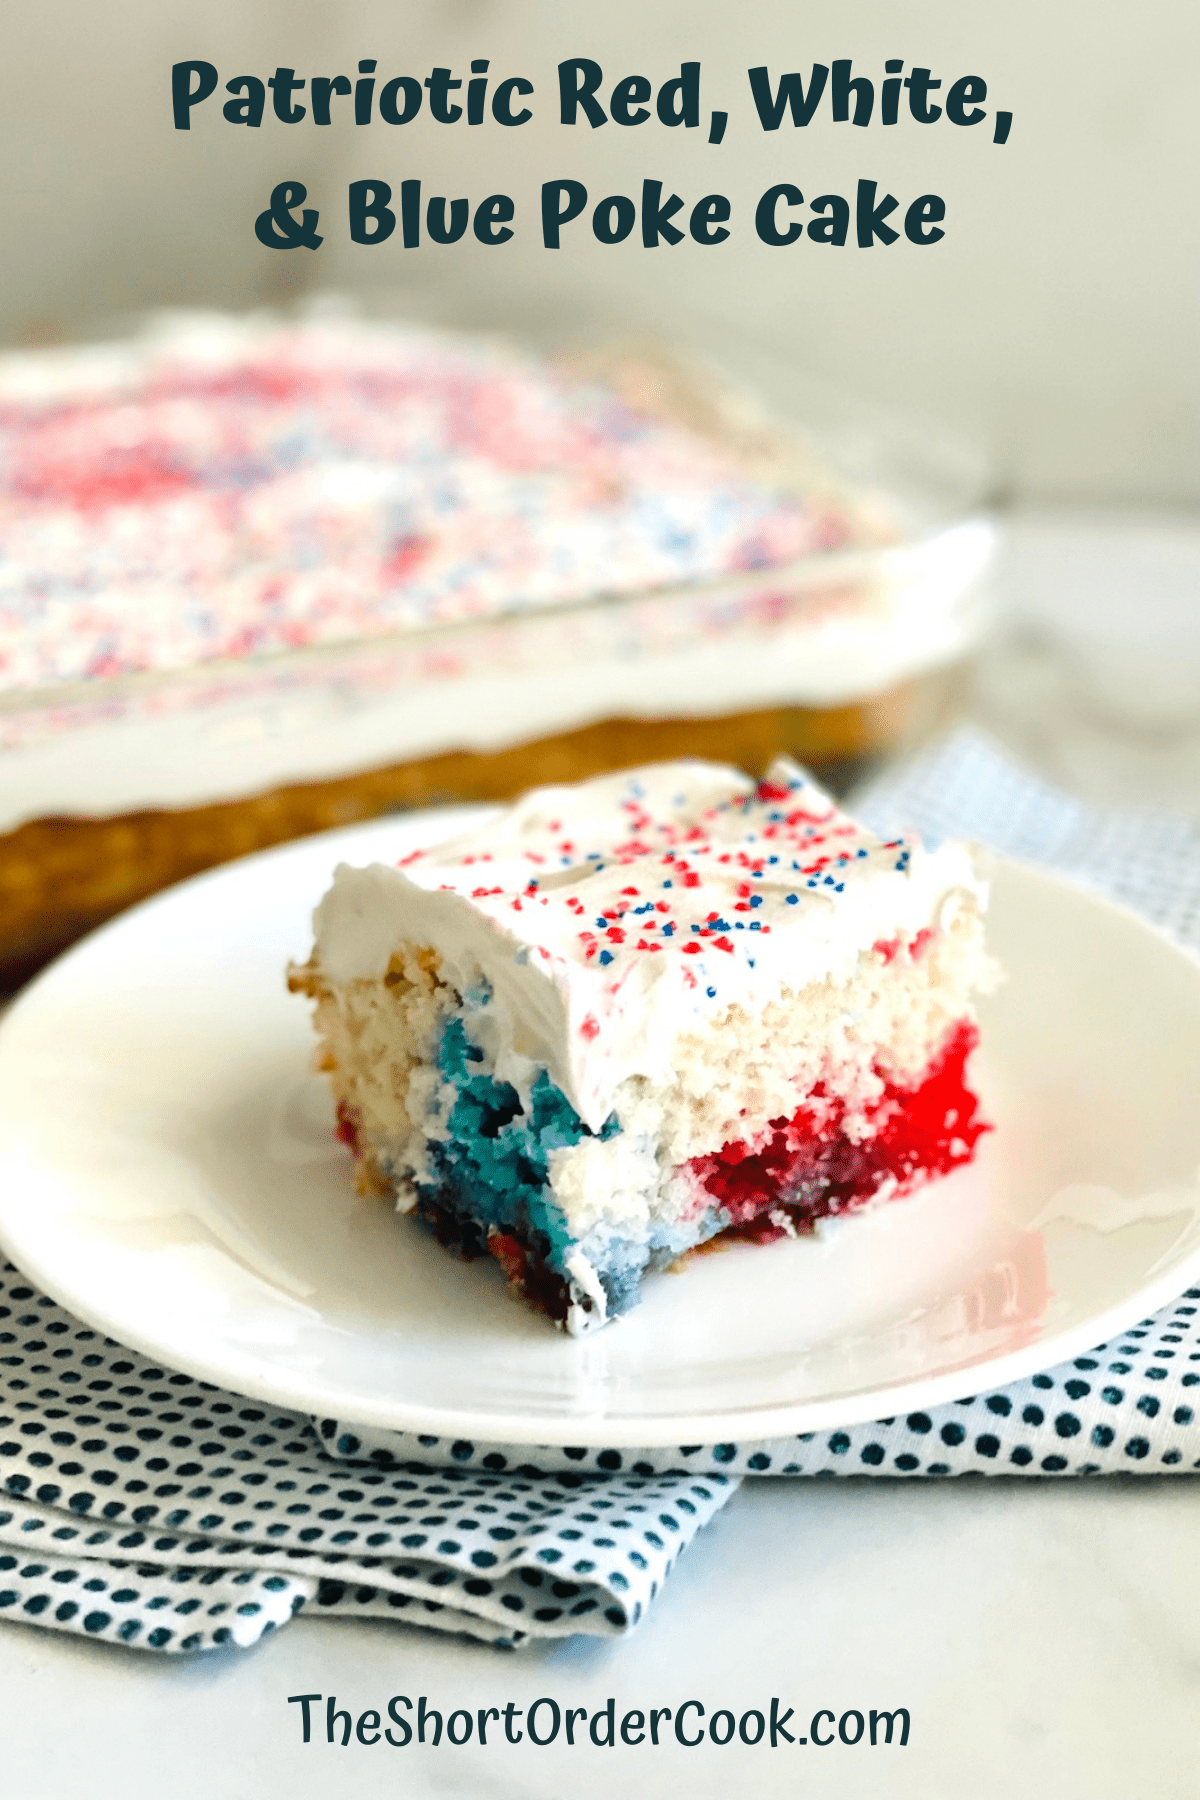
This cold refrigerator cake with light Cool-Whip frosting and sprinkles is the best dessert for Independence Day, Memorial Day, Labor Day, Veteran's Day, or any other American holiday. It's a wonderful summer dessert recipe like my S'mores Icebox Cake.
I grew up having this poke cake for many 4th of July celebrations. Now I make it for my kids and we all love it. (oh and the British flag is red, white, & blue so this is great for holidays in the UK, too)
Jump to:
Ingredients
This poke cake recipe calls for several ready-made ingredients that are convenient and make this a quick and easy recipe. Store-bought white cake mix is the base for this recipe. Use your favorite brand like Duncan Hines, Pillsbury, or Betty Crocker. This recipe all needs the ingredients to make that cake mix so check the back for what else you will need. It is typically egg whites, water, and some vegetable oil.
This poke cake recipe also calls for red and blue Jell-O gelatin. You can get the small or large boxes, you will only use part of each box. The frosting is a light topping of Cool-Whip which is then decorated with colored sugar. All of these fun colors and tasty ingredients make for the best red, white, & blue poke cake recipe.
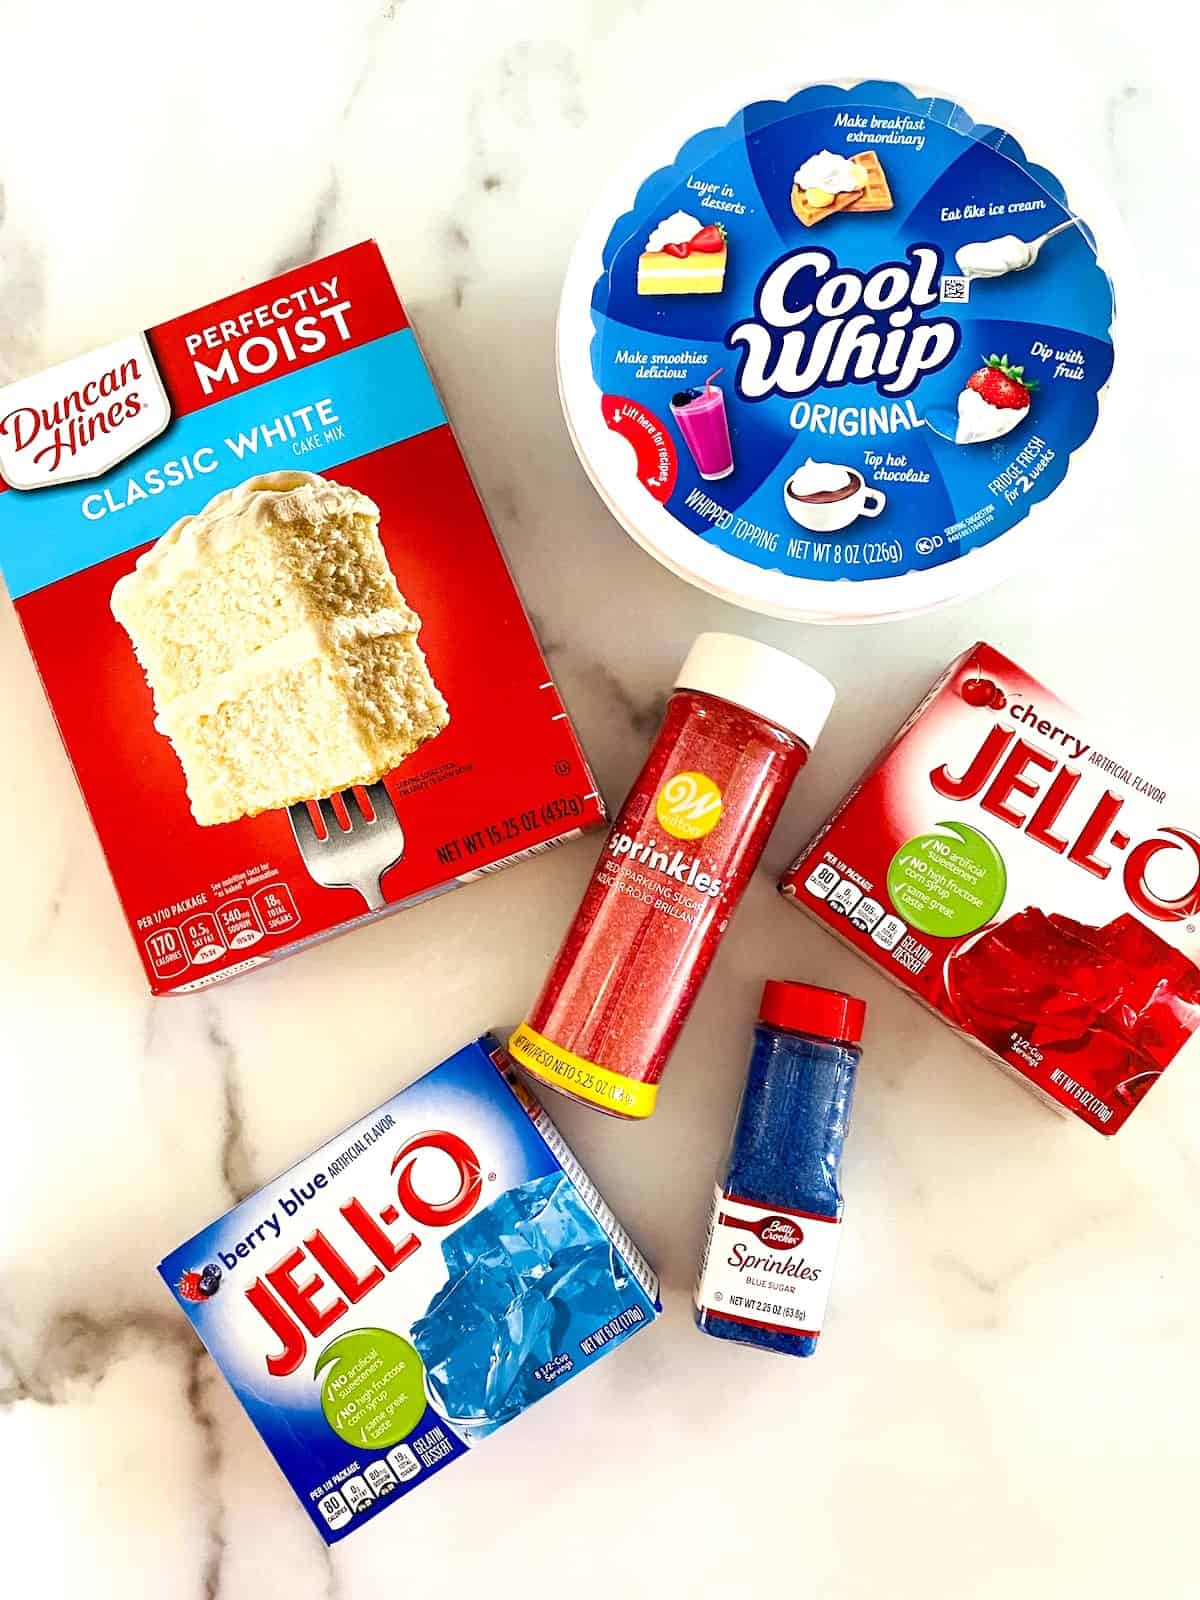
- Boxed White Cake Mix
- Ingredients to make the cake mix
- Cherry Jell-O
- Berry Blue Jell-O
- Boiling Water
- Cool-Whip Whipped Topping
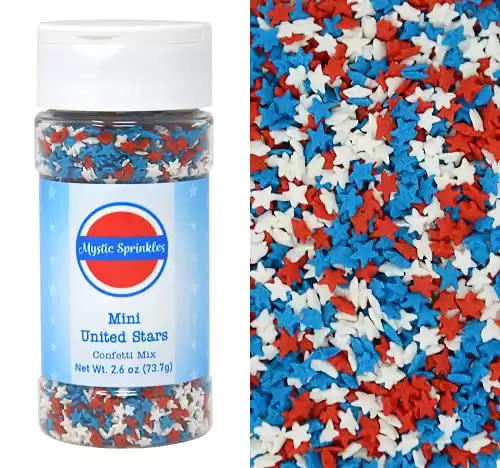
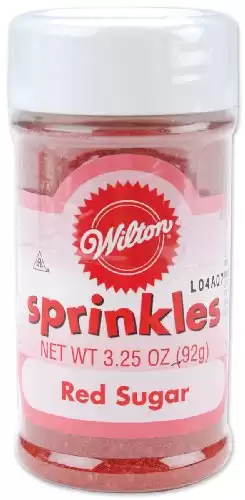
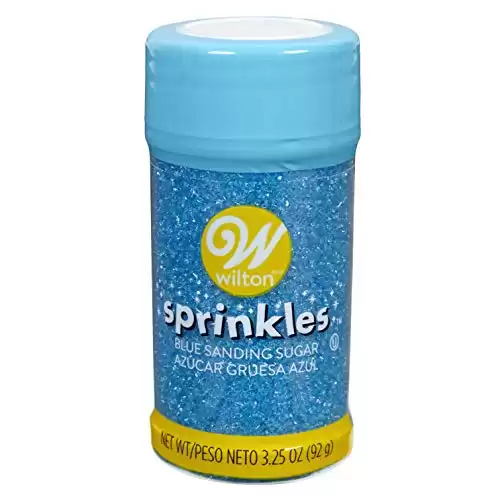
- Red & Blue Sugar or Red, White, & Blue Sprinkles
See the recipe card for quantities.
Instructions
Preheat the oven to 350°. Also, prep the 9x12x2 baking pan with nonstick cooking spray. If you want a thinner cake you can make it in a 9x16x3 pan too. It will feed up to 30 in a bigger pan but this recipe if made as is makes 24 servings.
In a medium-sized mixing bowl, prepare the cake per the package ingredients. Reserve the egg yolks that will not be needed and save them in our refrigerator for another recipe like my Easy 3-Ingredient Creme Brulee.
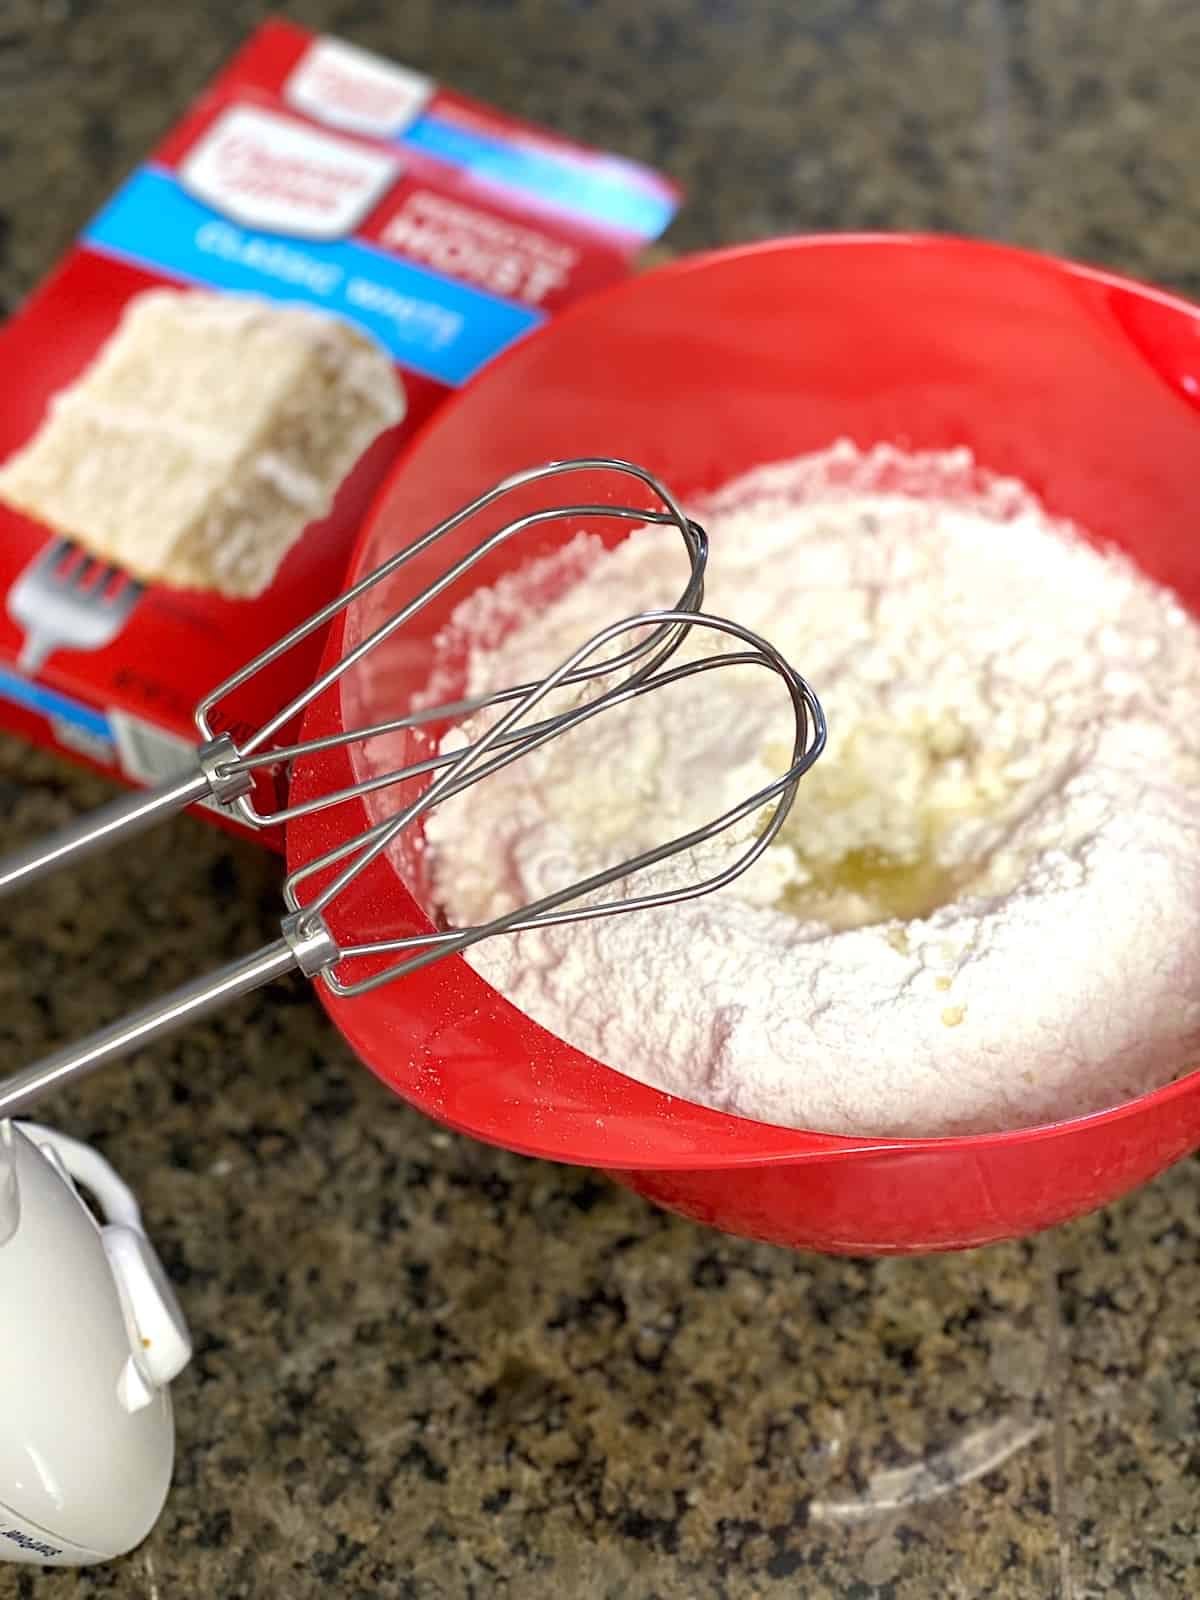
How Long to Bake a Poke Cake?
Pour the cake batter into the prepared 9x12x2 baking pan. Bake in the preheated oven for 25-30 minutes. A toothpick inserted into the cake should come out clean for it to be ready.
Prepare the Jell-O
Once you remove the cake from the oven, prepare the 2 Jello mixes. Heat up 1.5 cups of water until boiling hot. Do so in the microwave or on the stovetop with a tea kettle. You will not be adding dry Jell-O to the cake mix. It will be dissolved and in liquid form to pour into the holes in the cake.
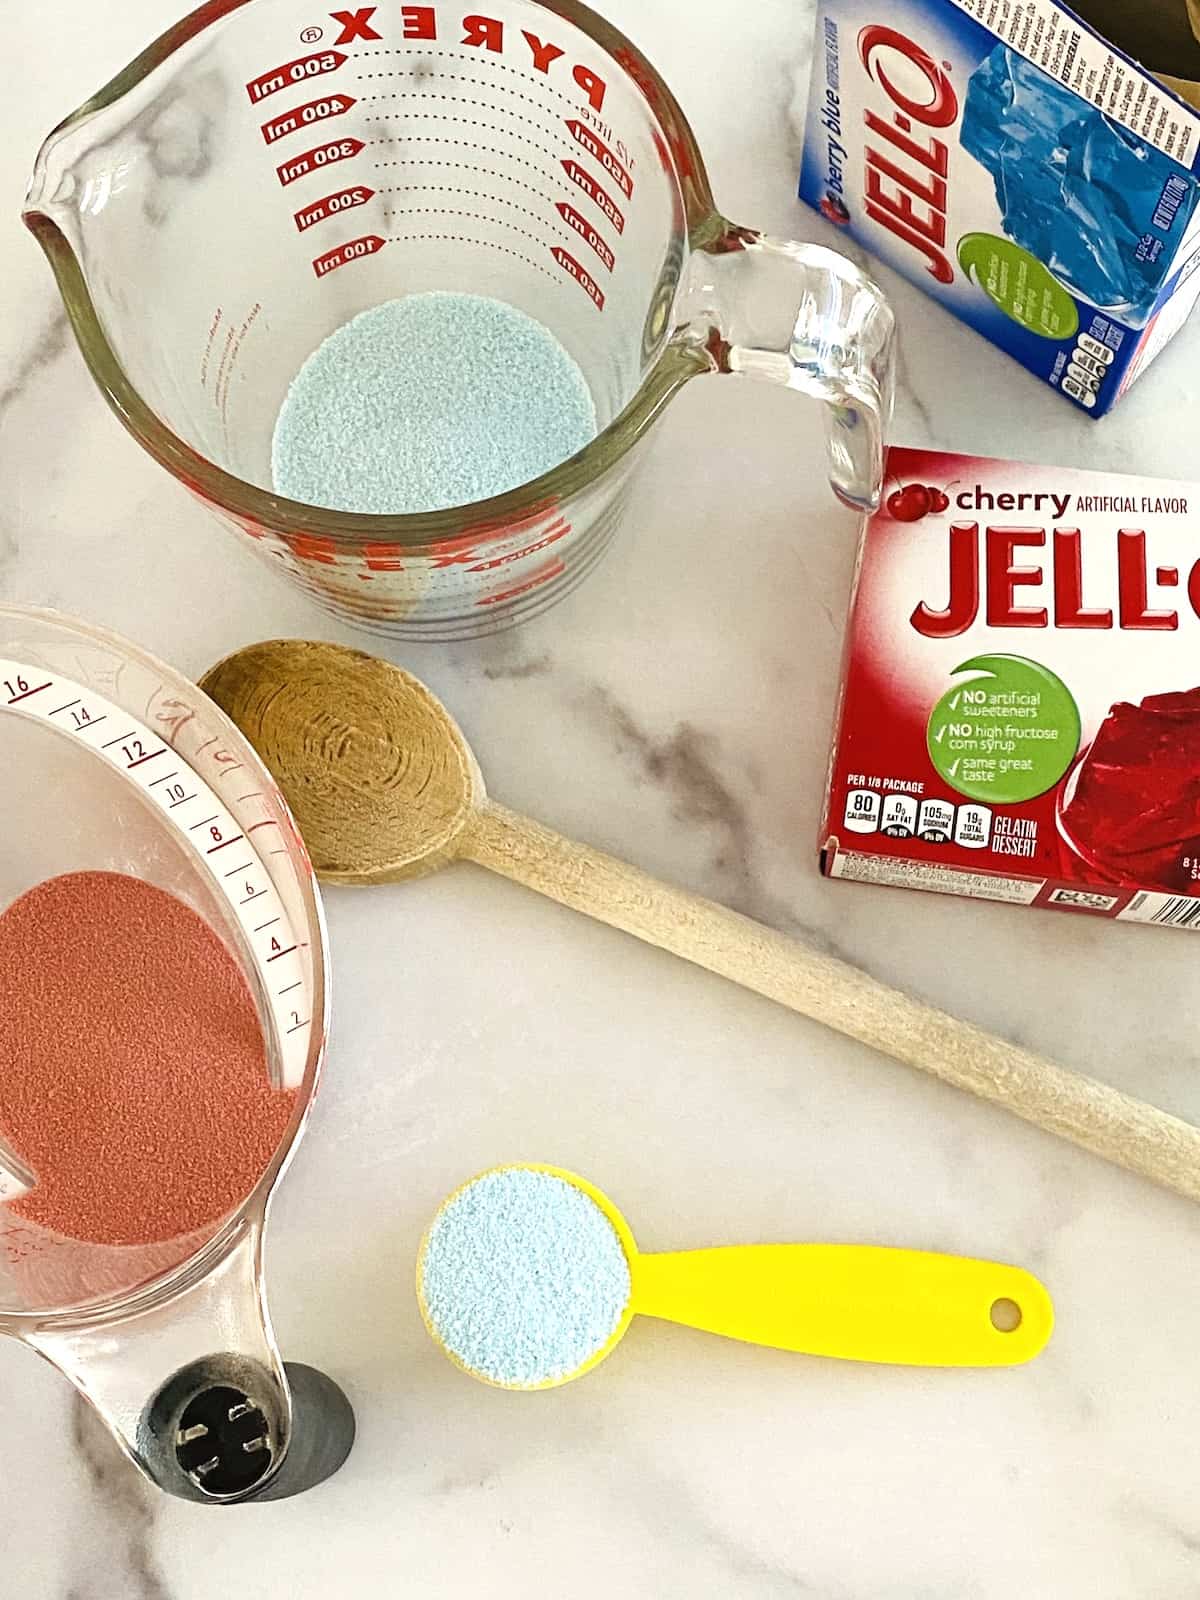
Using two pourable containers like glass measuring cups, add 4 Tablespoons of Jell-O mix to each. Keep the red and blue separate, including using 2 different stirring spoons. To each measuring cup with Jell-O, add ¾ cup of hot water. Carefully stir each until the gelatin mix dissolves.
Poke Holes in the Cake
Wondering what to use to make holes in a poke cake? You don't need any fancy equipment, you likely already have what you need. The handle of a wooden spoon is the best tool. The wooden handle of a rubber spatula also works. But you can even use a set of wooden chopsticks (use both while they are connected) so they are thick enough to make good holes.
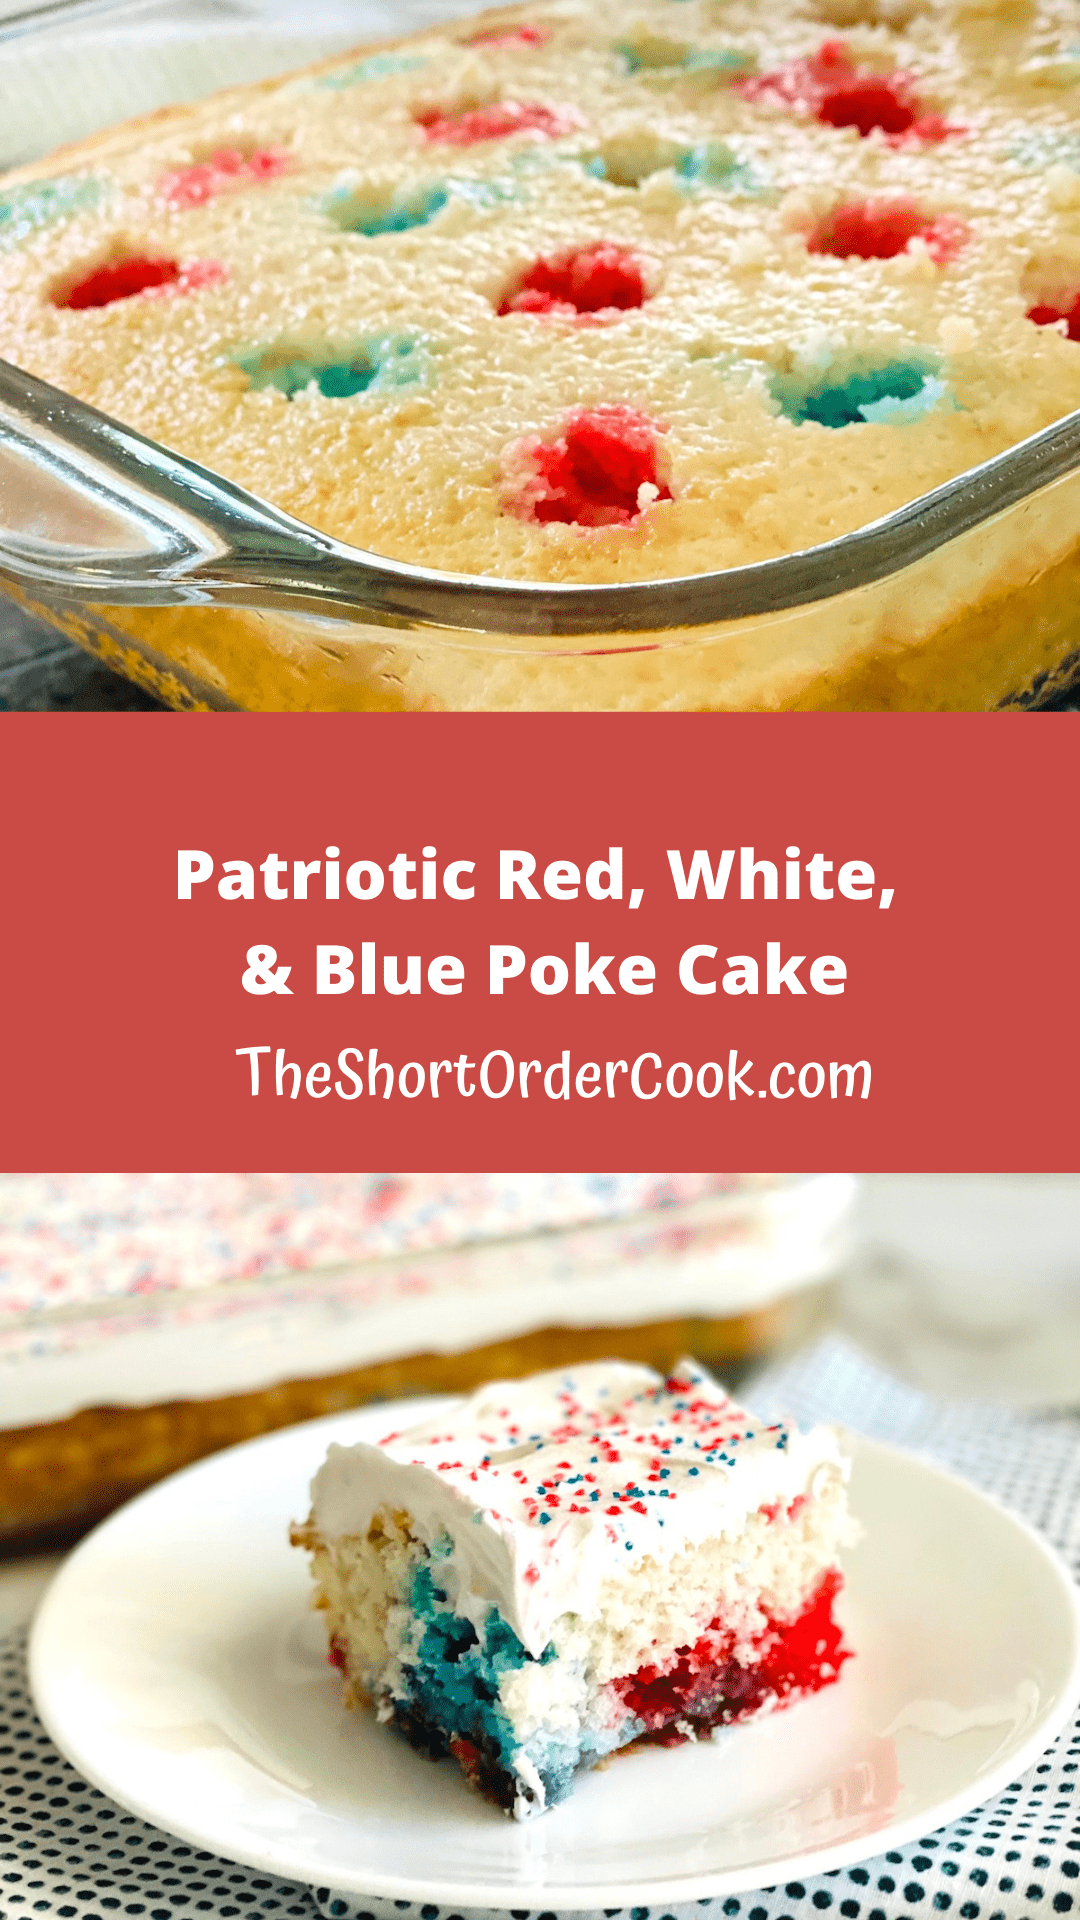
Using the end of a wooden spoon, rubber spatula, or thick chopsticks, poke holes over the top of the cake. Leave about ¾-1" of space between each hole. this will keep the Jello colors from bleeding into one another and creating purple instead of red and blue.
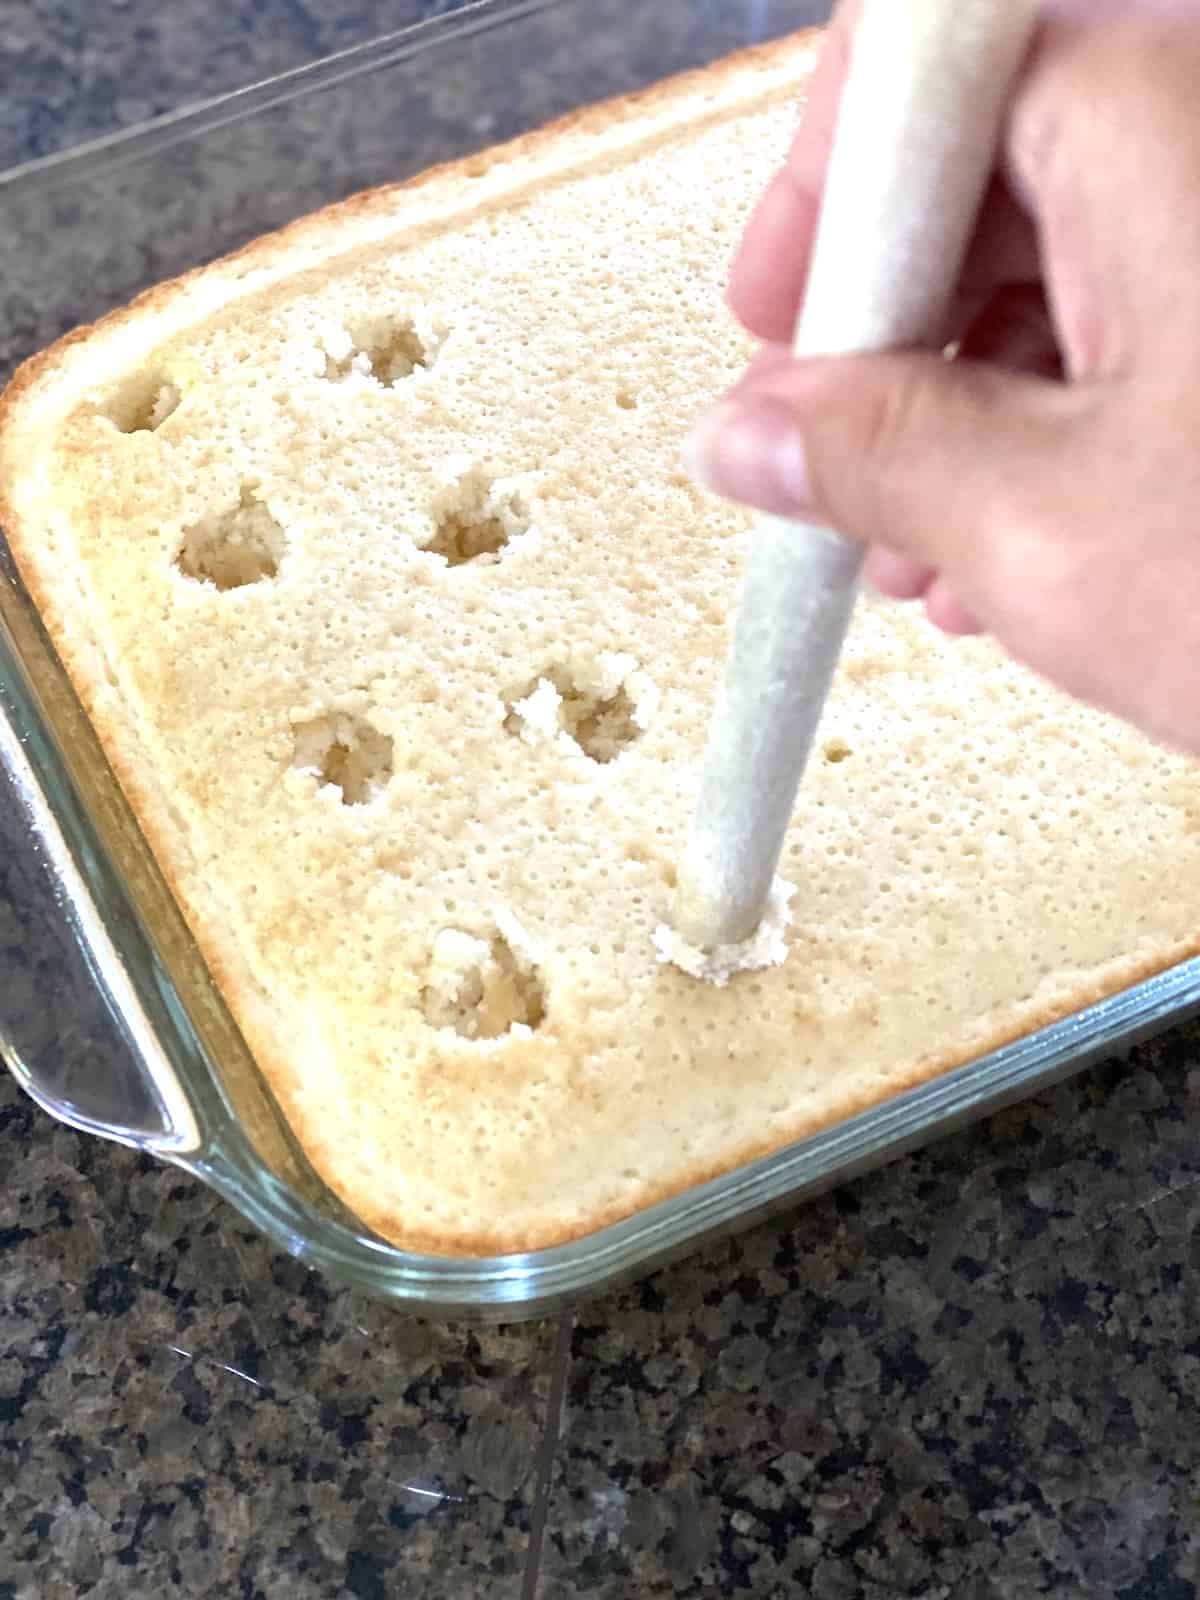
How Many Holes to Poke into the Cake?
I like big thick holes so used a large handle on my wooden spoon. With this size, I get about 4-5 holes across the short width of the cake and about 8-9 across the long length of the cake. If you are using a smaller wooden tool to poke holes you may get up to 30-40 holes total.
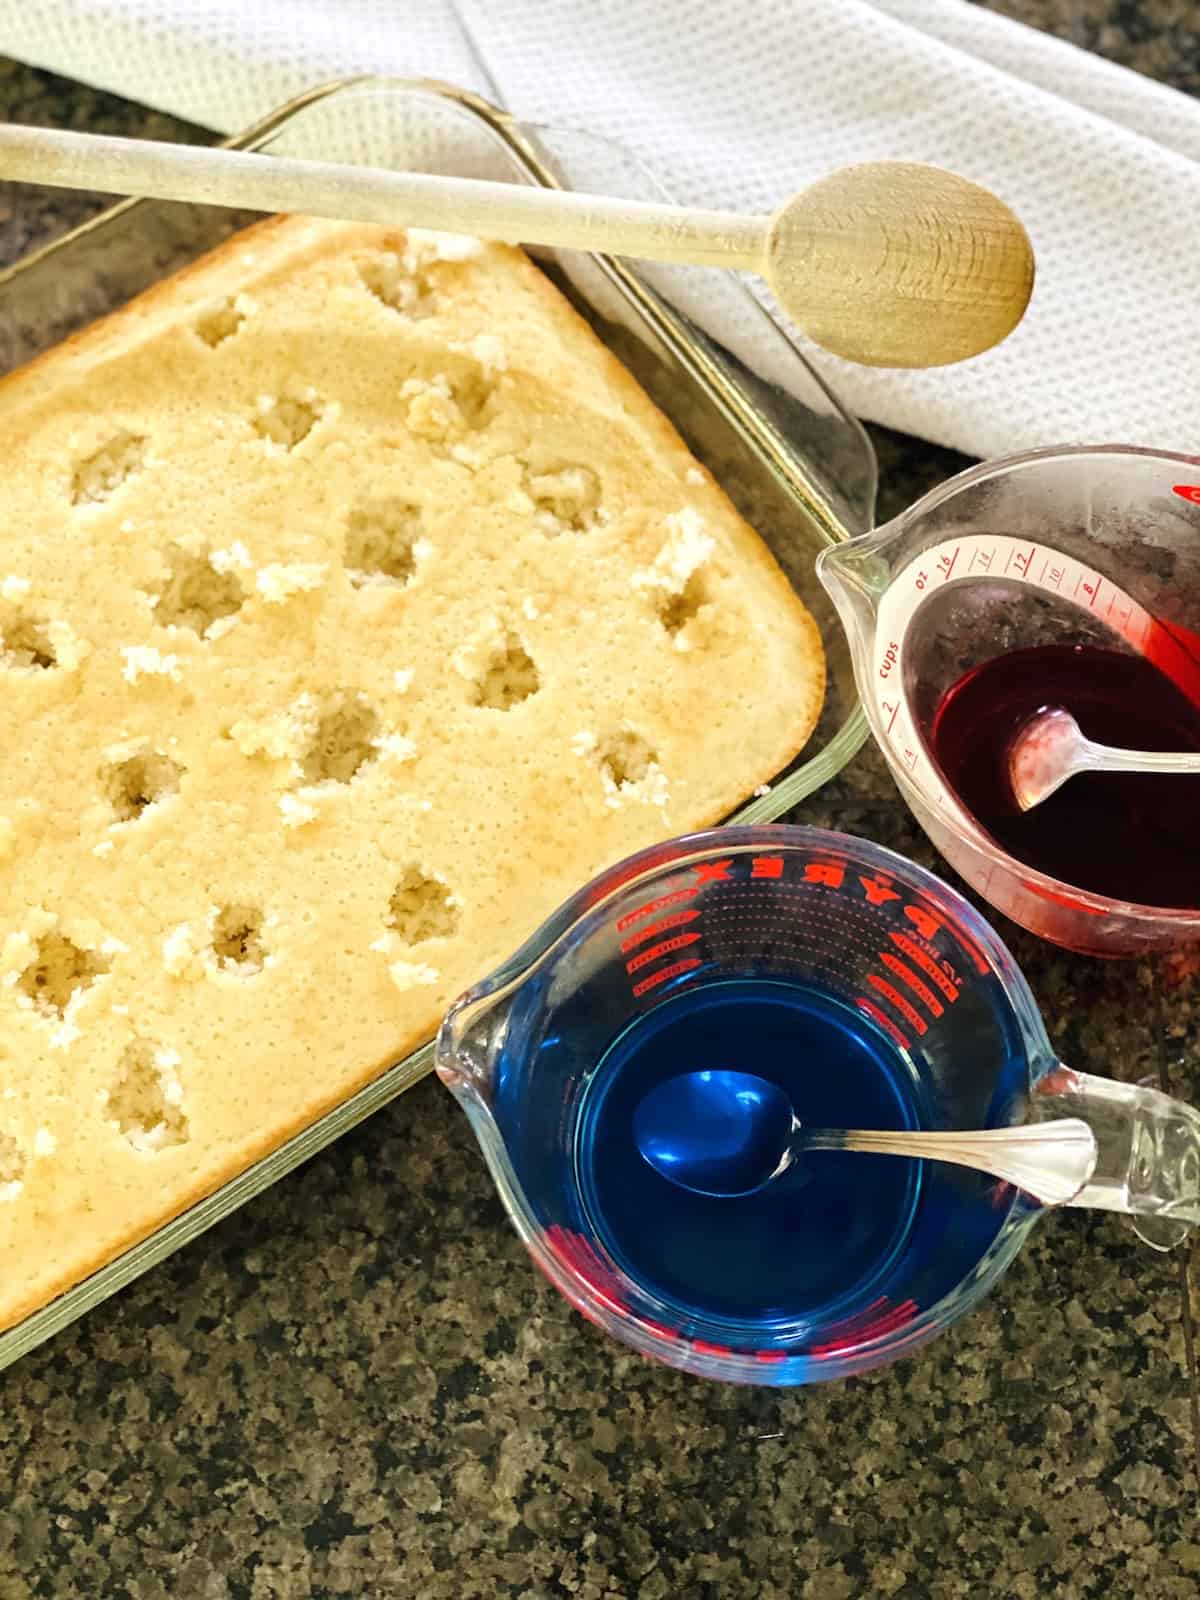
Pour Jell-O into the Poke Cake
Carefully pour the red Jell-O into every other hole in the top of the cake. The holes do not need to be full, just a bit into each hole is plenty. Half of the holes will now have a bit of red gelatin in them. Next, add the blue Jell-O to the remaining holes. Make sure to not combine the colors.
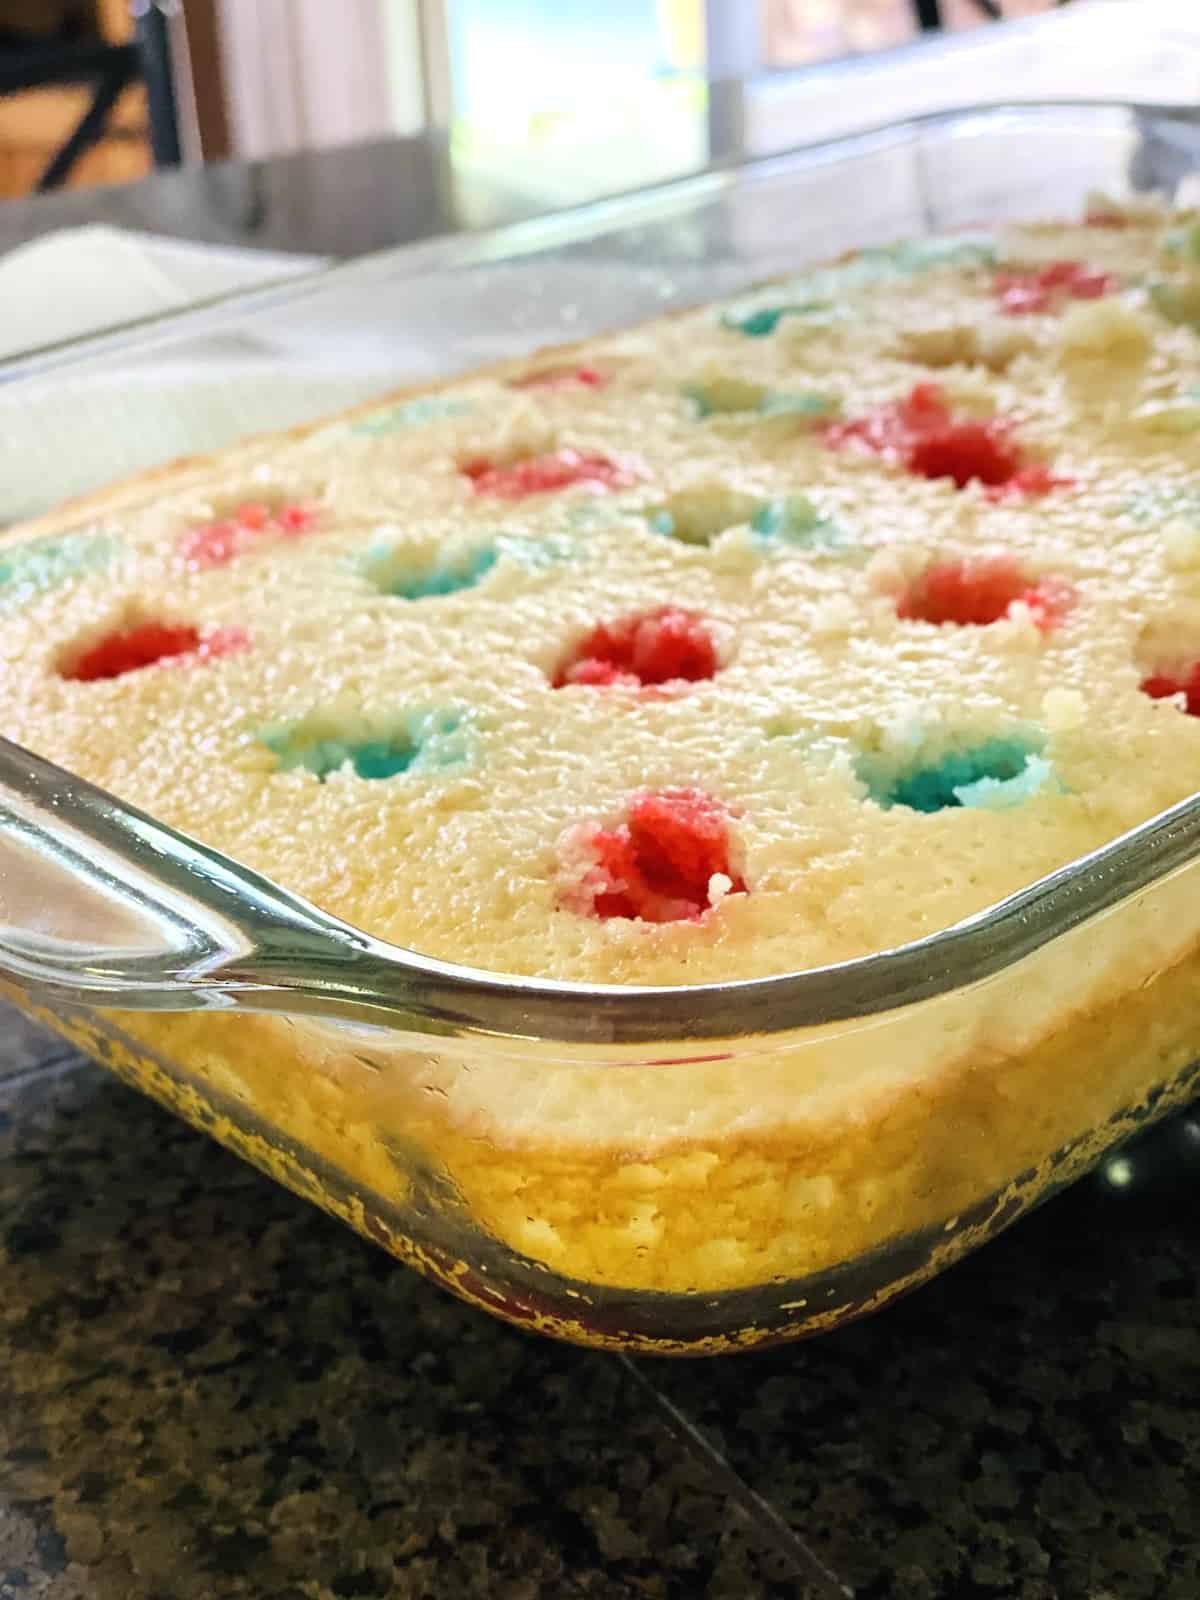
Once all the Jell-O liquid gelatin has been added to the cake, place the cake into the refrigerator. Chill for at least 1 hour. 2-4 hours is ideal.
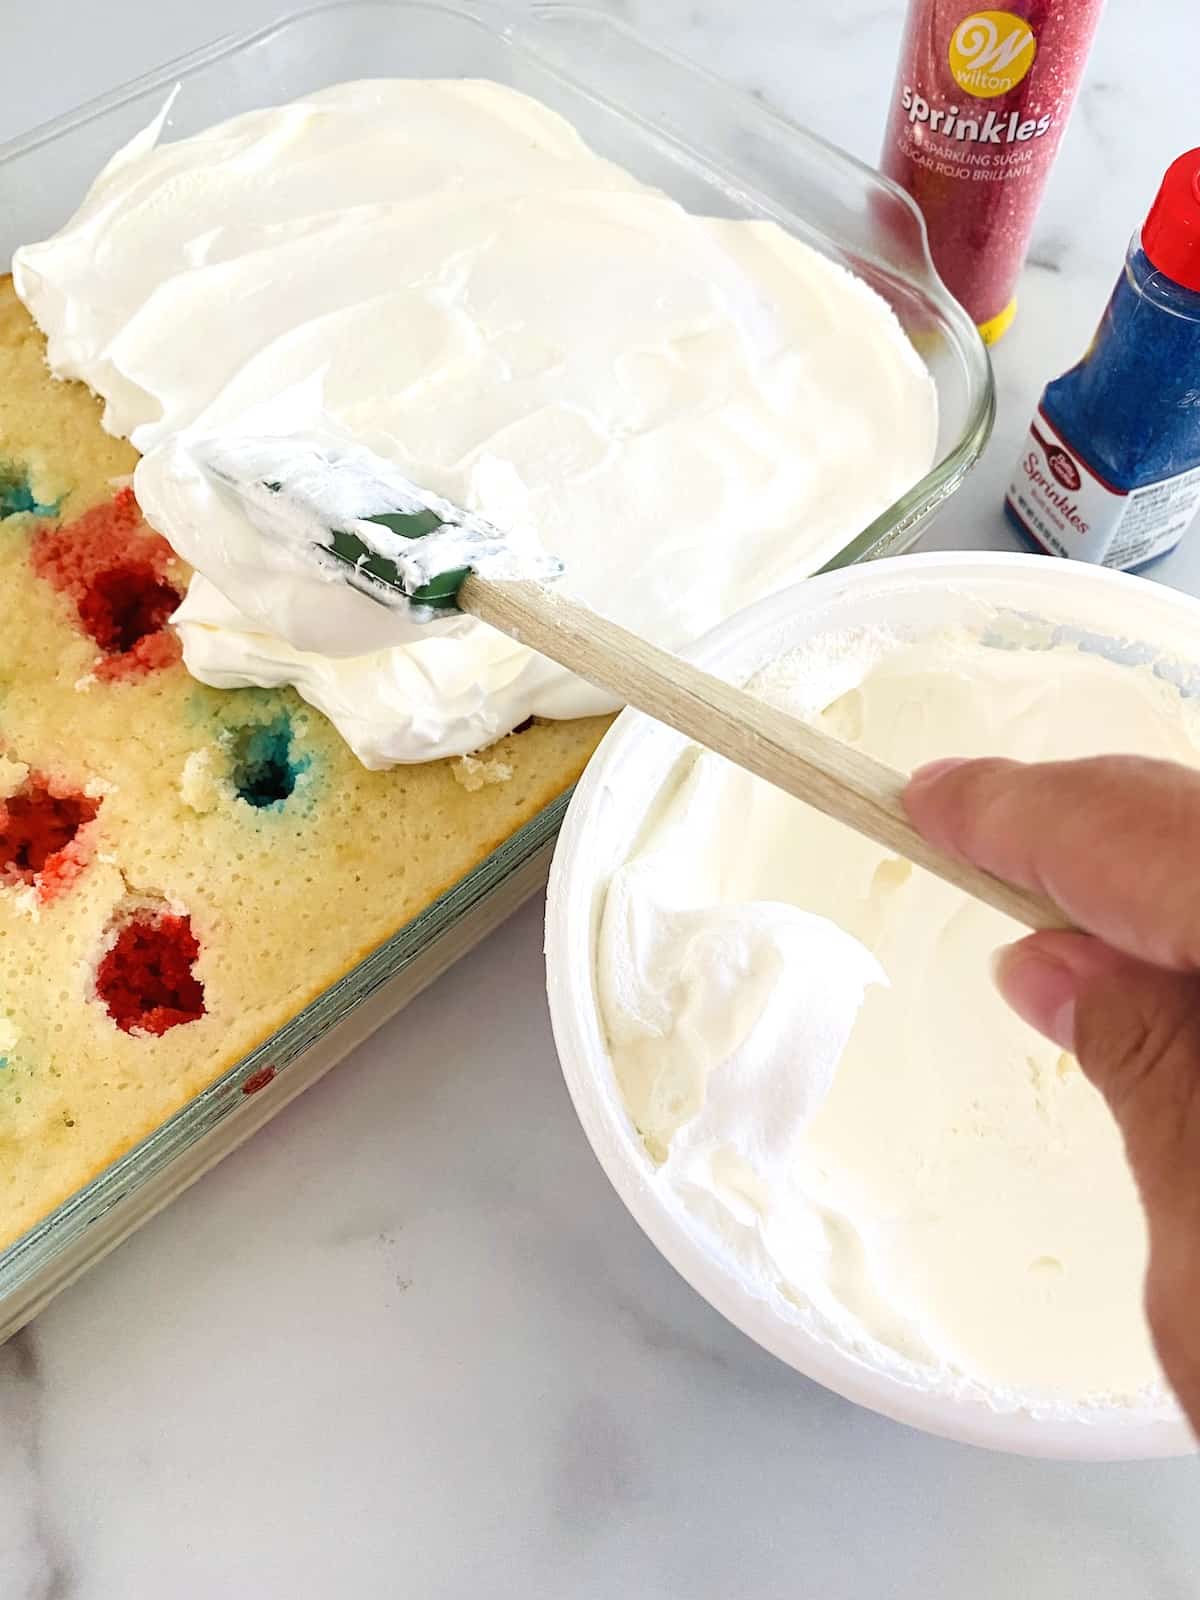
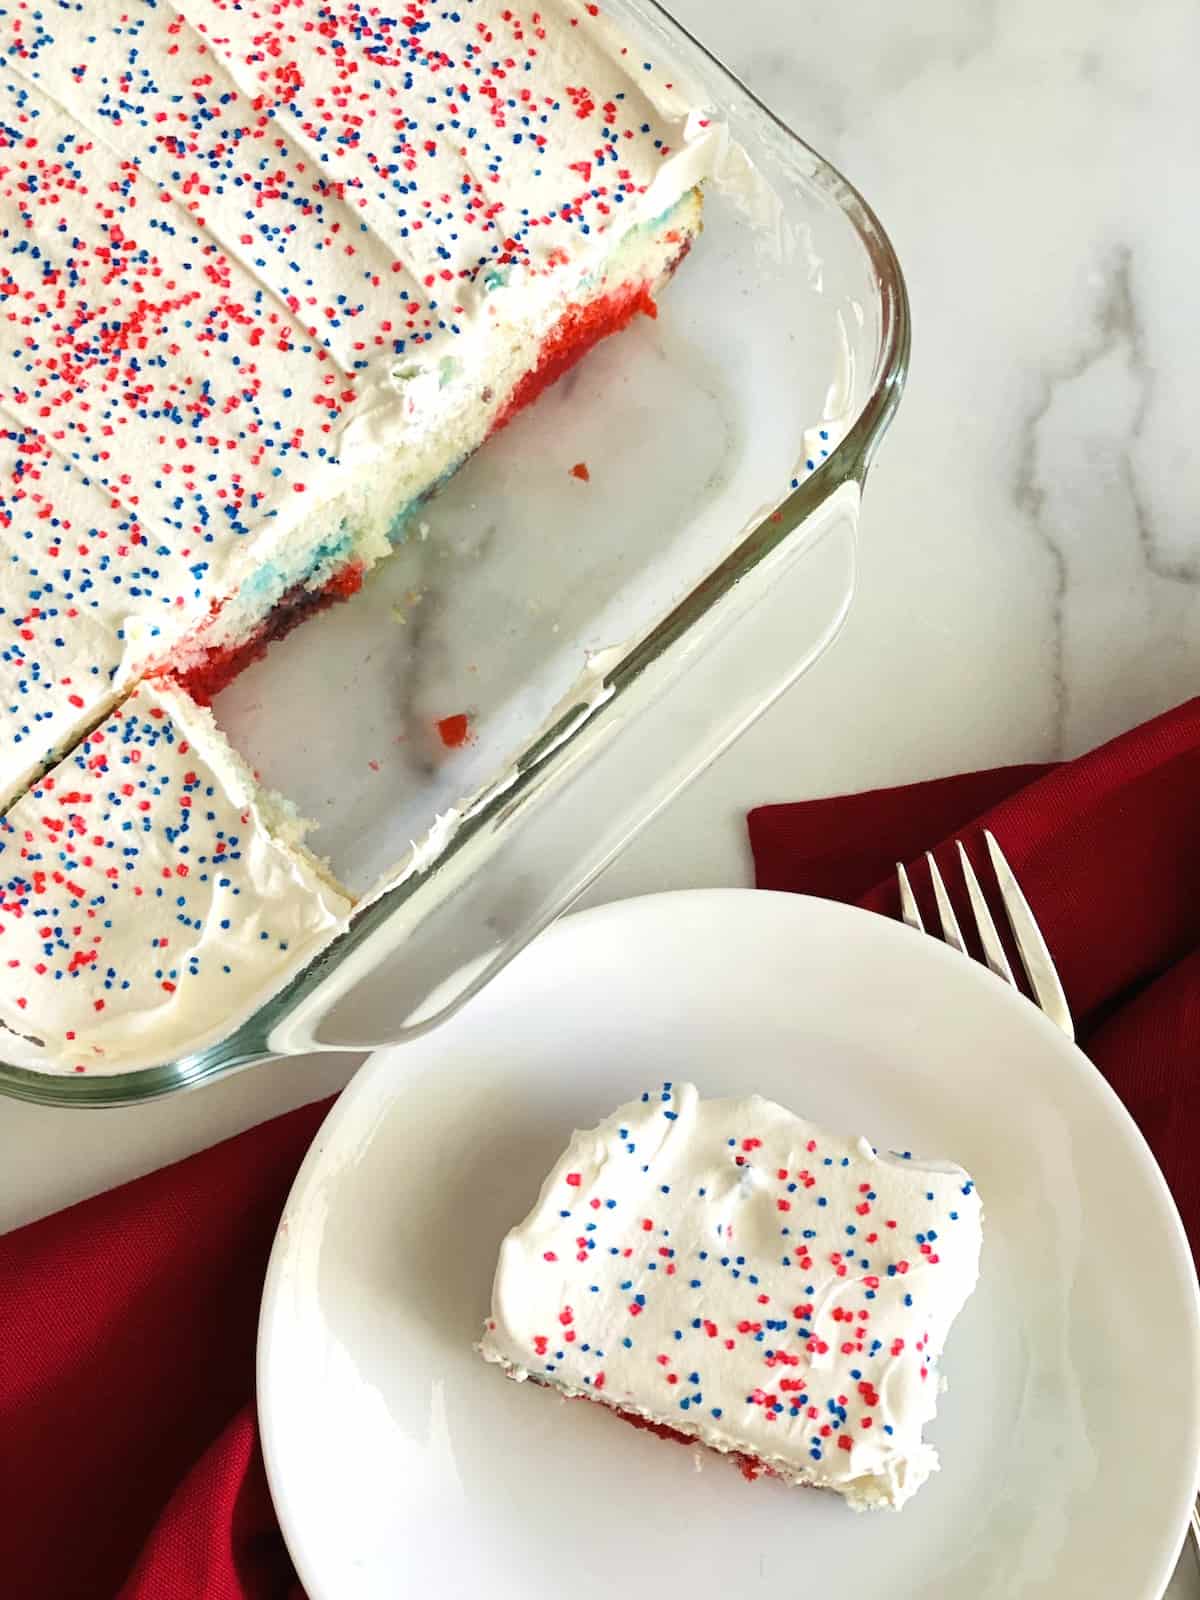
When you are ready to serve it, spread the Cool-Whip evenly over the top of the cake for frosting. Sprinkle with the red & blue sugar or sprinkles. Cut into evenly sized squares. This cake should be about 24 pieces. Serve immediately and enjoy!
Does Poke Cake Need to be Refrigerated?
This poke cake has gelatin in it and a Cool-Whip whipped topping. Both of those ingredients require refrigeration for the cake to be at its best. So yes, this poke cake does need to be refrigerated. It can sit out for about 30 minutes for cutting and serving. But once enjoyed, get it back in the refrigerator.
Hint: This cake does not travel well. If you are making this for a party or potluck, ensure it stays cold by putting it in a cooler for instance. This will keep it chilled for the drive and limit the time to about 30 minutes. Get it in the refrigerator as soon as you arrive at your destination.
Substitutions
This poke cake can be made to fit a few special dietary needs with some simple substitutions. If you want a gluten-free, lower sugar, or vegetarian red, white, & blue poke cake, follow the suggestions below.
- Cake Mix - us a gluten-free boxed cake mix to make this gluten-free
- Jell-O- use sugar-free gelatin to cut down on the sugar/calorie count
- Vegetarian - use plant-based gelatin, such as Simply Delish brand
I have not tested any of these products to make this recipe. If you do make this recipe with any of these substitutions, please leave a comment as to how it turned out. I would love to hear how it tasted.
Variations
This cake has a lovely white cake plus bright red and blue Jell-O gelatin to get that Patriotic look.
- Strawberry or Raspberry - you can use this flavored gelatin instead of cherry, just know the color will not be as red and maybe a light red/pink instead.
- Fresh Berries - instead of sprinkles top with sliced strawberries, bananas, & fresh blueberries to create a poke cake with a flag design
- Whipped Frosting - instead of the light Cool-Whip use a canned white whipped frosting if you want something a bit sweeter
Equipment
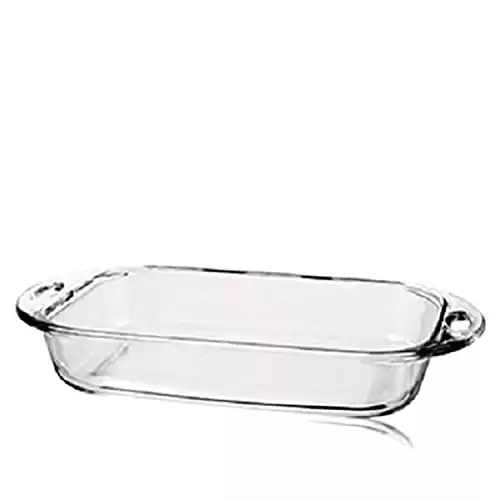
This sheet cake is best made in the 9x12x2 baking pan. This gives it the right size for 24 pieces. It is also ideal for the cake to be thick enough for all that yummy Jell-O and room for the whipped topping. You also need something to poke the cake with which can be anything from a wooden spoon to chopsticks.
Here are the ingredients & equipment that are needed to make this recipe.
The Short Order Cook is a participant in the Amazon Services LLC Associates Program. As an Amazon Associate, I earn from qualifying purchases. If you click on a link and make a purchase, I may earn a small commission on the sale at no additional cost to you. This helps with the costs of running the blog. Thank you!
Storage
This poke cake stores very well. One of the many reasons that I love this patriotic recipe so much is that it can be made ahead of time. I find that the more it chills in the fridge the better it tastes. When chilling or storing leftover poke cake, cover it with a lid, foil, or plastic wrap. The cake can be stored in the refrigerator for up to 5 days.
Top tip
If making the poke cake ahead of time or the night before, wait to put on the decorative toppings. Some brands of sprinkles may bleed or soften once added to the whipped topping. So wait until you are about to serve it before adding the red, white, & blue sugar or sprinkles.
Patriotic Red, White, & Blue Poke Cake
Equipment
- 9x16x3 baking pan
Ingredients
- 1 Boxed White Cake Mix
- ingredients to make the cake mix typically egg whites, water, & vegetable oil
- 3 oz Jello Cherry
- 3 oz Jello Berry Blue
- 1.5 cups hot water (divided)
- 8 oz Cool-Whip Whipped Topping defrosted
- red & blue colored sugar or red, white, & blue sprinkles
Instructions
- Preheat the oven to 350°. Also, prep the baking pan with nonstick cooking spray.
- In a medium-sized mixing bowl, prepare the cake per the package ingredients.
- Pour the cake batter into the prepared 9x16x3 baking pan. Bake in the preheated oven for 25-30 minutes. A toothpick inserted into the cake should come out clean for it to be ready.
- Once you remove the cake from the oven, prepare the 2 Jello mixes. Heat up 1.5 cups of water until boiling hot. Do so in the microwave or on the stovetop with a tea kettle.
- Using two pourable containers like glass measuring cups, add 4 Tablespoons of jello mix to each. Keep the red and blue separate, including using 2 different stirring spoons.To each measuring cup with Jello, add ¾ cup of hot water. Carefully stir each until the gelatin mix dissolves.
- Using the end of a wooden spoon, or thick chopsticks, poke holes over the top of the cake. Leave about ¾-1" of space between each hole. this will keep the Jello colors from bleeding into one another and creating purple instead of red and blue.I like big thick holes so used a large handle on my wooden spoon. With this size, I get about 4-5 holes across the short width of the cake and about 8-9 across the long length of the cake. If you are using a smaller wooden tool to poke holes you may get up to 30-40 holes total.
- Carefully pour the red Jello into every other hole in the top of the cake. The holes do not need to be full, just a bit into each hole is plenty. Half the holes will now have a bit of red gelatin in them. Next, add the blue Jello to the remaining holes. Make sure to not combine the colors.
- Once all the Jello has been added to the cake, place the cake into the refrigerator. Chill for at least 1 hour. It is best as it sits so this is a great cake to make ahead of time, even the night before.
- When you are ready to serve it, spread the Cool-Whip evenly over the top of the cake for frosting. Sprinkle with the red & blue sugar or sprinkles.
- Cut into evenly sized squares. This cake should be about 24 pieces. Serve immediately and enjoy!
- Store the remaining cake in the refrigerator for up to 5 days.
Notes
| Nutrition Facts | |
|---|---|
| Servings: 24 | |
| Amount per serving | |
| Calories | 179 |
| % Daily Value* | |
| Total Fat 8.7g | 11% |
| Saturated Fat 2.8g | 14% |
| Cholesterol 0mg | 0% |
| Sodium 164mg | 7% |
| Total Carbohydrate 23.2g | 8% |
| Dietary Fiber 0.2g | 1% |
| Total Sugars 18g | |
| Protein 1.8g | |
| Vitamin D 0mcg | 0% |
| Calcium 42mg | 3% |
| Iron 0mg | 2% |
| Potassium 32mg | 1% |
| *The % Daily Value (DV) tells you how much a nutrient in a food serving contributes to a daily diet. 2,000 calorie a day is used for general nutrition advice. | |



Patty says
Can this cake be frozen ahead of time?
Angela says
Hi, The cake itself can be baked and frozen. Once defrosted you can add the gelatin & frost. I would not freeze it with the Jello already added. I hope that helps. Enjoy.
Tammy says
I love that you used jell-o mixed rather than dyes! It adds a fun extra flavor to the cake as well 😀 Happy 4th!