
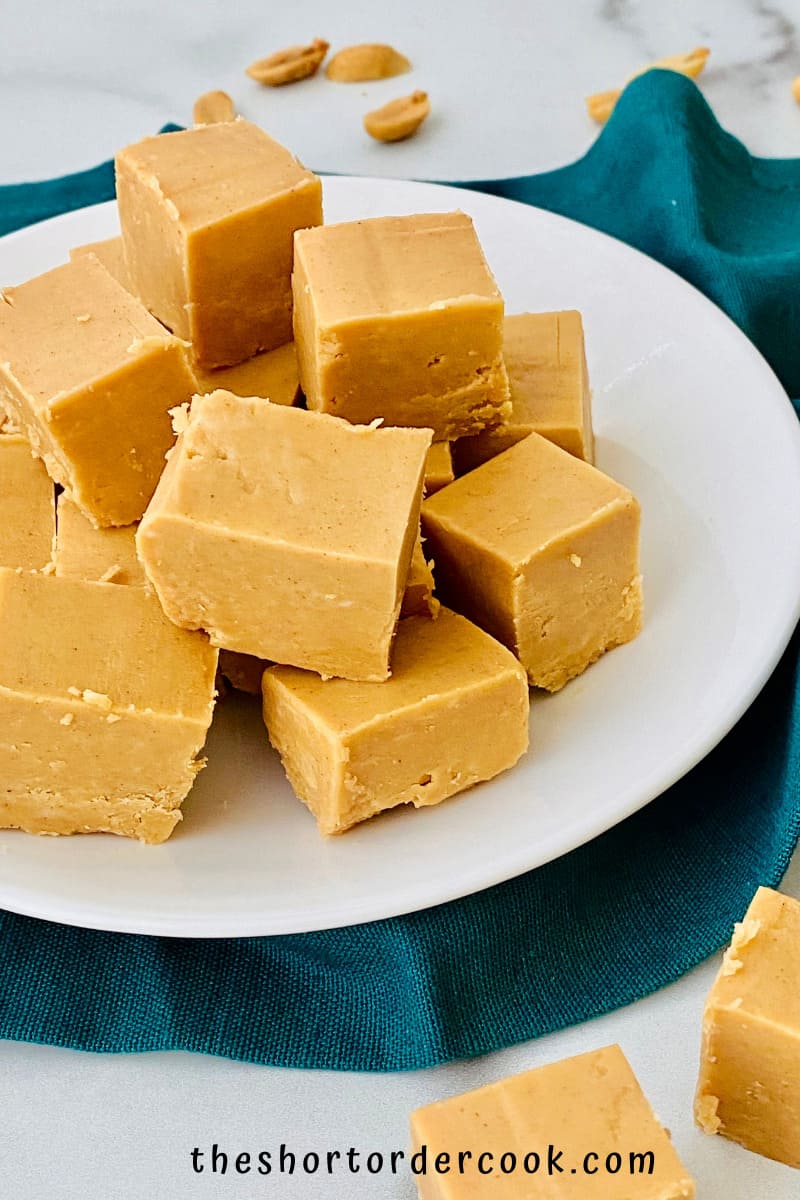
Old-Fashioned Peanut Butter Fudge is an easy no-bake homemade candy recipe that you will want to make part of your holiday traditions. Fudge is a popular sweet treat at Christmas time and making it with family or giving it as gifts is a long-standing joy I look forward to every year & hope you do now too.
Why this No-Bake Peanut Butter Fudge Recipe is Amazing: All you need is 4 ingredients, 10 minutes prep, & a microwave to make the creamiest dreamiest fudge. What's not to love?
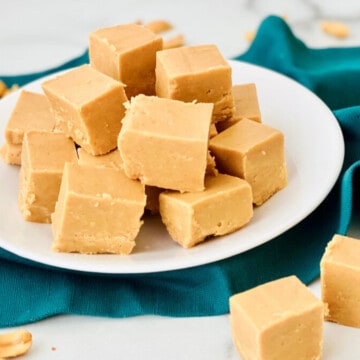
This peanut butter fudge recipe is sweet, creamy, nutty, soft, and a bit salty. If you love Old-Fashioned Peanut Butter Balls, this is your dream fudge recipe. It is one of many amazing Christmas Candy Recipes here on the blog.

This old-fashioned holiday candy recipe is gluten-free, grain-free, vegetarian, & can be made vegan easily. Like my recipe for Butterscotch Fudge, it's a holiday sweet that everyone will look forward to year after year.
Jump to:
Ingredients to Make Peanut Butter Fudge
This tasty fudge recipe could not be easier. It only takes 4 ingredients to make this sweet, rich, & amazing peanut butter fudge.
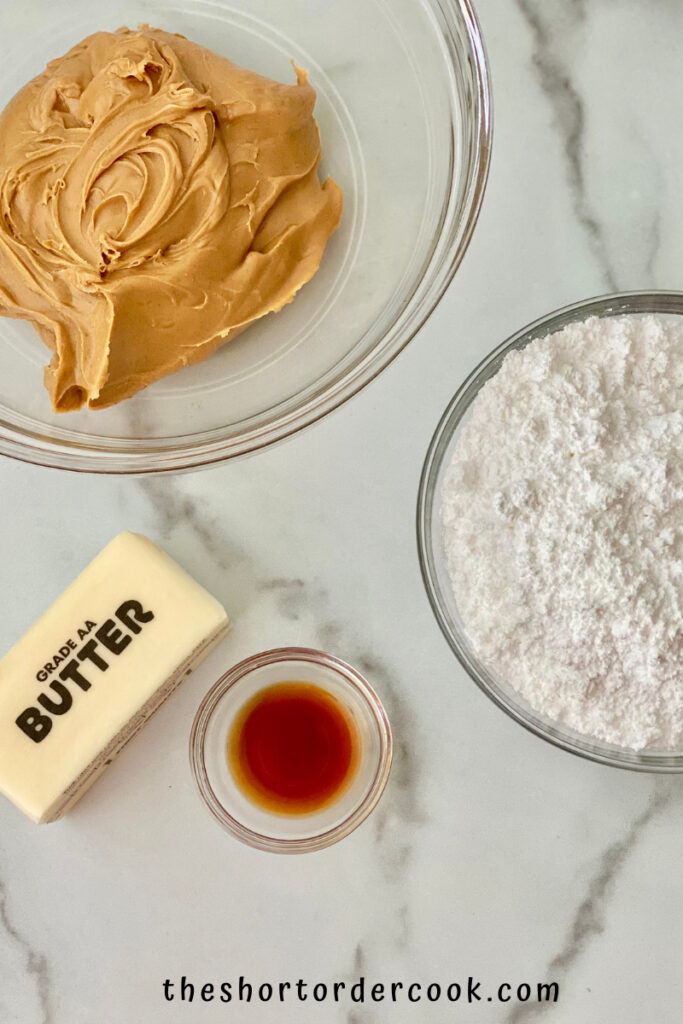
Here are the ingredients needed to make this recipe:
- Creamy Peanut Butter - use your favorite brand but do not use a 'natural' style or chunky/nutty varieties.
- Salted Butter - for rich buttery flavor & helps set/solidify the fudge - softened at room temperature
- Powdered Sugar - for sweetness & classic soft texture.
- Vanilla - this enhances the flavor.
See the recipe card for quantities & substitutions/variations.
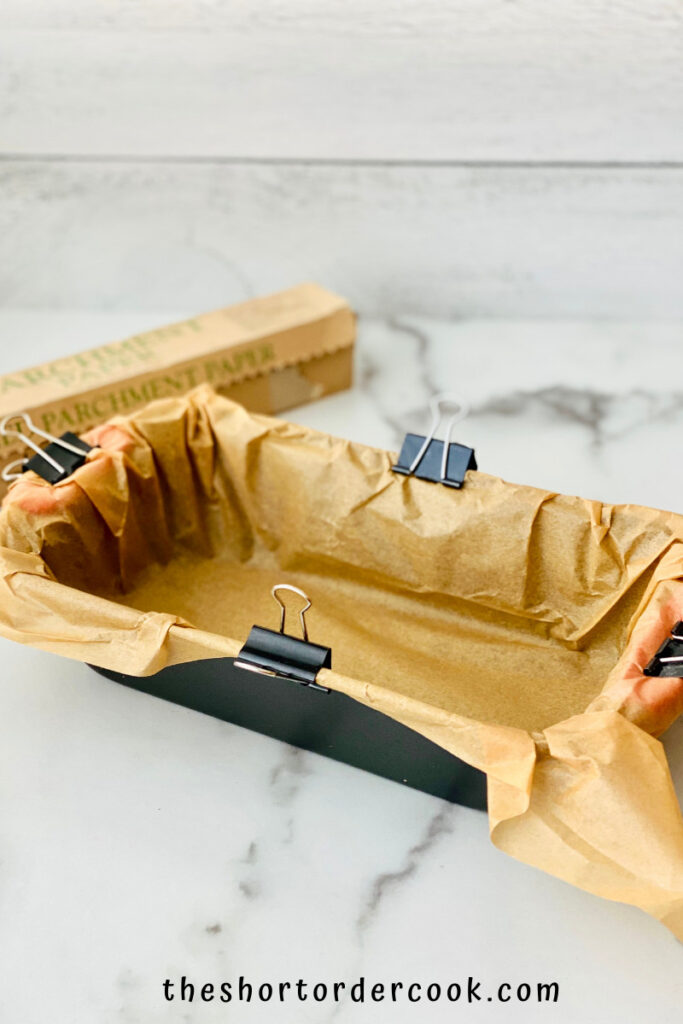
Prepare a Loaf Pan for Fudge Making
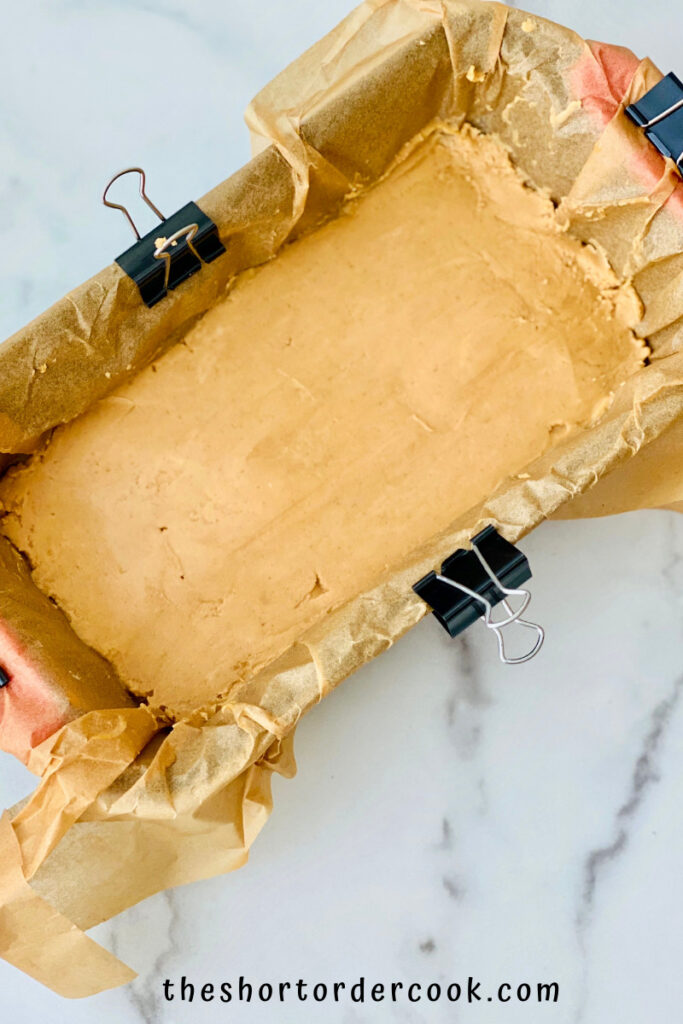
This recipe fits into a loaf pan but you can double it and get it into an 8x8 dish instead. Either way, before you pour in the fudge to set you will want to prepare it with parchment paper. This not only keeps the fudge from sticking but is also the easiest way to lift the fudge out to slice.
Make sure you cut a piece of parchment paper that is large enough to fit the pan and hang it over the edge generously. To hold it in place, here is my favorite parchment paper hack for no-bake recipes such as this fudge; use binder clips.
How to Make Fudge in the Microwave
Begin by bringing your butter to room temperature. You want it a bit soft so that it will cook in the same amount of time as the peanut butter.
No oven, stove, or crock-pot is needed - like my 2-Ingredient Frosting Fudge. It's a great recipe for college students or RV living when you may only have a microwave.
Here are the easy steps for making homemade peanut butter fudge.
- Melt the PB & Butter
- Add Remaining Ingredients
- Let Fudge Set in the Pan
- Cut & Store
See the step-by-step instructions with photos below plus the recipe card at the end of the post.
1 - Melt the PB & Butter
In a large microwave-safe bowl add the peanut butter and the softened butter.
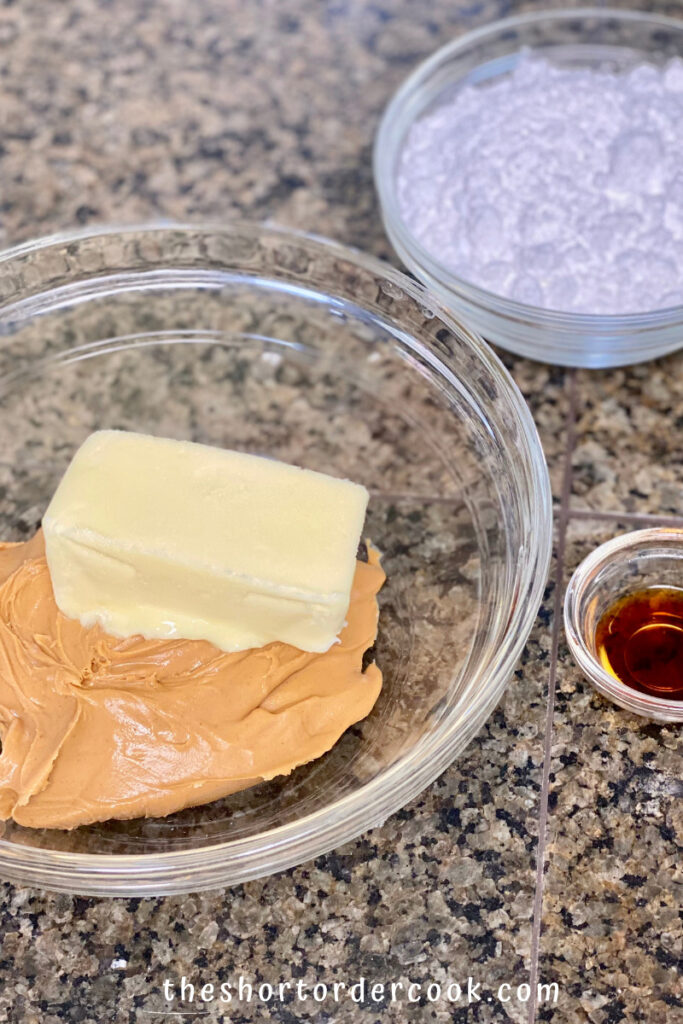
Next, microwave for 30 seconds & then stir. Microwave it again for another 30 seconds & stir. It will need a final 30 seconds for a total of 1 minute & 30 seconds.
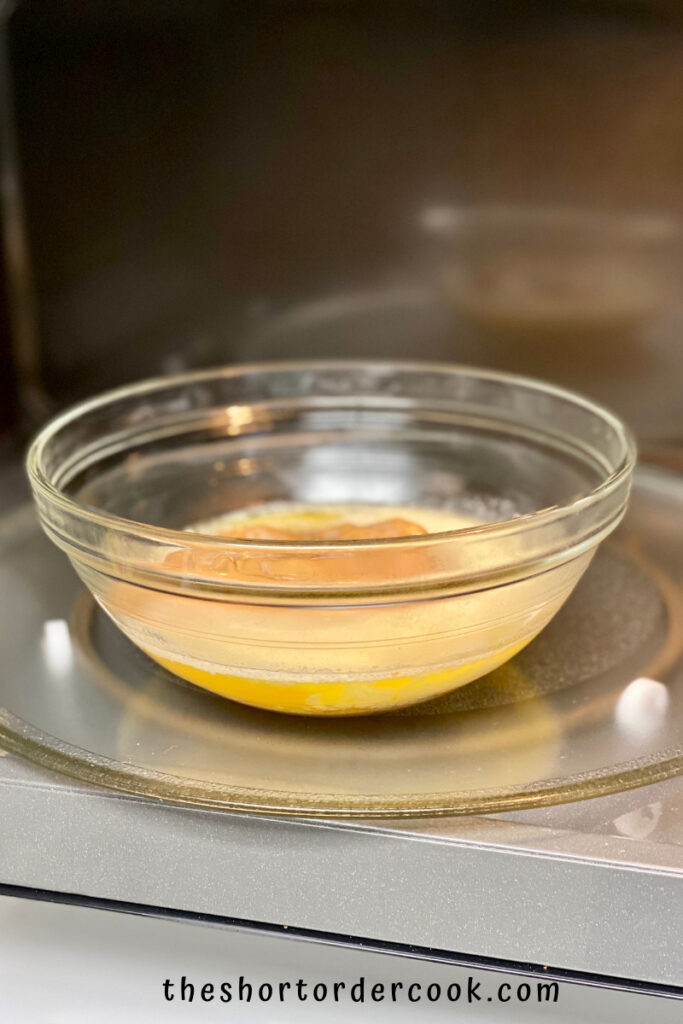
By now it will be darker and little bubbles will have formed, as seen below. The smell of warm peanut butter will fill your kitchen, which is one of the best parts of making homemade fudge.
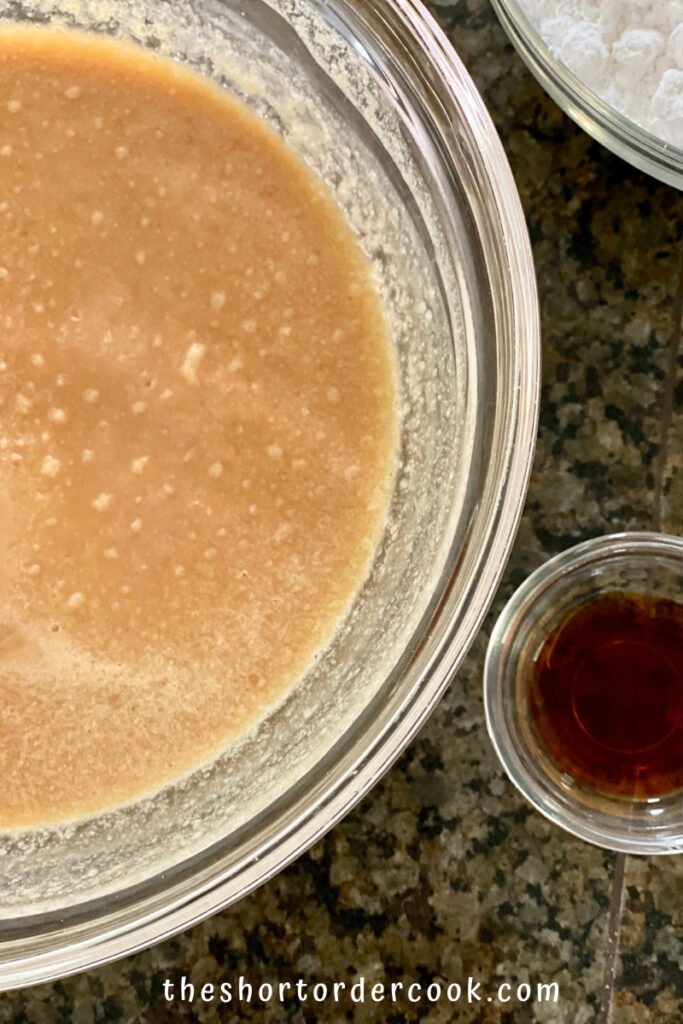
2- Add Remaining Ingredients
To the warm peanut butter mixture, add vanilla. Stir to combine.
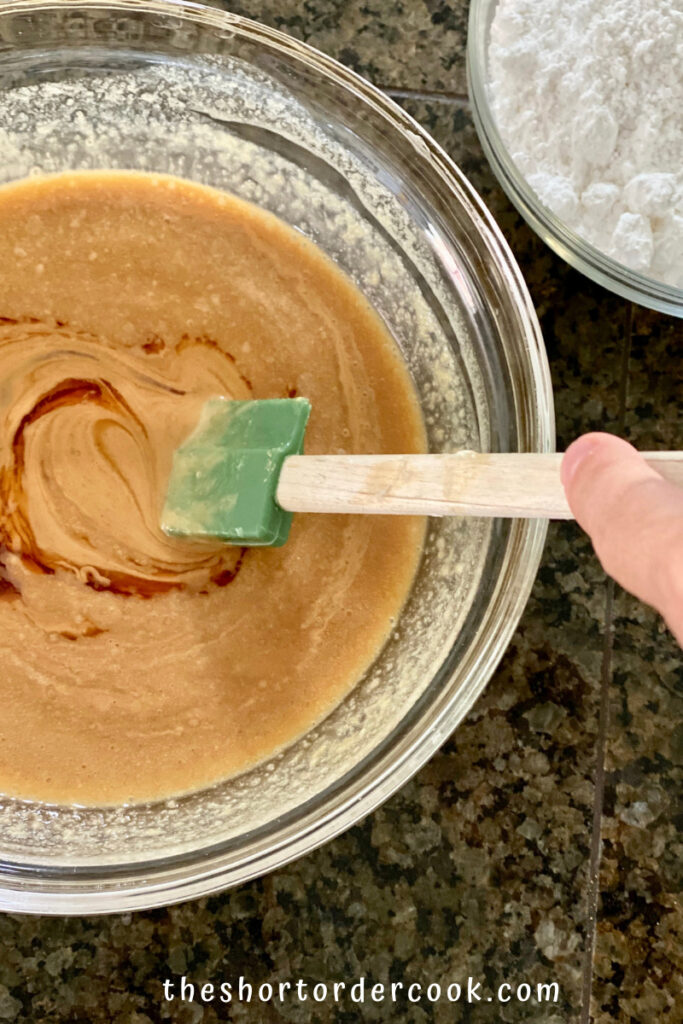
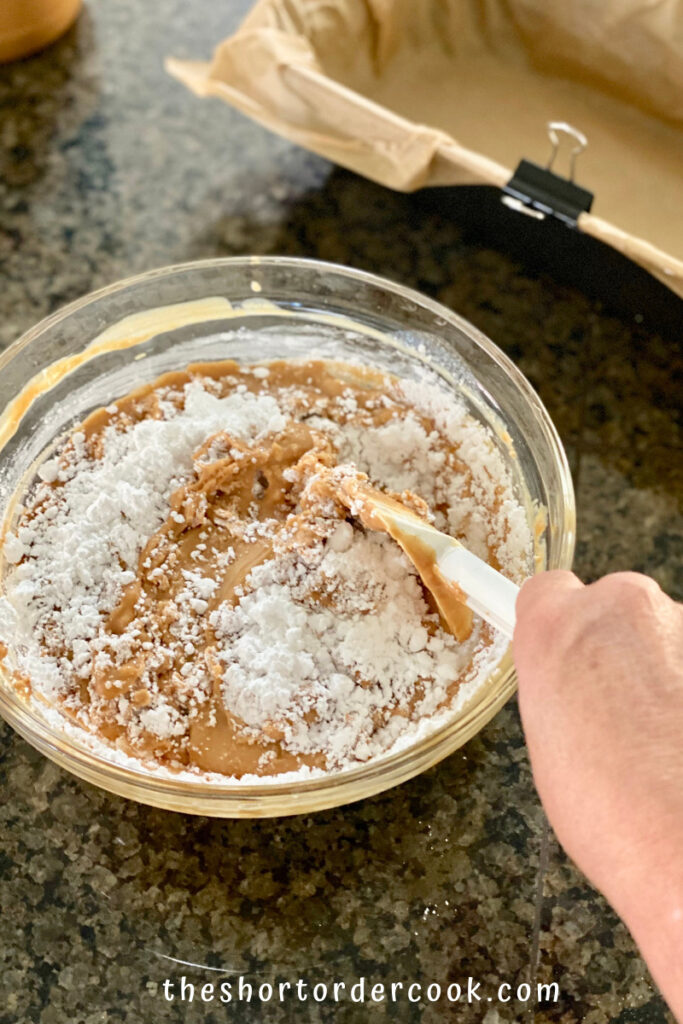
Next, you will be adding powdered sugar. Make sure it is done a little bit at a time. You will want a sturdy wooden spoon or spatula since this will be hard to mix.
Start by adding half of the powdered sugar and stir to mix well. Next add half of what is left, stir, and add the final amount. The peanut butter fudge batter will be stiff but will come together with a little muscle.
3 - Let Fudge Set in the Pan
Spoon the batter into the prepared pan. Using an offset spatula smooth the top and make sure the peanut butter fudge is evenly distributed so that the cubes are similar in size and thickness.
Once it is smooth and even, place the fudge into the refrigerator. Place plastic wrap over it but be sure it does not touch the fudge - another way the binder clips come in handy.
HOW LONG DOES IT NEED TO SET? Let the fudge refrigerate for 2 hours. To know when fudge is ready, it should be firm and solid to the touch. If you touch it gently on the top, no dents or fingerprints should show.
4 - Cut Fudge & Store
Now that the old-fashioned peanut butter fudge is ready. Remove the plastic wrap and unclamp the binder clips if you are using them. Gently lift the peanut butter fudge out of the pan, grasping the parchment edges.
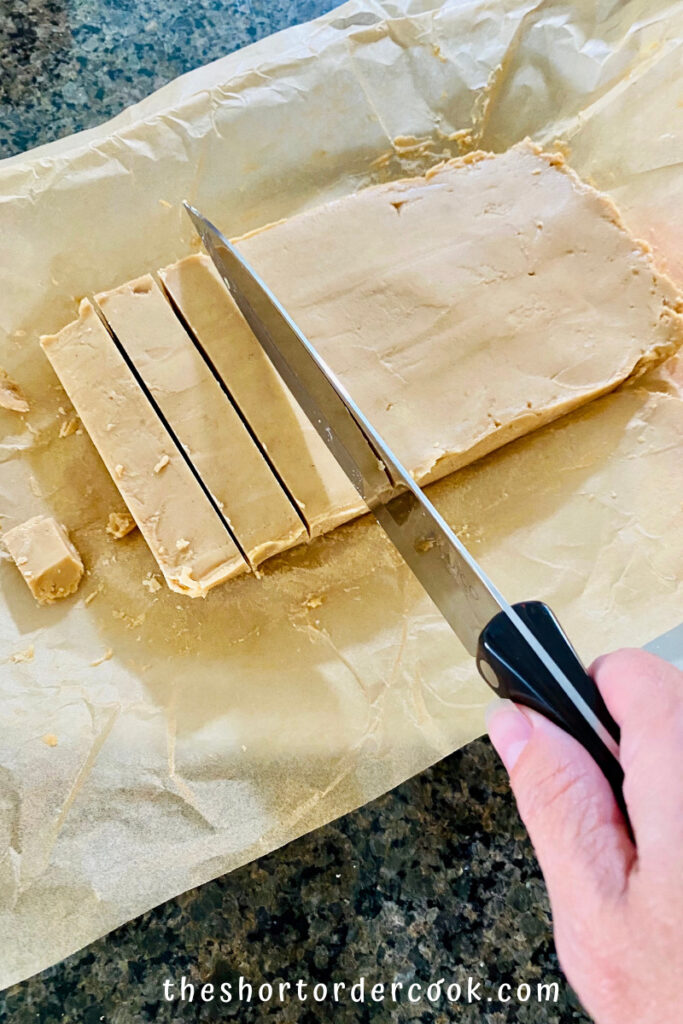
Place the parchment-lined fudge on a cutting board. Peel back the edges to expose the fudge to begin cutting. The best way to cut homemade peanut butter fudge is to use a sharp chef knife.
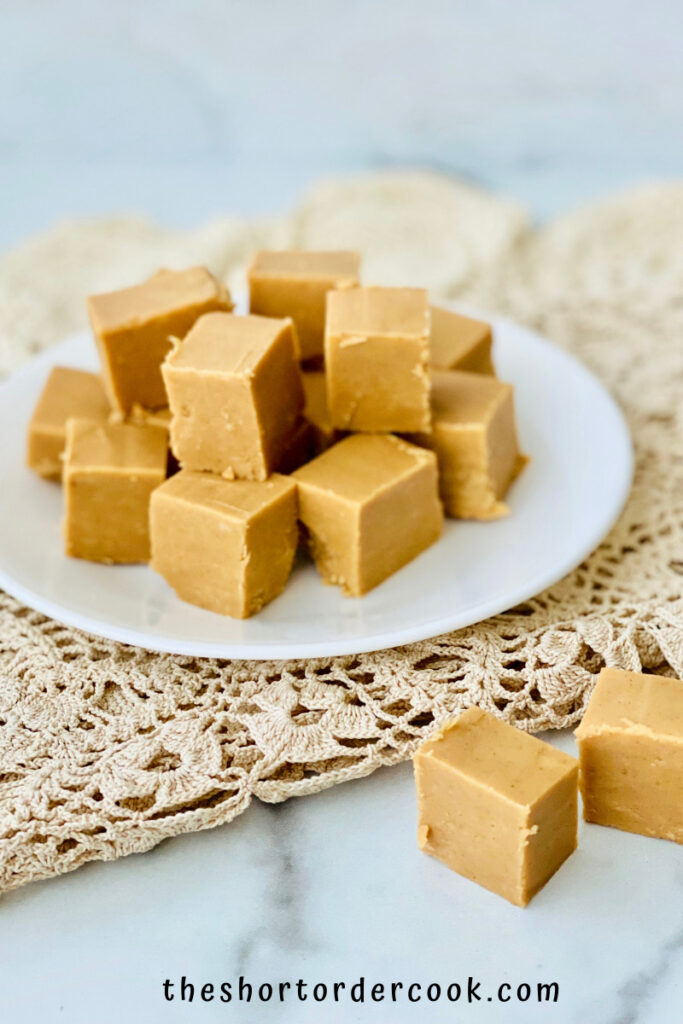
Cut along the shorter side to make 10 rows. Next, cut each row of peanut butter fudge into 4 pieces. This will give you 40 pieces of homemade peanut butter fudge that are even squares. Each piece of fudge will be a perfect bite-sized candy treat.
Wrap the fudge in plastic wrap to keep it fresh & the air out. Store in the refrigerator for a month. This also freezes well for up to 3 months.
Peanut Butter Fudge as a Gift
To prepare peanut butter fudge to give as a gift, keeping it chilled in the refrigerator is the best bet. Wrap homemade fudge squares in candy boxes, on a plate with cellophane, or in candy bags tied in a ribbon. It stacks nicely as long as you keep it chilled.
Homemade fudge can be at room temperature or travel in the car for about 30 minutes, but more than that the peanut butter fudge will soften. It will still be delicious but just may not look as fancy.

If you love this recipe try my other peanut butter recipes.
Easy Microwave Peanut Butter Fudge
Equipment
- microwave
- loaf pan
- Parchment Paper
- large microwave-safe bowl glass works best
Ingredients
- 1 stick salted butter (½ cup) softened
- ¾ Cup creamy peanut butter
- 1 teaspoon vanilla
- 2 ½ Cups powdered sugar (confectioners sugar)
Instructions
- Line a loaf pan with parchment paper. Make sure there is ample paper hanging over the edges so you can grab it easily later to lift the fudge out of the pan.See above for a quick hack to hold the parchment in place.
- Add soft butter to the peanut butter in a microwave-safe bowl. Place it in the microwave & cook for 30 seconds – stir. Microwave another 30 seconds – stir. Cook for a final 30 seconds. It will be darker and little bubbles will have formed.
- Add the vanilla to the peanut butter mixture and stir.
- Using a sturdy wooden spoon or spatula, begin adding the sugar. Start by adding half of the powdered sugar and stir to mix well. Next add half of what is left, stir, and add the final amount. The peanut butter fudge batter will be stiff but should combine evenly without any streaks of sugar remaining.
- Spoon the batter into the prepared pan. Using an offset spatula smooth the top and make sure the peanut butter fudge is evenly distributed so that the cubes are similar in size and thickness. Once it is smooth and even, place the fudge into the refrigerator. Place plastic wrap over it but be sure it does not touch the fudge – another way the binder clips come in handy.
- Refrigerate the fudge for 2 hours.
- Place the parchment-lined fudge on a cutting board. Peel back the edges to expose the fudge to begin cutting. The best way to cut homemade peanut butter fudge is to use a sharp chef knife. Cut along the shorter side to make 10 rows. Next, cut each row of peanut butter fudge into 4 pieces. This will give you 40 pieces of homemade peanut butter fudge that are even squares.
- Store in an air-tight container in the refrigerator for a month. It can also be frozen for 2-3 months. For more information on storing homemade fudge or wrapping it up for gifts, see recipe notes.
Notes
- Store in the refrigerator for up to 30 days or in the freezer for up to 3 months.
- Wrap tightly to keep the air out & for the freshest taste.
- Defrost frozen fudge in the refrigerator.
- Use parchment paper so it lifts easily out of the pan once set.
- Use a sharp knife to cut fudge squares into bite-size chunks.
- Make ahead of time for holiday gift giving. Wrap individually or add to cookie/candy platters or gift boxes.
Nutrition
More Christmas Candy Recipes
If you love making homemade candy for the holidays, try these similar ideas that are easy to make:
Martha says
Truly is the easiest fudge recipe. My daughter does not like chocolate so she wanted to make this. She did it almost all by herself and I just had to stir at the end. She is 8 years old and proud of herself. Thank you for making her day.
Angela says
I am so happy to hear you and your daughter loved making and eating this peanut butter fudge. I hope it becomes a new holiday tradition.
Lee says
Do not change a thing. Make this fudge just like this and you will be so happy.
Lee says
This microwave recipe really works. I have tried others in the past and they were not good and too soft. This peanut butter fudge sets up good but I recommend keeping it in the fridge for the best storing.
Angela says
I am glad you found this microwavable fudge recipe exactly what you were looking for.
Kathy C says
I made this today for a little Patriot's party; it was easy and delicious; I embellished it with chopped peanut butter cups on the bottom and a chocolate topping so it tasted just like a peanut butter cp!
Angela says
Love that leveling up of the PB cups.