
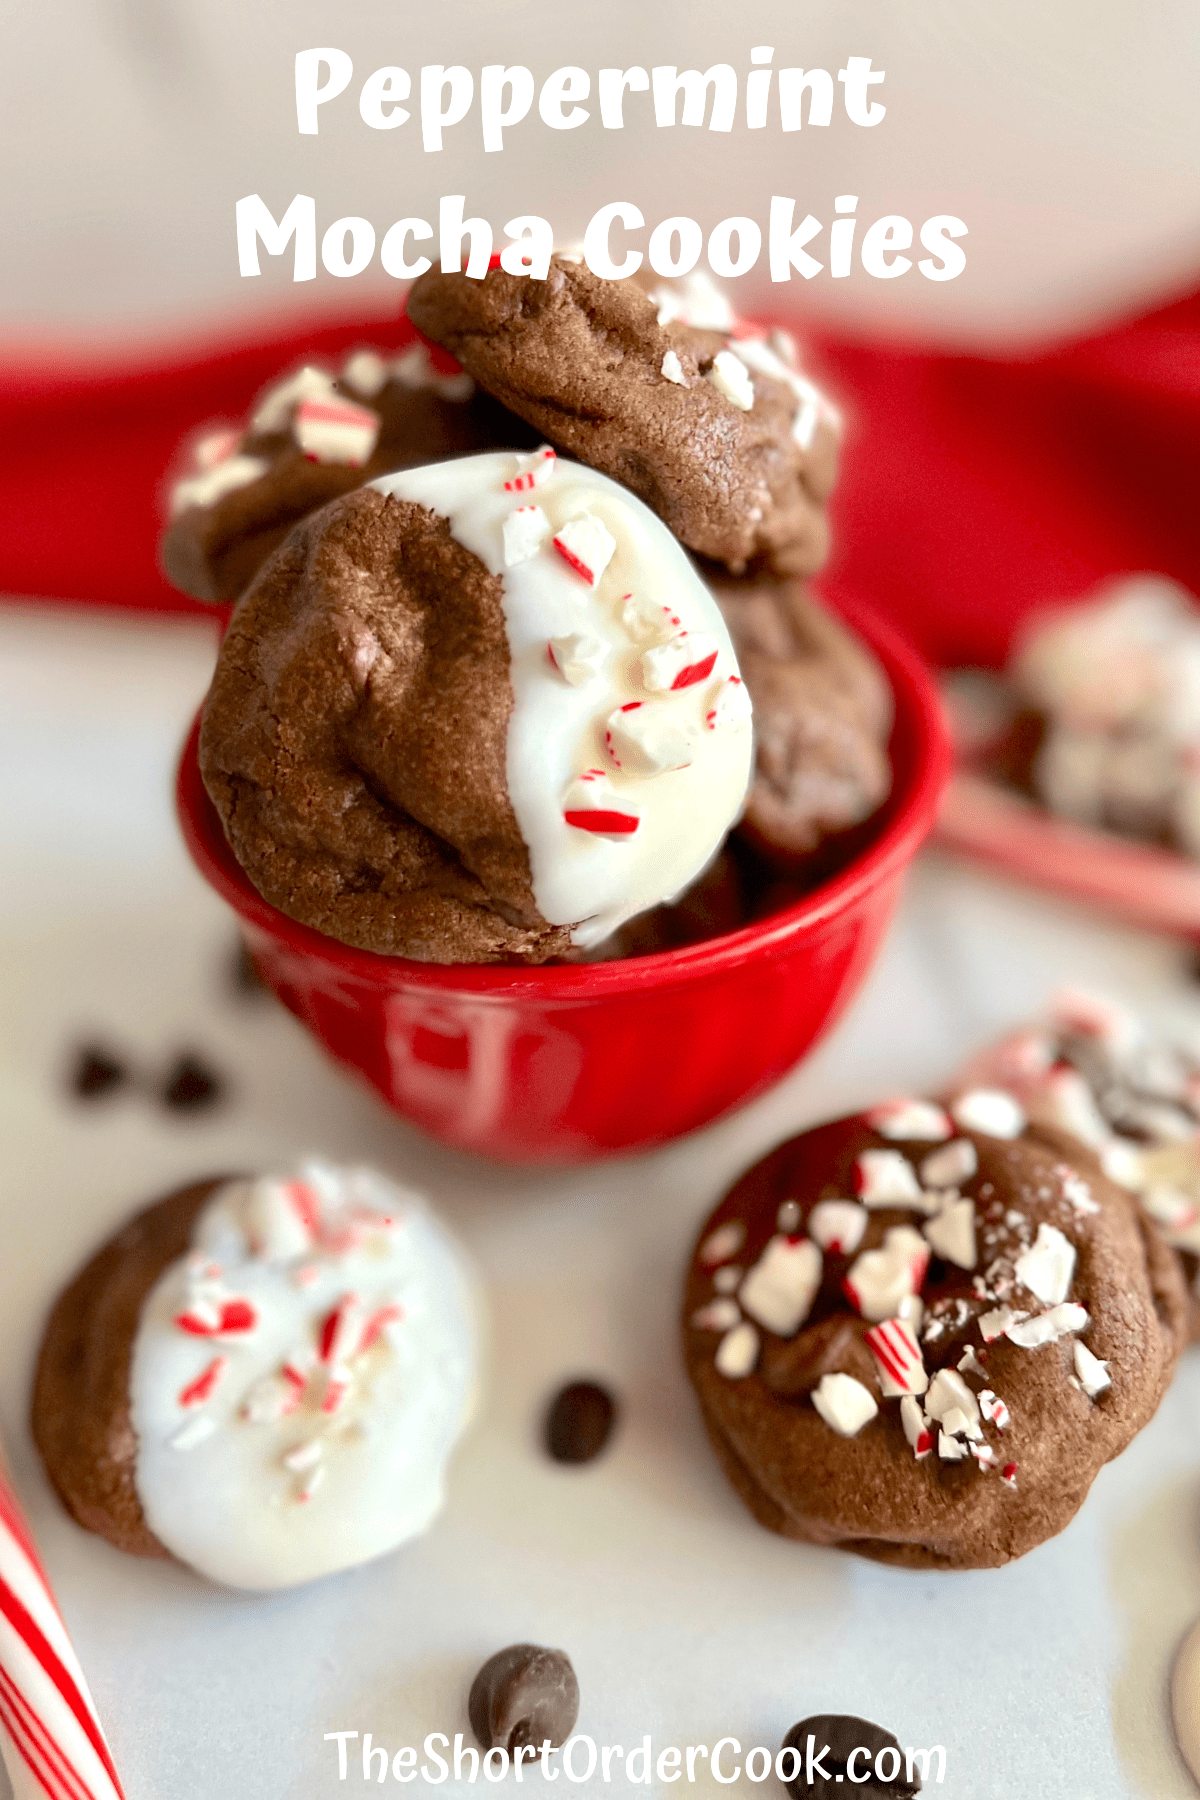
These amazing Peppermint Mocha Cookies are fudgy, minty, & chocolatey. The soft chocolate cookie with coffee flavor is rich and loaded with semi-sweet chocolate chips. The cool peppermint is the perfect holiday flavor that will make this a Christmas cookie recipe you crave every year.
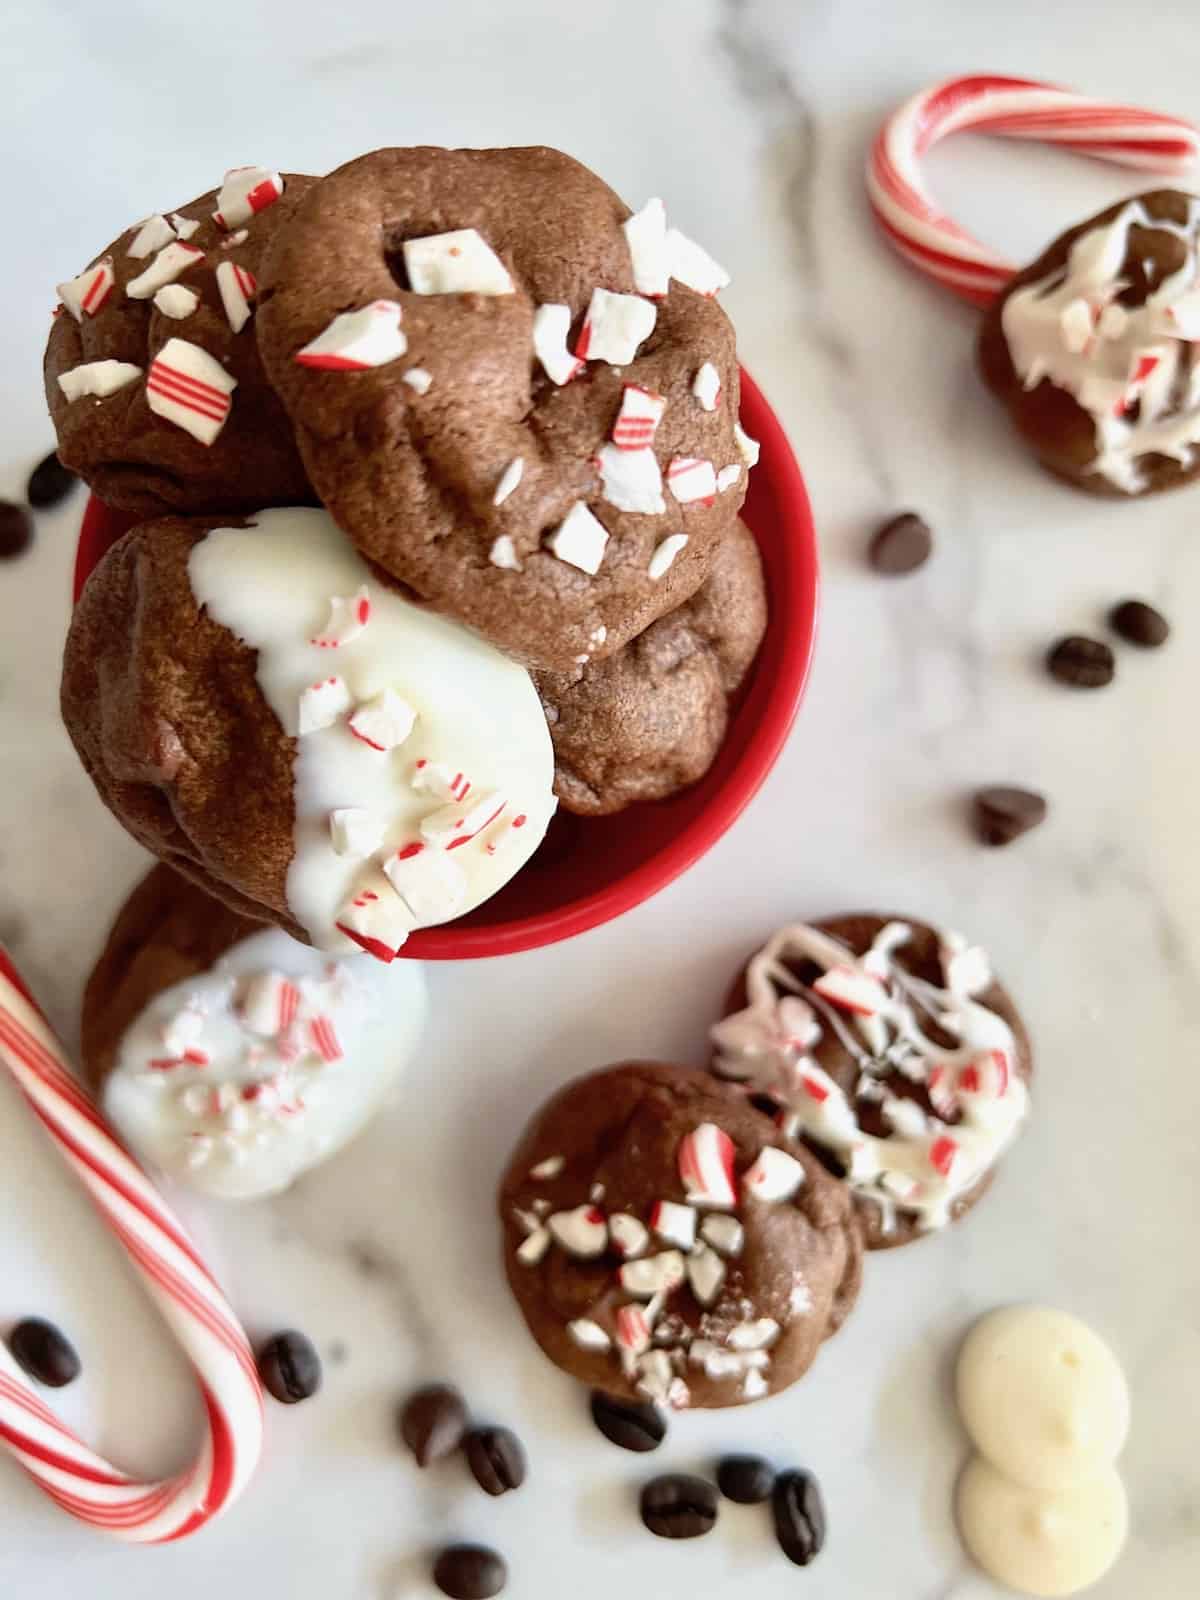
Why this Chewy Peppermint Mocha Cookie Recipe is Amazing: These to-die-for cookies are like a combination of a gooey brownie, a chewy cookie, and a decadent truffle all in one. Add some crunchy bits of candy cane & dipped in white candy melts & the holidays never tasted better.
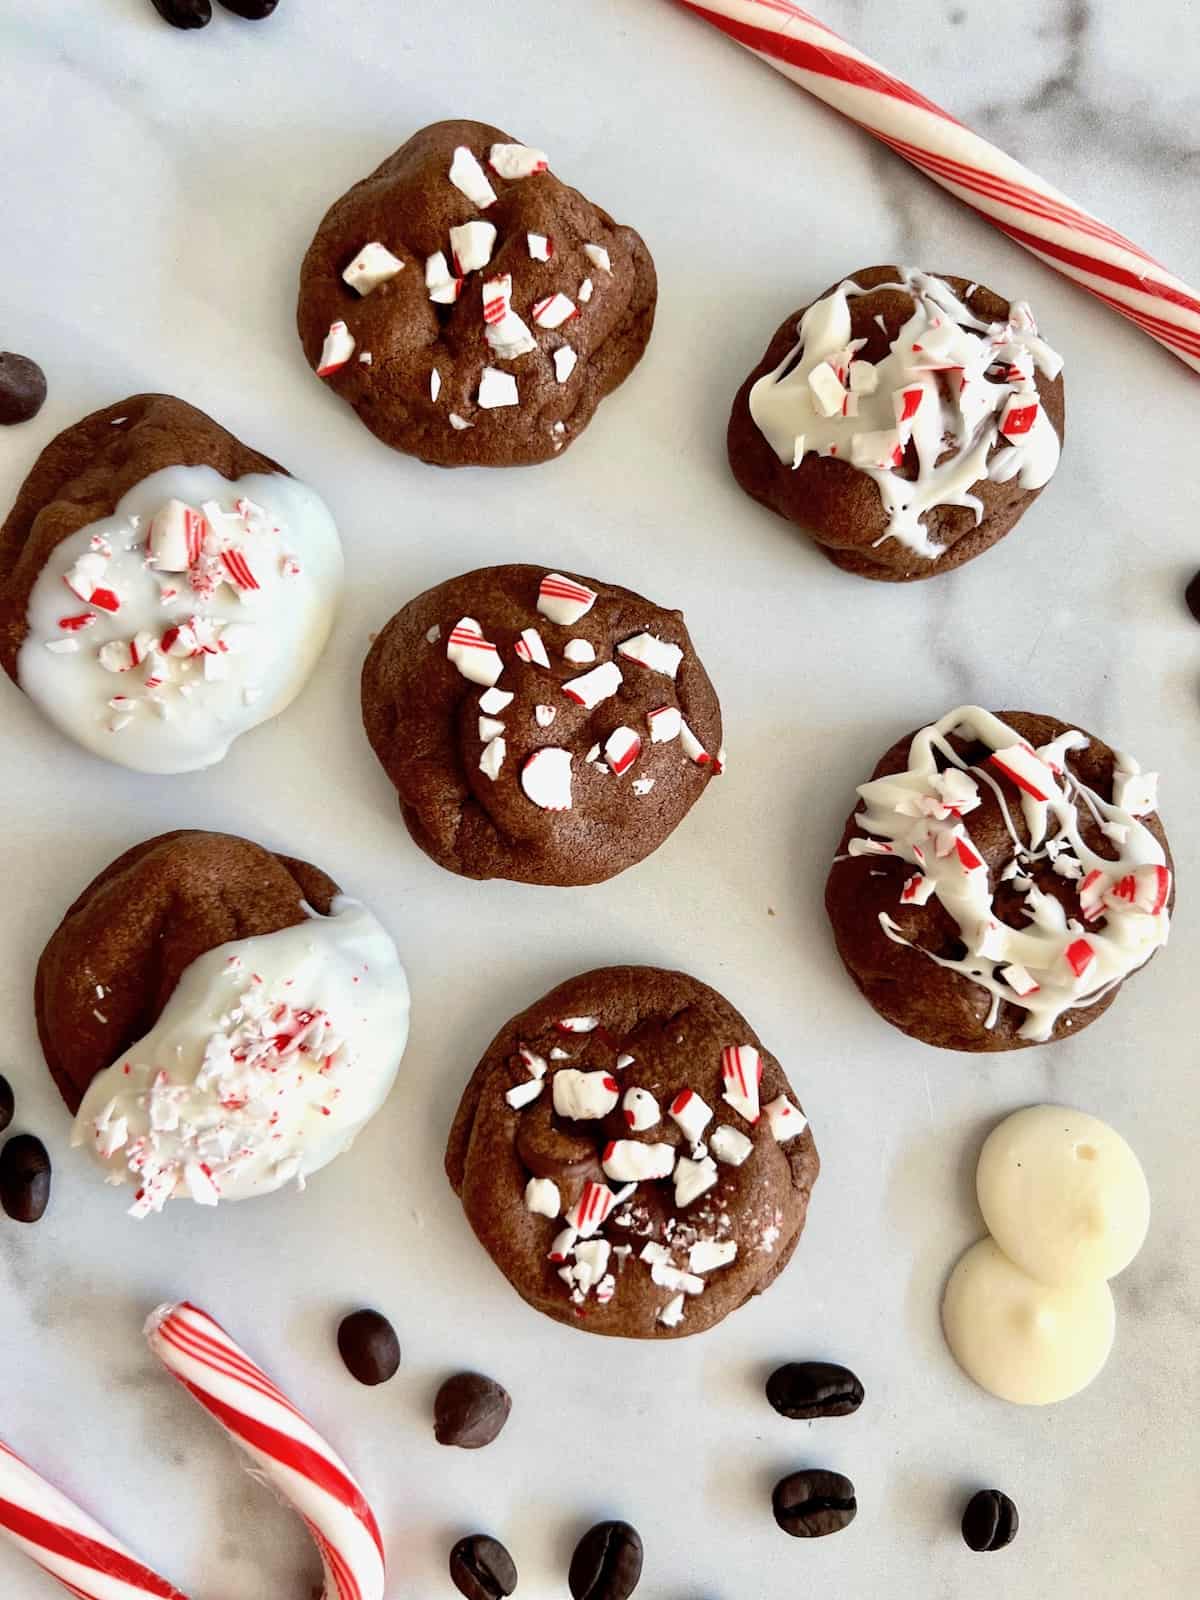
If you love a Starbucks peppermint mocha like me, these homemade cookies taste just like your favorite holiday drink. Enjoy for Christmas but also great for Valentine's day with the pretty red & white colors.

This recipe is wonderful to make for a cookie exchange or your holiday cookie platters. Bake some along with my Spritz Cookies, Christmas M&M Bar Cookies and No Spread Sugar Cookies. Ok, now we bake!
Jump to:
Ingredients
Here are the ingredients to make fresh-baked peppermint mocha cookies. For the yummy flavors, there is of course peppermint extract. Plus cocoa, chocolate chips, and espresso powder for the mocha part of this coffee-flavored dessert. Plus all the regular cookie ingredients like butter, sugar, flour, and an egg.
Finally, there come some candy melts. The white color is lovely in winter like a snowy scene plus the creaminess is so tasty. It is a great way to decorate and pairs well with crushed candy canes.
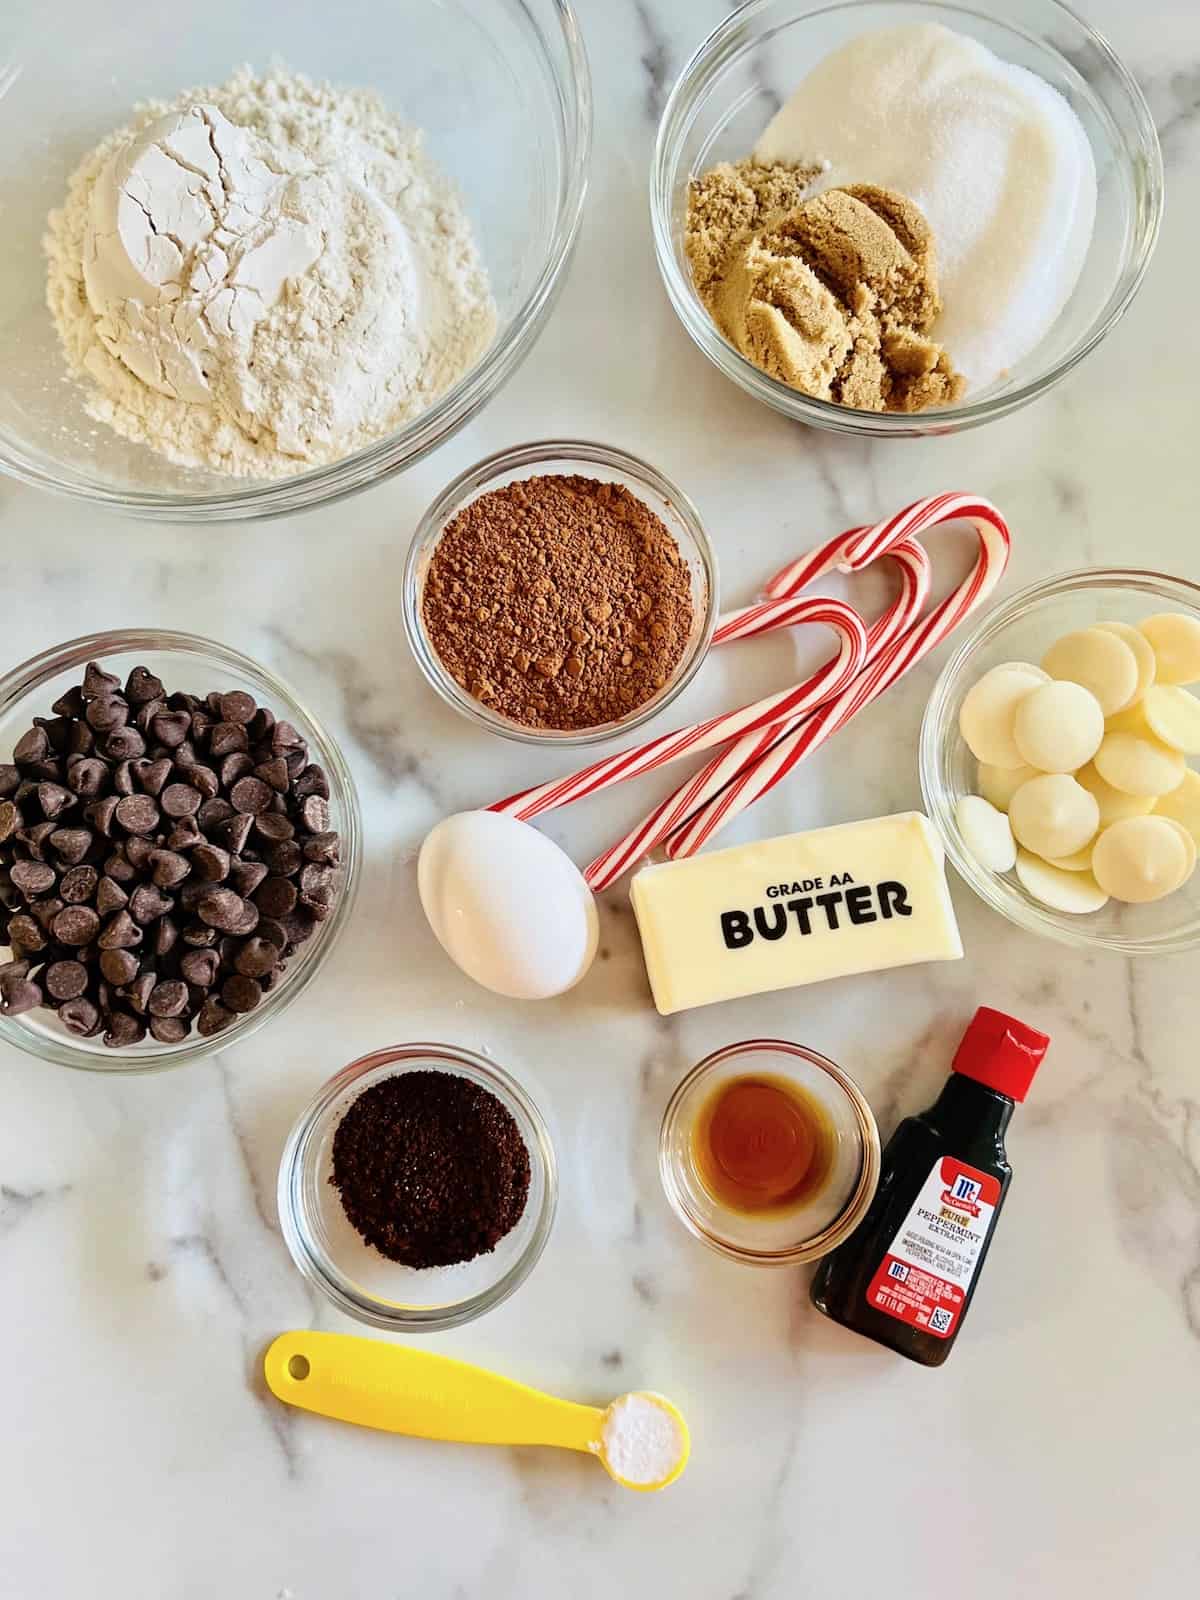
Here are the ingredients needed to make this recipe:
- Salted Butter - softened at room temperature
- Egg - room temperature
- Sugars - both granulated white & brown sugar
- Extracts - both vanilla & peppermint
- Flour - all-purpose
- Cocoa Powder - for the deep mocha flavor
- Espresso Powder - for the coffee flavor, decaf/reg coffee instant crystals also works. (plus water to reconstitute it)
- Baking Soda - for a soft cookie texture
- Chocolate Chips - semi-sweet work best for deep chocolate flavor along with rich cocoa
- White Vanilla Candy Melts - or almond bark for dipping or drizzling.
- Candy Canes - crushed for decorating.
See the recipe card for quantities & substitutions/variations.
How to Make Peppermint Mocha Cookies
You do need to plan ahead a bit for this recipe. Add time for bringing some ingredients to room temperature and for the chilling time the dough needs. Make sure you set out the egg and butter so it can come to room temperature. Then the mixing can begin.
Here are the easy steps for making these holiday cookies:
- Mix the Dough
- Roll & Bake
- Decorate
See the step-by-step instructions with photos below plus the recipe card at the end of the post.
1 - Mix the Dough
This recipe begins like most homemade cookie recipes. You combine the wet and dry ingredients separately. It doesn't matter which order as long as in the end they finally come together for the cookie dough.

In a large mixing bowl add the softened butter and both sugars. Using a hand mixer on medium, mix for 1 minute.
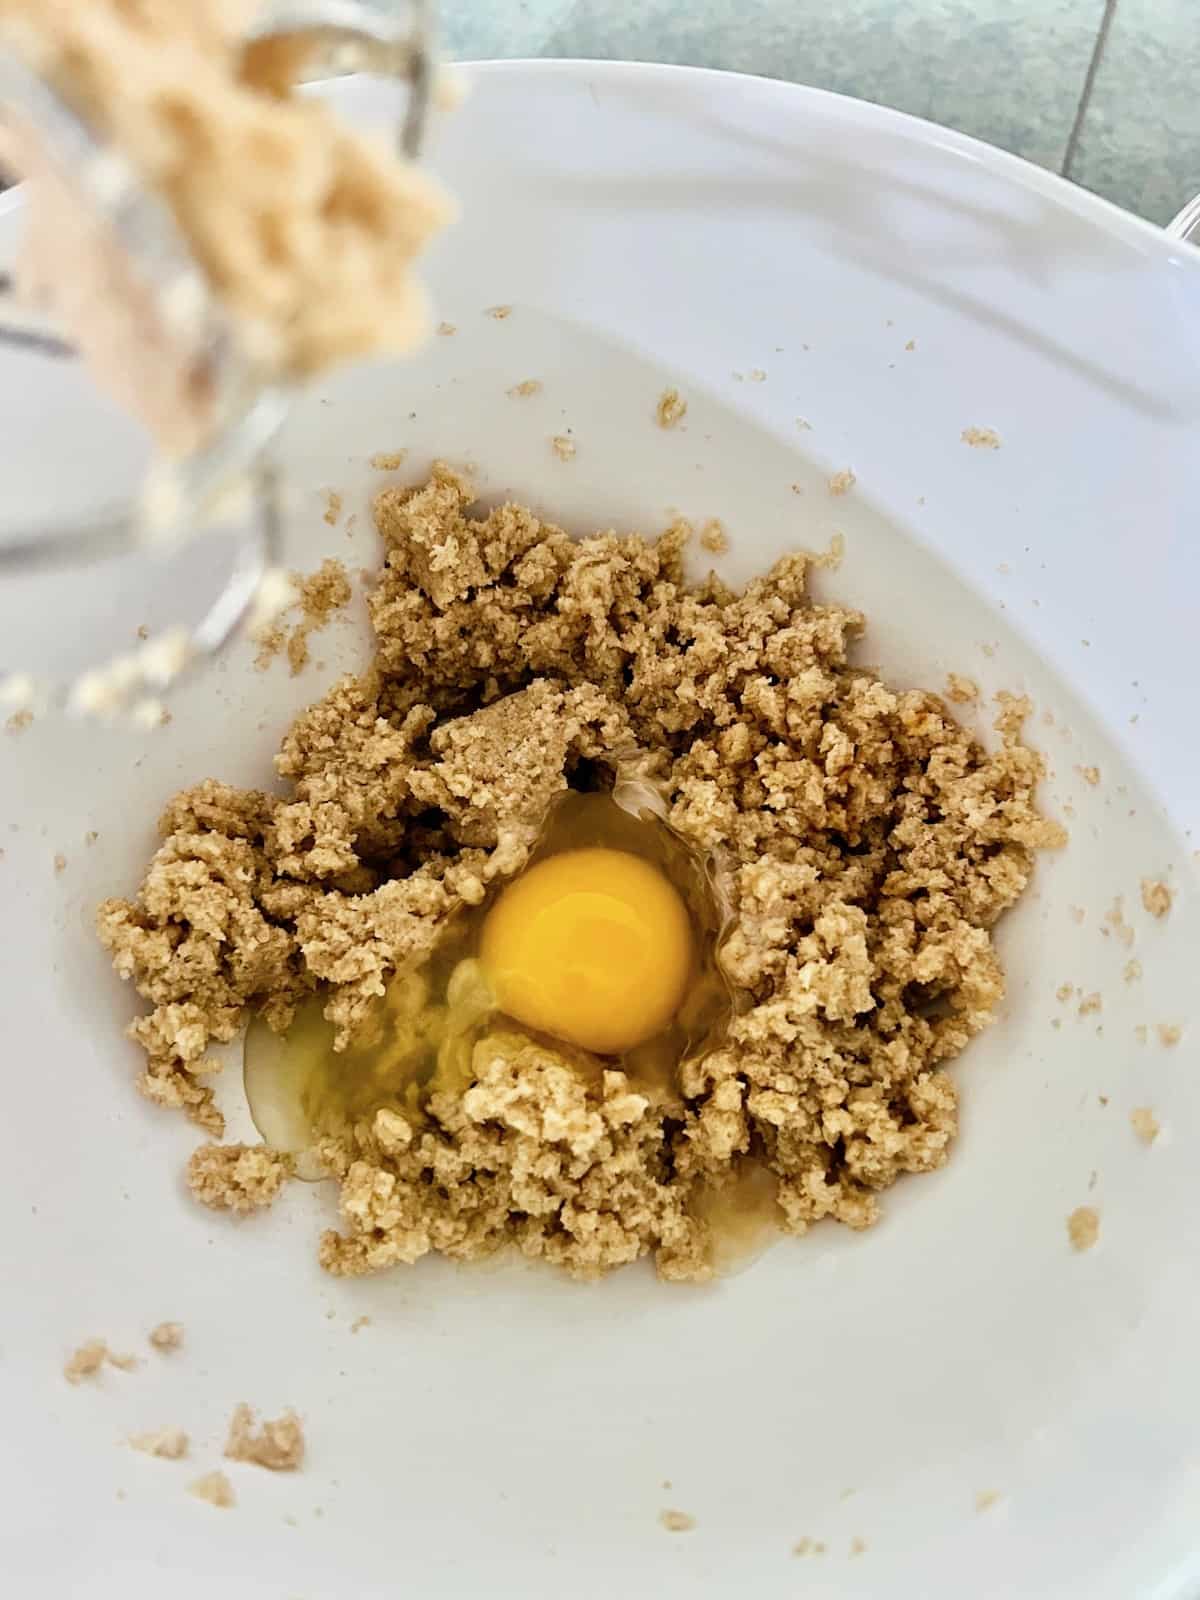
Add the egg and both extracts. Mix again on medium until creamy and smooth.
In a small bowl combine the espresso powder and the hot water. Whisk or stir to dissolve and combine. It will be thick and that is ok.
In a small bowl combine the flour, baking soda, and cocoa powder. Using a fork, mix to combine and ensure there are no lumps.
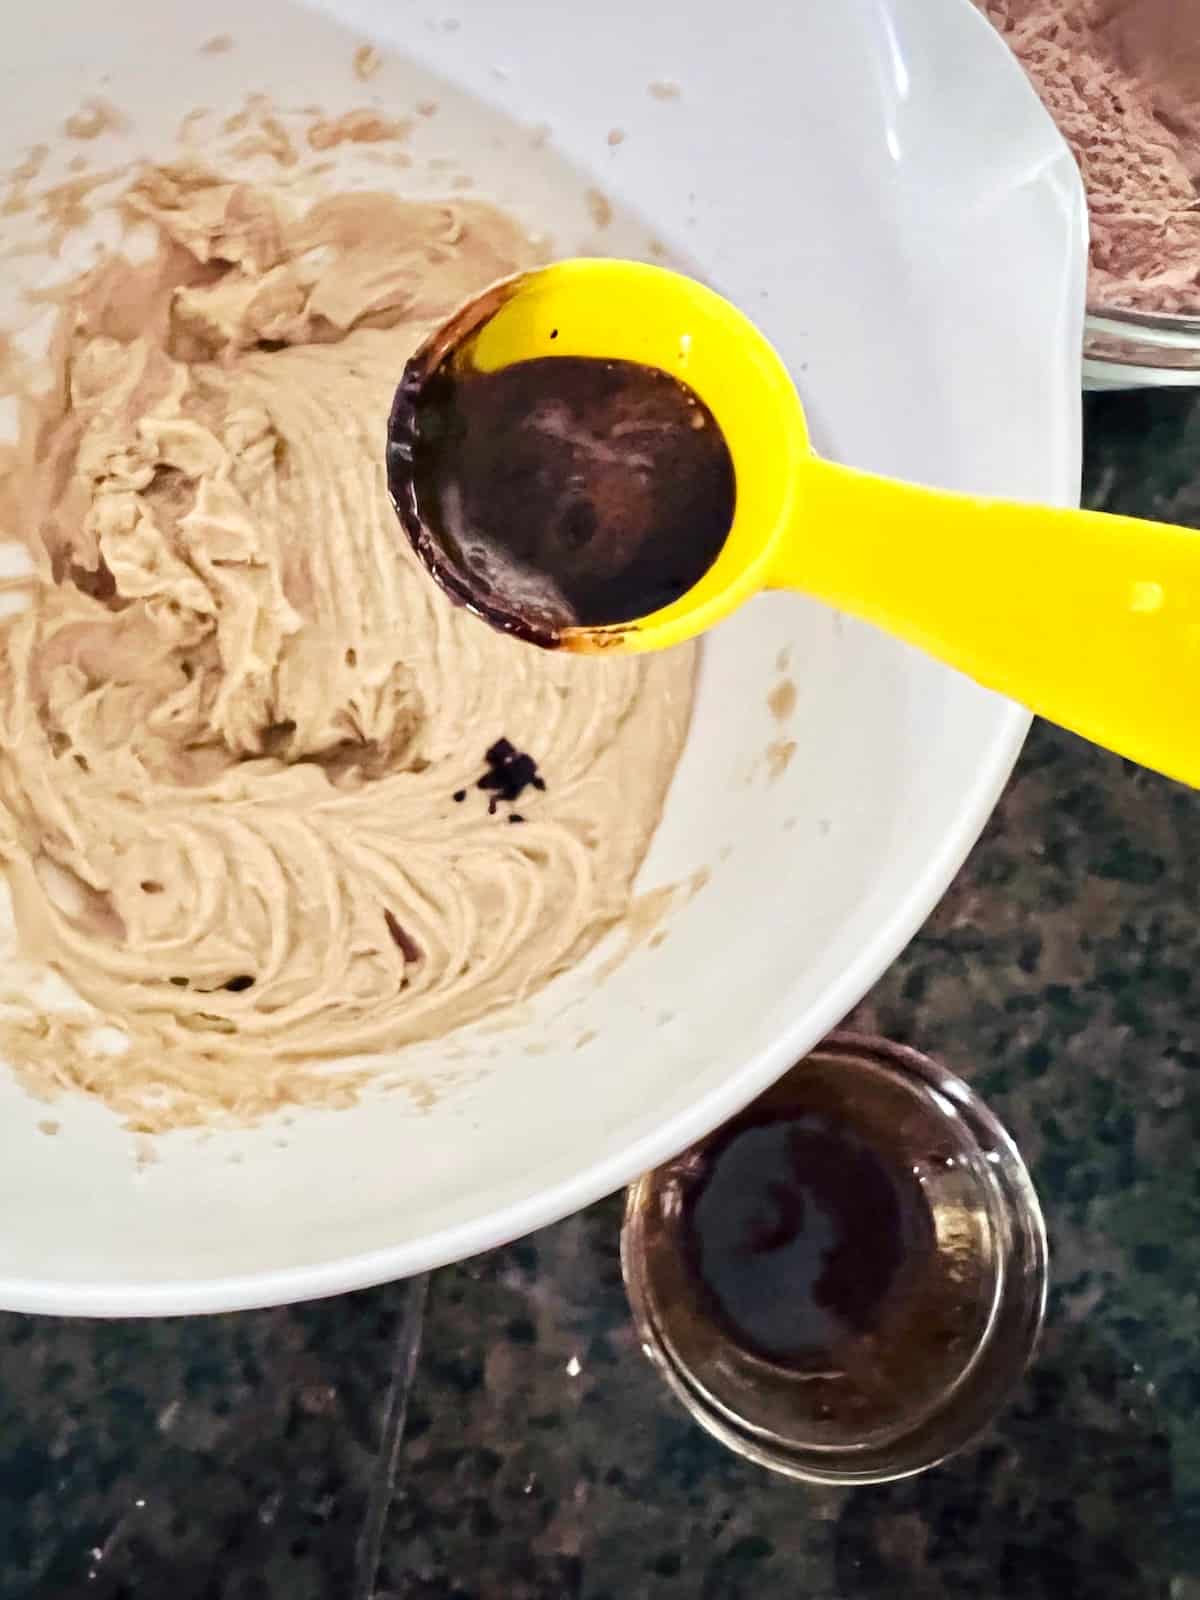
Add the reconstituted espresso powder to the wet ingredients and stir to combine.
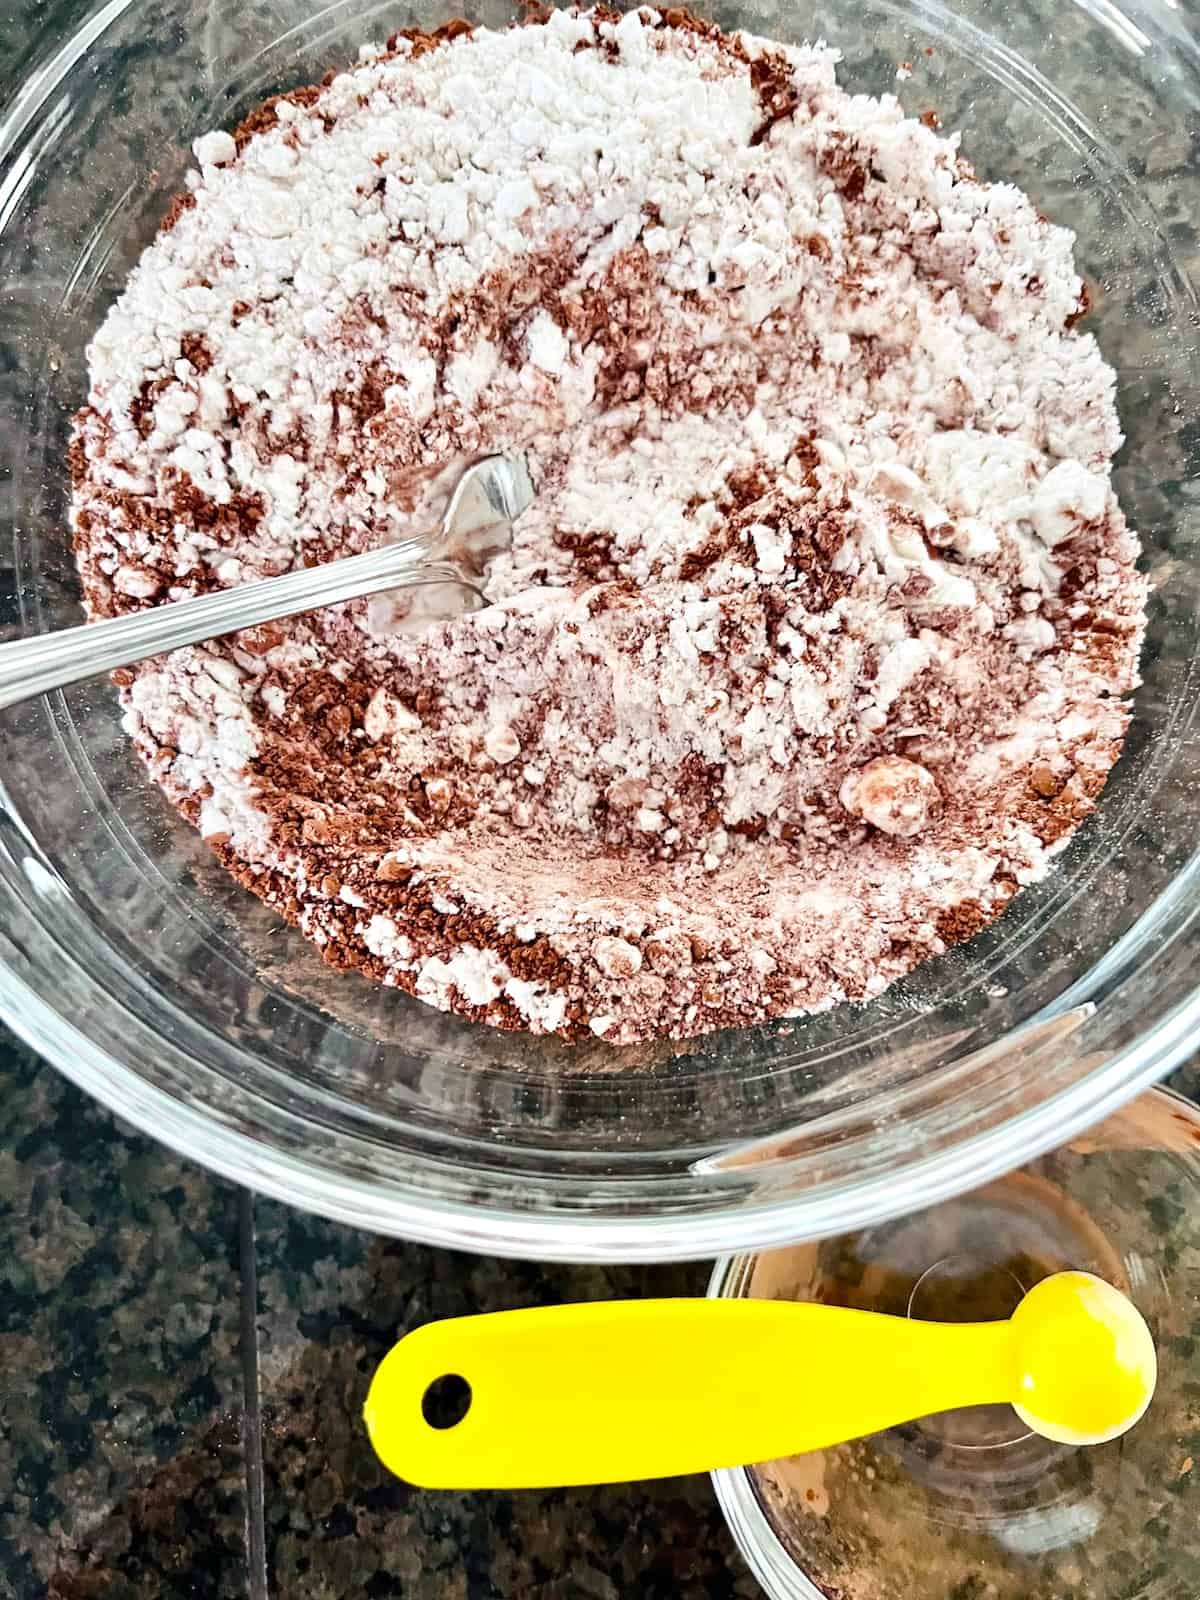
Add half the flour mixture to the wet ingredients. Mix on medium for 2 minutes. Add the other half of the dry ingredients and mix again. Once it is all incorporated turn off the hand mixer. Scrape down the sides of the bowl with a rubber spatula.
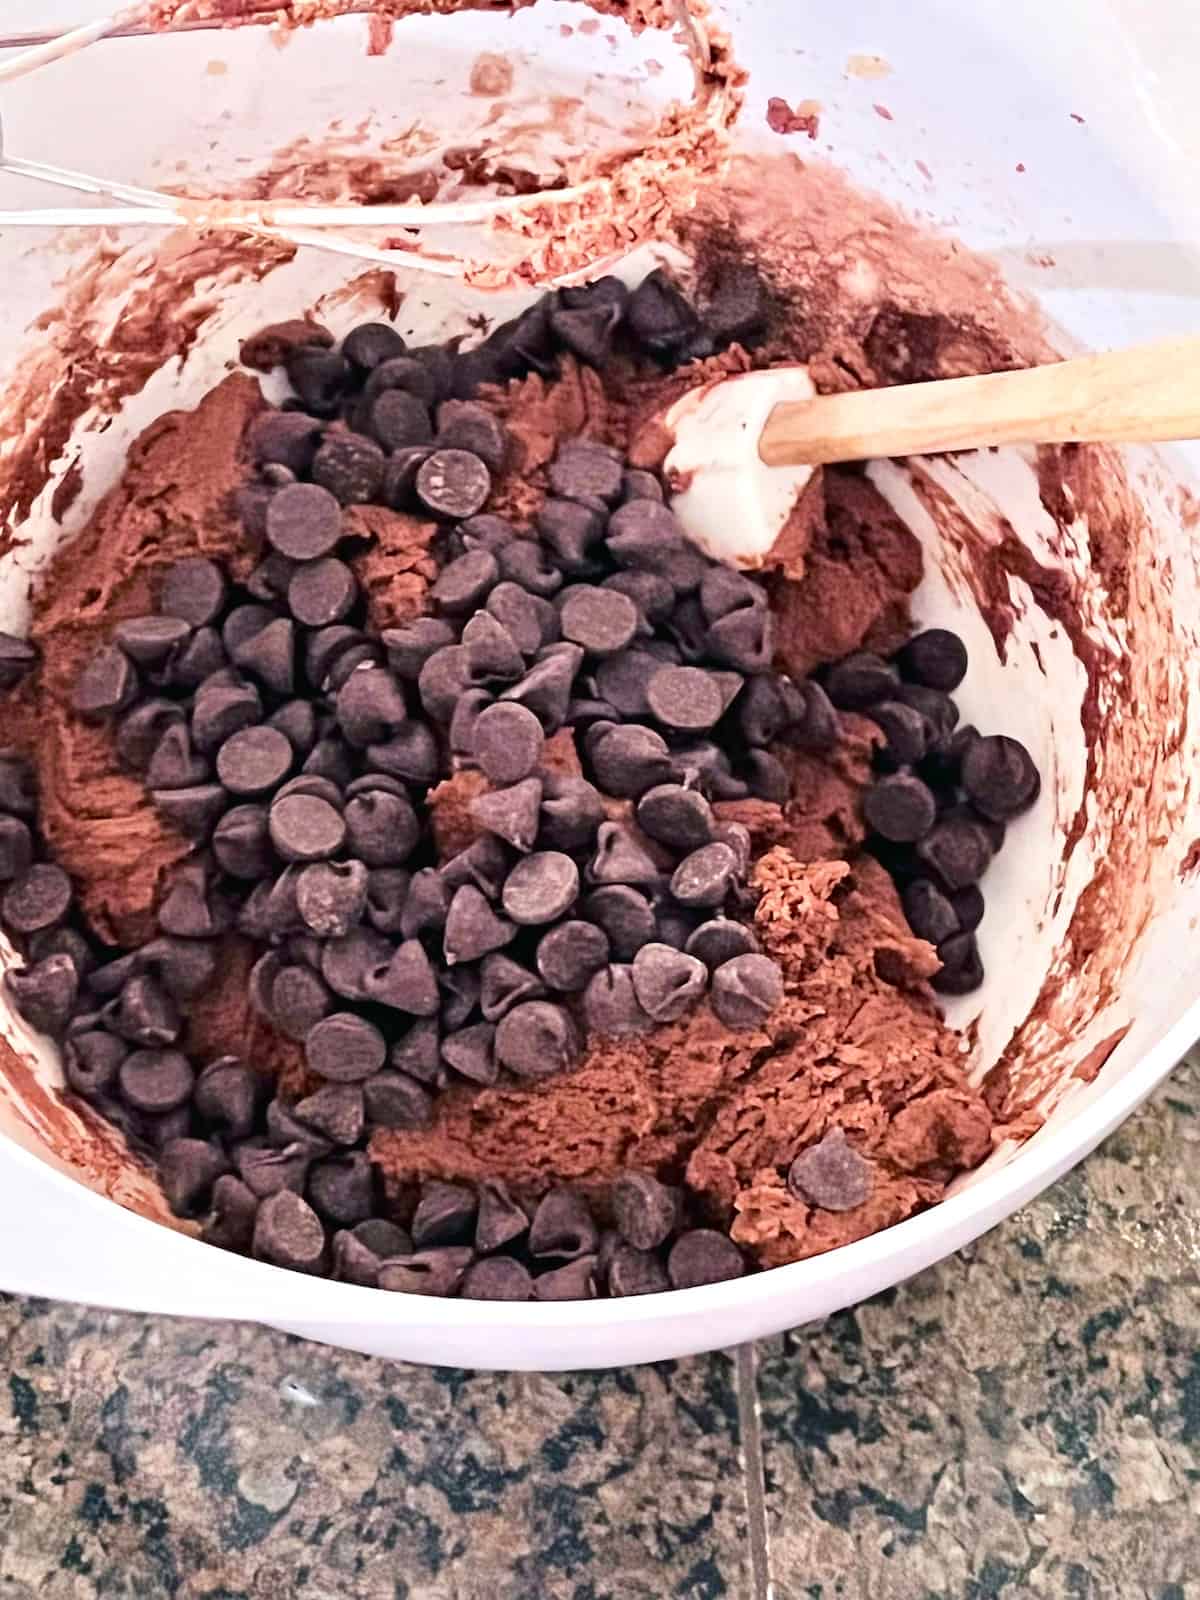
Once the cookie dough is combined, the chocolate chips go in. Pour in the semi-sweet chocolate chips. Use a rubber spatula to fold them into the dough so they are distributed throughout.
** You can also fold in additional crushed candy cane pieces at this time if you like.
When the dough is ready, it is time to chill it. Place the cookie dough in the refrigerator for an hour. This helps the cookies keep their thick shape which allows the center to be chewy and fudge-like.
2 - Roll & Bake
After the dough is chilled, preheat the oven to 350°. Line a baking sheet with foil and spray with a nonstick spray. Or use a nonstick pan or silicone mat.
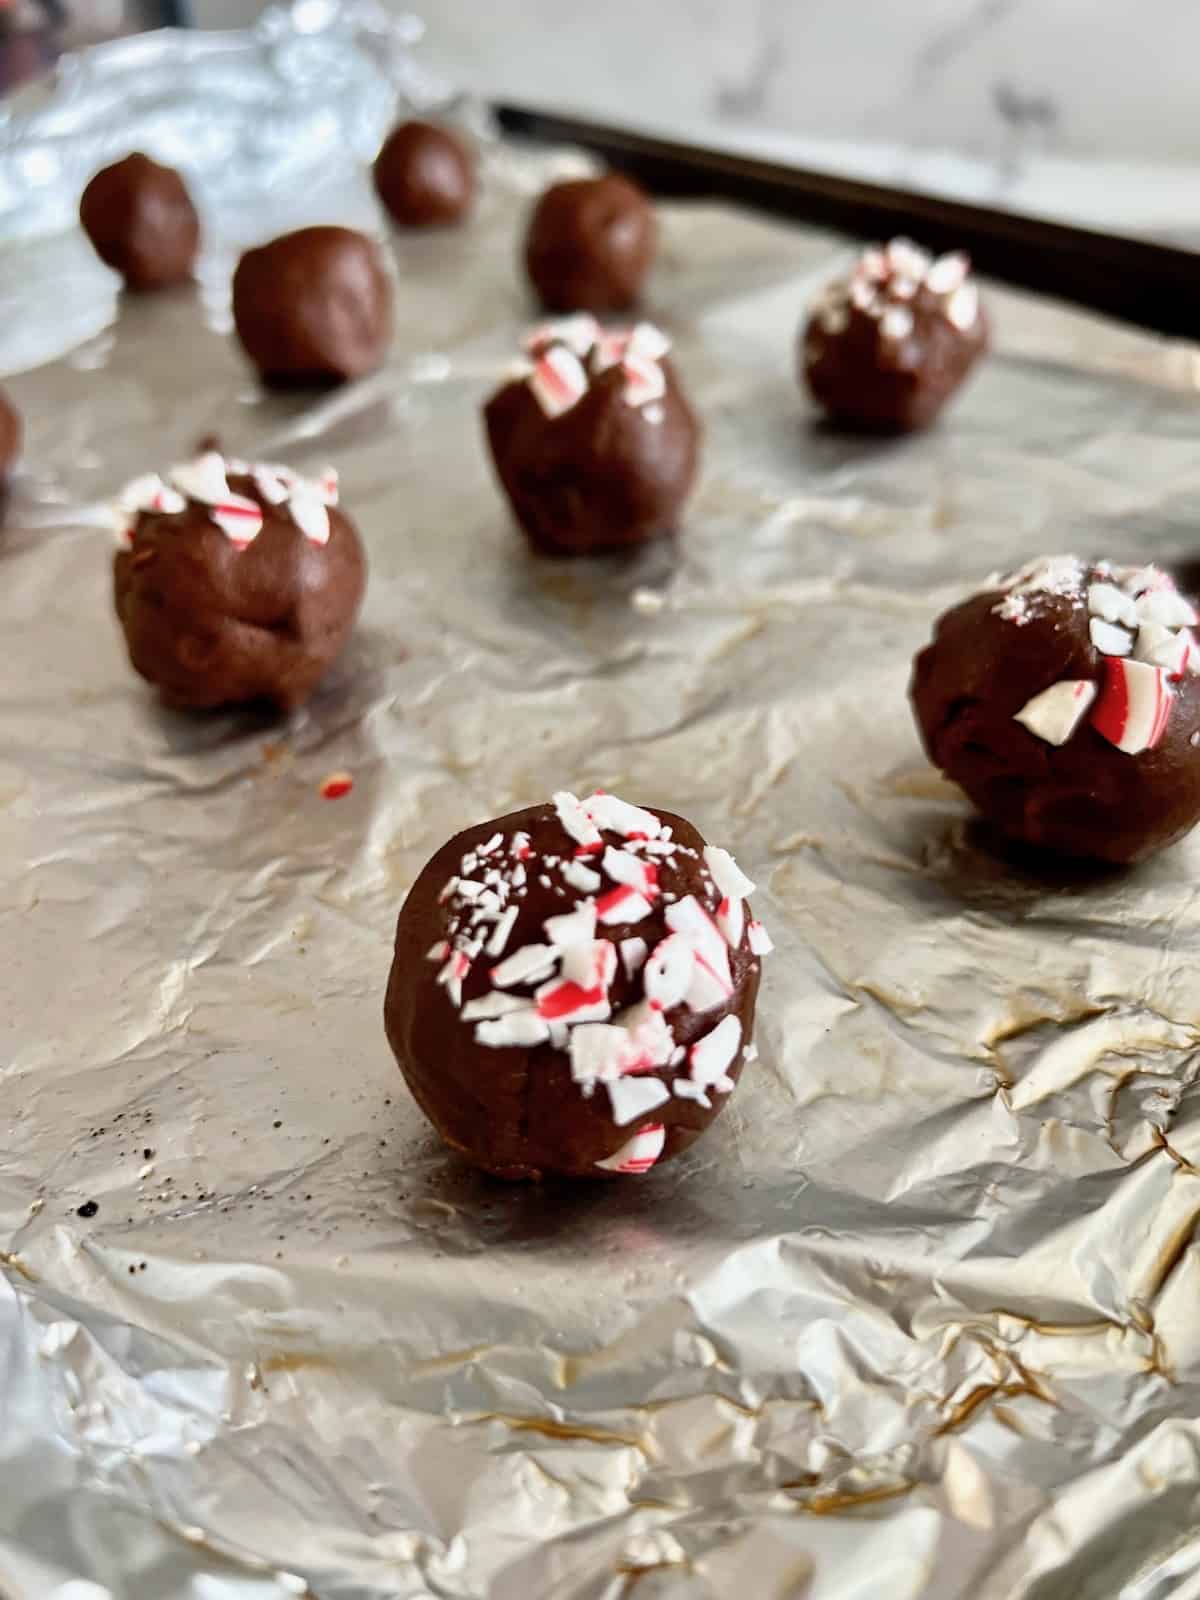
Now it is time to scoop and roll them into cookie balls. Scoop out 1 tablespoon-sized ball of cookie dough. Roll in your hand if needed to have each stay in a ball shape.
OPTIONAL: Roll in crushed peppermint candies as shown below if you want added peppermint kick and pretty colors.
Place on prepared cookie sheet. Repeat until you have a dozen on your cookie sheet. Some with and some without the candy canes is how I roll.
Hint: if you want a flatter cookie, press down slightly with the palm of your hand after rolling the balls. This will give you a crisper edge and a less fudgy center.
Bake the cookies at 350°. Bake for 8-9 minutes in the preheated oven. These will be gooey brownie-like cookies (not firm and cake-like). They should still be thick and soft (unless you opted to press them down)
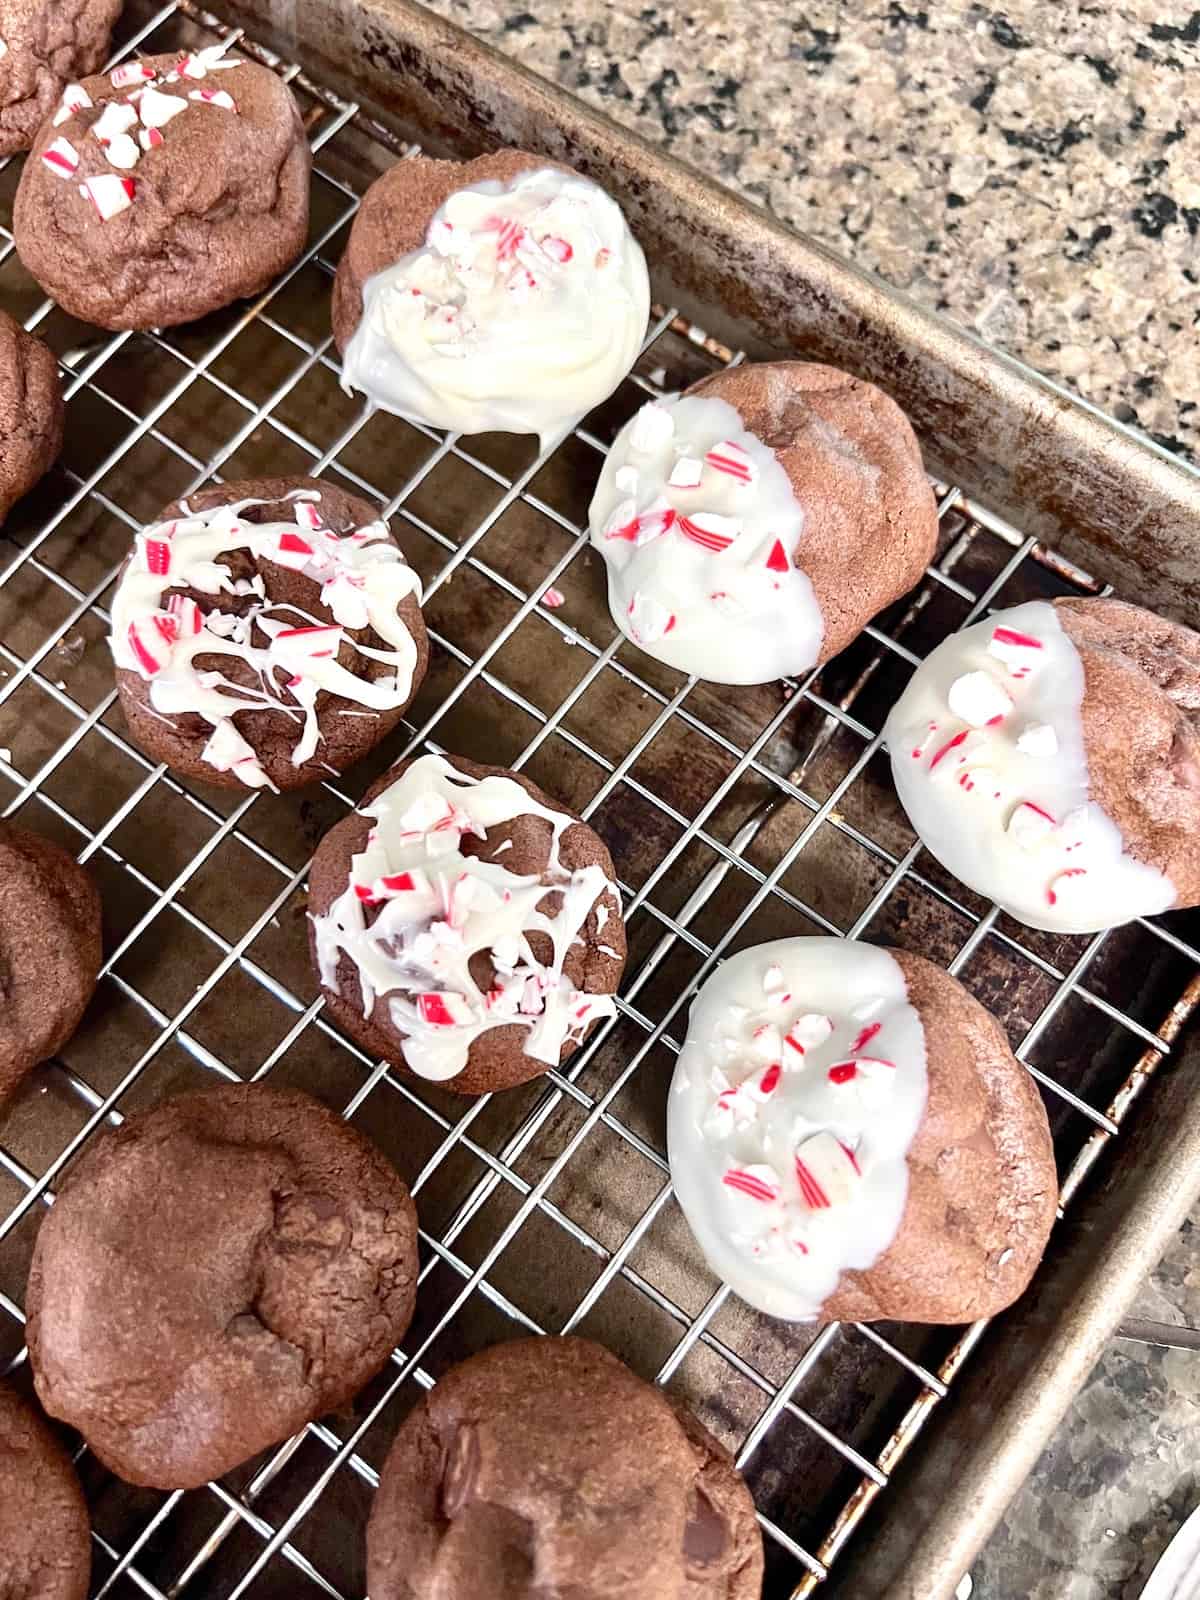
DO NOT OVERBAKE! Remove the cookies from the oven carefully using an oven mitt. Let the cookies set on the cookie sheet for 2 minutes. Once set, use a spatula to remove them and place them on a cooling rack. Repeat the above steps until you have cooked all the batches of cookies.

3 - Decorate
These are delicious without any toppings or drizzle. But they are even better dipping in white chocolate or white vanilla wafer melts. The added creamy topping plus the rich chocolate and coffee cookie is wonderful all topped with more peppermint.
I mean you really cannot resist these cookies with that combination. Plus they are sooooo pretty.
Once the cookies are cooled, add the vanilla melting wafers to a microwave-safe glass bowl. Begin by melting the candy melts. You can use white chocolate too if you want. Microwave on high for 15 seconds and stir. Repeat the 15-second cook & stir intervals until the wafers are smooth and melted.
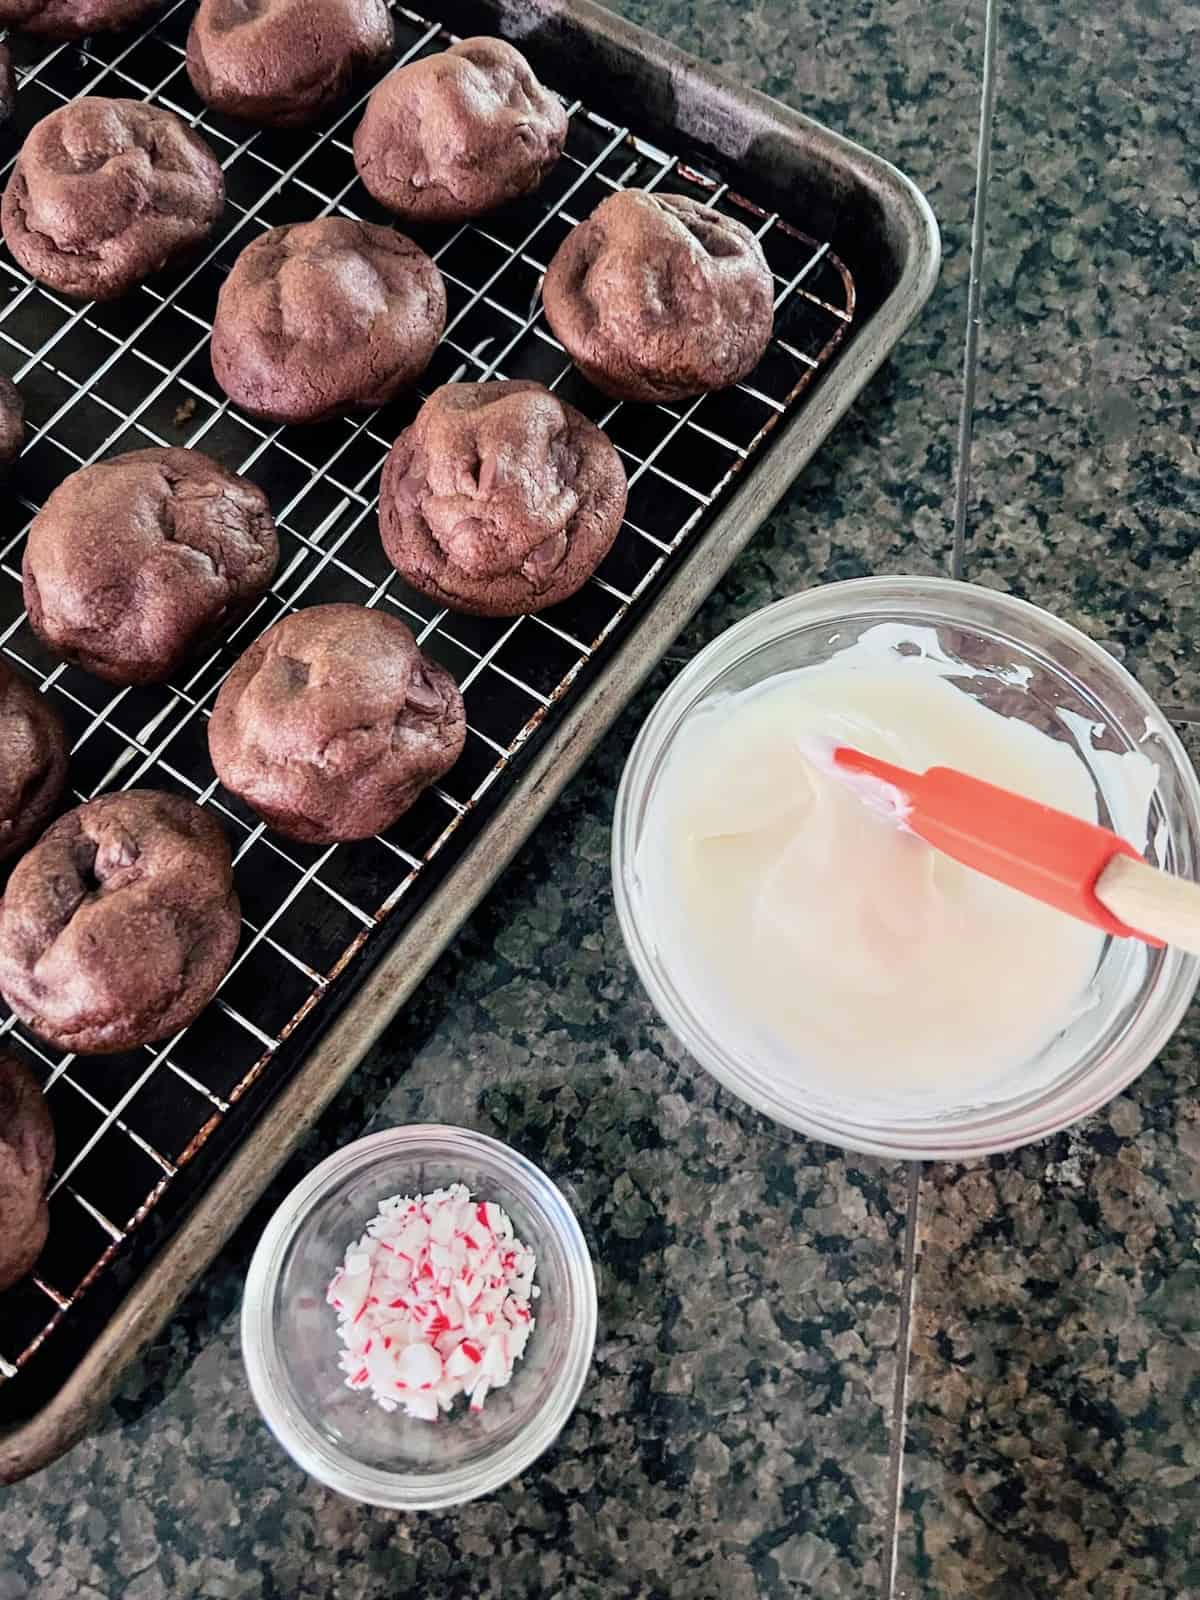
I like to do all sorts of different designs to decorate these cookies. Dip half into the candy melt and then sprinkle on some candy cane pieces. Or drizzle on the melted vanilla wafer and then add the crushed peppermint candy. I always leave a few plain cookies too because decorated or not, they are so good.
Once the cookies are decorated, let the candy coating or the white chocolate cool. It only takes 15 minutes for them to set and harden. Then the candy cane will stay in place. They are ready to eat.
They also make great gifts and store well for a few days. So make someone's holiday and bake them a batch as a Christmas present.
Substitutes & Variations
Like most baking, substitutes may not always work out. Here are a few alternate ingredients that can be used as a replacement for the main ingredients. The cookies will still turn out pretty and yummy.
- Candy Melts - instead of white vanilla melting wafers, use white chocolate.
- Candy Canes - use red or green crushed starlight mints
- White Chocolate Mocha - add white chocolate chips instead of semi-sweet or half-and-half with both kinds.
- Deluxe - add ½ cup crushed candy cane pieces to the dough
- Frosted - top with store-bought white frosting & sprinkle with candy cane pieces
You can even break up my 2-Ingredient Peppermint Bark into small pieces. Then you can fold them into the dough or sprinkle some on top.
Top Tip
Share in the baking and decorating fun with friends and family. Since the candy melts cool and hardens quickly, you want to work fast.
If you have helping hands it is fun to drip, drizzle, and decorate together. I like to dip and let the kids sprinkle on the candy canes - at least the ones they do not try and eat first!
Storing Tips
Store cookies in an air-tight container. Place in a cool dry location that is away from heat or sun. Cookies will remain fresh for 4 days.
If you wish to freeze these cookies they can be made ahead of time and frozen to enjoy later. I recommend freezing them without any decorative candies, chocolate, or candy-coating. You can defrost and decorate later.

FAQ
The white vanilla melting wafers work great for this recipe. It melts easily and the white color offsets the dark chocolate and red candy canes perfectly. If you are a white chocolate fan, you can substitute it for the candy coating. Work fast since white chocolate tends to cool and harden quickly.
Since these are mocha-flavored cookies, the coffee flavor from the espresso powder is important. You can use instant coffee crystals instead of espresso powder. I made it also with decaf instant coffee and they were great.
Chilling the dough for this recipe ensures the cookies do not spread when they bake. That thickness gives the center a chewy almost brownie-like fudge center. I highly recommend chilling the dough.
You can bake these without chilling. Please note that you will have flat cookies that will be crispy on the edges without a soft chewy center.
Peppermint Mocha Cookies
Ingredients
- 1 stick salted butter softened at room temperature
- ½ c brown sugar
- ½ c granulated sugar
- 1 egg room temperature
- 1 teaspoon vanilla extract
- 2 teaspoon peppermint extract
- 1 ¼ cups all-purpose flour
- ⅓ c cocoa powder
- ½ teaspoon baking soda
- 3 tablespoons espresso powder or instant coffee granules decaf or regular
- 2 tablespoons hot water
- 1 ½ cups semi-sweet chocolate chips
- ¼ cup crushed candy cane pieces
- ½ cup vanilla candy melts or white chocolate optional
Instructions
- Bring egg and stick of butter to room temperature.
- In a small bowl combine the flour, baking soda, and cocoa powder. Using a fork, mix to combine and ensure there are no lumps.
- In a large mixing bowl add the softened butter and both sugars. Using a hand mixer on medium, mix for 1 minute.
- Add the egg and both extracts. Mix again on medium until creamy and smooth.
- In a small bowl combine the espresso powder and the hot water. Whisk or stir to dissolve and combine. It will be thick and that is ok. Add to the wet ingredients and stir to combine.
- Add half the flour mixture to the wet ingredients. Mix on medium for 2 minutes. Add the other half of the dry ingredients and mix again. Once it is all incorporated turn off the hand mixer. Scrape down the sides of the bowl with a rubber spatula.
- Fold in the chocolate chips so they are evenly distributed. If adding optional crushed candy cane pieces, fold them at this time as well.
- Refrigerate the dough for one hour.
- Preheat oven to 350°.
- Line a baking sheet with foil and spray with a nonstick spray. Or use a nonstick pan or silicone mat.
- Scoop out 1 tablespoon-sized ball of cookie dough. Roll in your hand if needed to have each stay in a ball shape. Place on prepared cookie sheet.Repeat until you have a dozen on your cookie sheet.
- Bake for 8-9 minutes in the preheated oven. These will be gooey brownie-like cookies (not firm and cake-like). They should still appear shiny in the center with a little giggle. DO NOT OVERBAKE! Remove the cookies from the oven carefully using an oven mitt.
- Let the cookies set on the cookie sheet for 2 minutes. Once set, use a spatula to remove them and place them on a cooling rack.
- Repeat the above steps until you have cooked all the batches of cookies.
- Once the cookies are cooled, add the vanilla melting wafers to a microwave-safe glass bowl. Microwave on high for 15 seconds and stir. Repeat the 15-second cook & stir intervals until the wafers are smooth and melted.
- Dip or drizzle the white melted candy on each cookie. Sprinkle on some crushed candy canes. Place back on the baking rack to set and cool.
- After 15 minutes the cookies should be set and the candy coating hard and cool. Enjoy!
- Store cookies in an air-tight container. Place in a cool dry location that is away from heat or sun. Cookies will remain fresh for 2 days.
Notes
- The dough can be stored for up to 3 days in the fridge or 30 days in the freezer before baking.
- Baked cookies keep well in an air-tight container stored in a cool dry place for up to 4 days. Freeze cookies for up to a month.
Nutrition
More Christmas Cookies with Chocolate
Here are similar recipes that are great for your holiday baking. All of these scratch made cookies are perfect for cookie platters, Christmas gifts, & parties.
Leave a Reply