
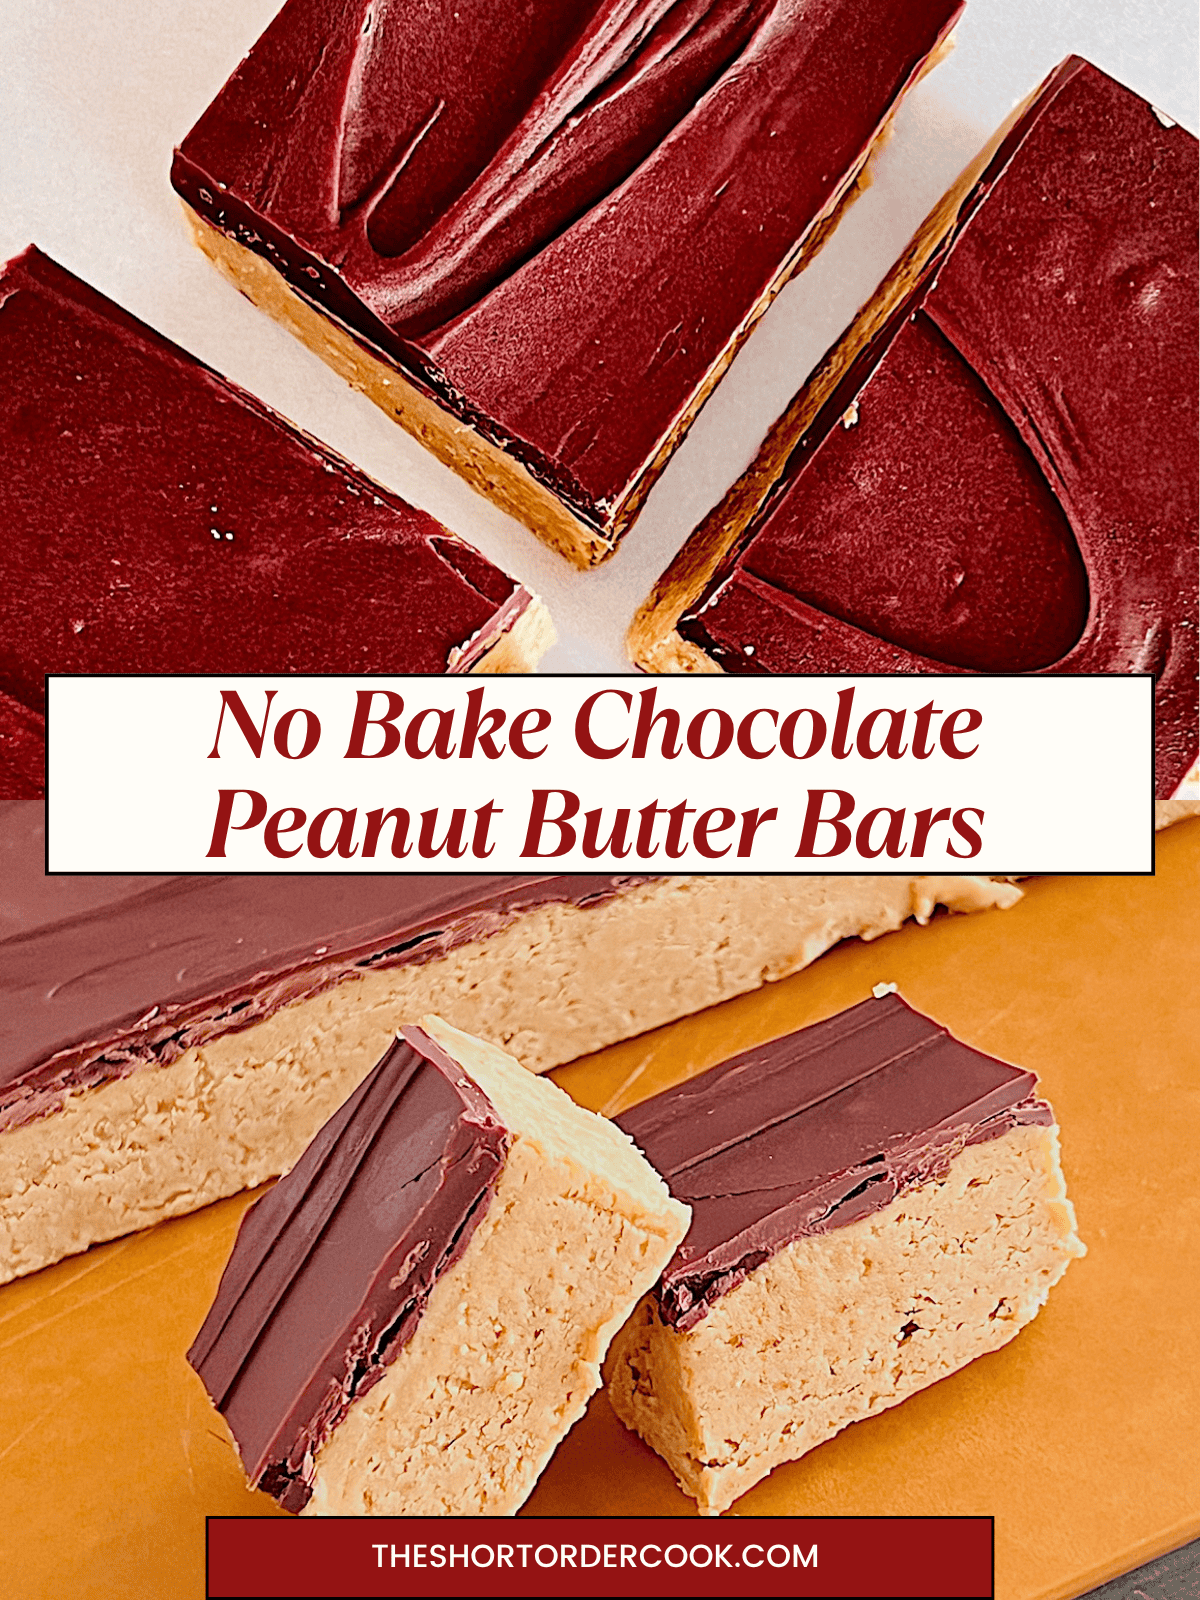
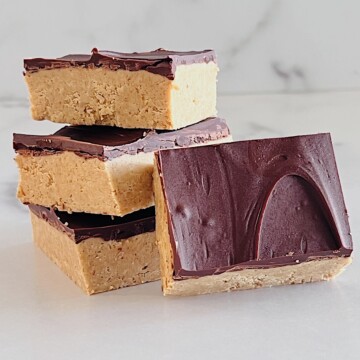
Calling all Reese's peanut butter cup fans! This easy dessert recipe for No-Bake Chocolate Peanut Butter Bars will be your new obsession. Be warned, these creamy rich dessert squares may be addicting.
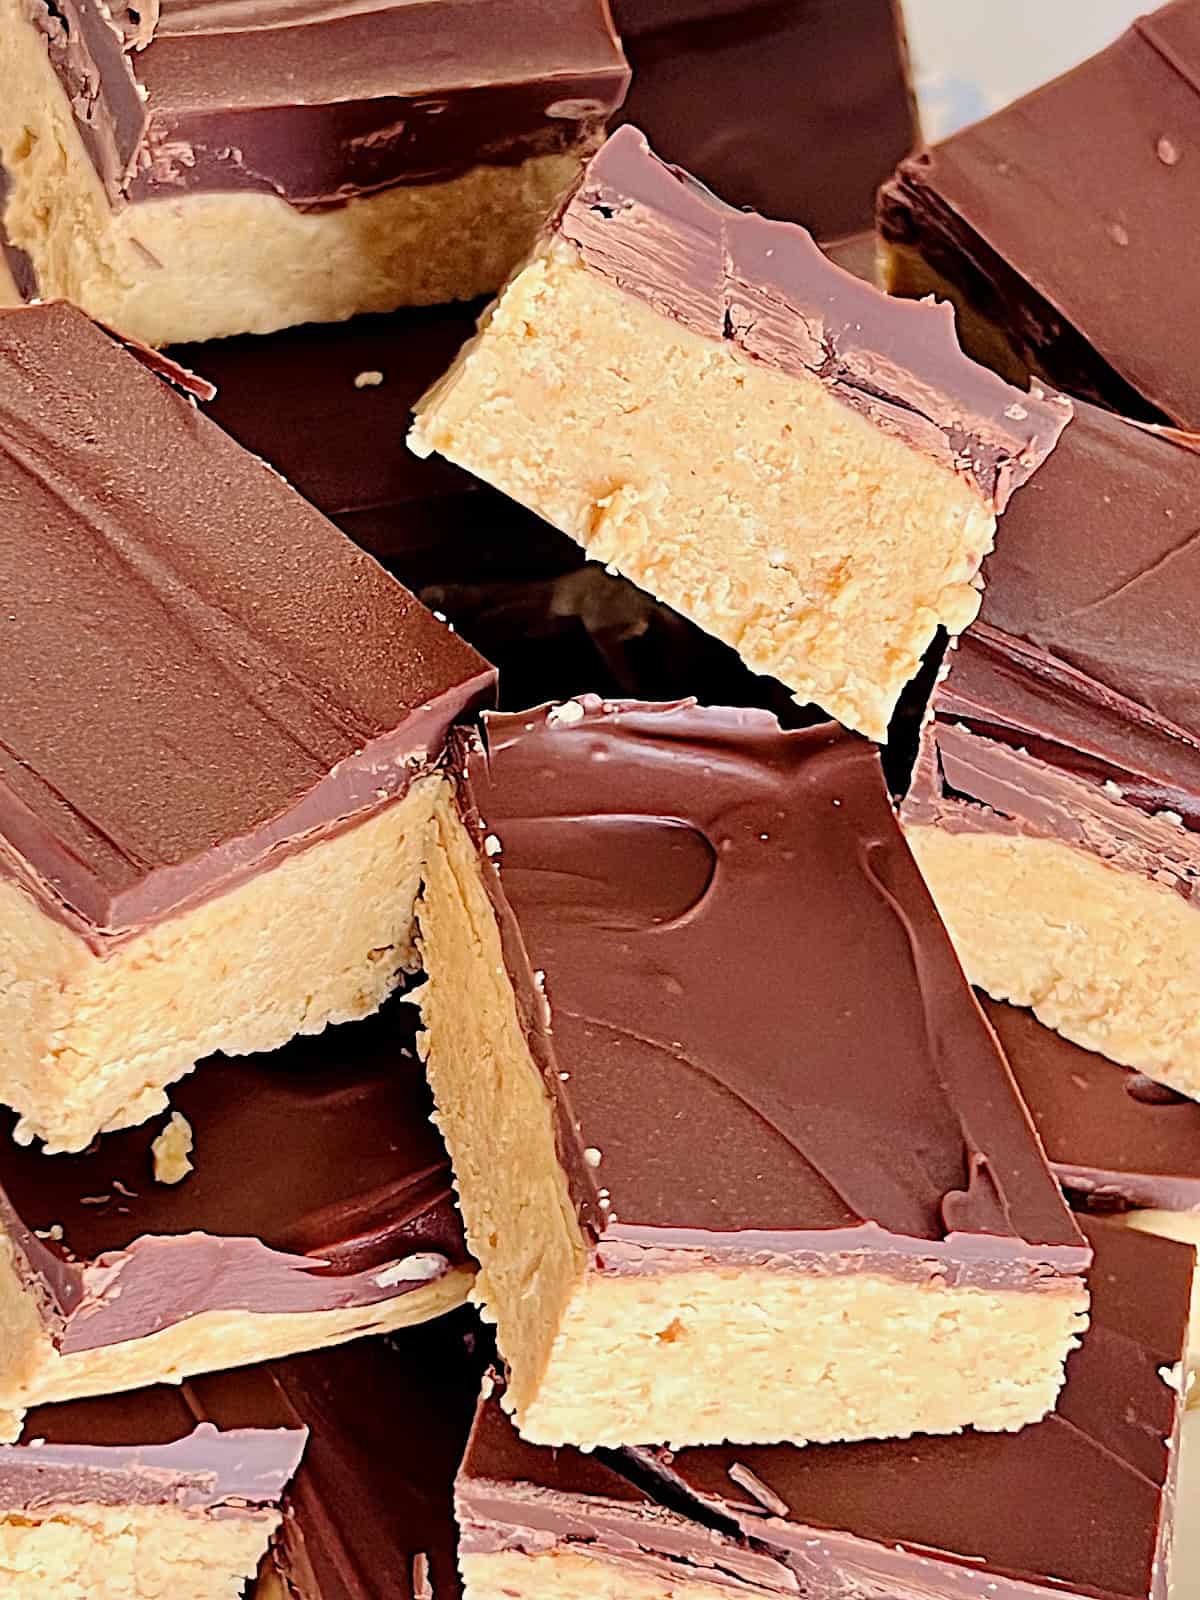
Why this Easy Peanut Butter Bar Recipe is Amazing: The make-ahead recipe is only 5 ingredients and takes just 15 minutes to make. The hardest part is waiting for them to chill before taking your first yummy bite.
Like my recipe for Frozen Peanut Butter Cup Pie, this is best served cold. These are both cool, nutty savory, sweet, & a little bit crispy.
The small almost bite-sized treats means you can probably eat two (I won't judge). Plus at about only 100 calories each, they are lower calorie than most desserts.
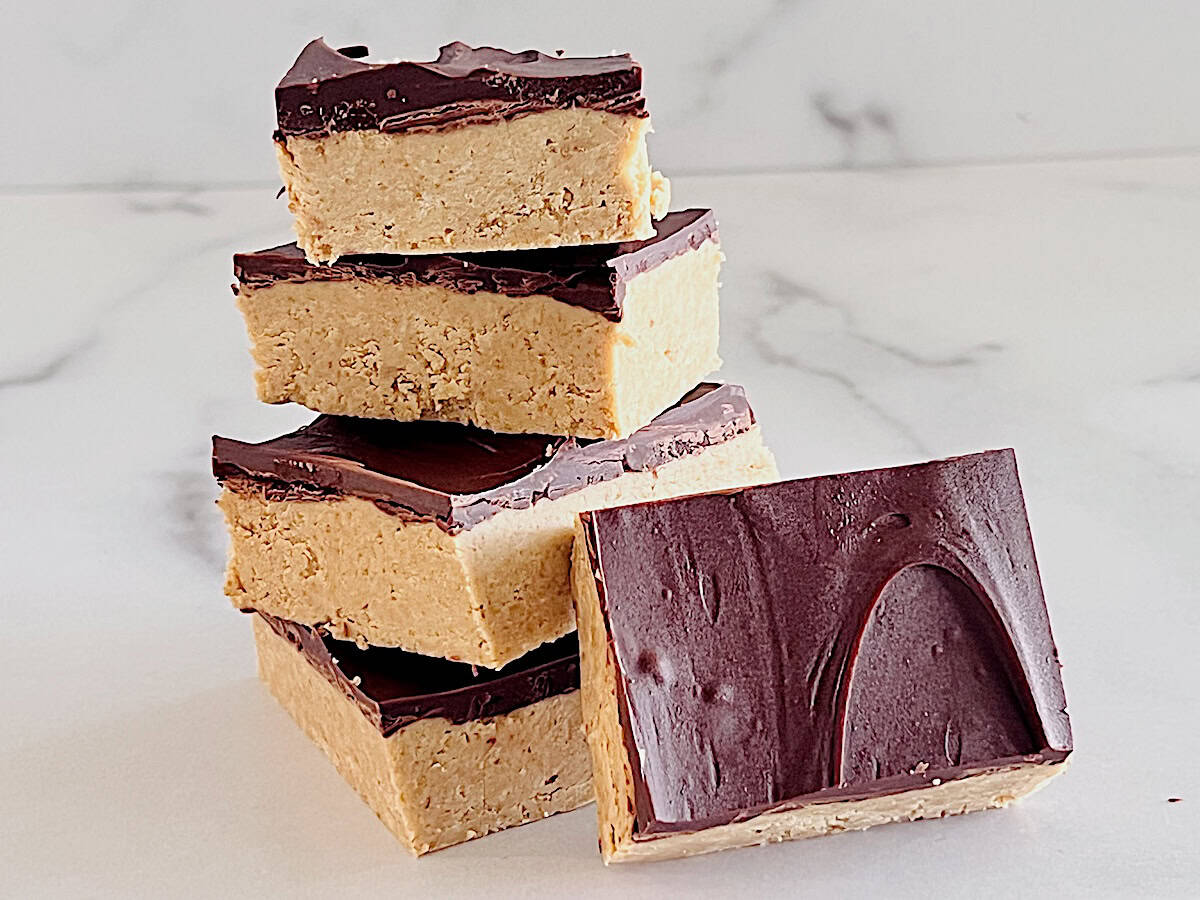
No-bake desserts like this are great in summer, no oven or stove. Ok, now let's get microwaving!
Jump to:
Ingredients for Peanut Butter Bars
Most of these basic ingredients are pantry staples. That makes this a great last minute dessert idea when you don't want to head to the store.
For a gluten-free dessert with the same pb & chocolate combo, try a reader favorite, Chocolate-Covered Peanut Butter Balls.
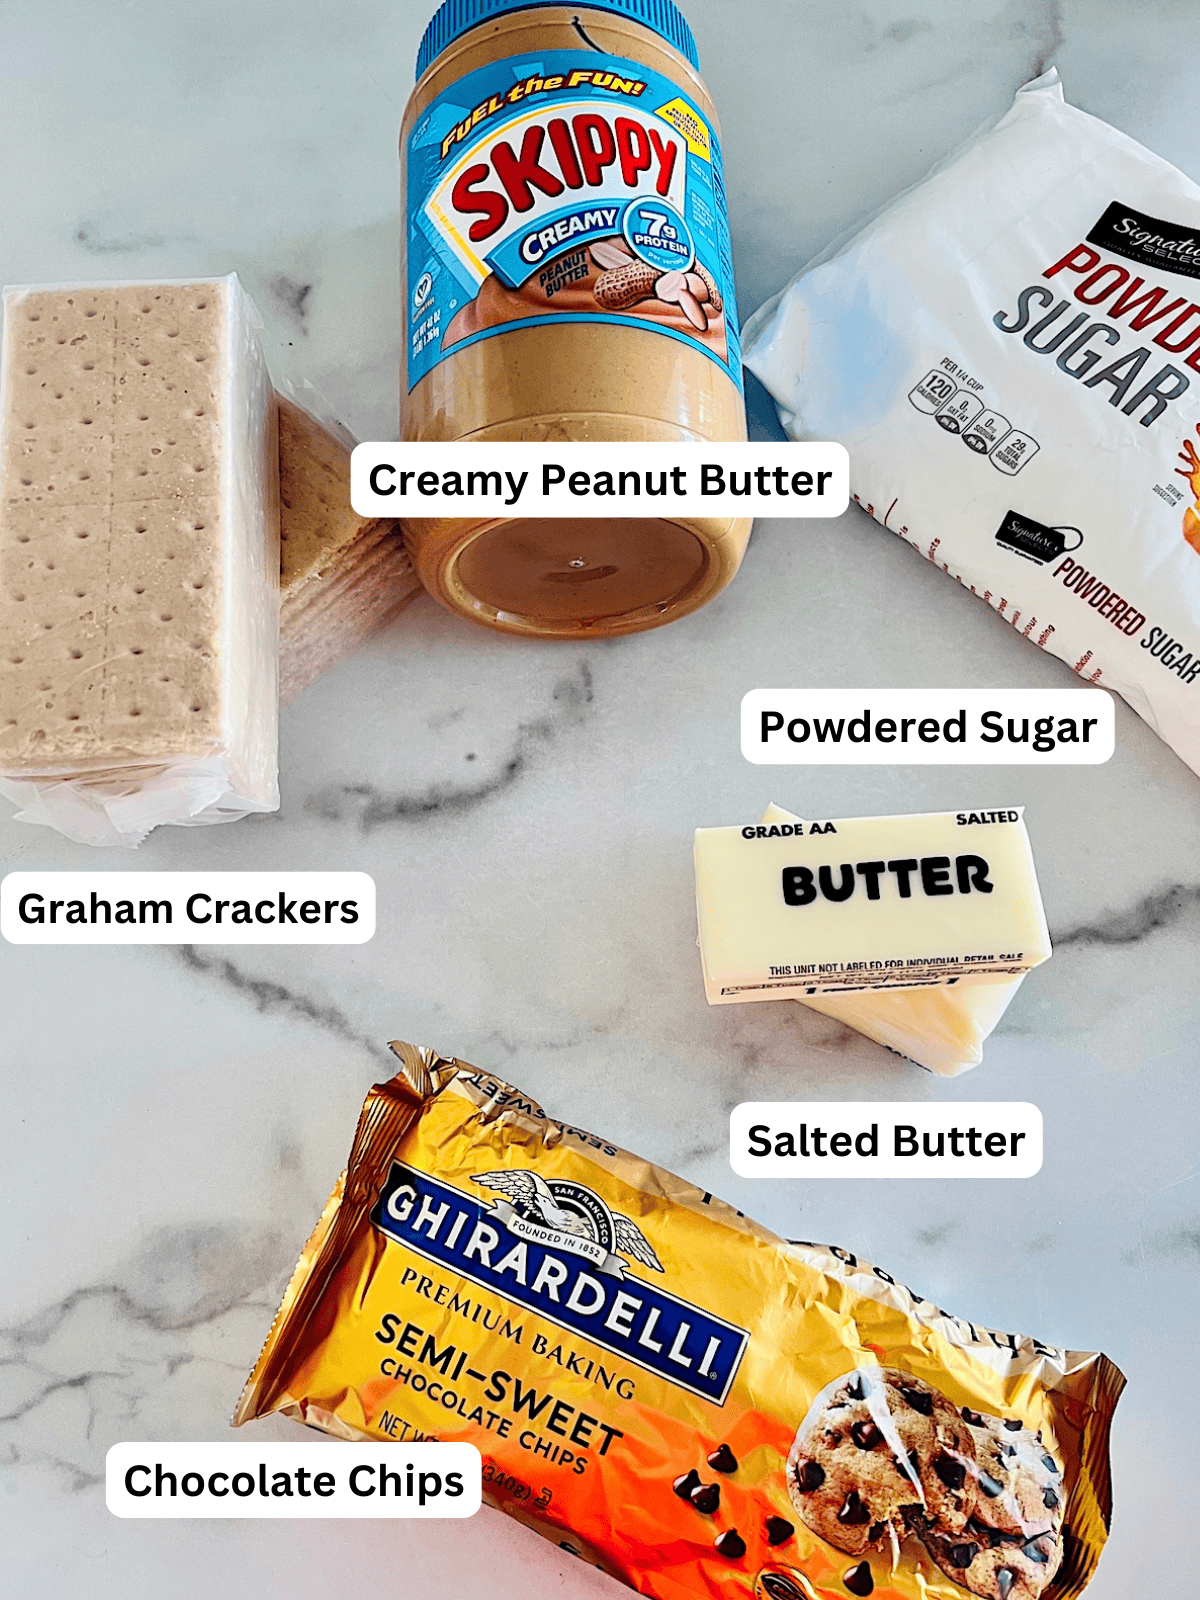
Here are important notes for some ingredients:
- Graham Crackers - whole crackers (or by the crumbs to save a step) regular or gluten-free
- Creamy Peanut Butter - such as Skippy; do not use chunky or natural brands
- Salted Butter - unsalted can be used but I find the nutty flavor is better with a salted variety
- Powdered Sugar - confectioner's (bakers) sugar is what makes these holds together and are a sweet treat
- Semi-Sweet Chocolate Chips - the rich top layer that is the perfect pairing with peanut butter
See the recipe card for full list, quantities, & any substitutions/variations.
How to Make Chocolate Peanut Butter Bars
These are so simple to make and I love making these with the kids. Similar to my popular 3-2-1 Mug Cake, the only cooking happens in the microwave.
It requires some cookie crushing, stirring, & layering. Then pop it in the fridge.
Here are the easy steps for making peanut butter bars topped with chocolate:
- Make the Peanut Butter Layer
- Top with Melted Chocolate
- Chill & Cut
See the step-by-step instructions with photos below plus the recipe card at the end of the post.
1 - Make the Peanut Butter Layer
If you didn't buy pre-crushed graham cracker crumbs, start with this step. If you do not have a food processor you can crush them manually by putting them in a ziploc bag and pounding them with a meat mallet or rolling pin.
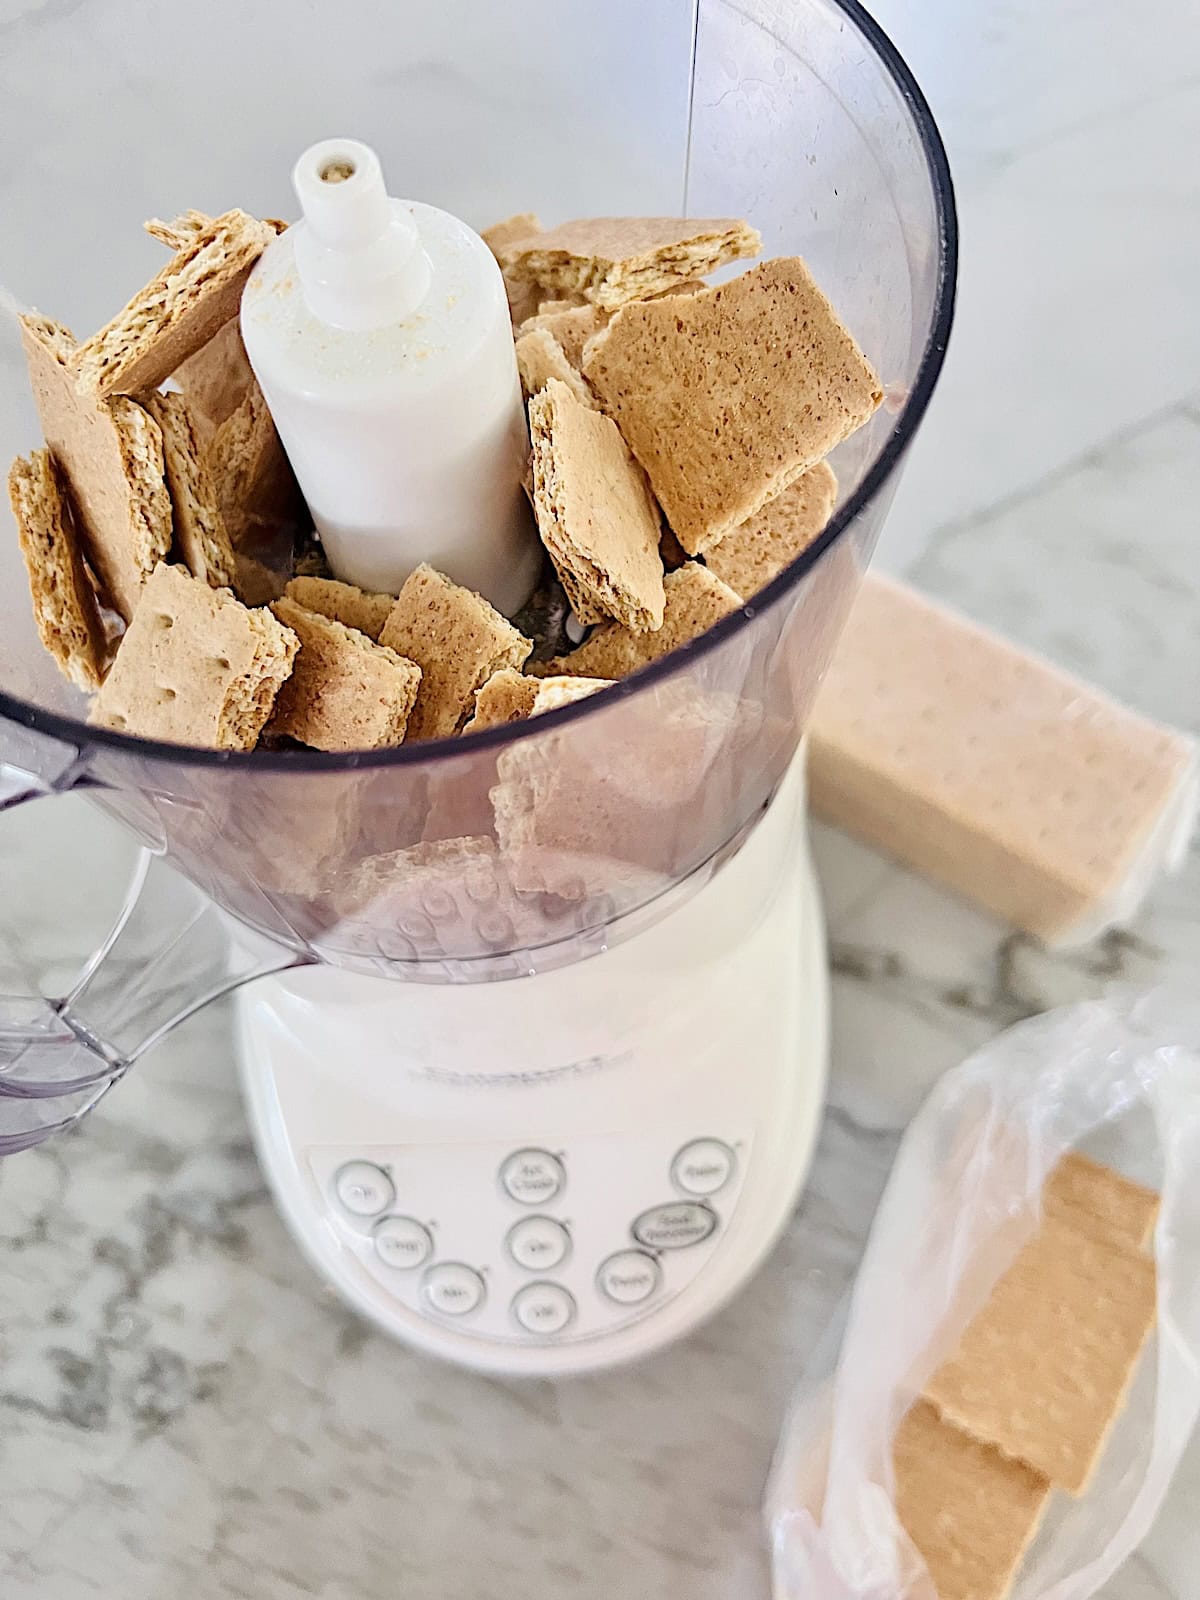
In batches, finely crush the graham crackers in a food processor. You will need 1 cup (not packed tightly) for this recipe.
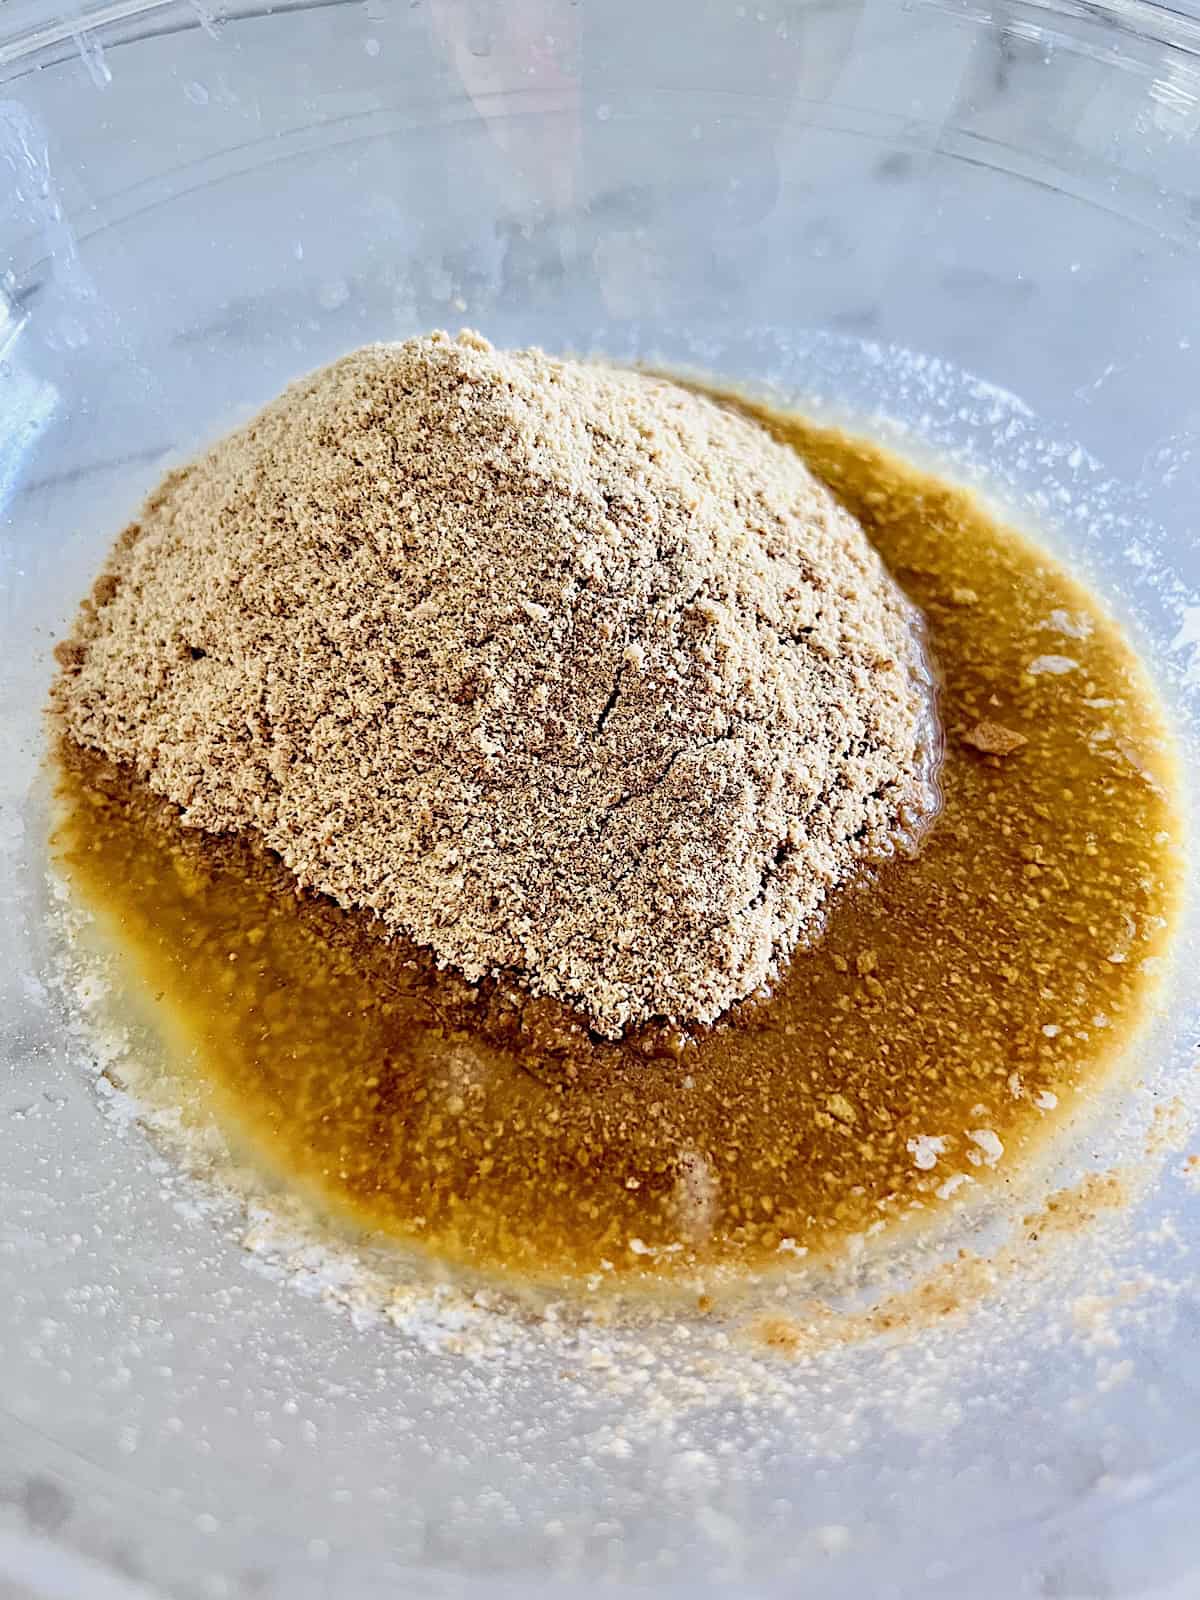
In a large microwave-safe bowl, melt the butter. Next add the crushed graham crackers (they should be fine as seen here)
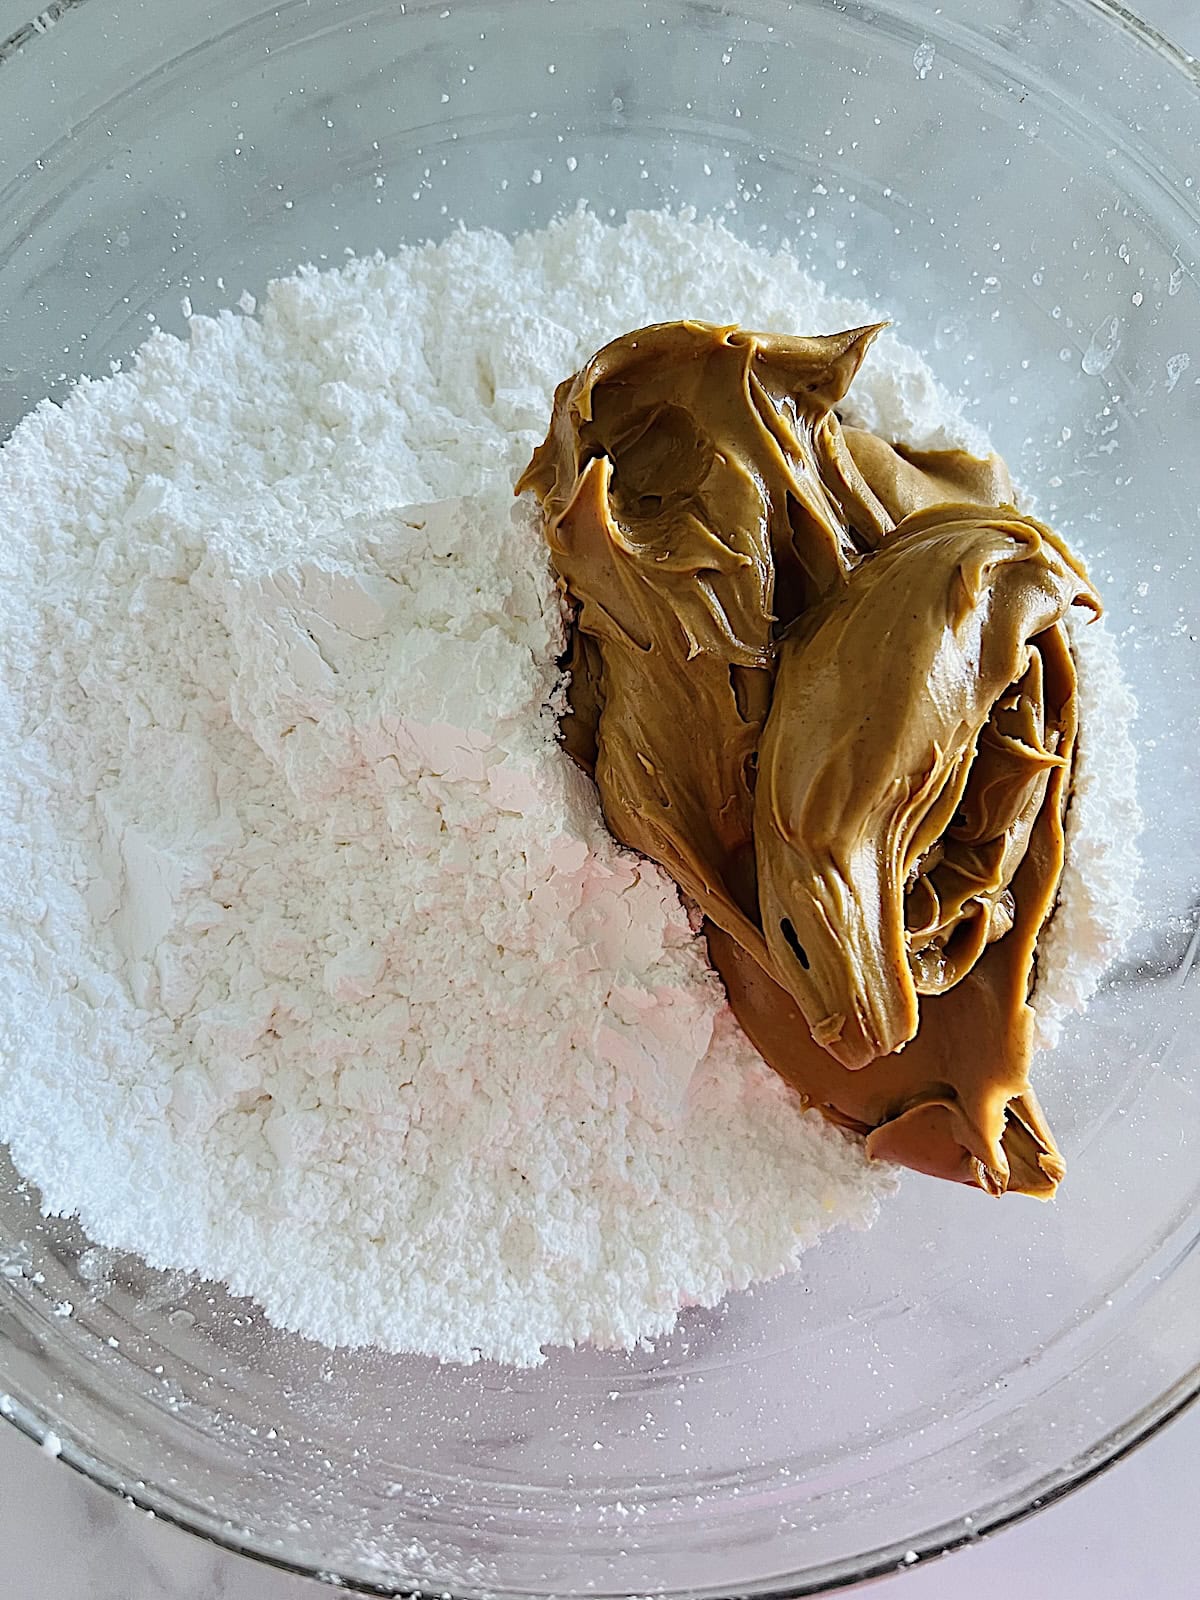
Add the powdered sugar and 1 cup of peanut butter to the bowl. Stir to combine. The mixture will be thick and stiff.
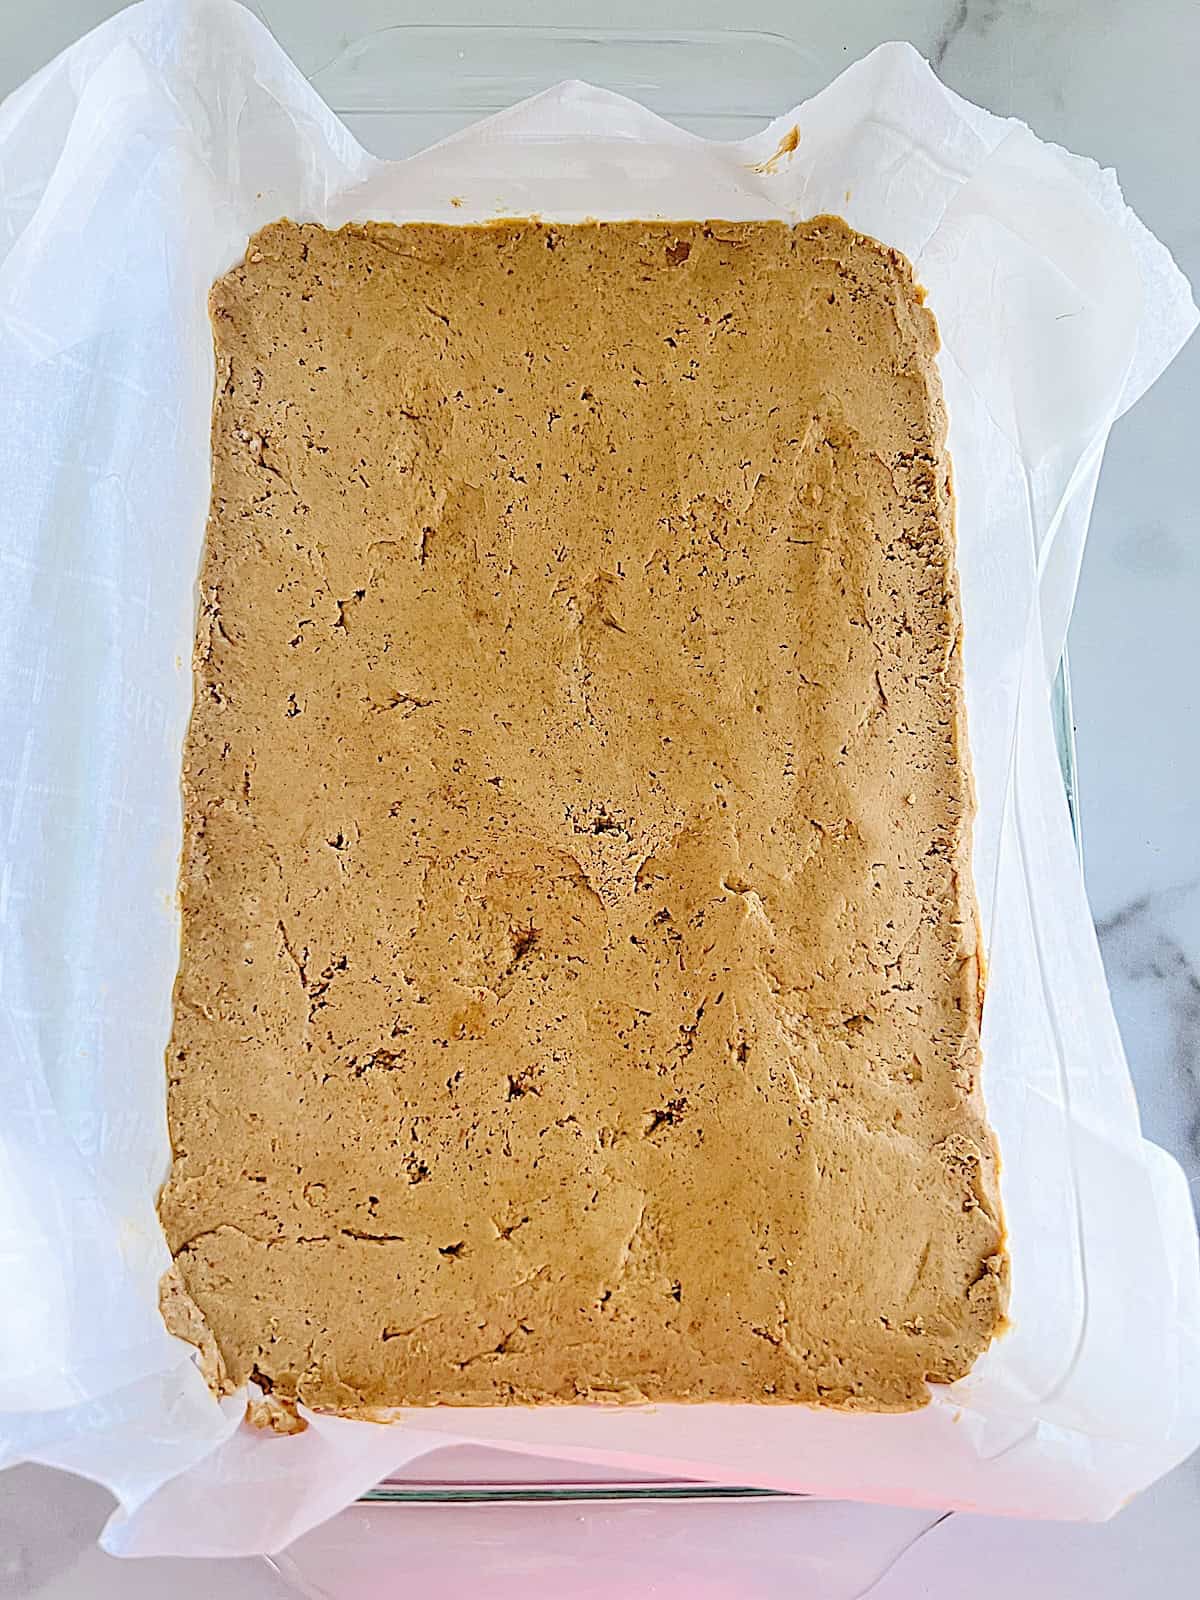
Line your 7x12 baking pan with parchment paper. Add the peanut butter mixture in an even layer and make sure to get it in the corners.
2 - Top with Melted Chocolate
In a small microwave-safe bowl, add the chocolate chips and remaining peanut butter. Heat in the microwave for 30 second intervals, stirring in between.
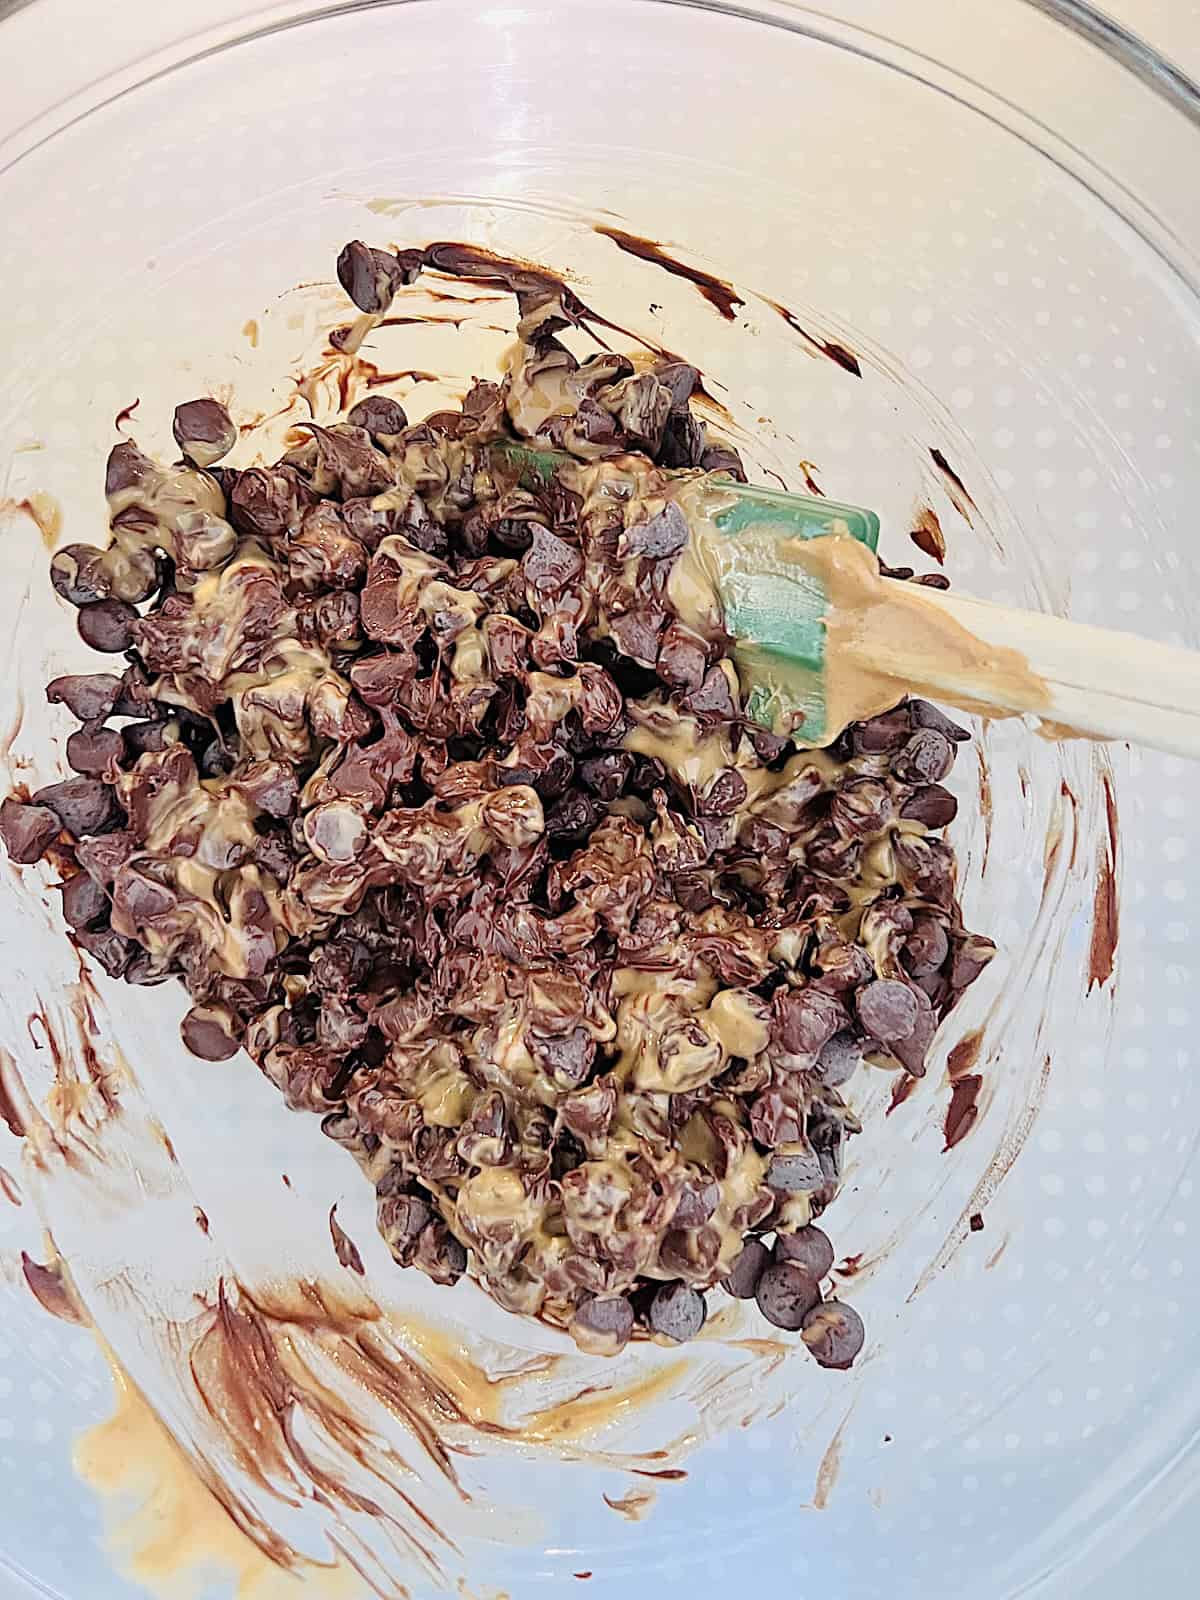
This is what it looked like after 1 round. My batch took 2 more rounds for a total of 1 ½ minutes. Yours may vary.
TIP: once there are only a few chips left, do not continue to heat in the microwave. Simply stir rapidly so the warm chocolate melts those last remaining bits. DO NOT overcook or your chocolate will burn or seize up.
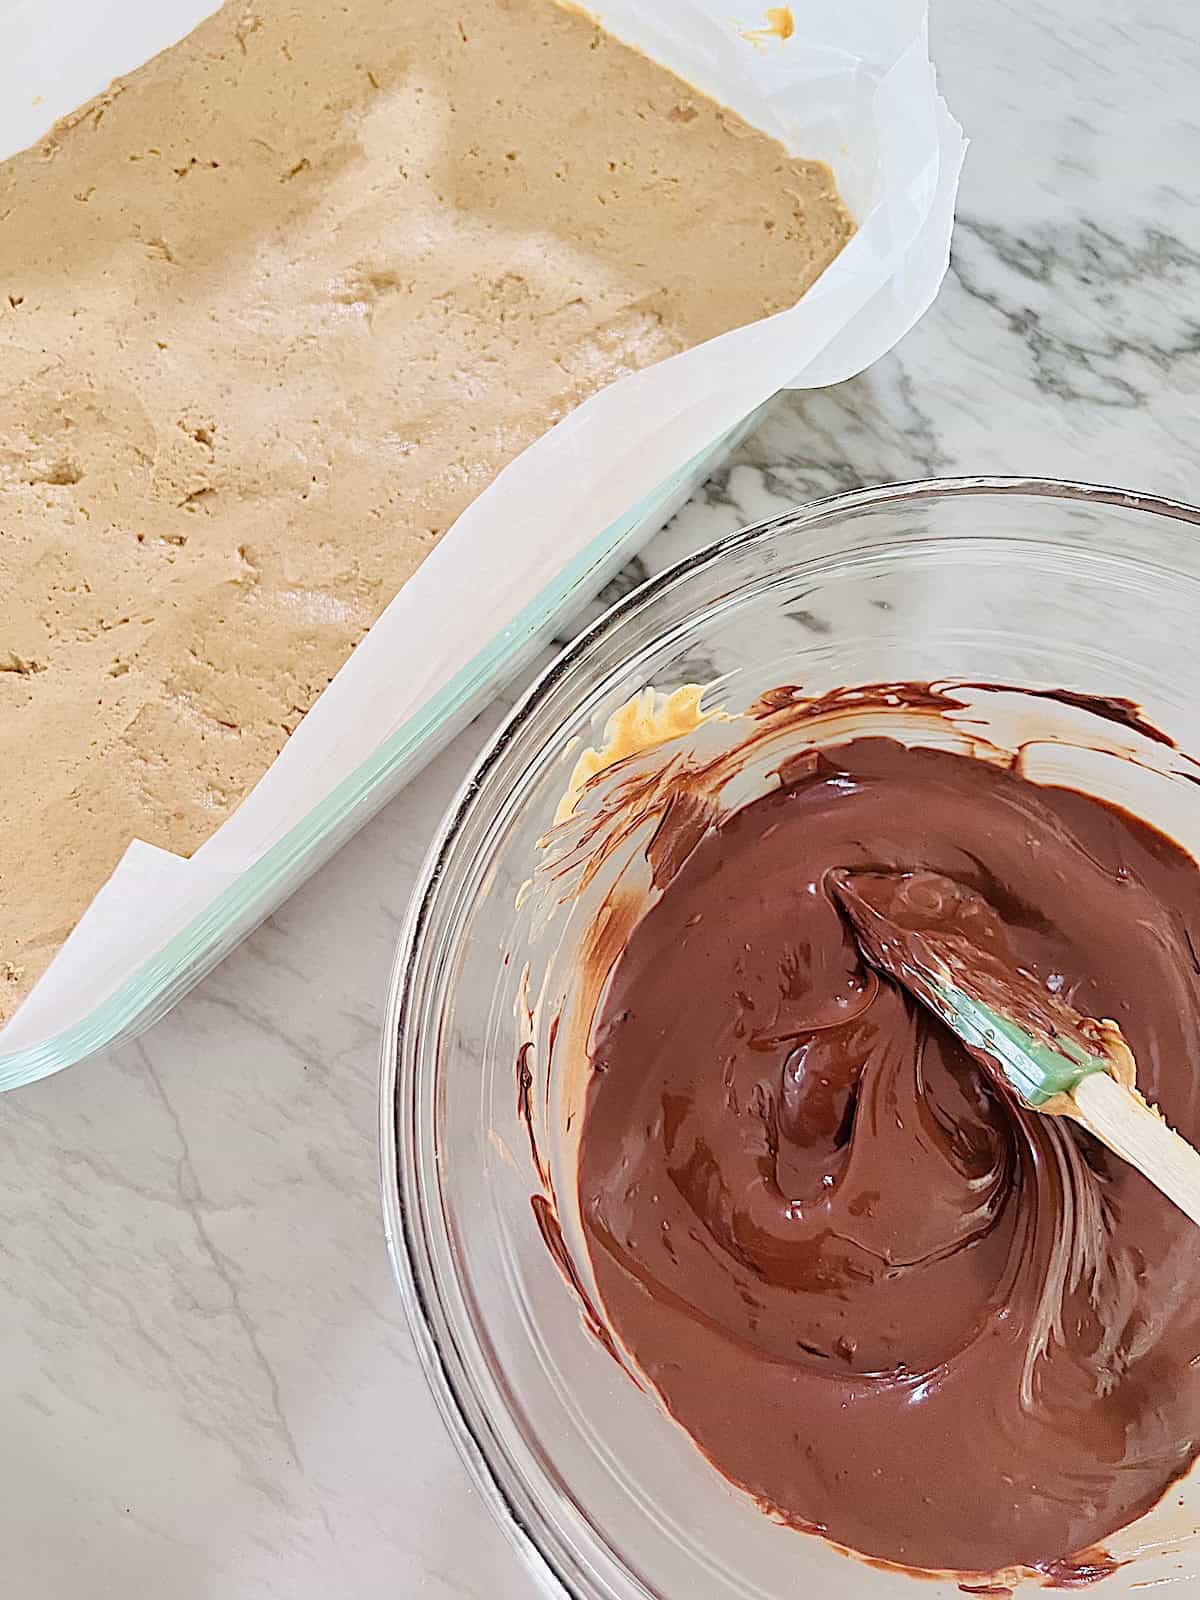
Once the chocolate is smooth as seen here, spread it evenly over the peanut butter layer.
3 - Chill & Cut
Place the pan in the refrigerator for a minimum of 2 hours. They are ready when the bars are firm and the chocolate is set on top.
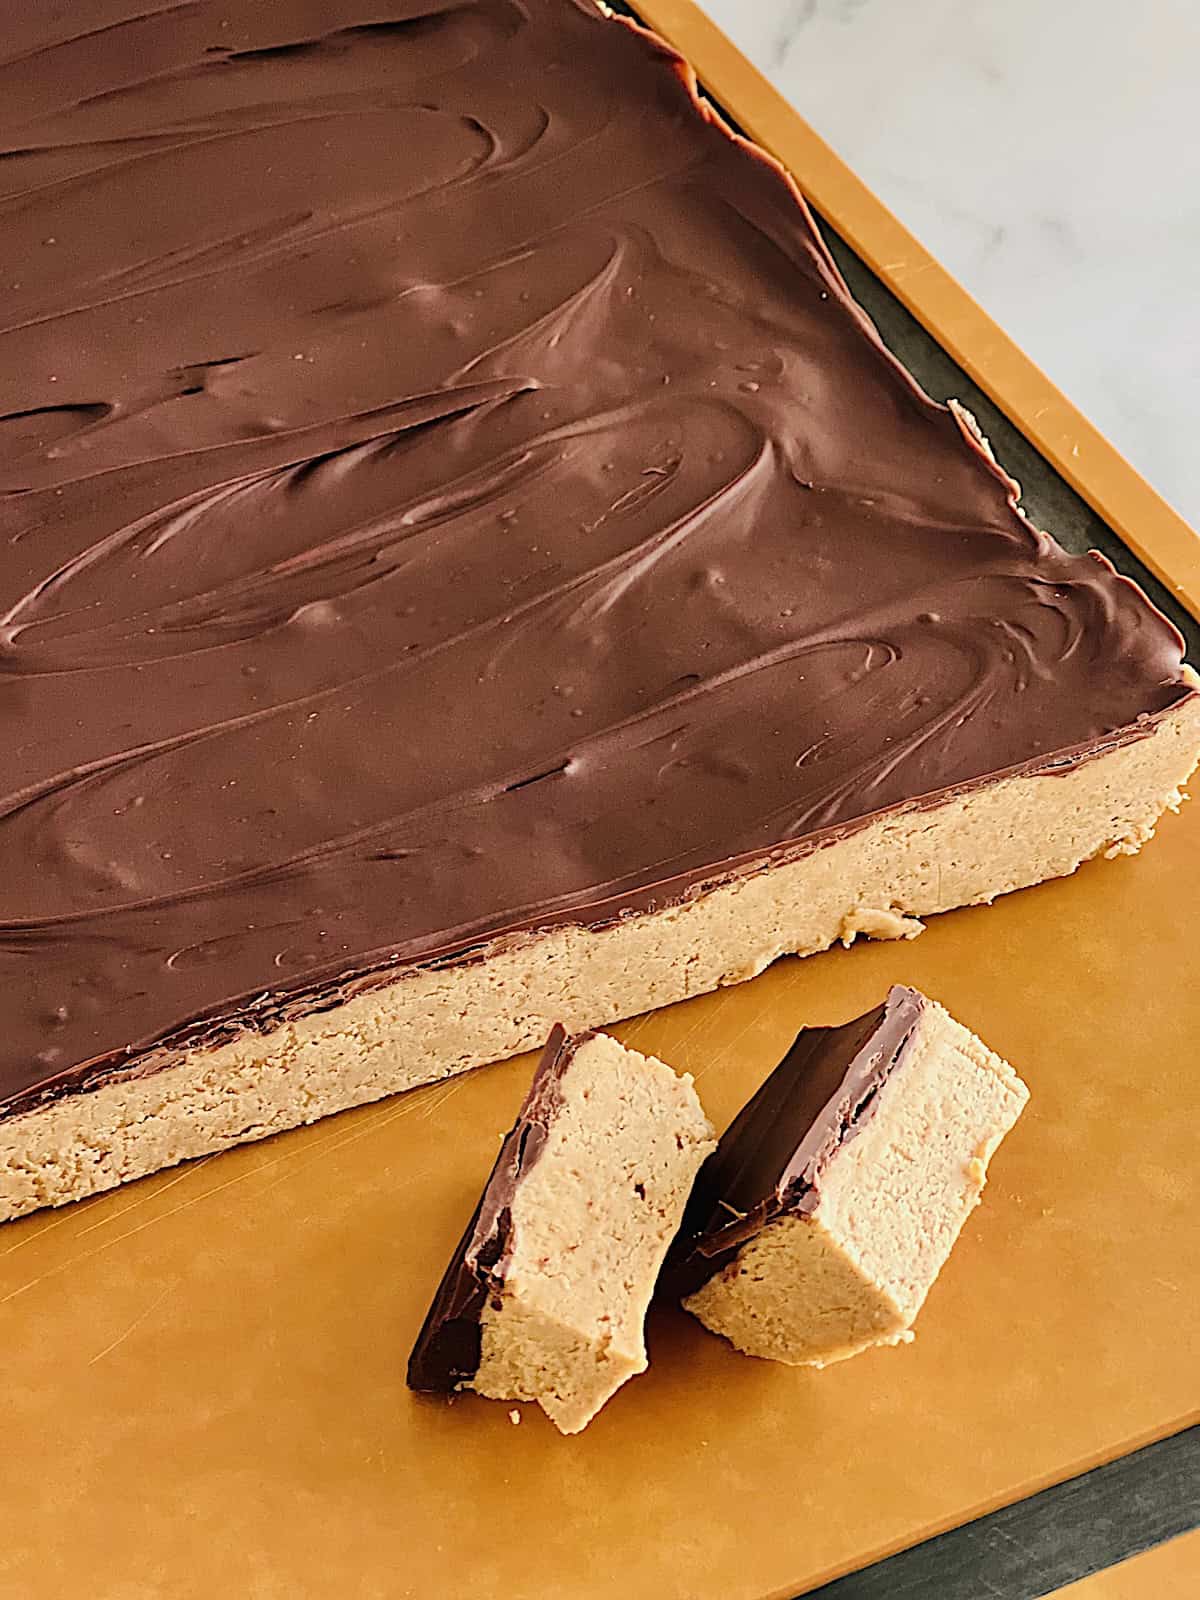
Cut the bars into small or big pieces. I got 8 rows from the long 12" side and then cut each row into 6 pieces for a total of 4 dozen bars.
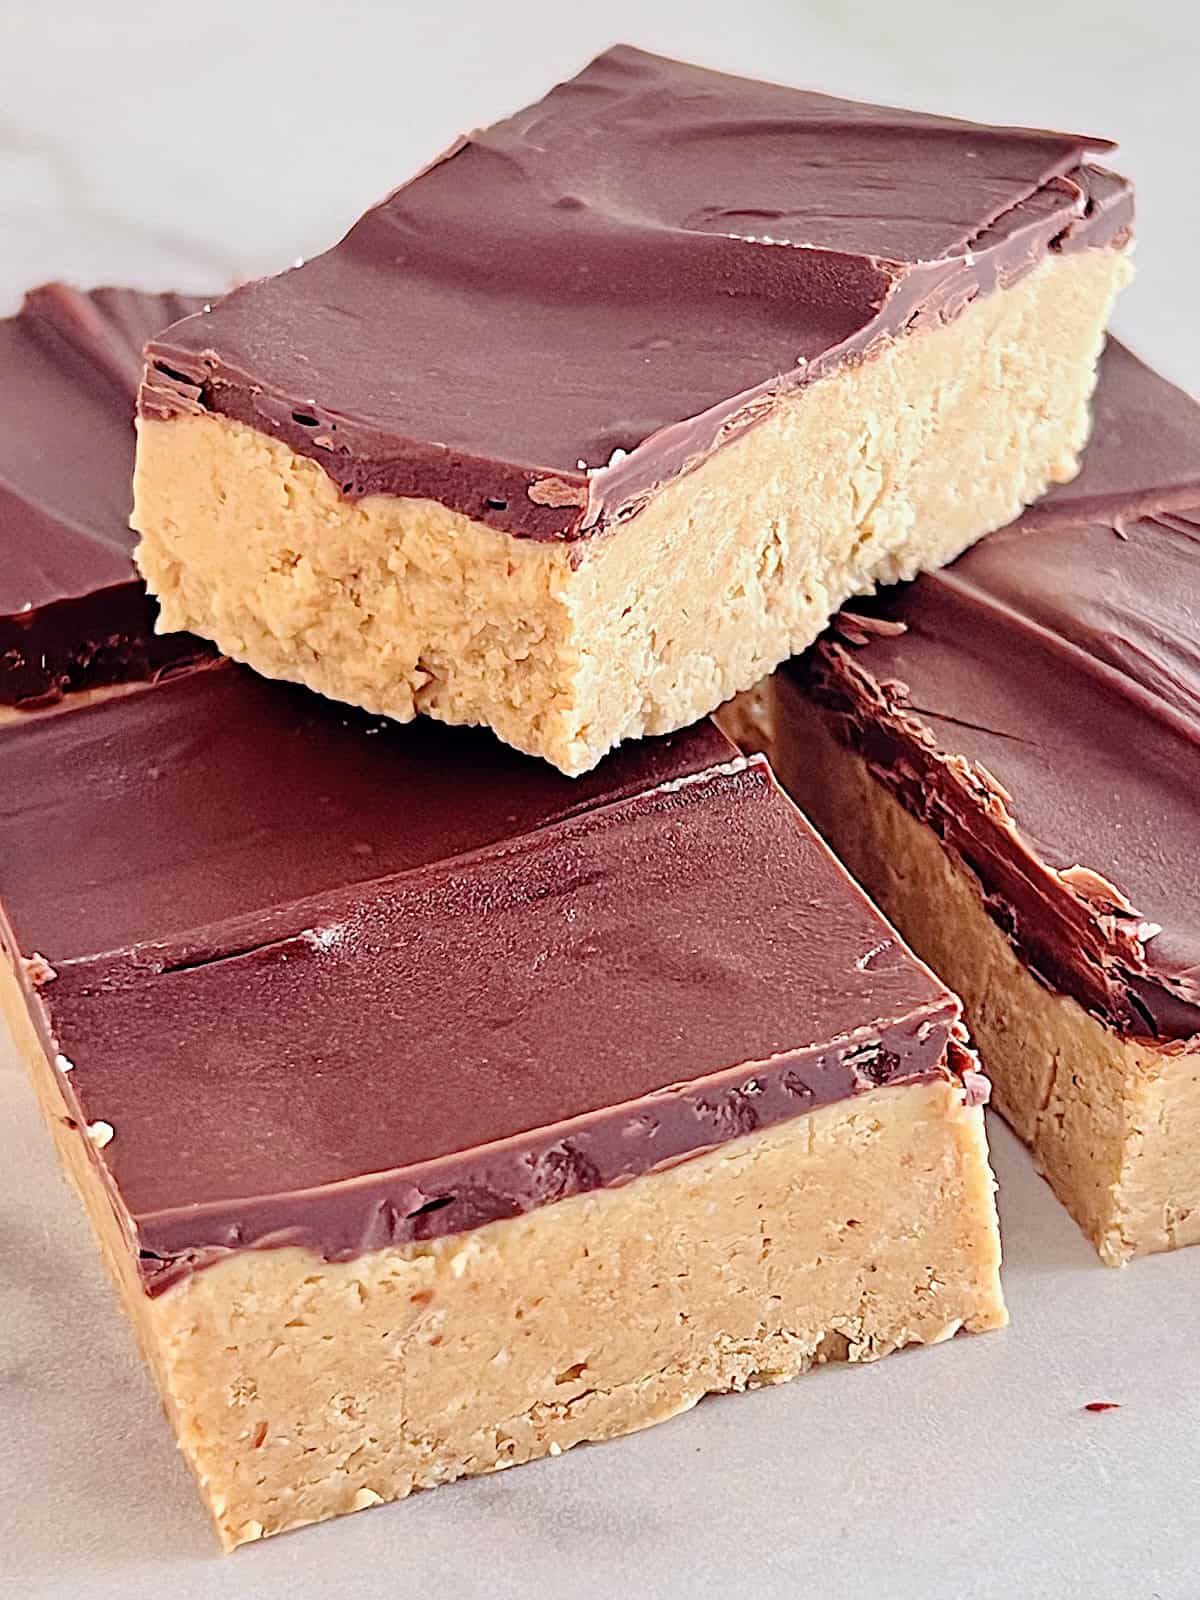
Place on a serving platter or dish. Enjoy while cold and firm.
Serving & Storing
Keep them in the fridge until ready to serve. The longer they sit out at room temperature the more they will soften and the chocolate topping may become sticky & messy (but still tasty!)
Store in the refrigerator for up to a week to enjoy. Great to make ahead of time if you can resist not eating them all ASAP.
These can be frozen between sheets of parchment paper & in an air-tight container or Ziploc bag for up to a month. Defrost in the fridge to enjoy.
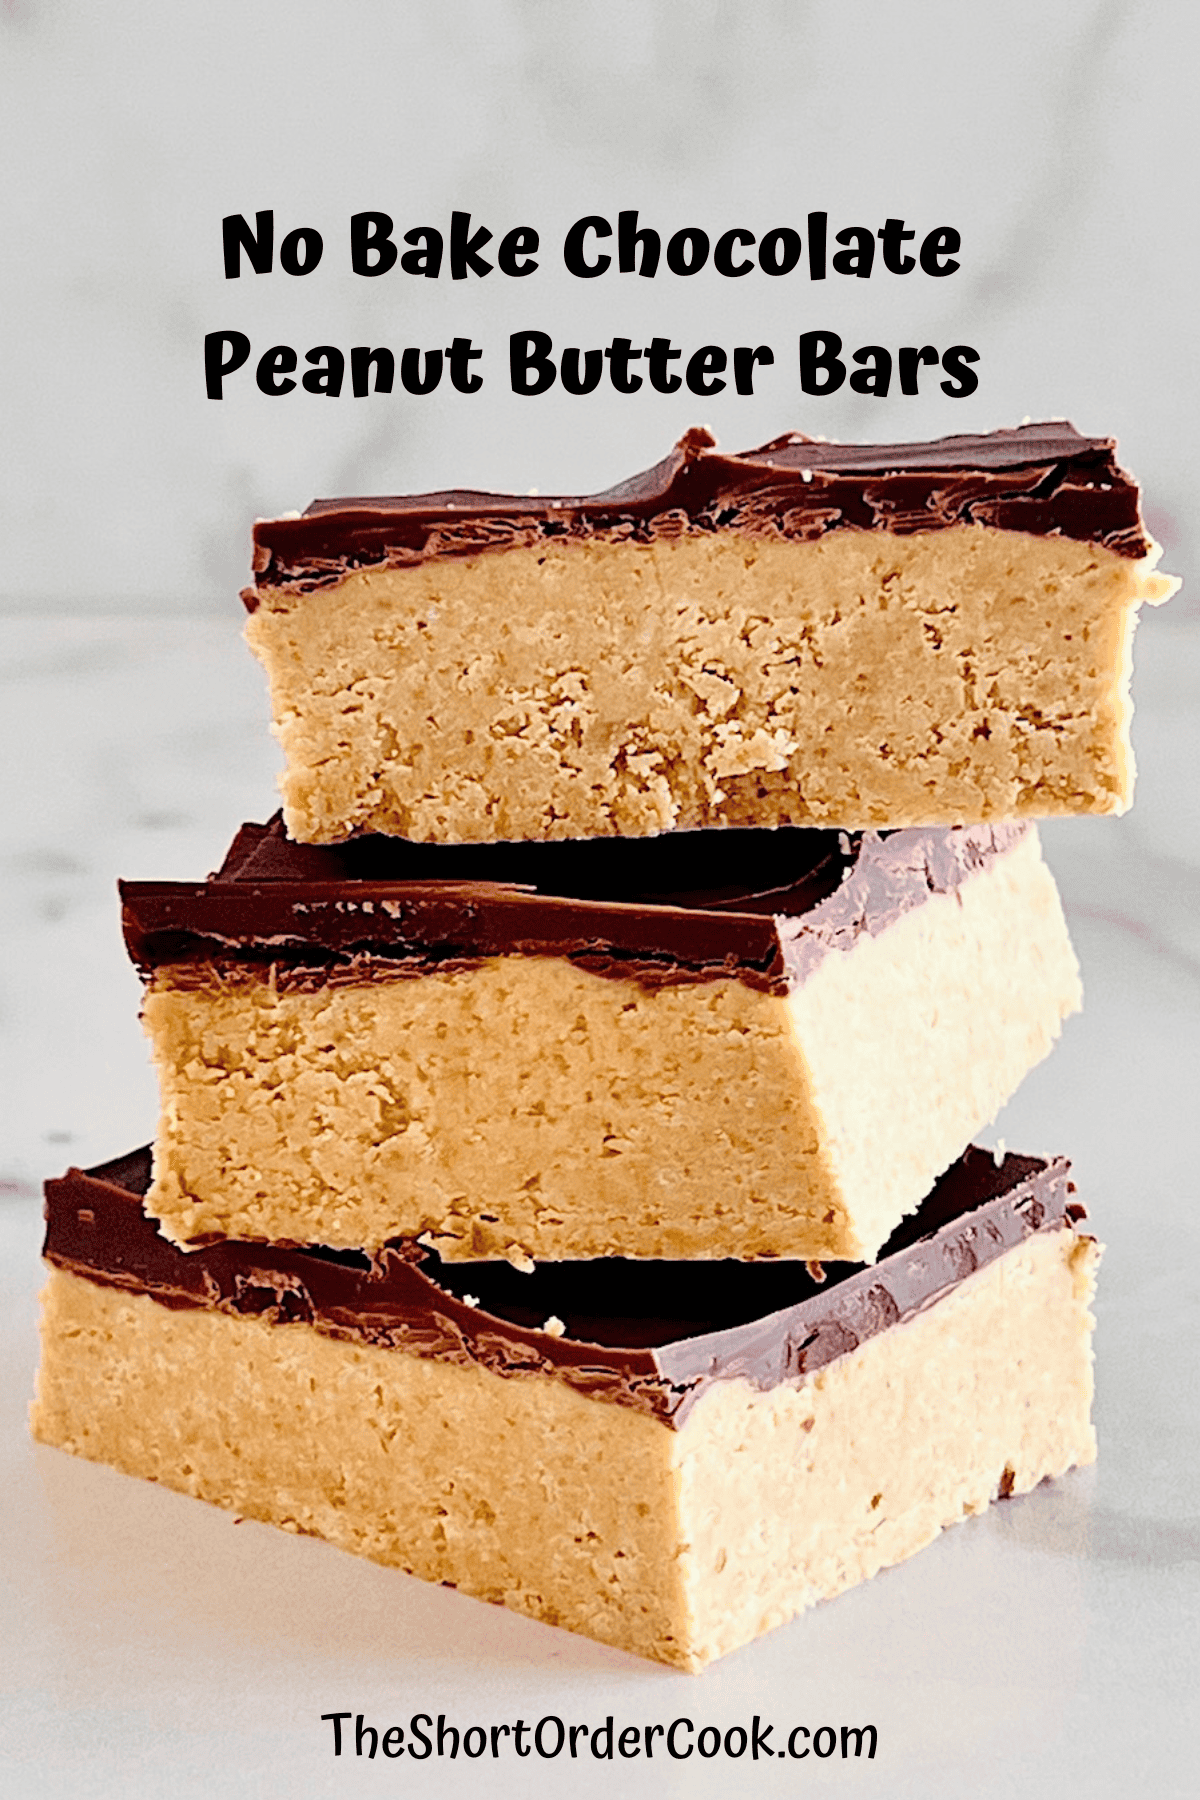
Recipe Tips & Behind the Scenes
Here's my recipe for success - including what I learned when testing, fun stories, recipe history, and more.
- #1 Tip - do not rush the chocolate melting process or it will burn/seize up. Once the last few chips are left, stir to melt slowly in the warm chocolate (do not continue to microwave)
- Make them thicker by using an 8x8 or 9x9 square pan.
- For thinner bars, use a 9x13x2 pan. Great for a crowd of small eaters such as toddlers, kids, or for a potluck buffet (makes 4 dozen if cut small enough)
- For the chocolate layer you can use semi-sweet, dark, milk, or a combination. You can also omit it but why would you unless you are allergic?
- Try optional flaky sea salt on top of the chocolate before chilling. That sweet salty balance is so good & what makes my Classic English Toffee irresistible.
- If you found this easy and delicious, during the holidays make a batch of my Old-Fashioned Easy Peanut Butter Fudge. Also a fantastic microwave recipe.
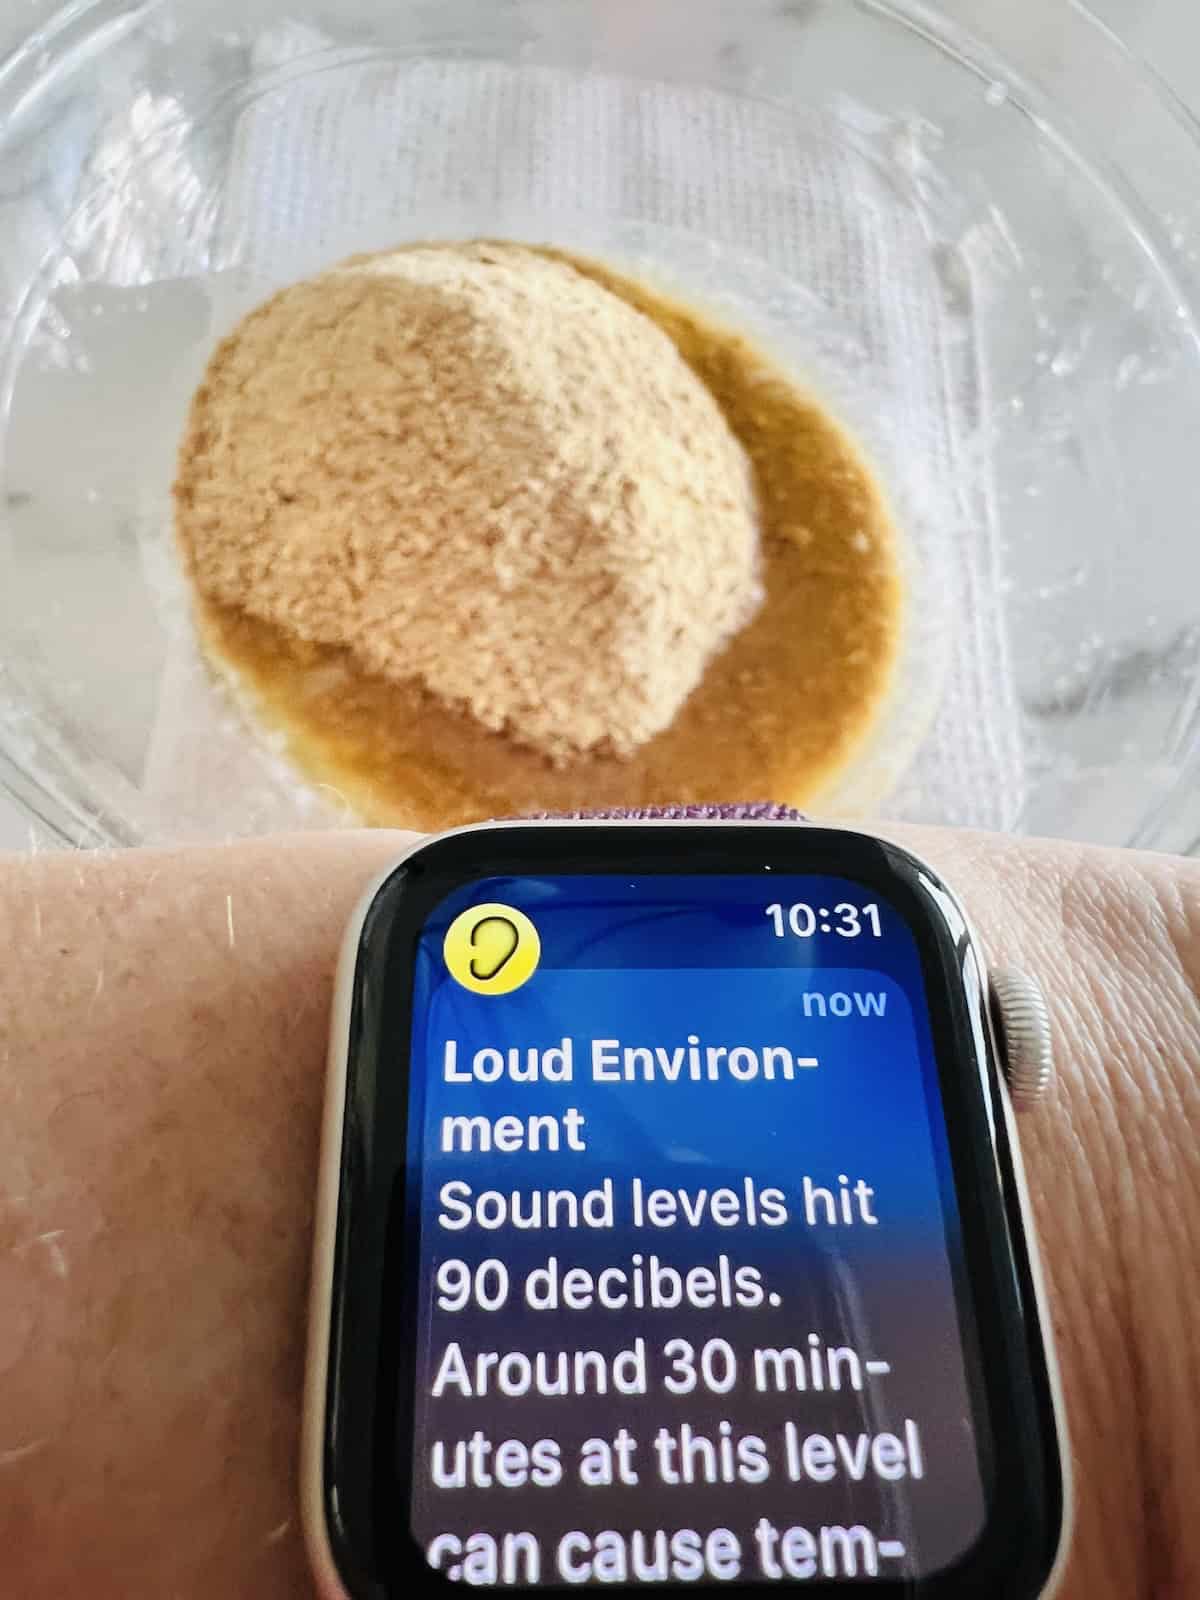
- As I was crusting the crackers in the food processor my apple watch warned me of the loud decibels! I thought 'well there is no surprising the sleeping teenagers with this dessert'. But did they stir or get up to see what I am cooking, no - typical teens on school break!
FAQ
I have not tried making this any sugar substitutes. If you love peanut butter and chocolate but want a keto, low-carb, or diabetic-friendly treat try my Healthy Peanut Butter Cups. Each one is only 3 carbs and 1.5g sugar & solves any Reese's PB cup craving.
Use a classic creamy choice by Skippy, Jif, Peter Pan, Great Value, or other store brand. I do not recommend any chunky/nutty varieties. Do NOT use any all natural peanut butters since the oily/separating nature (even after stirring) of the product doesn't bind evenly.
LOVE THIS RECIPE & WANT TO SEE MORE?
Summarize this recipe content below
NOTE: The Short Order Cook is not responsible for third party content including the use of AI websites.
No Bake Chocolate Peanut Butter Bars

Equipment
- food processor
- 7x12x2 glass baking dish
- Parchment Paper
Ingredients
Peanut Butter Layer
- ½ cup salted butter melted
- 8 sheets graham crackers to get 1 cup of crumbs.
- 2 cups powdered sugar confectioner's (not regular white sugar)
- 1 cup creamy peanut butter not natural or chunky
Chocolate Topping
- 1 cup semi-sweet chocolate chips
- 2 tablespoons creamy peanut butter not natural or chunky
Instructions
- Line the 7x12 baking dish with parchment paper. This makes it easy to lift them out of the pan for cutting later.
- In a food processor, crush the graham crackers into a fine crumb. It takes about 8 full sheets to get 1 cup of crumbs.8 sheets graham crackers
- In a microwave safe large mixing bowl, add the butter and melt for 30-45 seconds in the microwave.½ cup salted butter
- Add the graham cracker crumbs to the melted butter and stir to combine.
- Add the powdered sugar and 1 cup of peanut butter. Stir to combine.2 cups powdered sugar, 1 cup creamy peanut butter
- Spread the peanut butter graham cracker mixture in the parchment lined pan.
- In a medium sized microwave-safe mixing bowl add the chocolate chips and remaining peanut butter. Microwave for 30 second intervals, stir & repeat until smooth. It takes on average 3 times. Once only a few chips remain, stir to help them melt in the warm chocolate - do not over cook!1 cup semi-sweet chocolate chips, 2 tablespoons creamy peanut butter
- Using an offset spatula, spread the chocolate mixture evenly over the peanut butter layer. Chill in the fridge for 2 hours.
- When ready, lift the slab out of the pan by grabbing the edges of the parchment paper. Place on a cutting board and use a sharp chef's knife to cut into squares. Cut into 8 by 6 strips for 4 dozen bars. (make them bigger or smaller if desired) Serve and enjoy chilled.
Notes
- Store in the refrigerator for up to a week to enjoy. Serve chilled.
- These can be frozen between sheets of parchment paper & in an air-tight container or Ziploc bag for up to a month. Defrost in the fridge to enjoy.
- For thicker bars, use an 9x9 or 8x8 square pan. For thinner bars use a 9x13x2 baking pan.
- Gluten-free graham crackers work well as a substitute.
- Try other chocolate chips - dark or milk or a combination. (I do not recommend or have tried white chocolate as a topping.
- This has not been tested with other nut or seed butters.
- Do NOT use a natural or chunky peanut butter.
Nutrition
More No Bake Dessert Recipes
Here are some similar recipes:
Leave a Reply