
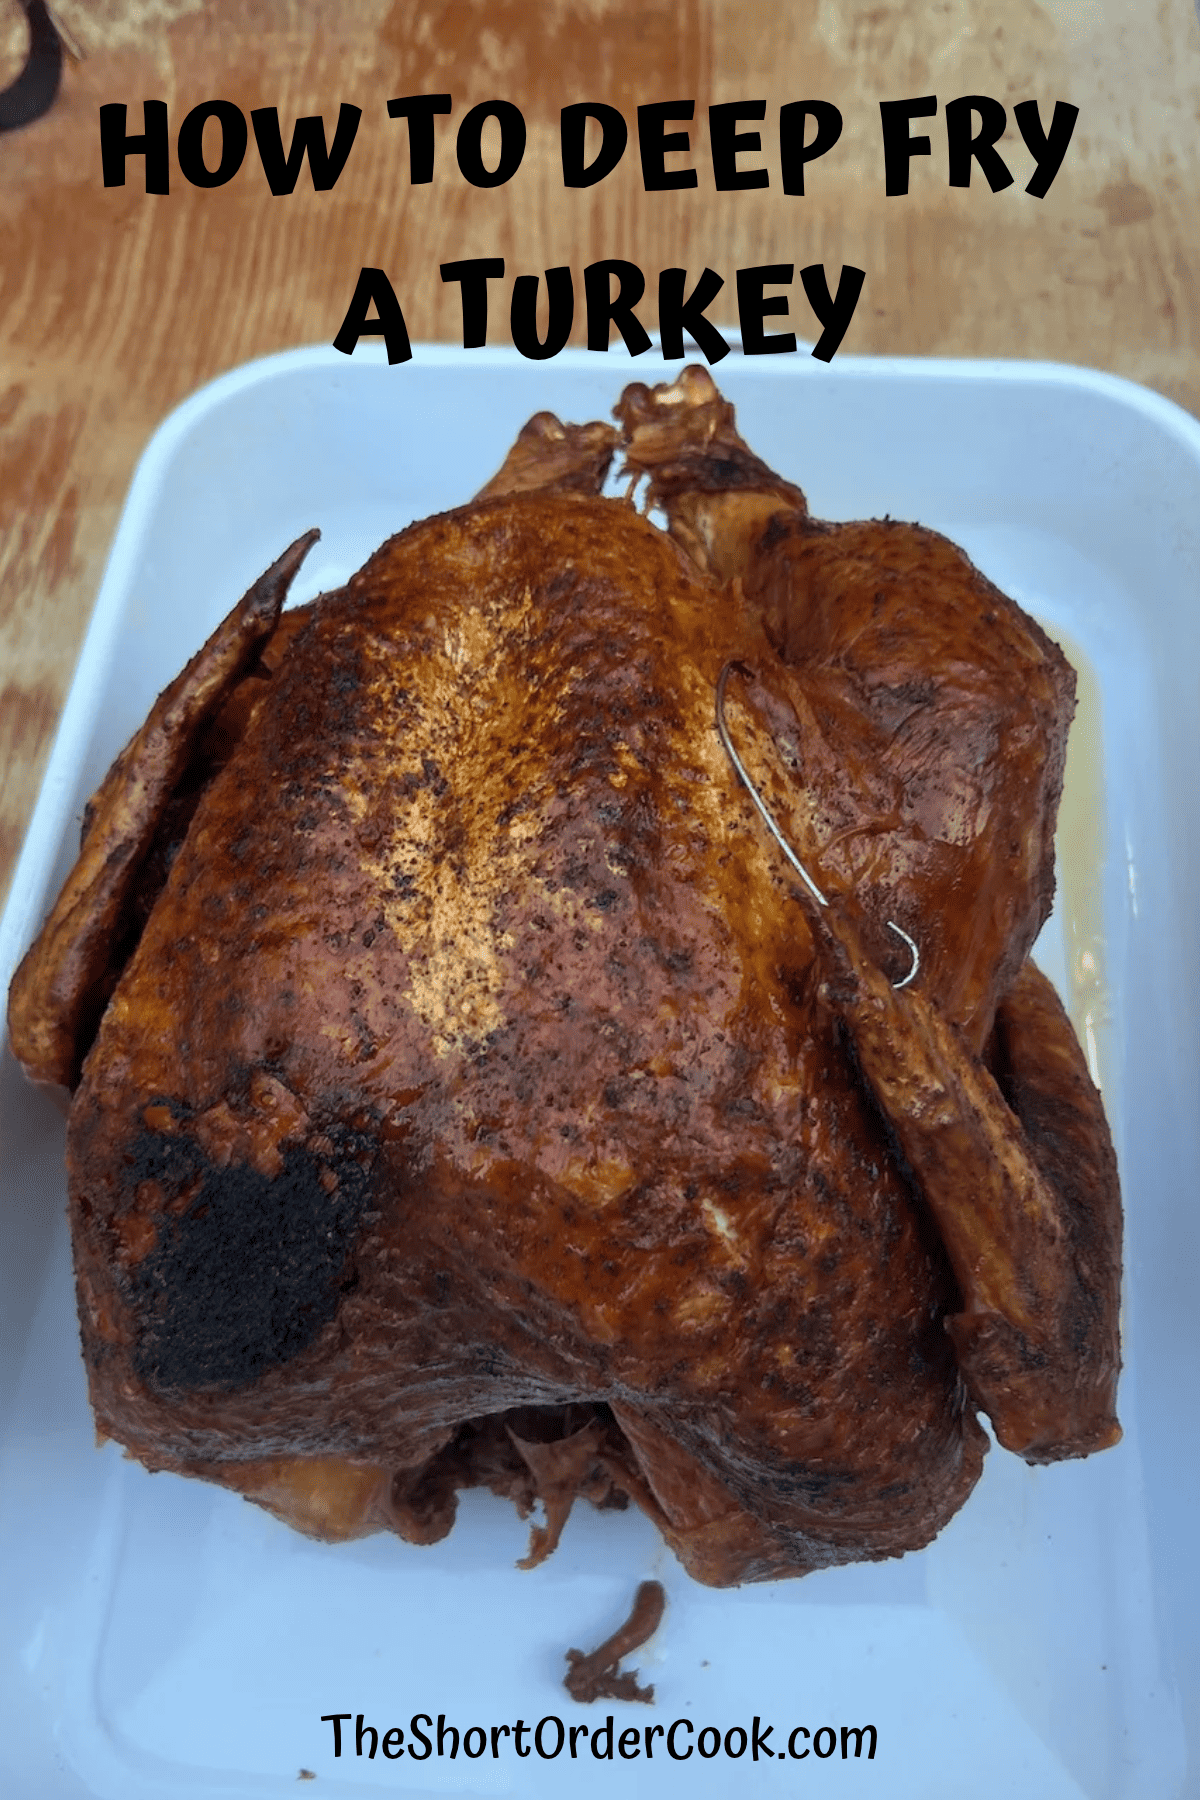
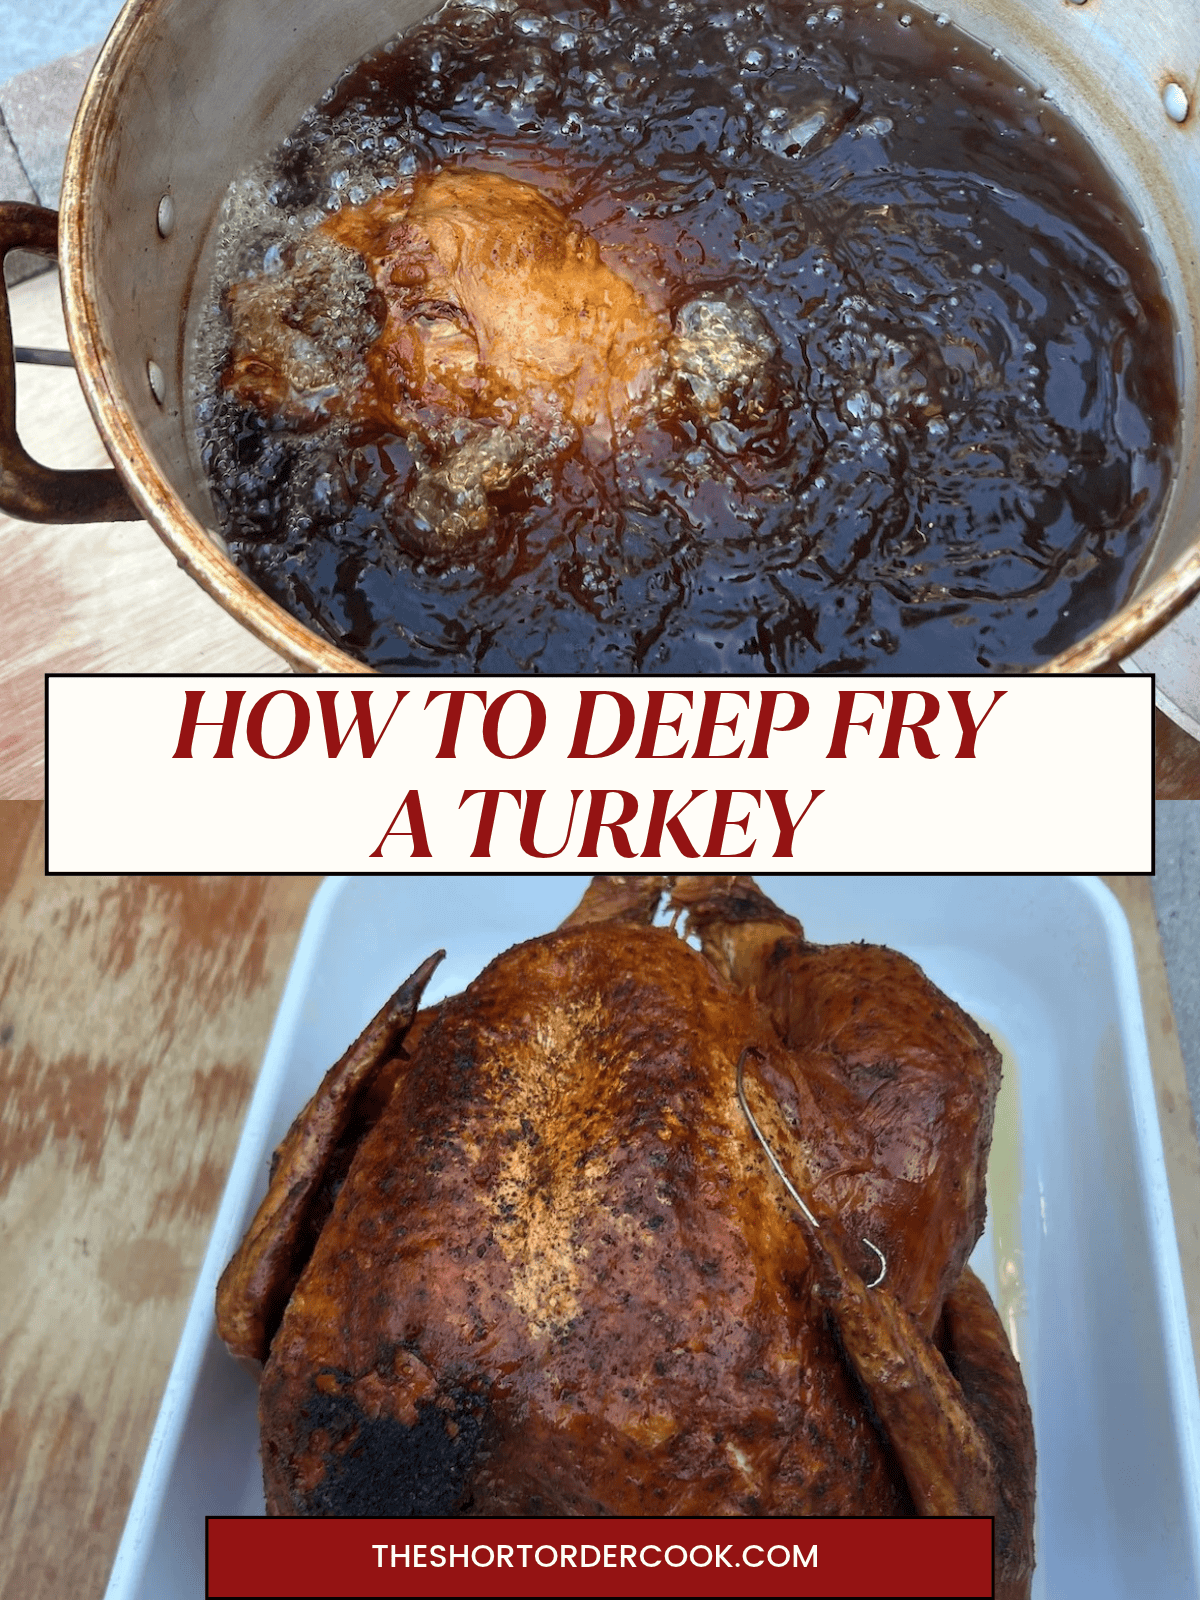
The best holiday recipe for cooking a whole turkey for Thanksgiving or Christmas. These easy to follow steps for How to Deep Fry a Turkey guarantee juicy tender meat & the most amazing crispy skin you ever had.
I apologize now for how irresistible this recipe is. Once you have had fried turkey, it's hard to make it any other way. Sorry, not sorry.
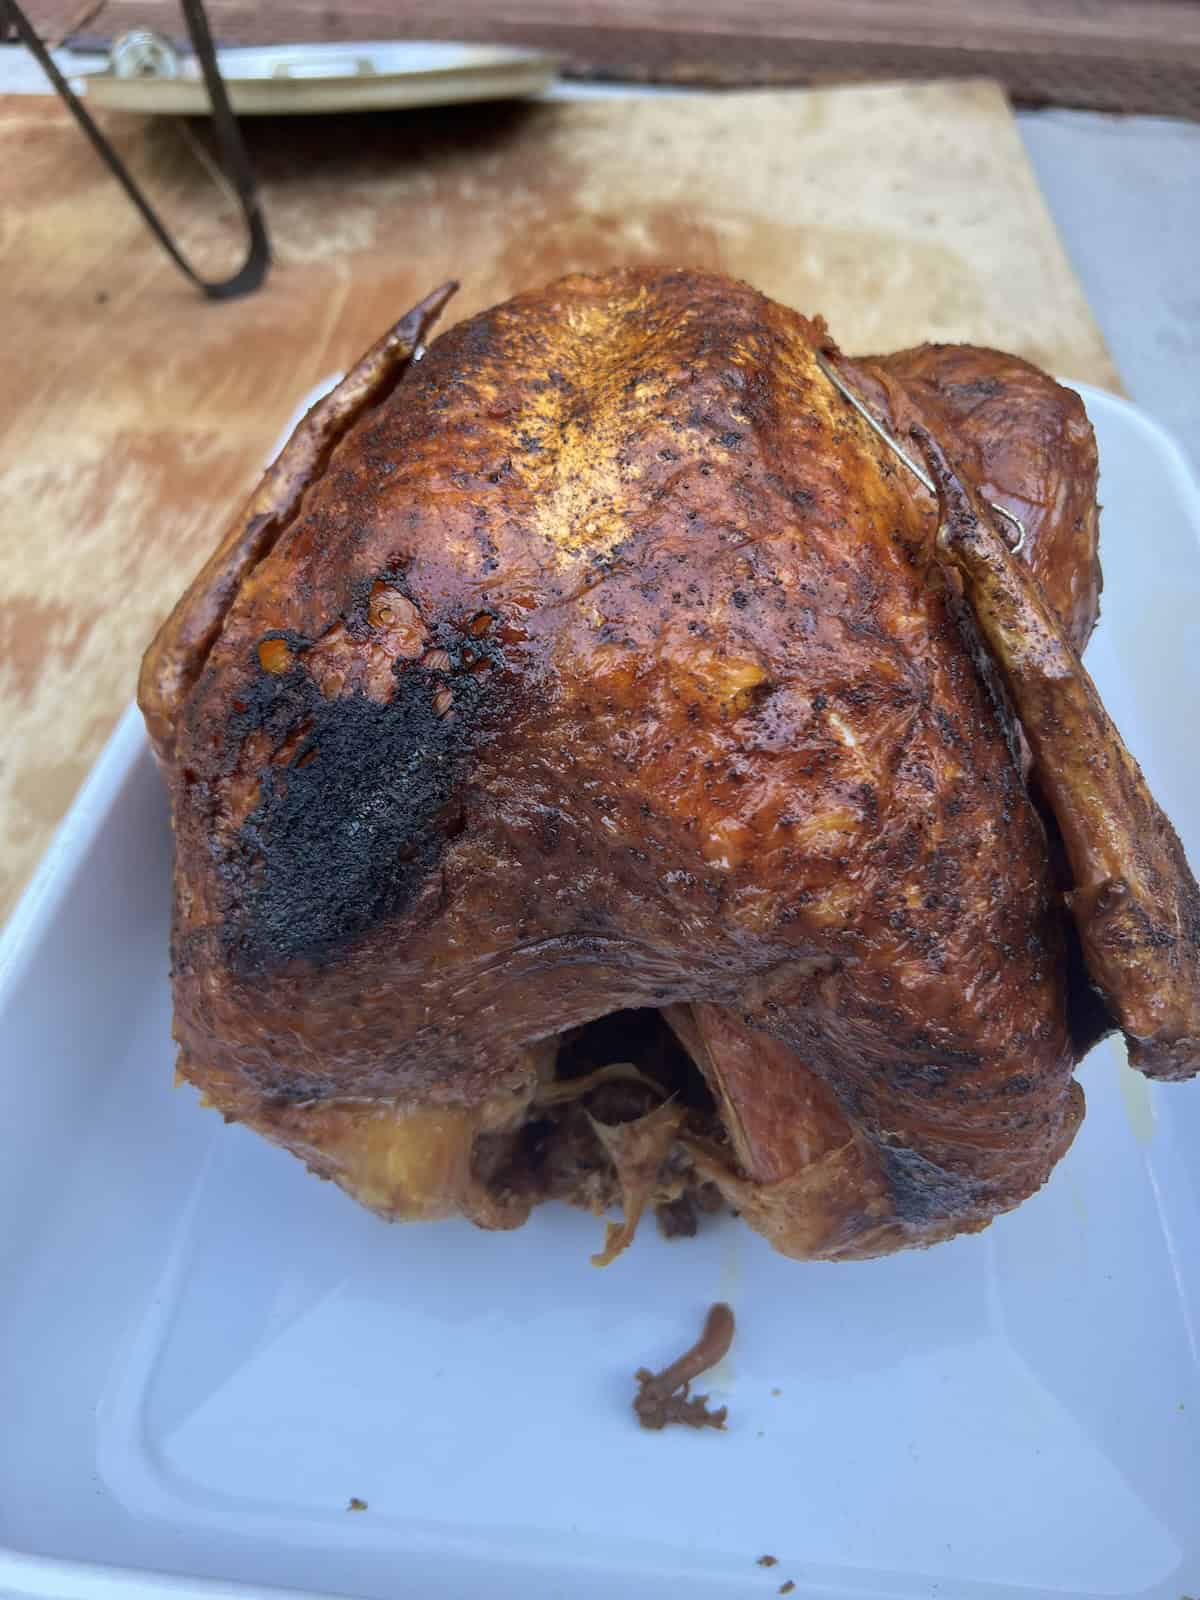
Why this Deep-Fried Turkey Recipe is Amazing: Not only does it make the meat moist and the skin crunchy but it cooks in way less time than oven roasting. So leave the oven in your kitchen for the pies, casseroles, & veggies - the turkey will be cooking outside.
There isn't much more to say to convince you. Just make it. You will never have turkey better than this - promise!
This is a long article, I get it seems almost too much. But I try to share the most important & complete step-by-step instructions so even someone that is frying a turkey for the first time will have all they need to know.
Try to not be intimidated - just follow the safety rules and guide. Even a beginner who has never cooked or fried a turkey before can have yummy success.
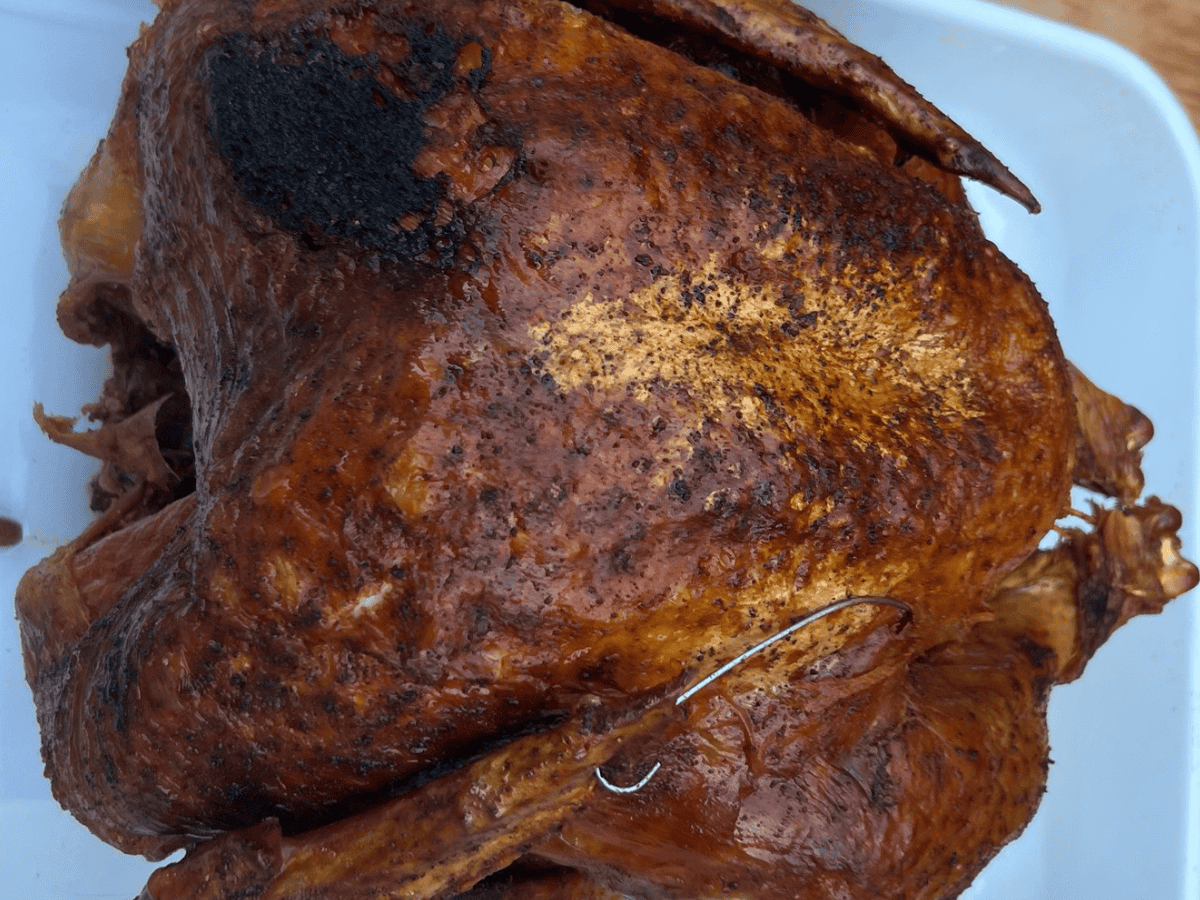
The hardest part is letting it rest before carving it because it will look & smell fantastic! That's the perfect time to add the marshmallows for the final step in a Sweet Potato Marshmallow Casserole. Ok, now we fry!
Jump to:
- Important Safety Tips for Frying a Turkey (don't skip!)
- Equipment Needed for Frying a Turkey
- Ingredients for Deep-Fried Turkey
- Displacement Test for Oil Measurement
- How to Deep-Fry a Whole Turkey
- When is the Turkey Done Frying?
- What to Serve with Turkey
- Recipe Tips & Behind the Scenes
- FAQ
- How to Deep Fry a Turkey (whole turkey recipe)
- More Turkey Recipes
Important Safety Tips for Frying a Turkey (don't skip!)
This is the MOST IMPORTANT PART OF THE ENTIRE RECIPE! Without following these steps and guidelines, it is not advised to cook your turkey in a boiling pot of oil.
I also recommend making sure there are at least 2 people in charge of the turkey frying. So go outside, turn on the football game on your mobile device, grab a buddy, & get ready to fry the best dang turkey ever.
- Always cook outside and set up the frying area at least 10ft from your home.
- The cooking area should be well ventilated and not under a low overhang, tree branches, etc.
- Make sure the turkey fryer is on a flat sturdy surface. You do not want it to tip over or a pot that is filled unevenly.
- Always do a displacement test & measurement using water & your turkey to determine how much oil to use. (see below)
- Do NOT move the turkey fryer once you start the heat & it is in use.
- Do NOT overfill the pot. Make sure to do the water test for the fill line the day before, see recipe card & steps below for more information.
- The turkey must be 100% thaw and patted dry. Any moisture or frost will cause dangerous splatter and a chance to not cook properly.
- Always use an oil thermometer to ensure the oil stays at the right cooking temperature so that the turkey doesn't burn or worse yet, start a fire if overheated.
- Make sure to you the correct type of oil. It needs to be a neutral flavor and safe to reach a high smoke point. (safe up to 450°F) I recommend peanut oil or canola/vegetable/soybean oils.
- All parts of the turkey fryer (base, pot, handles etc) will be HOT. Always use protective mitts.
- Keep children and pets at least 3 feet away from the fryer at all times. Do not leave it unattended at any time.
- Avoid wearing loose clothing, long flowing sleeves, strings on a hoodie, or other dangling items.
- If a fire does begin, call 911 and then use a fire extinguisher Class K or ABC - do NOT use water. This video has even more safety tips including how to handle a possible fire - Turkey Fryer Fire & Safety Tips.
Equipment Needed for Frying a Turkey
Here are the items you will need to safely deep fry a whole turkey.
- Turkey Fryer Set - one that includes most of what you need; 30qt pot, propane stand/burner/regulator, turkey rack, lifting hook, temperature thermometer, marinade injector & other pot sizes for cooking smaller items (fish fry, steamer basket etc)
- Propane Tank - this is the fuel needed for how almost every turkey fryer set will work.
- Neoprene Gloves - heat resistant and oil resistant great for frying, grilling, smoking and other outdoor cooking needs.
- Large Roasting Pan - to place the turkey in after for it to rest before carving. The sides keep the juices contained.
- Instant-Read Thermometer - to make sure the turkey is done.
- Turkey Lacers/Skewers - to pin the legs and wings to the main body so they cook evenly and don't overcook if flapping loose.
Ingredients for Deep-Fried Turkey
The main ingredient is the whole turkey. Keep in mind there is a maximum size you can deep fry. A very large turkey will not fit in a 30quart pot with the oil needed to fry it.
You can deep fry a whole turkey that is between 10 pounds and 18 pounds maximum. It is ideal for turkeys 12-16 pounds.
** DO the displacement test first before deciding if deep frying is safe for the size bird you have. If the turkey is too big, oven roasting it will be best. I have many articles on how long to cook turkey in the oven by size. (all the way up to 25lbs!)
Here are important notes for some ingredients:
- Whole Turkey - between 10-18 pounds (larger birds will need a pot bigger than 30qrt)
- Peanut Oil - neutral high smoking point oil for frying
- Spice Rub - for seasoning the skin - optional
See the recipe card for full list, quantities, & any substitutions/variations.
Displacement Test for Oil Measurement
This is the #1 step to do before you decide if deep-frying your turkey can be safely done. This step ensures you have enough space in your turkey pot for both the oil and the turkey.
I recommend doing this the day before you want to cook your whole turkey. That way you can have plan B in case you need to oven cook it instead. Here is how to do this:
- To the clean turkey pot add your whole thawed turkey plus the rack.
- Add water so that the turkey is now submerged plus 1-2 inches above.
- Make sure the pot is not filled too much once both are in there. If the pot has less than 5 inches of headroom, the oil splatter will likely overflow and is unsafe for cooking.
- Let it rest for a few minutes to make sure the turkey cavities fill with the water as well since the oil will do the same once cooking.
- Slowly remove the turkey and let all the water drain back into the pot.
- Mark the water line for your fill of oil the next day. Either measure how deep it is and write it down or mark the line with some tape that can be removed or a marker.
- Pour out the water and dry the pot 100%. This is why I like to do it the day before, the pot cannot be wet when you add the oil to turn it on. Water oil splatter is very dangerous.
How to Deep-Fry a Whole Turkey
Prepping the bird days before you deep fry makes all the difference. If you have time I highly recommend you include these two steps:
- While defrosting your frozen turkey in the refrigerator, do a brine also. I do this every year and the skin comes out crispy awesome (even when not deep frying) and the meat is crazy moist & juicy.
- Here is how to do a DRY SALT BRINE FOR TURKEY, start it 3-5 days before you plan to cook your turkey. Use a brining bag to keep your fridge clean.
- On the day of cooking, this SPICE RUB FOR TURKEY is my go-to blend of seasonings.
Here are the easy steps for making deep-fried turkey:
- Prep the Turkey & Oil Pot
- Fry the Turkey
- Rest, Carve, & Serve
See the step-by-step instructions with photos below plus the recipe card at the end of the post.
1 - Prep the Turkey & Oil Pot
Make sure the turkey is 100% thawed and patted dry. Use paper towels to remove any surface moisture.
Make sure there are no innards/gizzards still in the cavity. It should be empty. Place the turkey on the frying rack and stand it up in a roasting pan.
TIP- tuck in the legs and pin the wings down. You want them close to the body of the turkey. Otherwise these smaller pieces will cook too fast/burn/dry out.
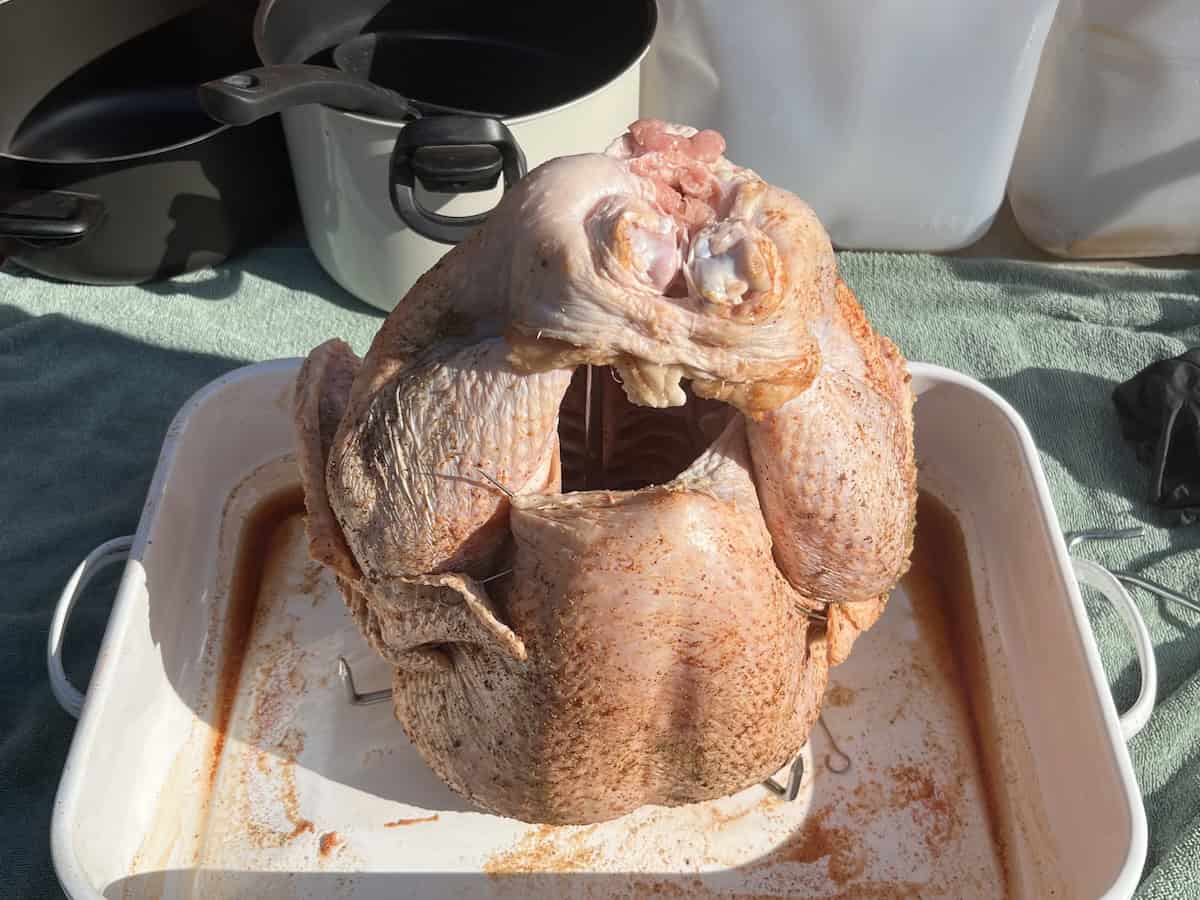
Rub the turkey with whatever seasonings you like both inside and outside. Salt, pepper, paprika, garlic, & poultry seasonings are popular choices.
My homemade Spice Rub for Turkey is a salty savory combination that is perfect.
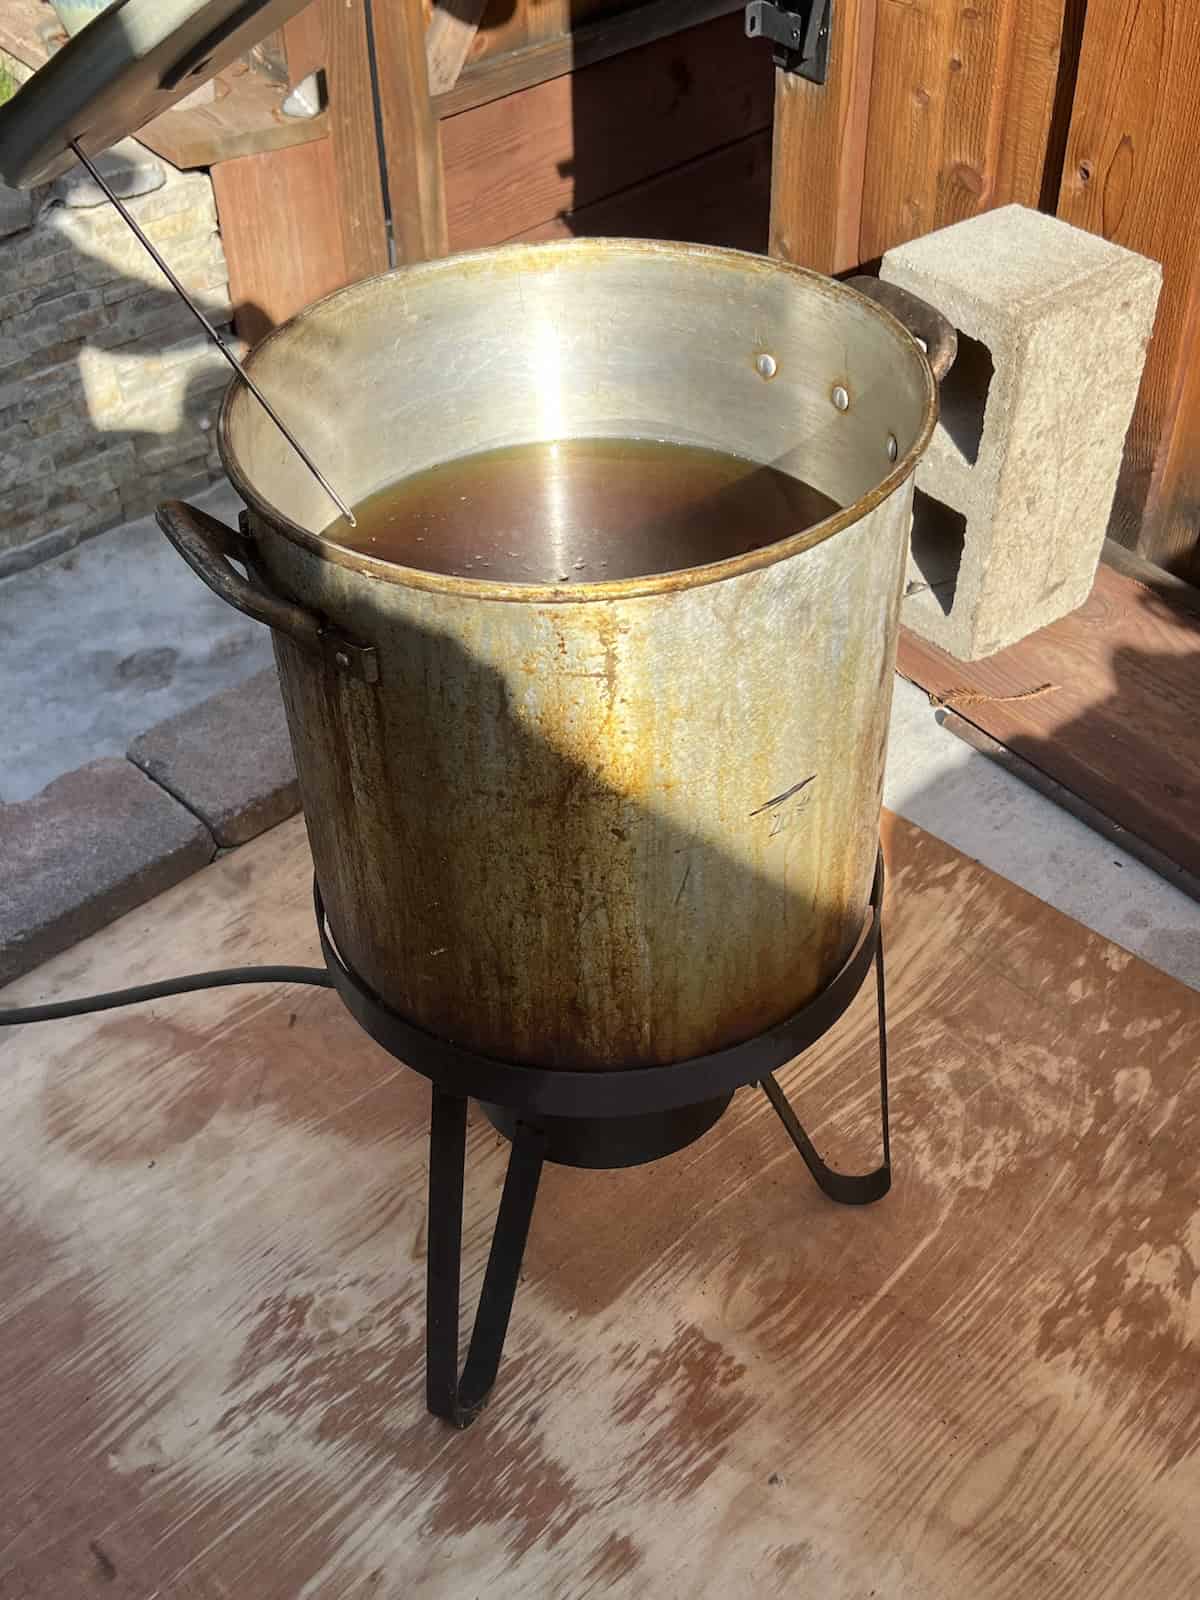
Prep the turkey fryer per the manual instructions for your set up. Make sure the oil level is correct (see displacement test section), the temperature thermometer is ready, and everything is on a safe flat surface away from structures, trees, etc.
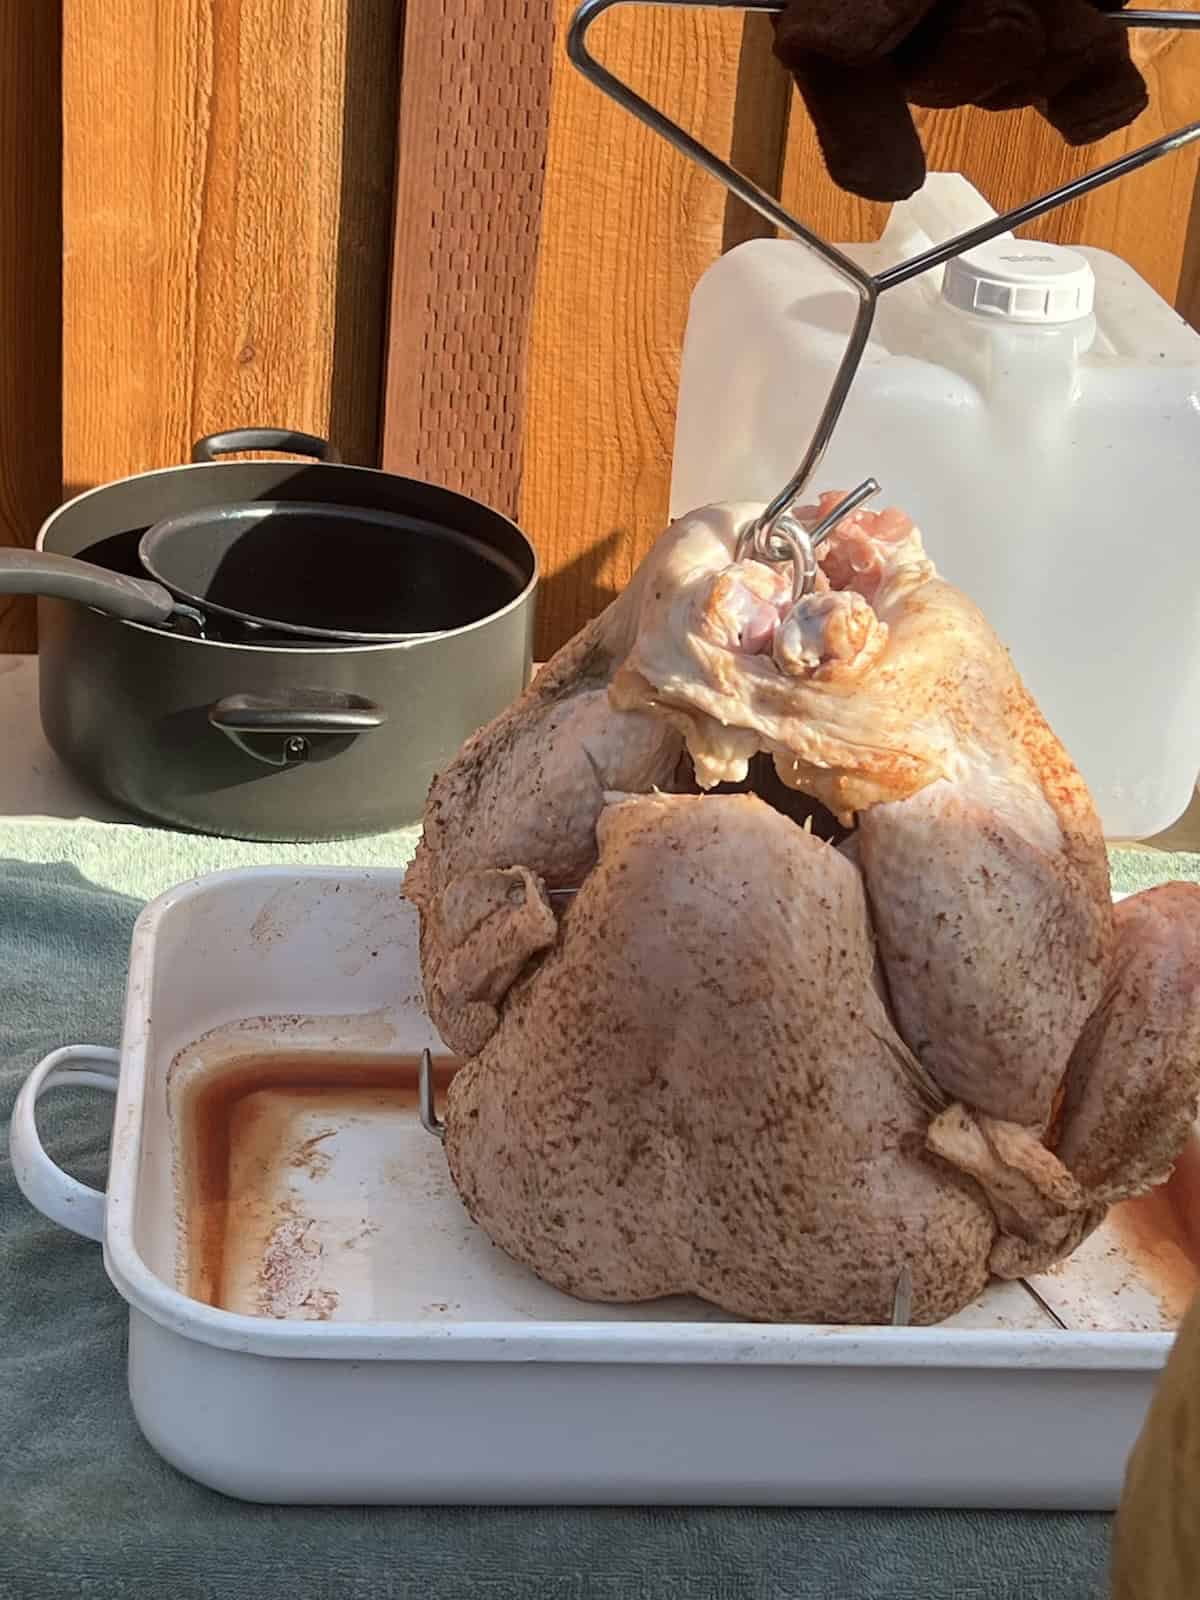
Add the hook to the turkey rack so it will be ready to go once the oil reaches the frying temperature.
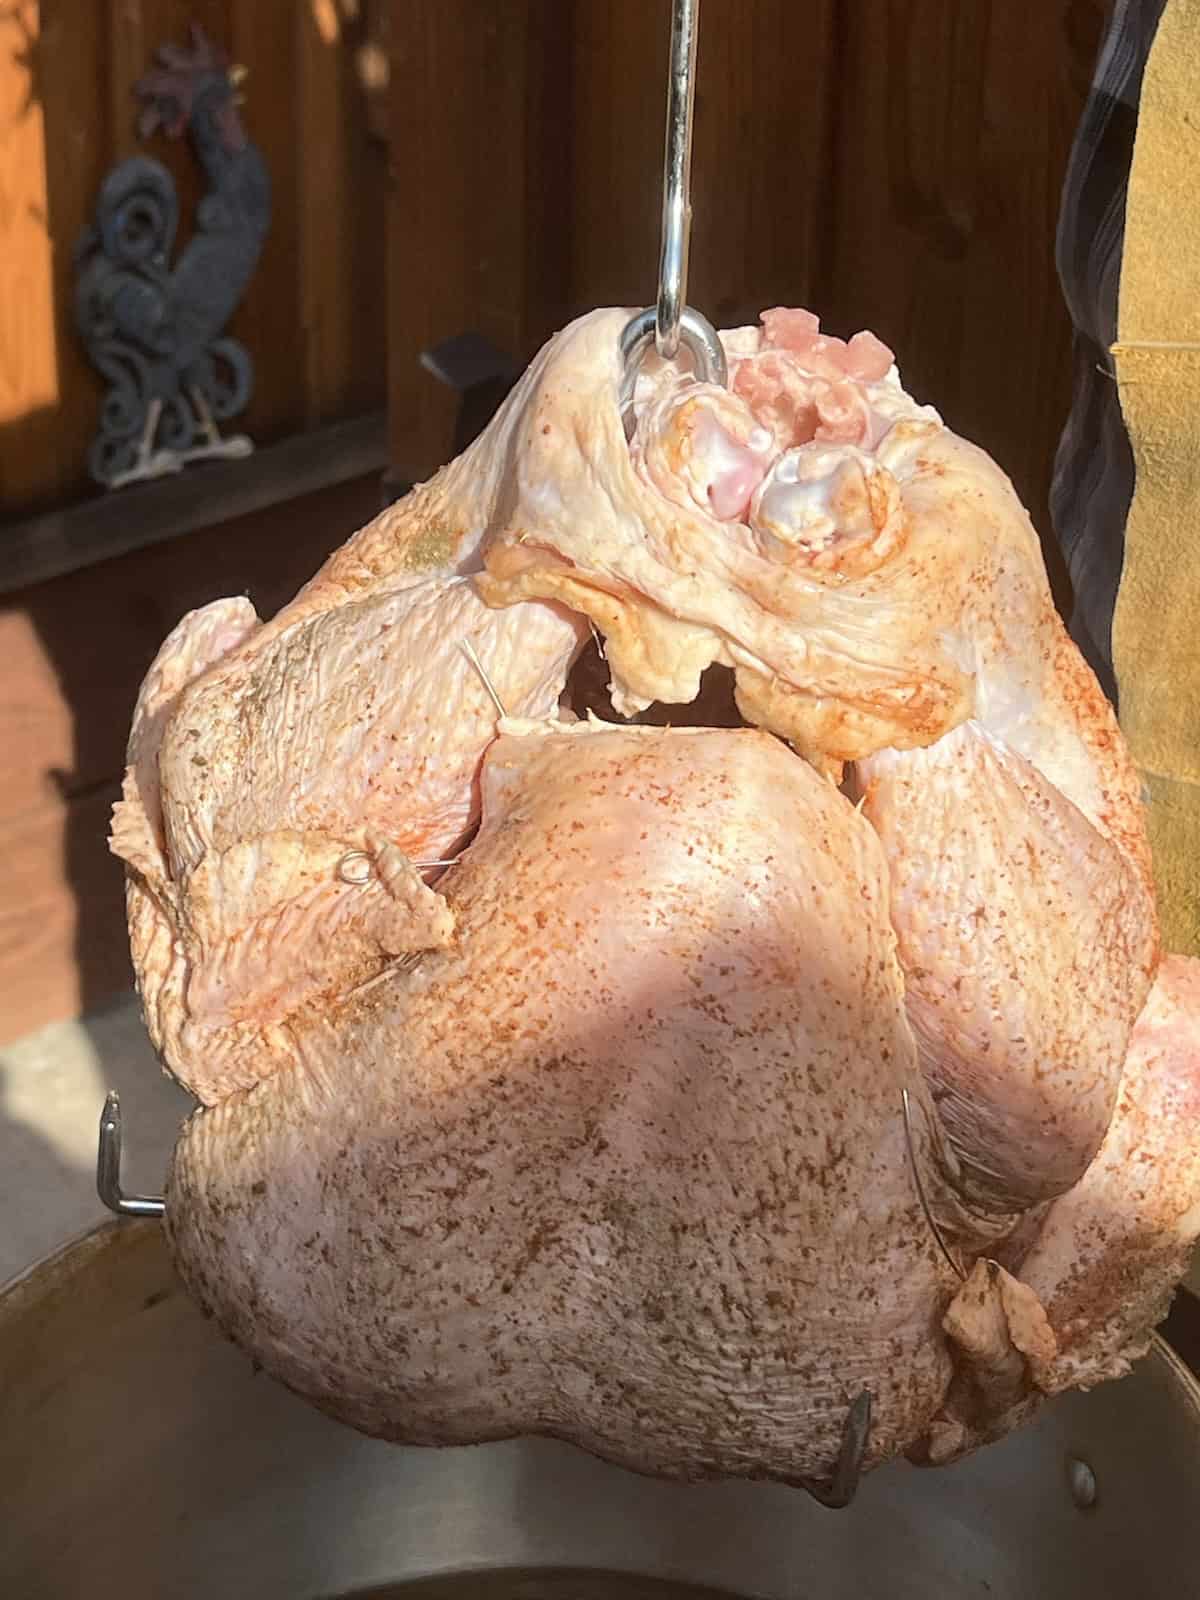
Make sure to wear heat resistant safe gloves for when lifting the turkey into and out of the oil.
I like to test lifting the turkey a few times gently to make sure the hook and rack are safely attached so it will not drop or wobble when adding it to the boiling oil.
2 - Fry the Turkey
Once the oil reaches 350°F, it is ready for the turkey. Gently lift the turkey with the hook while wearing safety gloves.
Slowly add it to the oil and once it is submerged turn to release the hook from the turkey. Check your manual/instructions for the rack & hook you are using for the best way to do this.
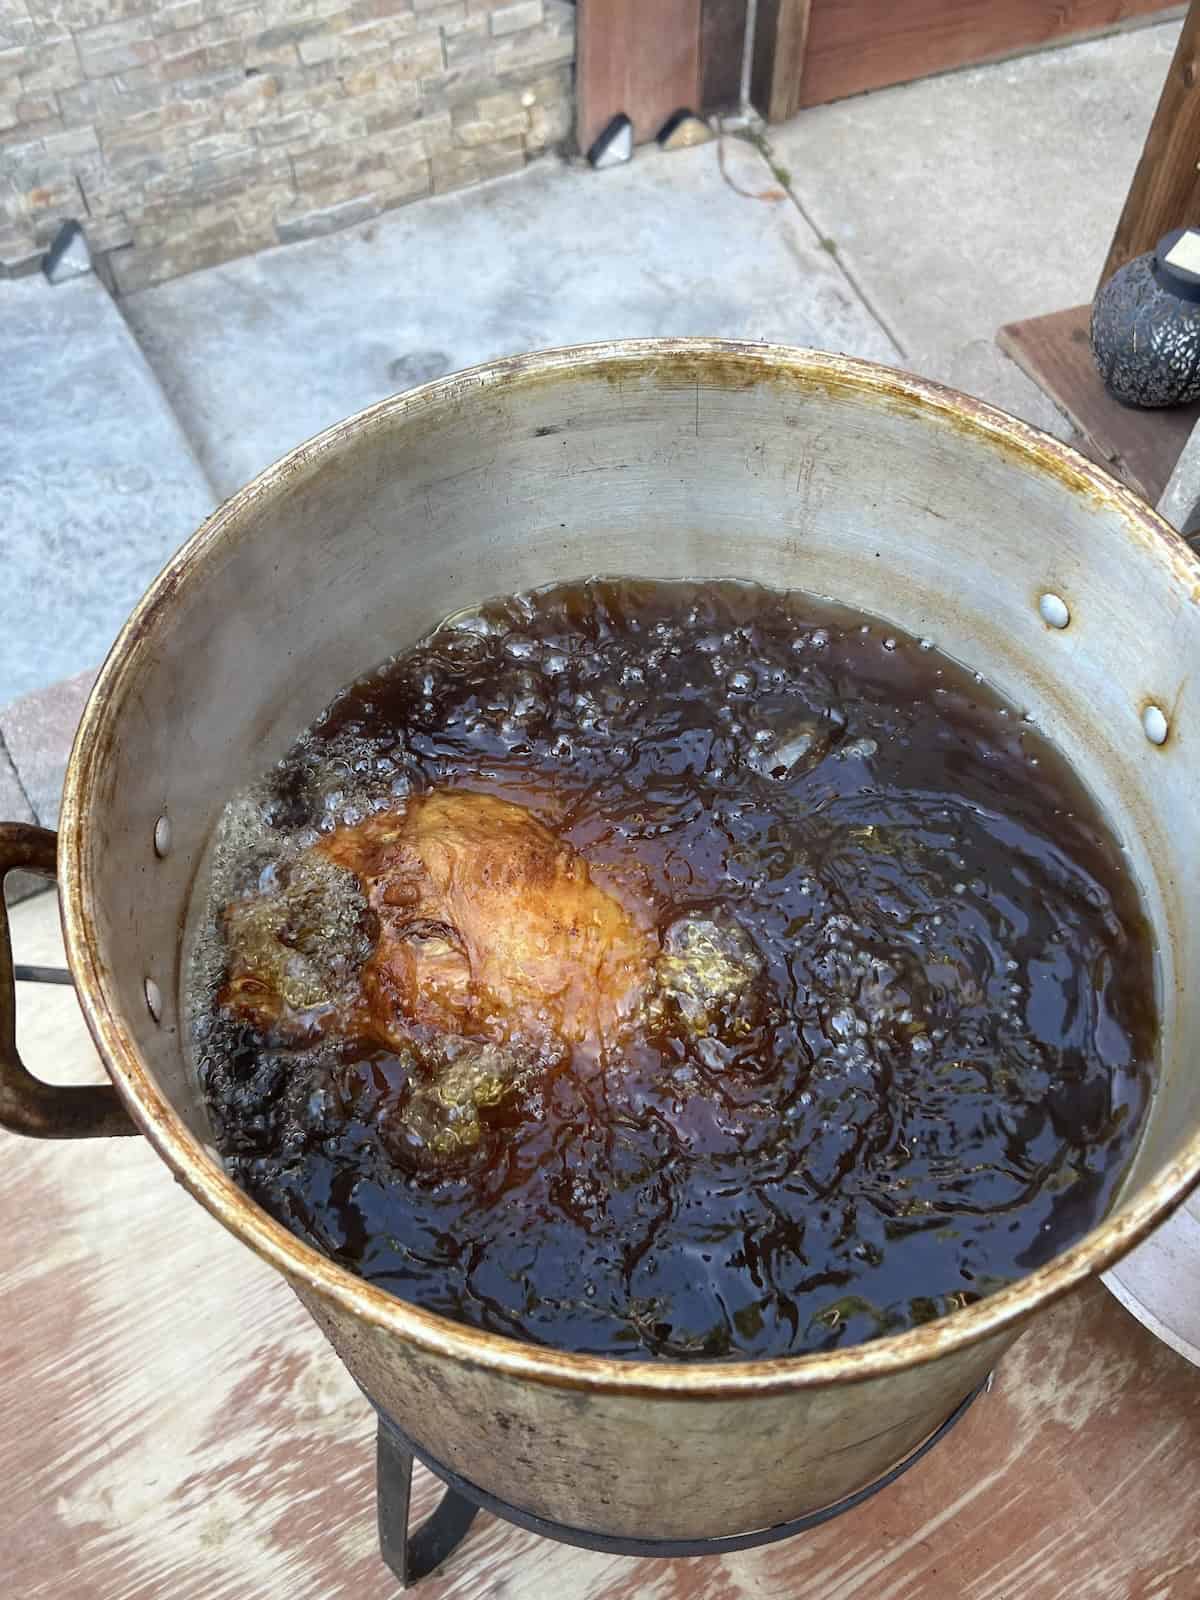
Let the turkey fry while making sure at all times that the heat is safely around 350°F.
Do not let the oil reach temperatures above 375°F or below 325°F. Adjust the propane for the flame up or down slightly if needed.
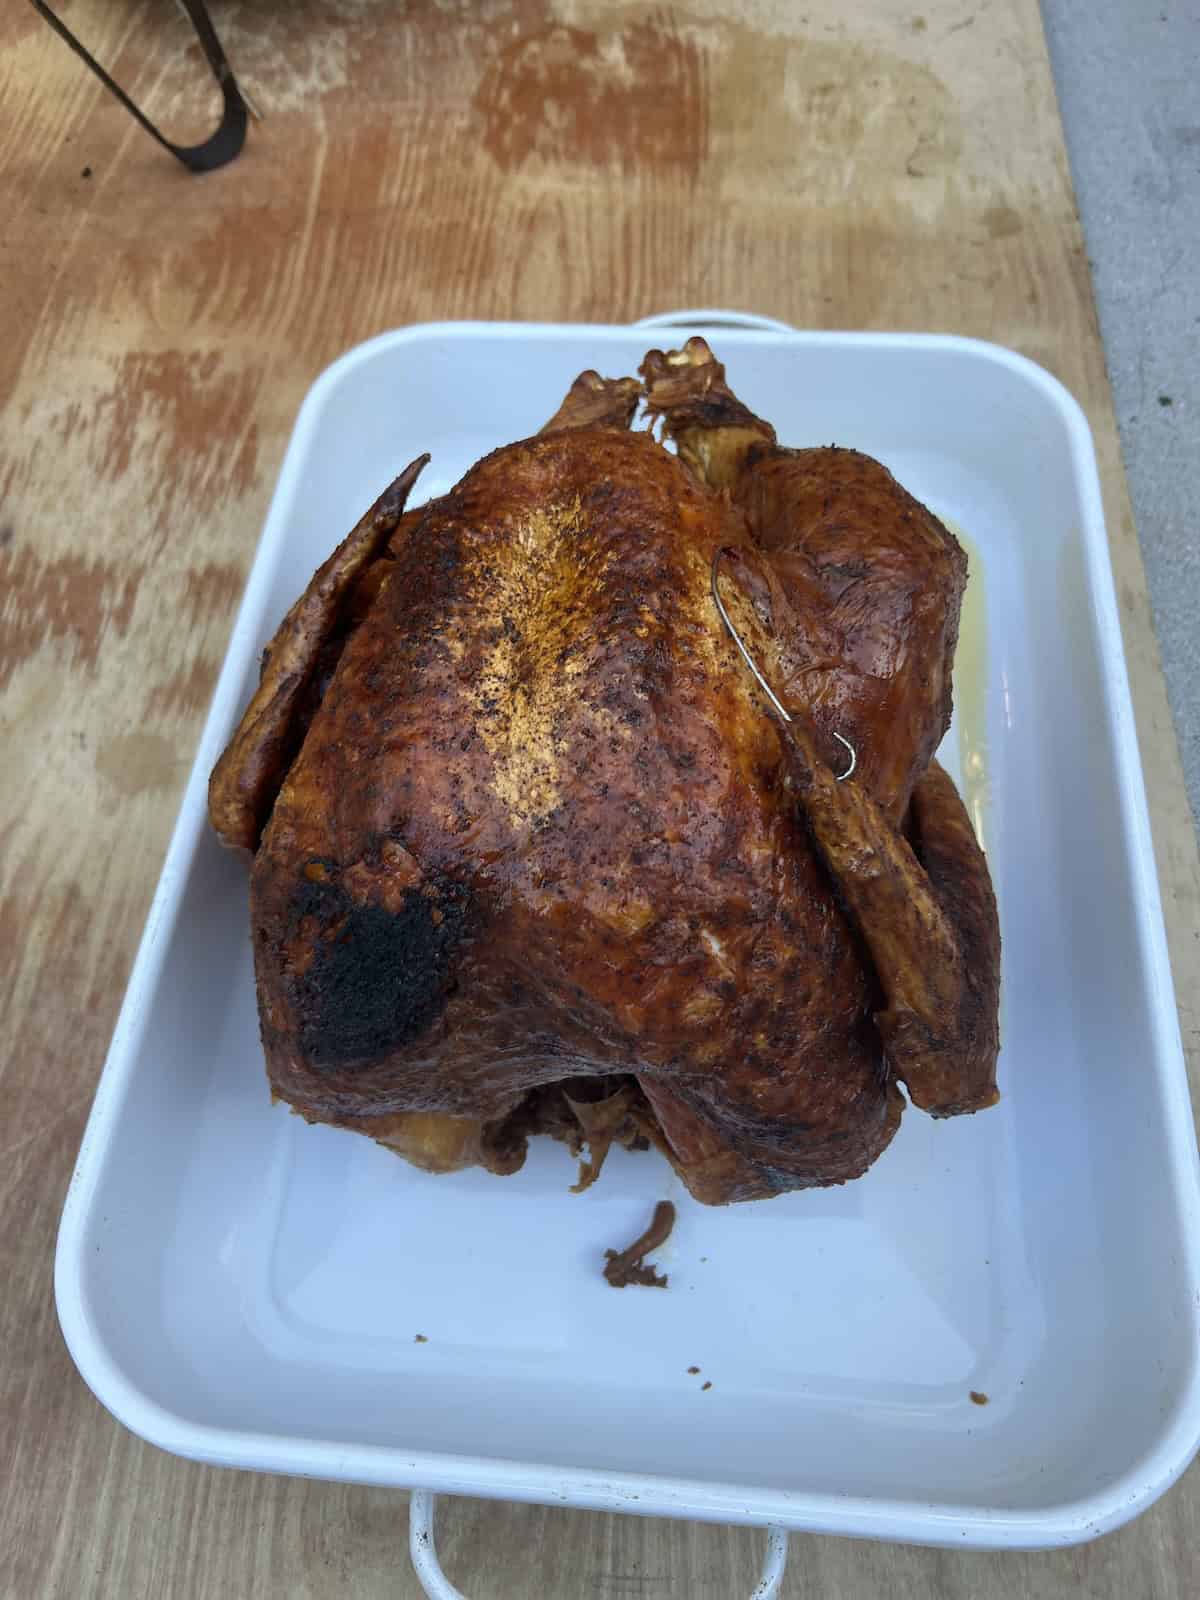
Once the turkey is ready - see next section for time/temperature. Make sure to use the safety gloves.
Use the hook to attach to the turkey rack and slowly gently lift the turkey out to check with an instant-read thermometer for doneness - or to put it on a clean roasting pan when ready. Cover loosely with foil to let it rest.
When is the Turkey Done Frying?
Frying a turkey is the fastest way to cook it. When frying in 350°F oil, it takes about 3-4 minutes per pound. So a 10 pound turkey will take 30-40 minutes. A 15 pound turkey will take 45-60 minutes. QUICK!
Like any poultry, make sure to check the internal temperature to know when it is done cooking. Since a turkey will rest after removing it from the oil, the turkey will continue to "cook" a bit. It doesn't immediately turn cold and stop cooking.
Because of this "carryover cooking" I recommend removing the turkey when the breast meat reaches 155°F (160°F at most). This is because while resting the turkey will go up another 10°F+ in the next 20-30 minute period.
This guarantees the meat will not dry out. The juices will redistribute into the meat in the resting period.
3 - Rest, Carve, & Serve
Once the turkey has rested, remove the stand and any lacers/skewers used in the legs or wings. If needed, place it on a serving platter and it is time to carve it. Every family seems to have their own person and way to carve a turkey.
We have an electric knife for cutting meat that makes it SO easy. I remove the wings and legs and place them on the outer edges of a large platter. Then I remove the breasts and slice those thinly and pile those in the center of the platter.
On the side serve with gravy, canned or homemade Cranberry Sauce from Dried Cranberries, & your favorite side dishes.
What to Serve with Turkey
Of course your Thanksgiving favorites pair perfectly with this. We love it with traditional holiday sides such as Whipped Sweet Potatoes, Roasted Green Beans with Everything Bagel Seasoning, & Homemade Soft Dinner Rolls.
Recipe Tips & Behind the Scenes
Here's my recipe for success - including what I learned when testing, fun stories, recipe history, and more.
- #1 Tip - DO NOT OVERFILL THE POT WITH TOO MUCH OIL. Make sure to do the water test the day before to know your fill line!
- SAFETY IS KEY. Make sure this is set up outside, far from anything flammable & keep pets/kids away from the area at all times.
- Follow these additional safety tips for frying a turkey brought to you by the Red Cross.
- Don't miss the equipment section near the top to make sure you have everything to do this safely.
FAQ
The average is 3-4 minutes per pound. This is based on the oil safely staying between 350-375°F while cooking.
The breast meat should reach 165°F before carving and serving. Since meat continues to cook after it is removed from the oil while it rests, remove it at 155-160°F when the white meat is checked with an internal quick read thermometer. It will cook another 10°F typically.
LOVE THIS RECIPE & WANT TO SEE MORE?
Summarize this recipe content below
NOTE: The Short Order Cook is not responsible for third party content including the use of AI websites.
How to Deep Fry a Turkey (whole turkey recipe)

Equipment
- turkey fryer & accessories pot, burner, propane, temperature thermometer, rack & hook
- safety gloves
- roasting pan
- instant-read thermometer
Ingredients
- 15 pound turkey see recipe card for turkey with different weights
- 2-4 gallons peanut oil or other high temp oil (canola/soy/vegetable)
- turkey rub blend (combo salt, pepper, garlic, paprika, & poultry seasoning) optional
Instructions
- Plan a week ahead to ensure your turkey thaws safely in the refrigerator.
- If doing a dry rub, see the link in the notes section below.
- Day Before Frying the Turkey: Do the water test/displacement check. Place the thawed turkey on the rack and into the empty turkey pot. Cover with water so it is submerged with 1-2" above the turkey. Remove the turkey from the pot and mark the line where the water hits. This is how much oil you will need the next day to fry your turkey. Dry the pot 100% and pat dry the turkey and return it to the fridge until ready to cook. If there is not 5" above the water when the turkey is in the pot together, the turkey is too big & chances of unsafe hot oil spillage/overflow is high. 17-18lb turkeys are often the top for a 30qrt pot plus oil.
- Day of Turkey Frying:Set up the turkey fryer outside in a safe location far away from structures, vegetation and anything flammable. Make sure it is on an even flat surface. Follow the instructions for your model including the propane and having the rack/hook, thermometer, safety gloves etc all nearby.
- Fill the pot with enough oil that is needed according to the water test you have already done.2-4 gallons peanut oil
- Prep the turkey by removing all the innards in the cavity and patting the skin dry with paper towels. Place it on the turkey fryer stand, set the hook to the side.15 pound turkey
- Sprinkle the inside and outside of the turkey liberally with a spice blend or seasoning mix. TIP- tuck in the legs under the loose fat/skin from the neck area and pin the wings down with turkey lacers. You want them close to the body of the turkey. Otherwise these smaller pieces will cook too fast/burn/dry out. Let it sit out at room temperature in a rimmed pan or platter until the fryer is ready. * a very cold turkey going into hot oil tends to cause more splatter and it is safe for it to sit out a bit.turkey rub blend
- Start the fryer according to your set's instructions. Once the temperature on your thermometer or gauge reaches 350°F the oil is ready for the turkey.
- Put on the safety gloves. Use the hook connect to the stand on the turkey. Carefully lower it into the hot oil, turn the hook to release from the stand and let the turkey remain in the hot oil.
- Monitor the oil temperature so it stays near 350°F (325-375 range only) Adjust the propane slightly if it gets too high or to low.
- Turkey takes 3-4 minutes per pound when deep frying. A 15-pd turkey for example takes between 45-60 minutes to cook. See guide below for other times.
- Once the breast/white meat part of your turkey reaches 155-160°F with an instant read thermometer, it is ready to come out of the oil. * this is because as the turkey rests it will continue to cook and go up about another 10°F. Removing it a bit early ensures the meat does not dry out or overcook.
- Before removing the turkey make sure you have a clean roasting pan or large platter with sides nearby. When the turkey is ready put on the safety gloves. Use the hook to grab onto the stand and slow lift and remove the turkey from the hot oil. Gently place it onto the platter/roasting pan.
- Tent the turkey loosely with foil and let it rest for 20-30 minutes. *great time to finish up any last minute sides, pour drinks, or any other finishing touches to the meal
- After resting, remove the stand and any lacers or pins used. Place on a serving platter. Carve your turkey as normal - wings, legs, slice the breast meat and thighs, etc. Plate and Enjoy!
Notes
- Do not skip the water test/displacement step. Do not overfill with oil.
- The turkey must be dry and 100% thawed - any moisture will splatter in hot oil.
- Make sure the turkey fryer is set up according to the manufacture's instructions - is 10 ft from any structures, on a flat even surface, and away from flammable items like furniture & trees.
- Do not leave the fryer unattended when in use, keep children and pets away, & make sure the oil is between 325-350°F when cooking - too high can smoke and catch fire.
- Use protective oven mitts and the hook/turkey rack for handling the turkey. Have a fire extinguisher nearby that is rated for chemical or oil fires (do not use water to put out a grease fire) - CALL 911 immediately if a fire starts.
- 3 days before frying, start the DRY SALT BRINE FOR TURKEY.
- Time out the steps and how long your bird will cook. This helps ensure the rest of the meal will be ready at the same time. Including the 20-30 minutes resting time after it is done frying - the perfect time to warm up rolls, dress the salad, make a cocktail, or whatever else needs finishing in your holiday meal.
- 10-pound turkey: About 30 to 40 minutes
- 12-pound turkey: About 36 to 48 minutes
- 15-pound turkey: About 45 to 60 minutes
- 20-pound turkey: About 60 to 80 minutes (bigger pot will be needed)
More Turkey Recipes
Here are some similar recipes for cooking turkey. They are all for oven-roasting & great if you want to make 2 different turkeys for a crowd at the holidays:
Leave a Reply