
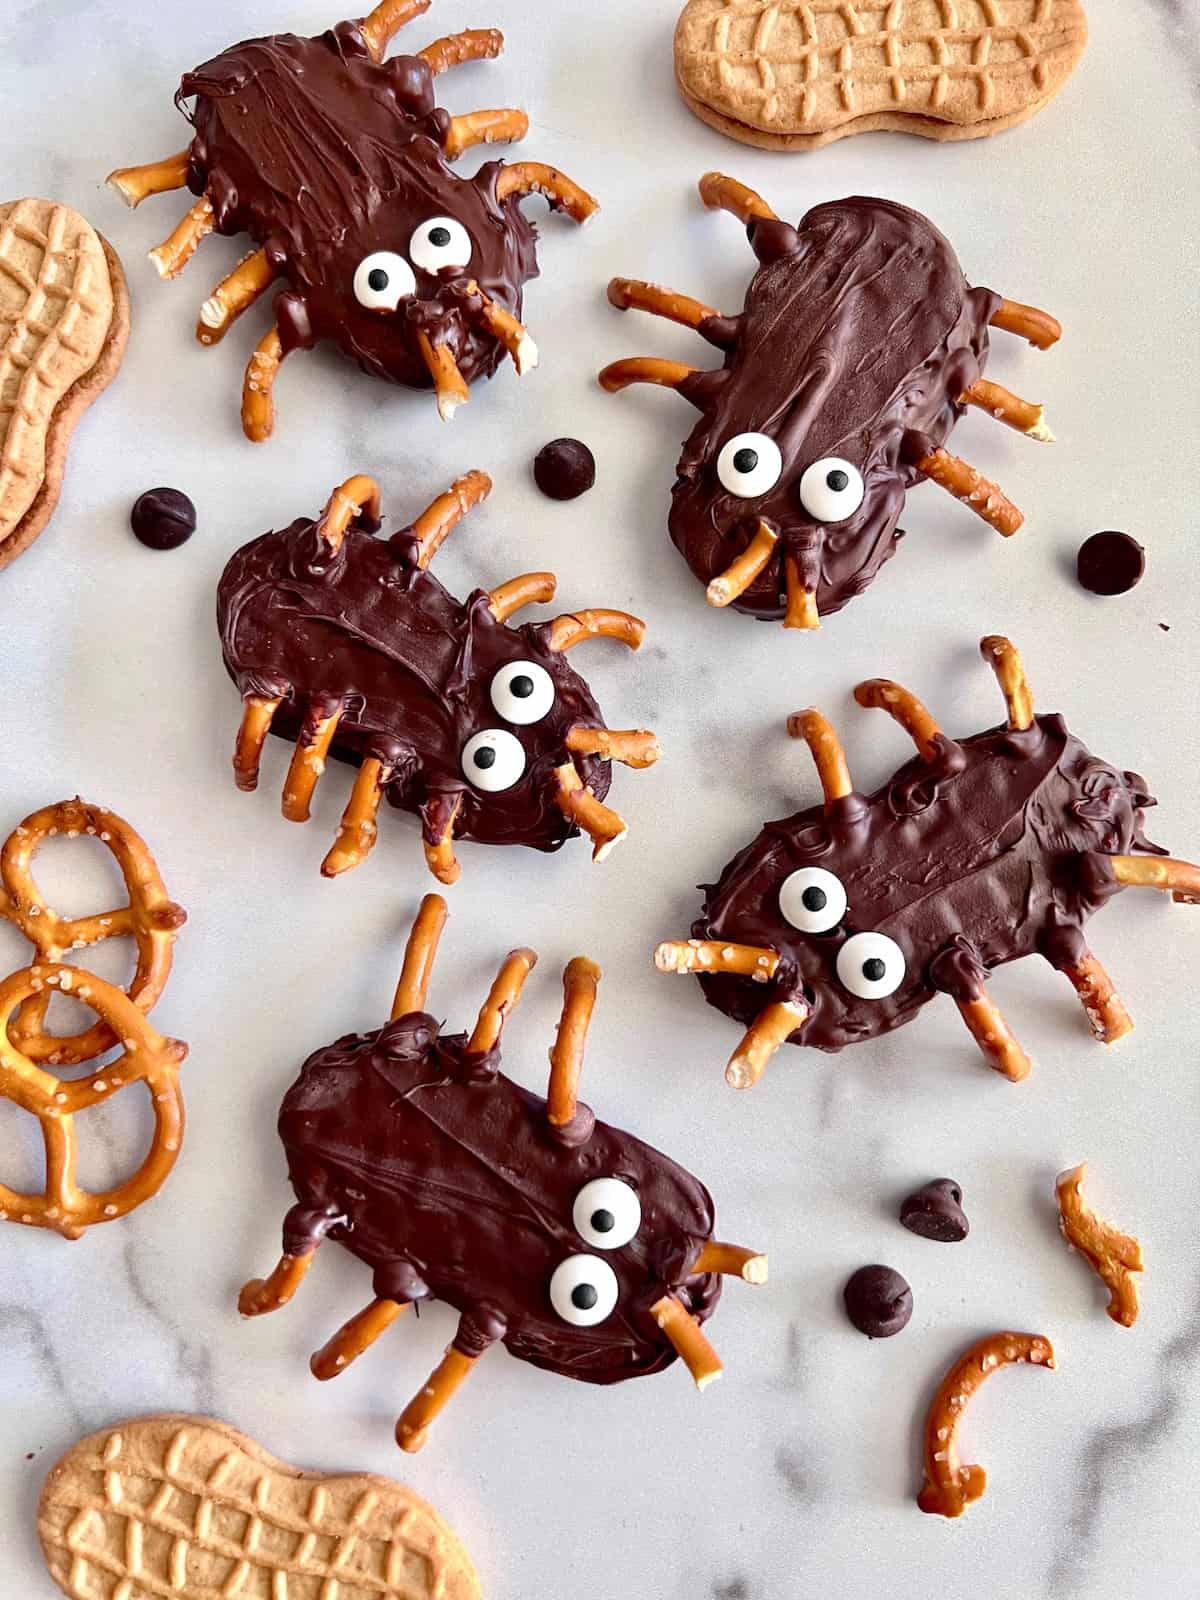
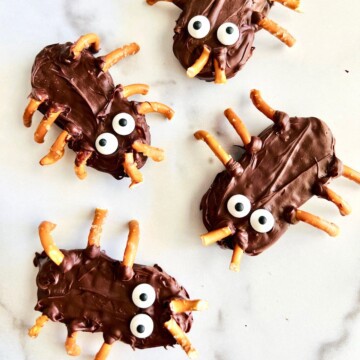
These fun bug and spider peanut butter chocolate cookies are almost too cute to eat. They are spooky, creepy, silly, & perfect for Halloween or any bug-themed party. This no-bake spider Halloween cookie recipe is sweet, salty, crunchy, & nutty.
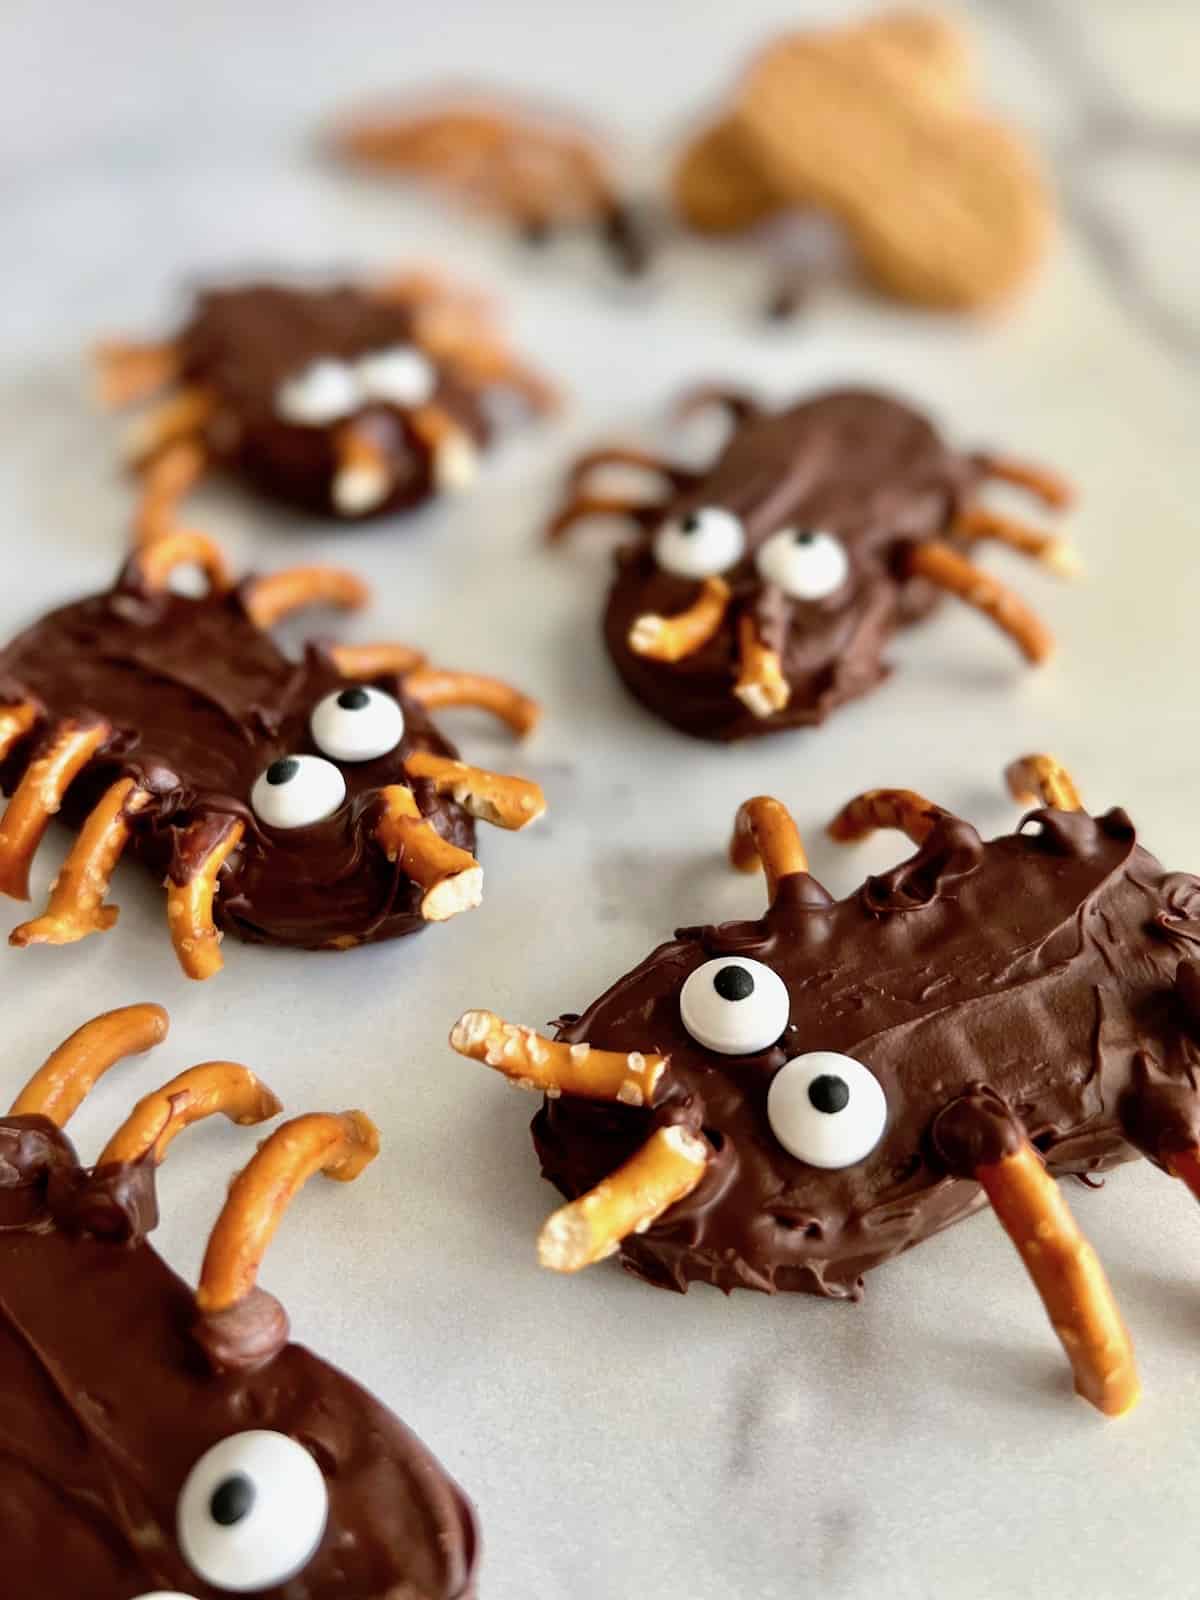
Chocolate-dipped Nutter Butter cookies are decorated with salty pretzel twists & candy eyes to transform them into cutie bugs and 8-legged spiders. All of this cuteness from only 4 ingredients. That makes this one of the easiest Halloween cookie recipes ever and kids are crazy for them.
These peanut butter spider cookies are perfect for Halloween. They are funny & scary all in one so kids of all ages will love them. Just one less pair of pretzel legs on these makes them cutie bugs. They are great for kid's parties, school, baby showers, or any insect-themed party or event.
Not only do they look so fun but every bite has so many flavors and textures. When you bite into these bugs you will get a combo of the sweet chocolate, the crunch of the salty pretzels, and the creamy nuttiness of the peanut butter sandwich cookies all in one fantastic bite.
This was inspired by my Pumpkin Pretzels on this site which are also so cute and fun for Halloween. Since I had a bunch of pretzels left over I decided to keep the creative juices flowing. If you love celebrating Halloween with costumes, decorations, and food like we do, you will love this as a festive holiday snack or dessert.
Jump to:
Ingredients for No-Bake Halloween Cookies
To make these Halloween cookies you need only a few ingredients. This recipe uses store-bought peanut butter sandwich cookies, Nutter Butters. Plus the addition of rich chocolate and pretzels.
You will also need something to give the critters some eyes. I am using Wilton candy eyes. But you can use something else and I share some ideas in the variations section below.

- Nutter Butter Cookies
- Semi-Sweet Chocolate Chips
- Tiny Twist Pretzels
- Candy Eyeballs
See the recipe card for quantities.
How to Make Halloween Spider Cookies
Making these chocolate-covered cookies that look like insects and spiders takes only a few easy steps. Since no baking or cooking is involved, it is a quick recipe. In 15 minutes these sweet treats are ready. Who doesn't love that?
Begin by prepping the ingredients such as breaking the pretzels into pieces & organizing them along with the candy eyeballs. Also, line a baking sheet with parchment paper. Then the chocolate chips need to be melted until smooth. The final step is dipping the Nutter Butter cookies into the chocolate and then decorating.
1 - Breaking Pretzels into Pieces
The salted tiny twist pretzels will need to be broken into pieces. They will be used to create the legs and the antennae. It is easy to do and if any don't break the way you like, well those are for snacking!
You will need about 2-3 pretzel twists for each bug or spider you are making. Carefully snap the outer edges parts of the pretzel from the inside crisscrossed piece. All the parts will be used to separate into small bowls or piles.
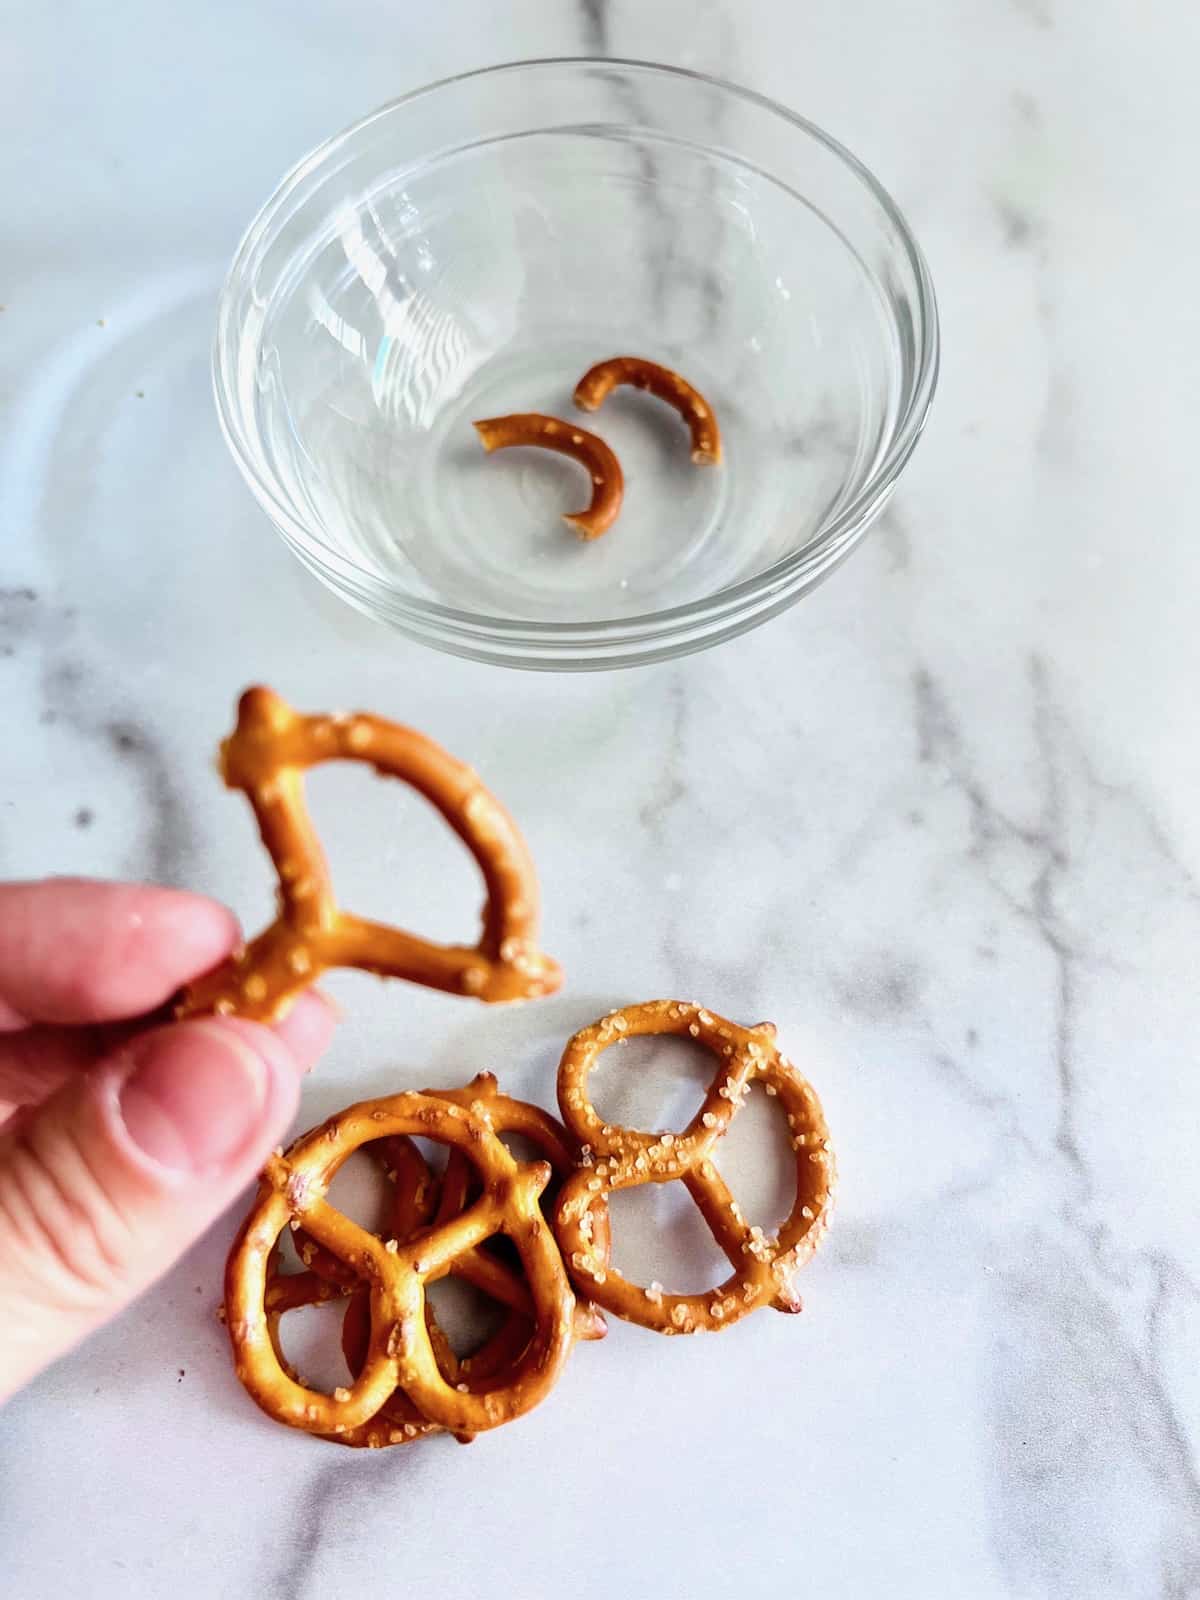
Begin by breaking off the outer curved pieces. Those 3 pieces can be used for legs.
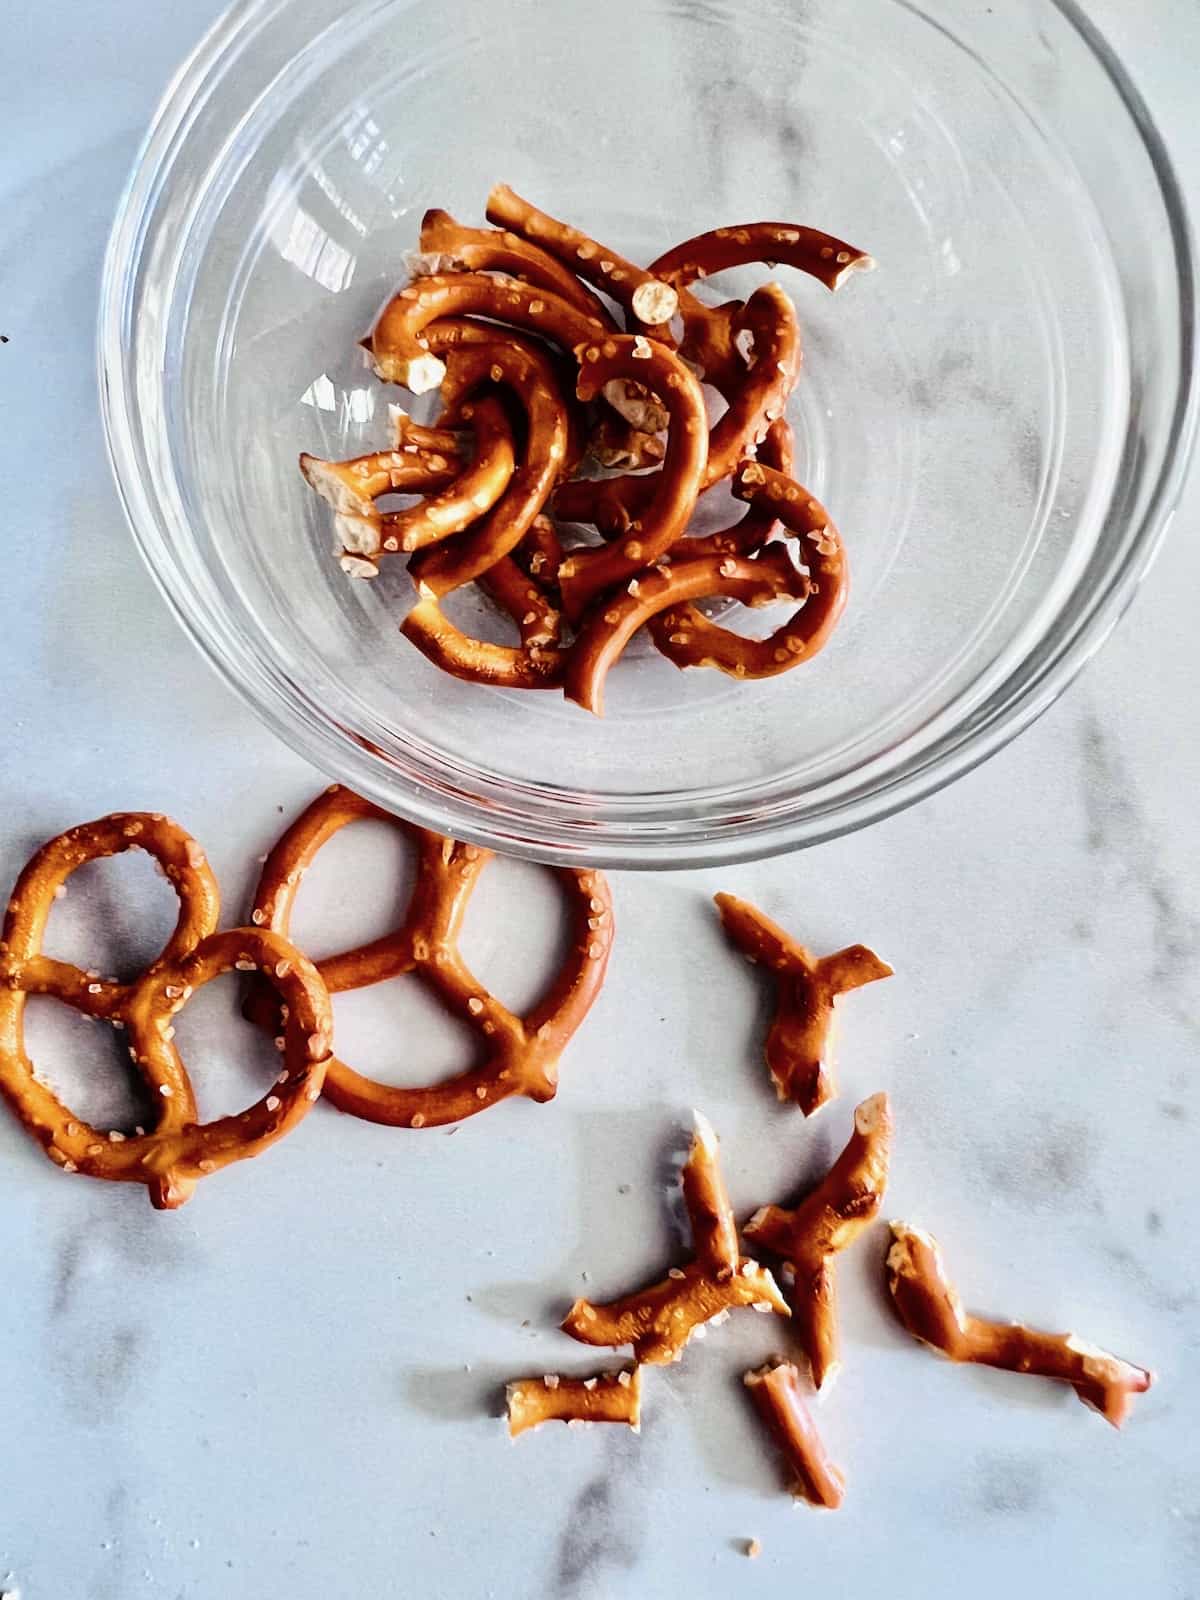
The inner parts of the pretzel are straight and short. They are perfect for the antennae.
2 - Melt the Chocolate
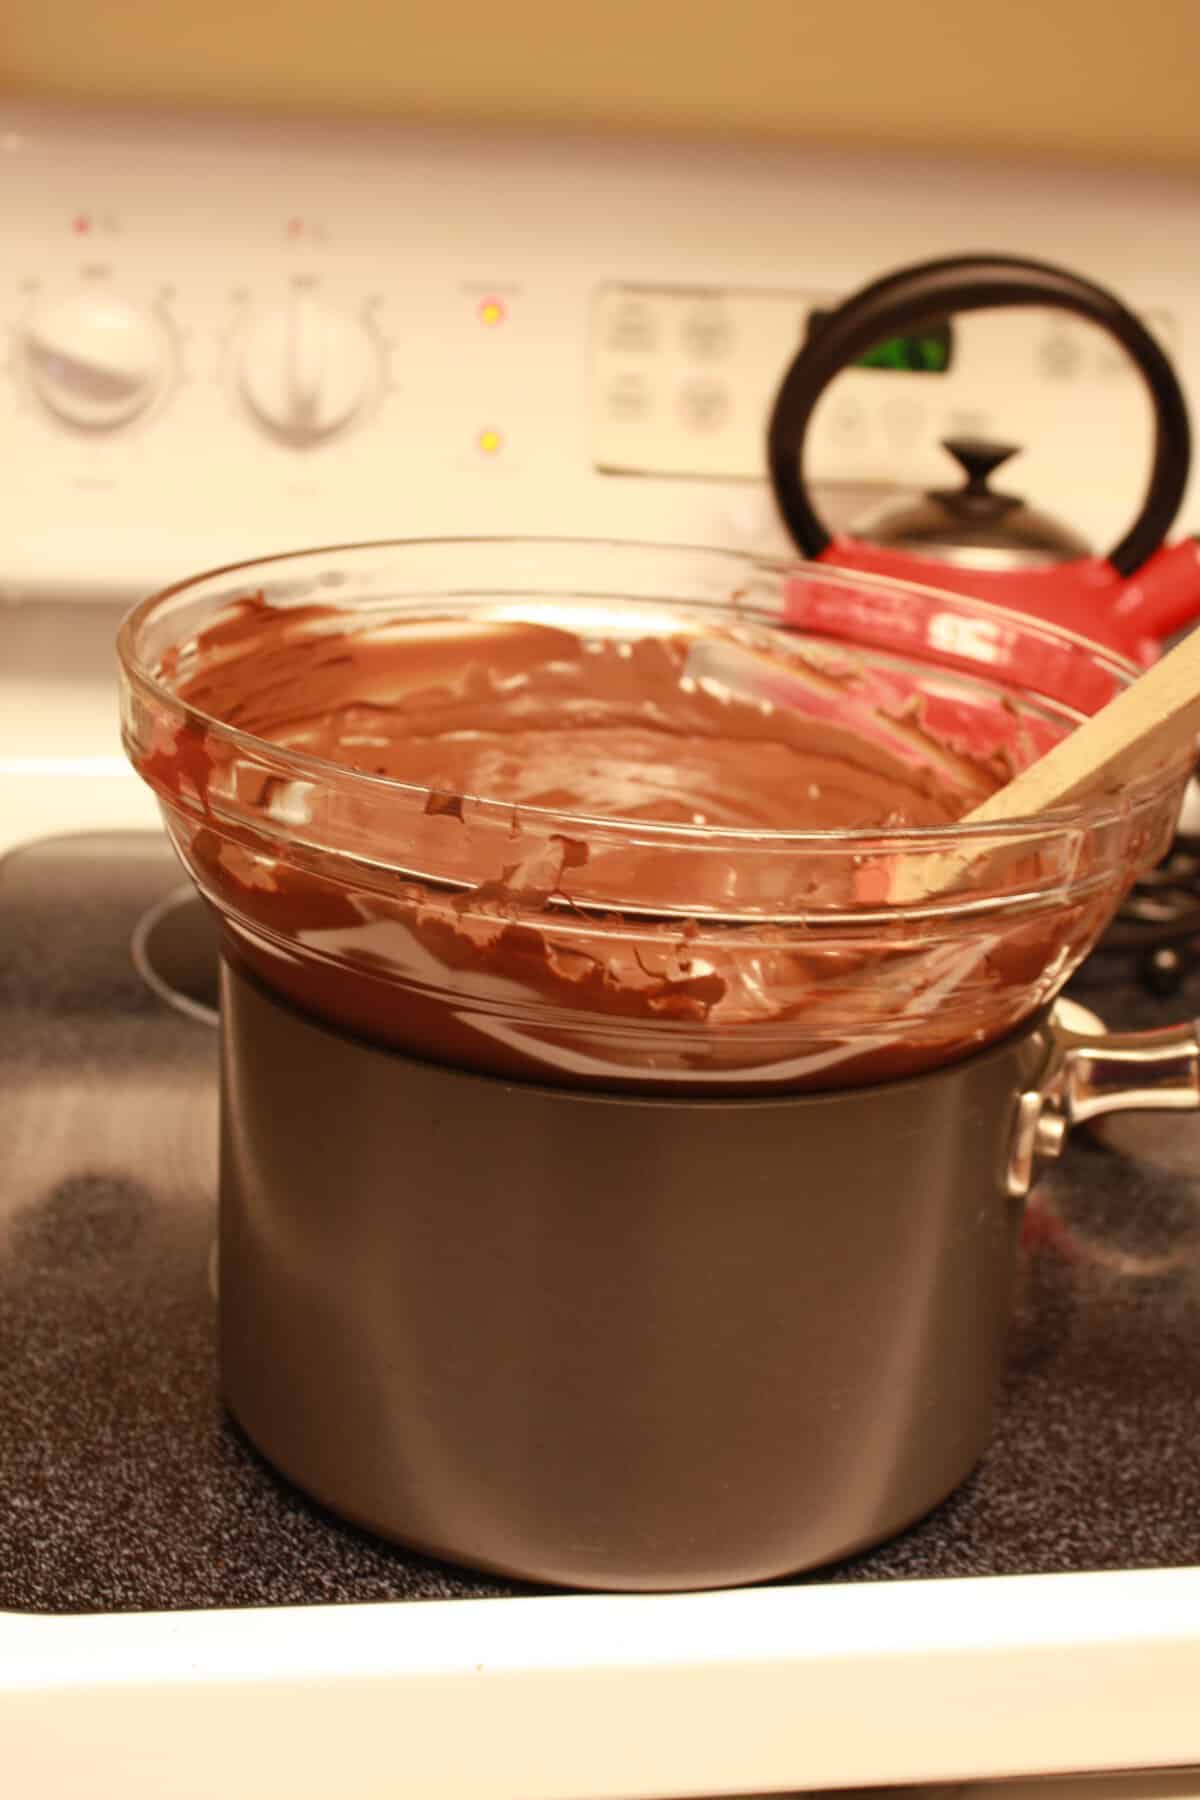
Now that pretzels are ready, it is time to melt the chocolate. I always use a bowl over a simmering pot of water method. I don't own a double-boiler so this is the method I have been using for probably 30+ years.
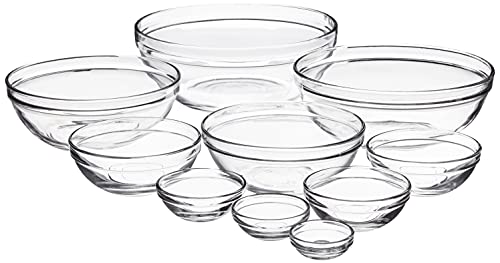
To melt chocolate so it comes out smooth and doesn't seize or harden up. This is my preferred method. I place 2 inches of water into a medium-sized pot and bring it to a simmer. Once it is on a low simmer, place a glass bowl that will fit over the top and sit several inches about the bubbling water. To the bowl, add the chocolate chips.
Over low heat let the chocolate chips slowly melt. Stir frequently with a rubber spatula or silicone spoon. Once almost all the chips (about 90%) are melted and smooth, turn off the heat. Remove the bowl from the pot and place it on the counter. Continue to stir until the residual heat will melt the remaining chips.
** see the FAQ section below on how to melt the chocolate in the microwave **
3 - Dip & Decorate the Creepy Cookies
Now the fun part starts - decorating the bug & spider peanut butter chocolate cookies. Start by dropping a Nutter Butter into the bowl of melted semi-sweet chocolate. Using a fork flip the cookie over and press down as needed. Make sure all sides and edges are covered.
Once the cookie is drenched in warm chocolate, act fast to add the pretzels and eyes. Place the cookie on the parchment paper so it is stable and ready to set the legs. Now, dip one end of each curved pretzel piece and attach it to the sides of the cookie for a leg. Start about ¼ of the way from one end of the cookie and work your way down to the other end.
Make sure you place each leg strategically so you can get them all on with even spacing between them. You will want to repeat this 5-7 times depending on if you want 6 legs for a bug or 8 legs for spiders.
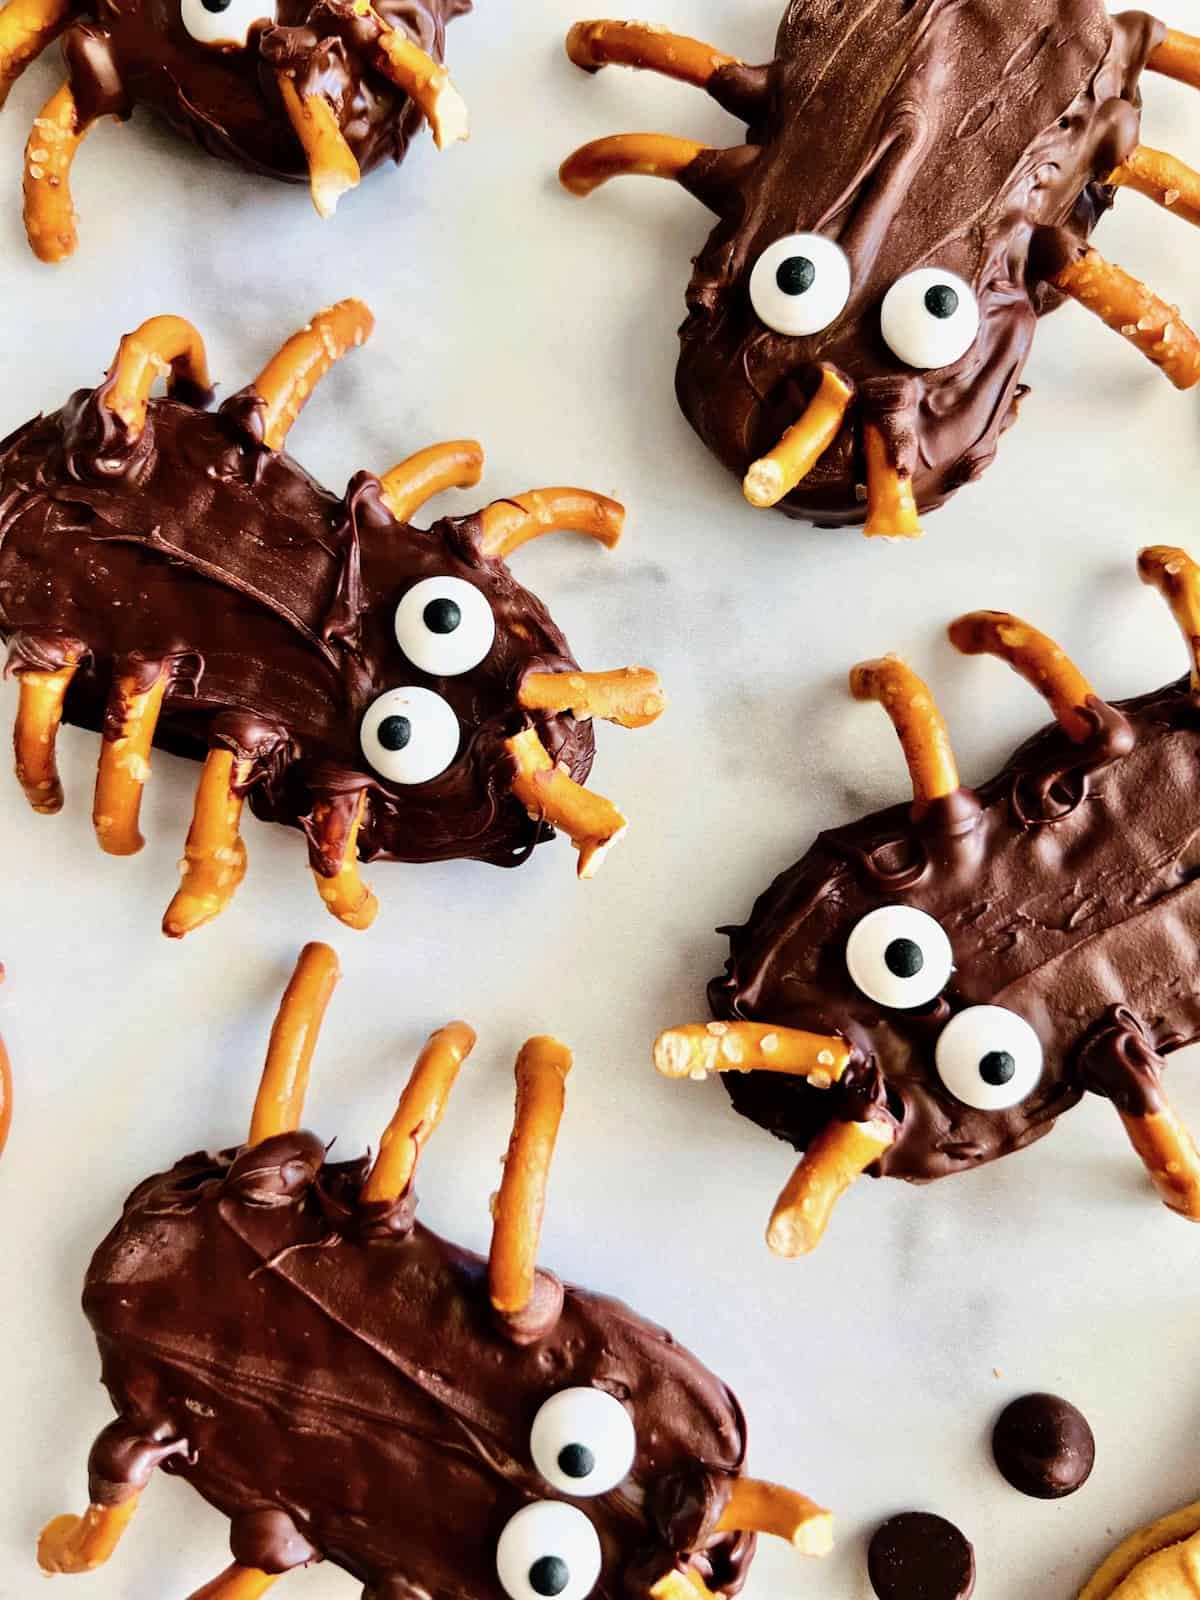
Now that all the legs are on, time for the other parts of the anatomy. Drop the two candy eyes into position in the middle of the end of the cookie that doesn't have legs attached. Dip two small straight pretzel pieces into chocolate and attach them above the eyes near the top end of the bug for the two antennae.
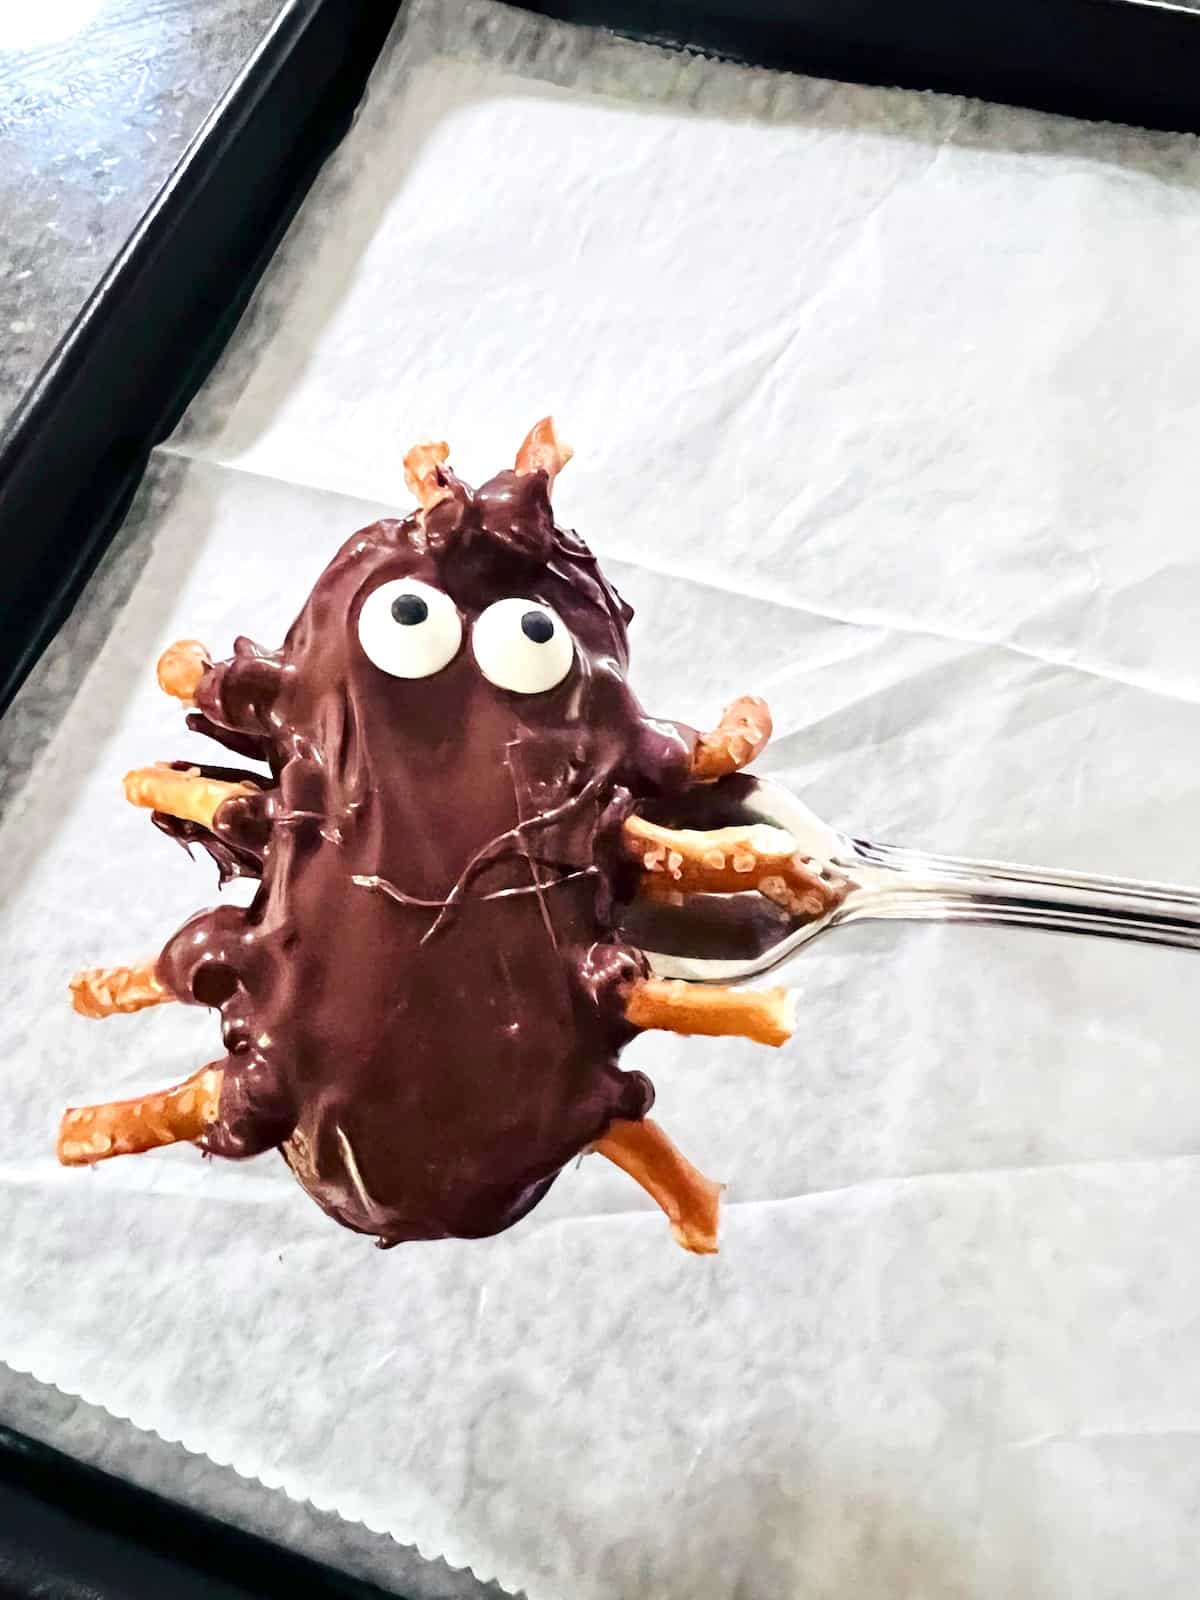
Here is how the placement for a Nutter Butter dipped in chocolate and decorated to look like a spider will look.
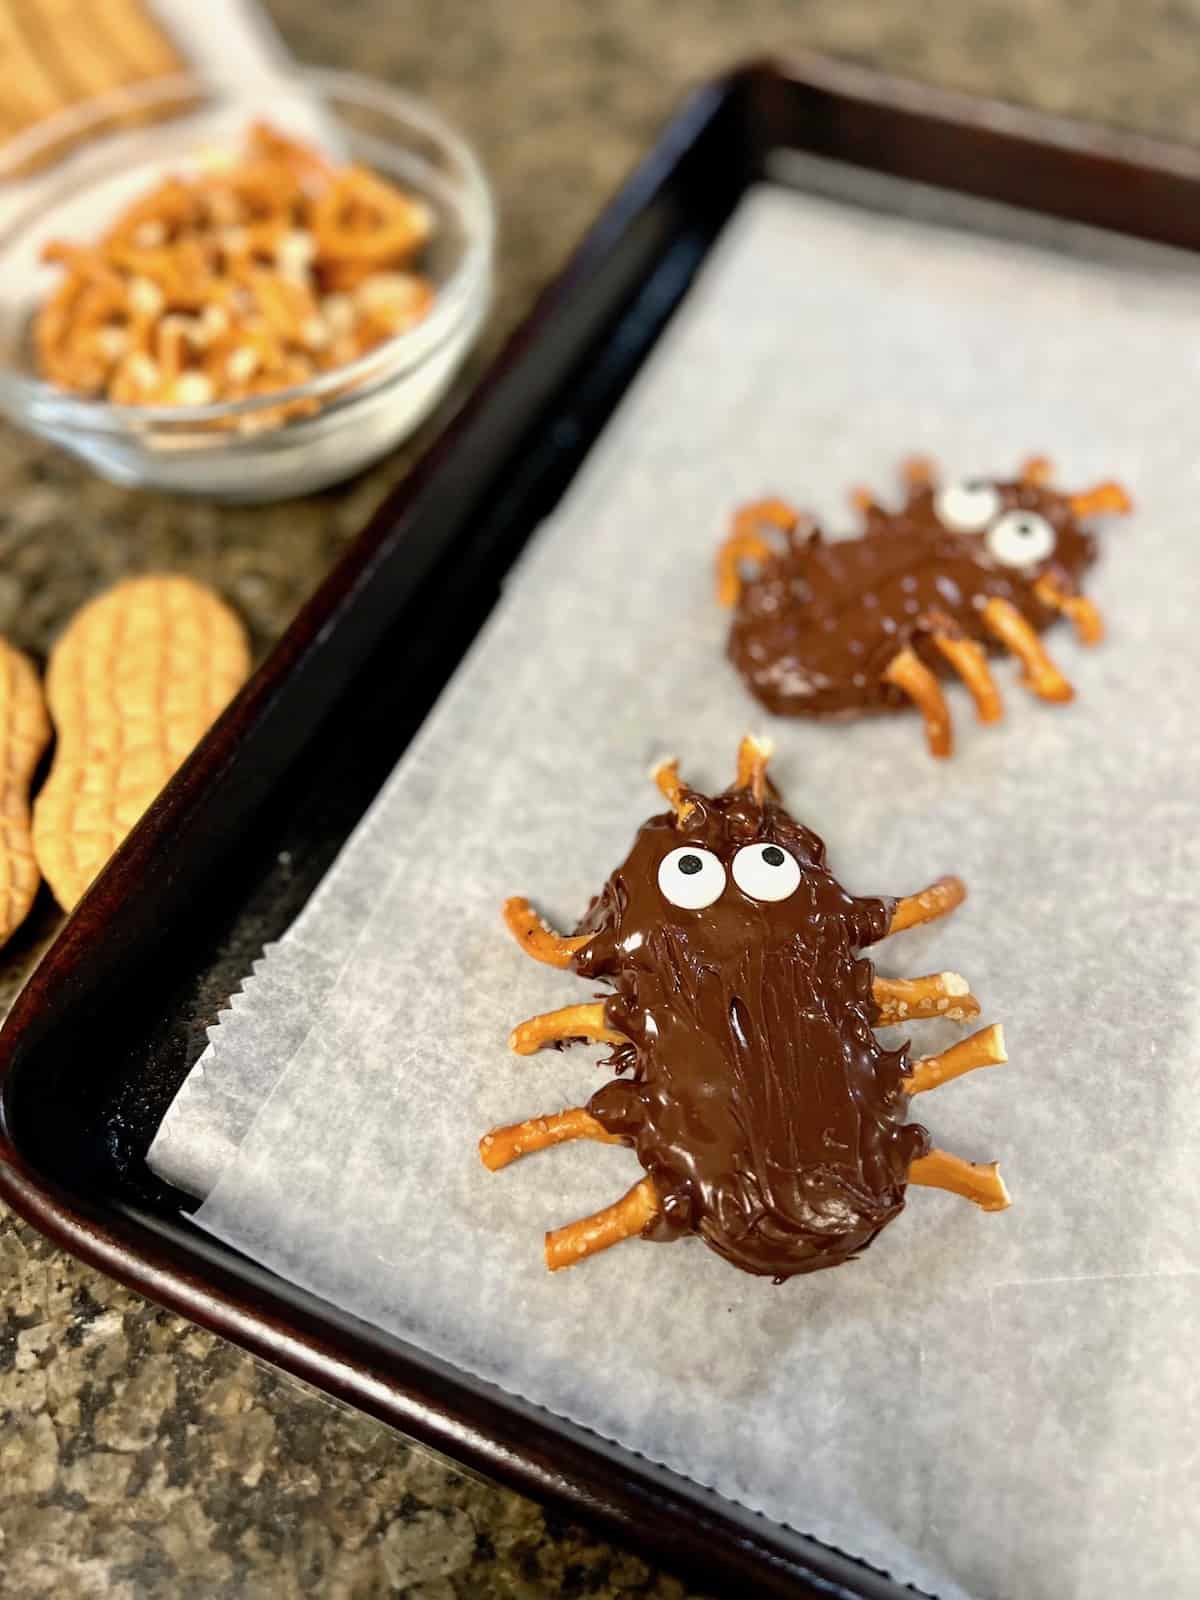
Continue to dip, decorate, & let each one rest on the parchment-lined baking sheet.
Seriously, have fun with it. These bugs and spiders are supposed to be creepy, crawly, & spooky. Nothing beautiful about these cookies so let the chocolate harden with bumps & drips & smears.
Hint: WORK FAST! As melted chocolate cools it will begin to harden making it hard to dip.
Let the Cookies Cool & Set
The hardest part is waiting for the chocolate to cool and the cookies to set. Thankfully it only takes about 10 minutes for that to happen. Once the legs are firmly attached and the chocolate is hard around all the edges, the bug & spider peanut butter chocolate cookies are ready to eat.
These are some pesty desserts that won't bother me to eat. I may never want to try chocolate-covered crickets, but these I am happy to indulge in.
Variations
There are only a few ingredients for this recipe and not many changes can be made. Besides substituting the eyes or the melted chocolate for vanilla-flavored candy melts, there aren't any other variations I can think of when making these cute bugs and spiders.
- Colored - use candy melts in different colors for a cute change. Orange, green, & purple would be fun, especially for parties and Halloween.
- Colorful Eyes - instead of the Wilton candy eyes, you can use colorful round candies like M&Ms, Skittles, or even just a broken piece of pretzel.
Equipment Needed
You will need a double-boiler or a microwave-safe glass bowl to melt the chocolate for this recipe. Parchment paper is also important so the chocolate can cool & set without sticking to any surfaces. Here are the equipment and ingredients needed to make the Halloween chocolate-dipped cookies.


The Short Order Cook is a participant in the Amazon Services LLC Associates Program. As an Amazon Associate, I earn from qualifying purchases. If you click on a link and make a purchase, I may earn a small commission on the sale at no additional cost to you. This helps with the costs of running the blog. Thank you!
More No-Bake Halloween Recipes
Here are some more recipes like this. These are all easy to make & great for any Halloween celebration or party.
Storage
Once the chocolate on the cookies is firm and set they are ready to eat. Any that are not enjoyed immediately will be stored easily to enjoy later. Place the spider & bug cookies in a single layer in an air-tight container.
Store in a cool & dry place that does not get exposed to light or heat. If they get too warm the chocolate will melt. They will stay fresh and delicious for up to 3 days. This makes it a great make-ahead Halloween treat.
I do not recommend freezing these. They are fragile for one but the chocolate will change color and not be as nice looking when you defrost them.
Top Tips
Have a cookie decorating party. Gather the family, friends, neighbors, and everyone that loves Halloween to help make these cookies. I love setting up an assembly line with all the decorations ready to use. It really helps ensure you can work fast. That's important since you need to get them done before the chocolate cools and hardens.
I place out little bowls with the broken pretzels in one and the eyes in another. I then dip the cookies and put them on the parchment-lined baking sheet. One by one I dip and each kid takes a turn decorating. It's more than fun, it is also a great help for this mom but don't tell them that.

FAQ
Melting the semi-sweet chocolate for this recipe is really the only cooking you will be doing in this recipe. I do it using a double-boiler method in a glass bowl over a pot of water. But if you don't have either or access to a stove, you can still make this recipe using a microwave.
Add the chips to a glass bowl that is microwave-safe. Heat on high for 30-second intervals and stir after each. Repeat 30-second cooking and stirring until almost all the chips are melted. As you stir that final time the residual heat should melt the final few chips. Depending on your microwave this can take anywhere between 2-4 minutes long.
Technically, Nutter Butter cookies are vegan cookies. They are made without eggs or dairy. The pretzels are too. However, there is dairy in the chocolate chips and gelatin in the candy eyes used in this recipe.
If you wish to make this recipe and are on a vegan diet, use vegan chocolate chips instead of regular semi-sweet chocolate chips. Use pretzel pieces instead of the eyes to keep it vegetarian/vegan.
No-Bake Halloween Spider Cookies
Equipment
- double-boiler
- Parchment Paper
Ingredients
- 1 bag semi-sweet chocolate chips 9-10 ounce
- 12 Nutter Butter cookies
- 25-30 salted tiny twist pretzels
- Wilton candy eyes
Instructions
- Unwrap the Nutter Butter cookies from the package and set them aside. Also, open the candy eyes and set those aside as well.
- Line a baking sheet with parchment paper.
- Carefully snap the outer edge parts of the pretzel from the inside crisscrossed piece. Begin by breaking off the outer curved pieces. Those 3 pieces can be used for legs.The inner parts of the pretzel are straight and short. They are perfect for the antennae.
- Using a double-boiler to slowly melt the chocolate chip over low heat. Stir to melt evenly. Once they are done melting, remove them from the heat and stir to ensure all the chips are smooth and melted.
- To coat the cookies in chocolate, drop one inside the melted chocolate. Use a fork to flip the cookie over and press down as needed. Make sure all sides and edges are covered.
- Once the cookie is drenched in warm chocolate, act fast to add the pretzels and eyes. Place the cookie on the parchment paper so it is stable and ready to set the legs.
- Now, dip one end of each curved pretzel piece and attach it to the sides of the cookie for a leg. Start about ¼ of the way from one end of the cookie and work your way down to the other end. For bugs, there should be 3 legs on each side.Make sure you place each leg strategically so you can get them all on with even spacing between them. You will want to repeat this 5-7 times depending on if you want 6 legs for a bug or 8 legs for spiders.
- Now for the other parts of the bugs. Drop the two candy eyes into position in the middle of the end of the cookie that doesn't have legs attached. Dip two small straight pretzel pieces into chocolate and attach them above the eyes near the top end of the bug for the two antennae.
- Continue to dip, decorate, & let each one rest on the parchment-lined baking sheet.
- Let them cool and set until the chocolate is hard. This should take about 10 minutes.
- Place the spider & bug cookies in a single layer in an air-tight container. Store in a cool & dry place that does not get exposed to light or heat. If they get too warm the chocolate will melt. They will stay fresh and delicious for up to 3 days.
Notes
| Nutrition Facts | |
|---|---|
| Servings: 12 | |
| Amount per serving | |
| Calories | 248 |
| % Daily Value* | |
| Total Fat 12.9g | 17% |
| Saturated Fat 4.9g | 25% |
| Cholesterol 5mg | 2% |
| Sodium 115mg | 5% |
| Total Carbohydrate 34.8g | 13% |
| Dietary Fiber 3g | 11% |
| Total Sugars 19.8g | |
| Protein 4g | |
| Vitamin D 0mcg | 0% |
| Calcium 20mg | 2% |
| Iron 1mg | 4% |
| Potassium 0mg | 0% |
| *The % Daily Value (DV) tells you how much a nutrient in a food serving contributes to a daily diet. 2,000 calorie a day is used for general nutrition advice. | |
BB says
These are so cute. I just bought everything to make them.
Mariama@foodnutters says
Oh my, these look absolutely gorgeous! Thank you for sharing!