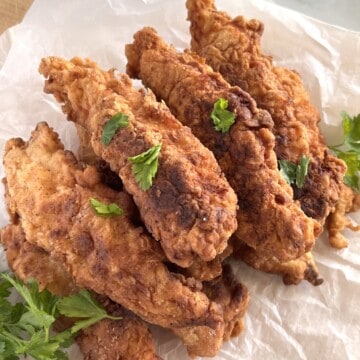
For the crispiest fried buttermilk chicken tenders, this Southern recipe is the best. Juicy on the inside & crunchy on the outside every time. Make this old-fashioned dinner favorite at home in under 30 minutes.
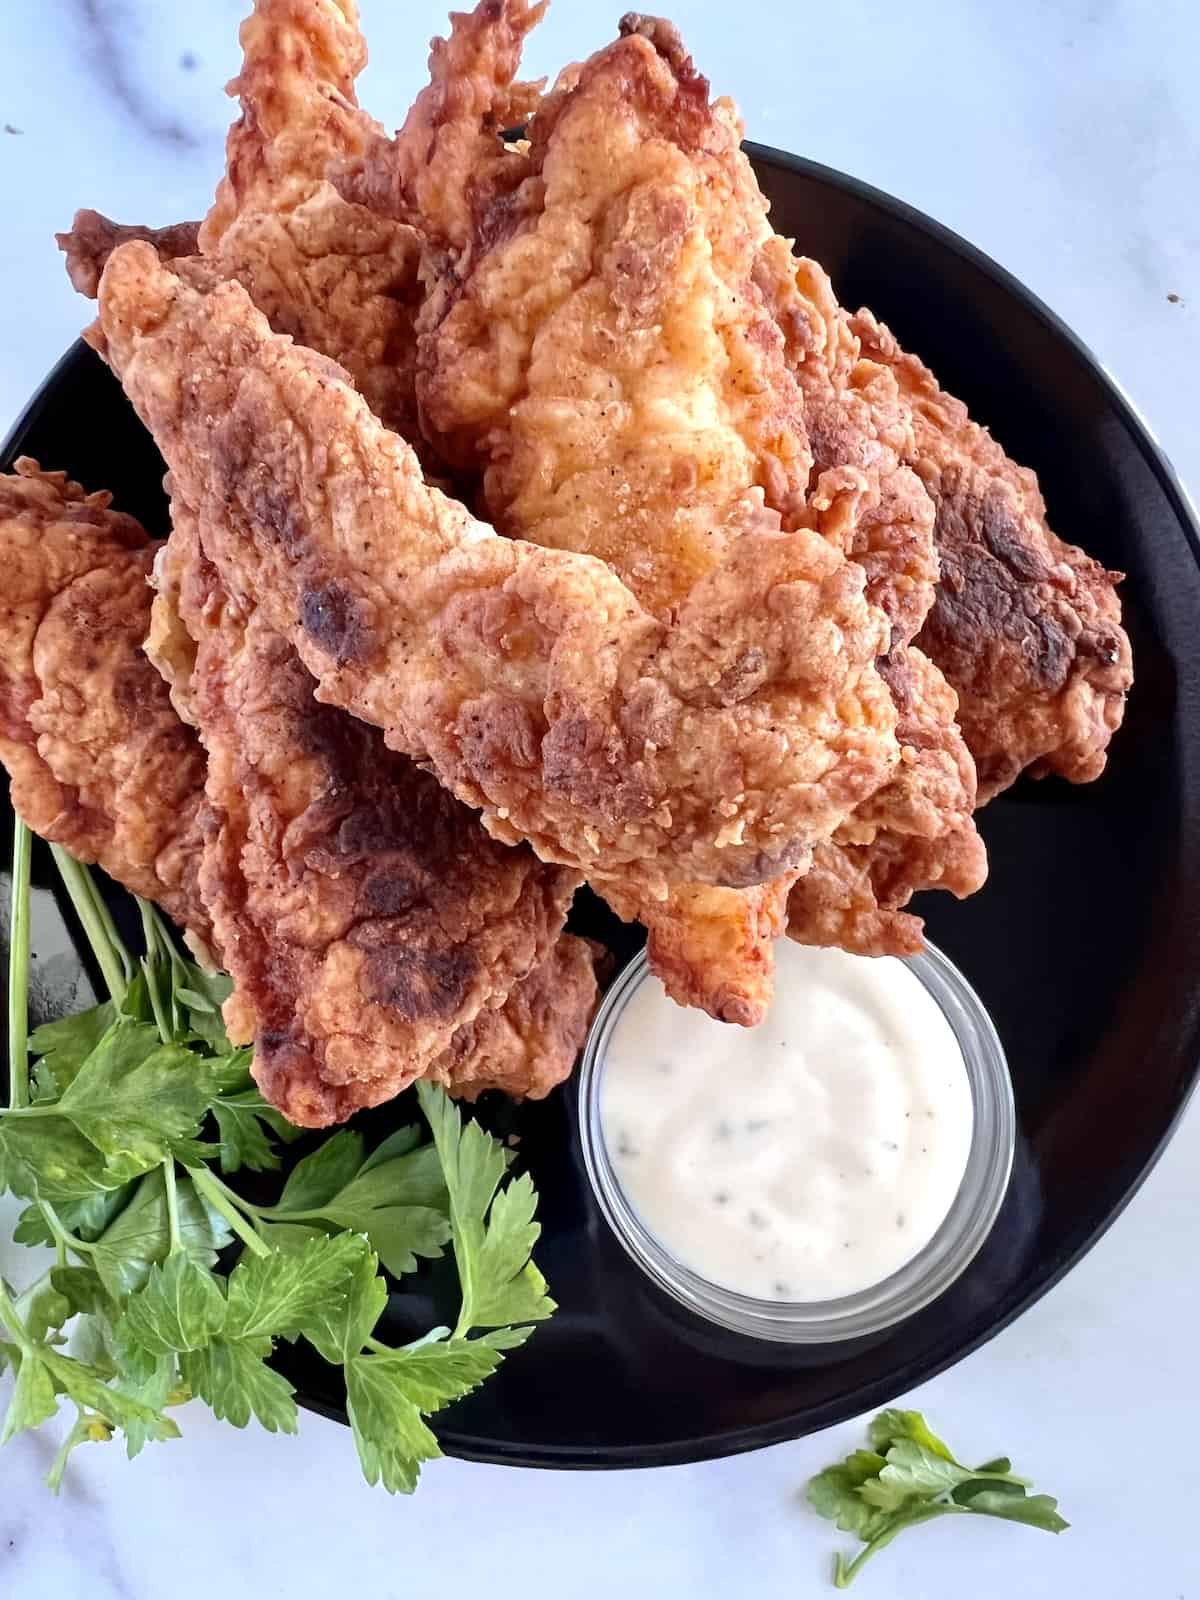
Making these from scratch is 100x better than any fast food, frozen, or restaurant chicken strips or tenderloins. All you need is a few simple ingredients & a large skillet. I will show you just how easy it is.
Jump to:
Ingredients for Buttermilk Chicken Tenders
There is just something about the juicy white meat with the crunchy battered outside that is hard to resist. So good thing you only need a few ingredients. Plus they are all relatively inexpensive, common staples, & easy to find in any grocery store.
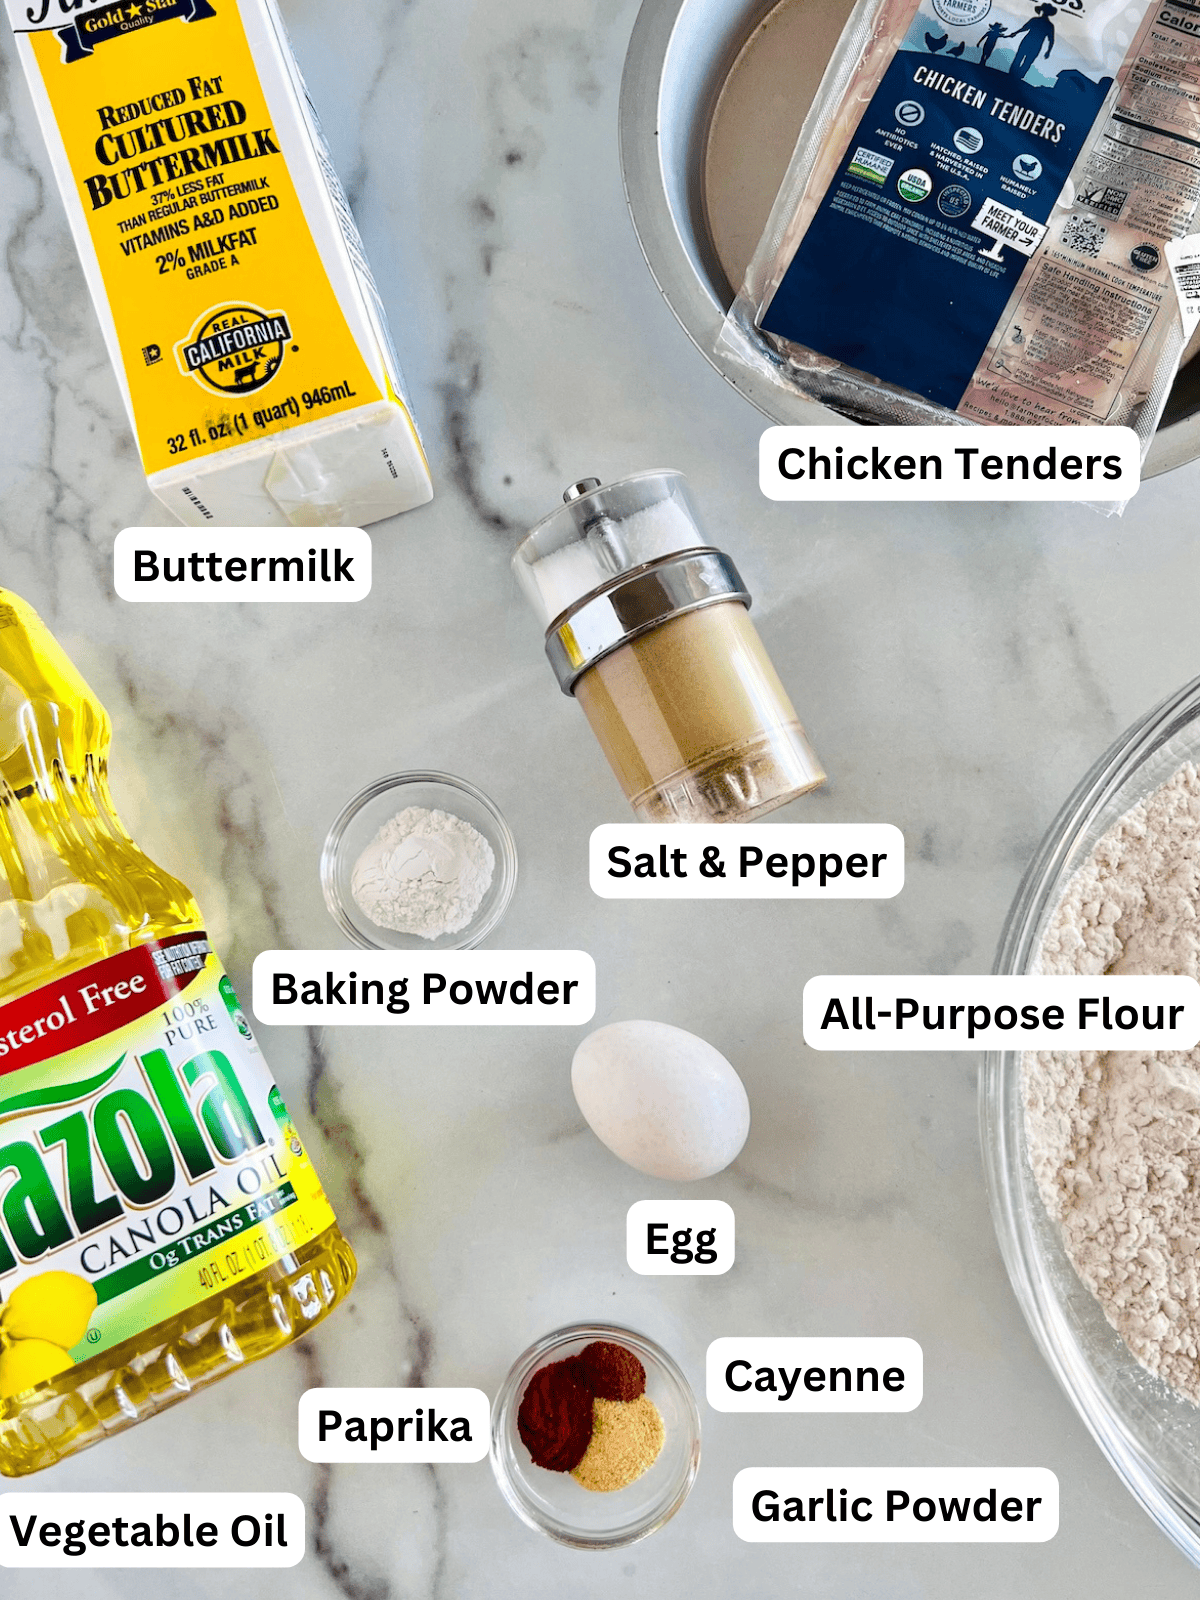
Here are the ingredients needed to make buttermilk chicken tenders at home:
- Chicken Tenders - these boneless skinless strips of breast meat may also be labeled tenderloin or fingers.
- Buttermilk - full-fat real buttermilk adds a bit of tanginess & acts like a brine for the juiciest meat.
- All-Purpose Flour - for the coating.
- Baking Powder - helps the batter puff up & be light & fluffy when frying.
- Egg - for dredging to ensure the batter sticks.
- Spices - garlic powder, cayenne, paprika, salt, & pepper for a yummy seasoning blend with tons of flavor.
- Oil or Lard - for frying, use vegetable/canola oil, shortening, or peanut oil.
See the recipe card for quantities & substitutions.
How to Fry Buttermilk Chicken Tenders
Be ready to fall in love with how easy & delicious this recipe is. If you have never fried chicken before, starting with boneless strips or tenderloins is a great way to learn.
Don't worry, I got you. I am sharing the same method my grandma learned while living in South Carolina. We double dip & we use both a buttermilk & egg wash to ensure you get plenty of crunchy batter in every bite.
Here are the easy steps for this homemade fried buttermilk chicken tenders recipe:
- Marinade in the Buttermilk
- Prep & Dredge the Chicken
- Fry the Tenders
- Serve & Enjoy
1 - Marinade in the Buttermilk
The secret to amazing fried chicken - BUTTERMILK! The slightly acidic ingredient helps tenderize the meat by breaking down some of the proteins. And it doesn't take long at all for the magic to happen.
Do not skip this step. Make sure you start off with this quick buttermilk & spice marinade.

In a measuring cup with a pourable spout add the buttermilk, salt, & pepper. Whisk to combine.
Add the tenders in a single layer to a rimmed dish or pan. Pour the buttermilk marinade over the chicken. It only needs 5-10 minutes on each side to marinate.

While the chicken is marinading, prep the other items. You will be setting up a "dredging station". I like to use pie pans for this but use any rimmed shallow dishes or pans.
In one pan scramble the egg with the water. In the other, whisk together the flour & baking powder with the spices; garlic, paprika, cayenne, salt, & black pepper.
2 - Prep & Dredge the Chicken
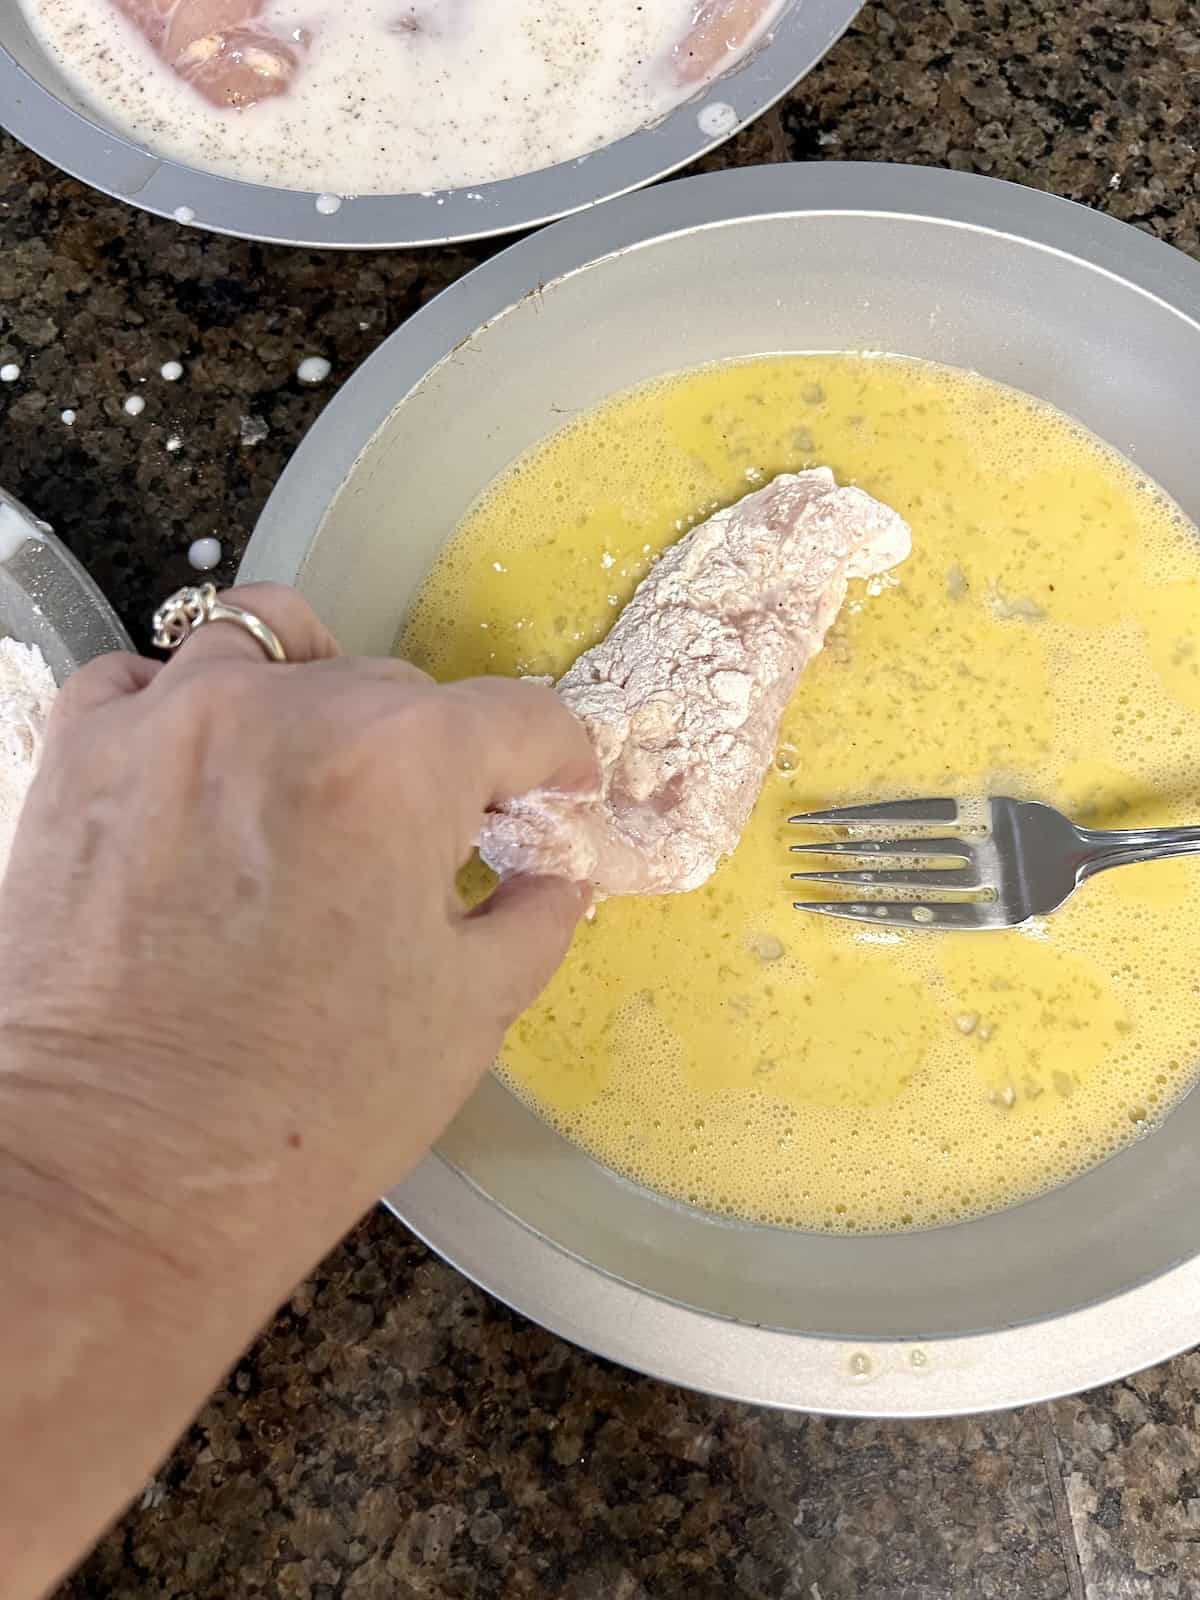
Below are the steps for my double dipping method for battering foods before frying.
Dredge buttermilk soaked chicken tenders into the flour mixture, then dip in the egg wash, then dip it again into flour mixture. Roll around until they are well coated.
Set on a clean plate or baking sheet until ready to fry. Repeat until all are done.



3 - Fry the Tenders
I recommend using a heavy duty cast-iron skillet for frying chicken. It heats evenly & gives you the best crust. A big 10-inch Lodge cast iron skillet is what I use & every home should have this inexpensive piece of equipment.

To your frying pan, add enough oil until it is one inch deep. Bring it to 350°F over medium-high heat.
My trick to test for proper frying temperature without a thermometer - dip the end of a wooden spoon into the oil. When tiny bubbles sizzle around it - it is ready!

Carefully add tenders to the hot oil. Cook them in batches, about 4-5 per round so that the pan is not overcrowded & so the heat on the oil doesn't drop too low.
Cook on each side for 4-5 minutes. Use tongs to flip over. Each side should be golden brown.

When the internal temperature of each piece reaches 165°F, use tongs to remove from the hot oil. Place on a paper towel-lined plate.
Repeat with remaining tenders until all are cooked. Turn the oil off & let cool completely before discarding / wiping down your cast iron skillet.

4 - Serve & Enjoy
Serve while fresh, hot, and crispy. Add your favorite dippings sauces or hot sauces on the side. We love homemade ranch without mayo or buffalo hot sauce.
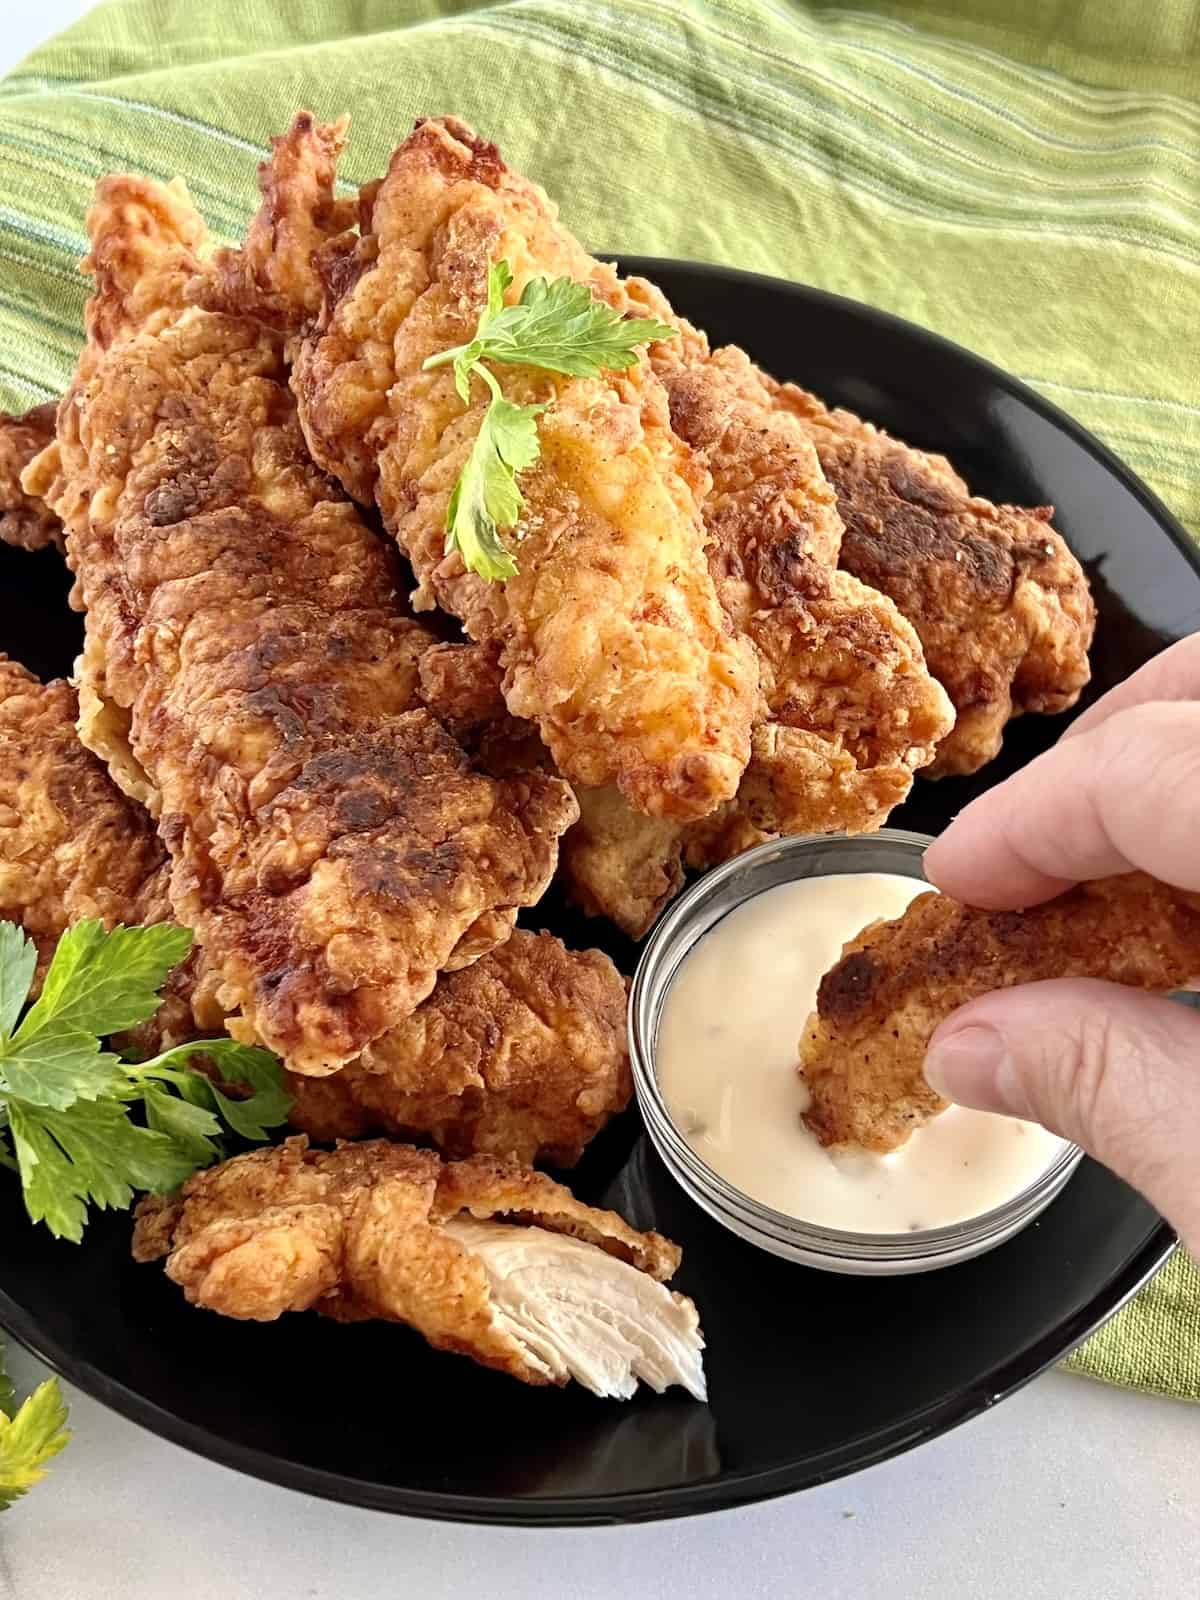
These go great with some of my other Southern favorites like Slow Cooker Collard Greens or Bacon-Fried Corn.
Storing & Reheating
These store well in the refrigerator for up to 3 days. You can also freeze precooked tenders in the freezer for up to 30 days.
Do not reheat these in the microwave - please no, they will be soggy & rubbery. Use the same method I use for reheating nuggets - the air fryer. Or reheat in the oven at 425° for 5-8 minutes.

Top Tips
All of these great tips are shared in the post. But these are so good and important they are worth mentioning again so you don't miss them.
- Do not skip the quick buttermilk marinade.
- Double dredge the tenders in flour for a thick crispy coating.
- Make sure the oil is at the right temperature before frying.
- Do not overcrowd the pan so the oil stays hot enough.

Best Cooking Oils for Frying Chart
This reference guide shares which types of oils are best when you are frying chicken or any other foods. They all have a high smoking point which is ideal for shallow pan or deep frying. Save or print for free!
FAQ
The acid in buttermilk begins breaking down the meat quickly. It helps make this a fast recipe without any waiting time. I do not recommend leaving these in buttermilk for any longer than 2 hours. Otherwise, the thin tenders will become mushy and fall apart.
My grandma would never use an alternate for buttermilk - nothing replaces the flavor, texture, & acidicity that you get from it. I agree! But if you are in a pinch, try one of these buttermilk substitutes.
Kids & adults will love any of these yummy sides: Jiffy Cornbread Pudding Casserole, Air Fryer Frozen Fries, or Beer-Battered Onion Rings.

More Recipes for Tenders
Looking for other recipes like this? Try these other quick & easy ideas:
Fried Buttermilk Chicken Tenders
Equipment
- large cast-iron skillet 10-12" works best
Ingredients
- 1 pound chicken tenders
- 1 egg
- 2-3 cups oil canola, peanut, or Crisco shortening
Buttermilk Marinade
- ½ cup buttermilk
- 1 teaspoon salt
- ¼ teaspoon black pepper
Breading Mixture
- 1 cup all-purpose flour
- 2 teaspoon baking powder
- ½ teaspoon salt
- ½ teaspoon garlic powder
- ½ teaspoon paprika
- ¼ teaspoon black pepper
- ¼ teaspoon cayenne pepper
Instructions
- In a rimmed baking dish or pan, add the chicken tenders in a single layer.
- In a large measuring cup with a spout, add the ½ cup buttermilk, 1 teaspoon salt, & ¼ teaspoon black pepper. Whisk and then pour over the chicken.
- Let the tenders marinade for 5-10 minutes on each side. Prep the remaining ingredients while waiting.
- In a shallow pan or dish, add whisk together the egg & a tablespoon of water. In another shallow pan add the 1 cup of all-purpose flour, 2 teaspoons baking powder, ½ teaspoon each salt, garlic powder & paprika, and ¼ teaspoon each black & cayenne peppers. Mix to combine.
- Dredge the buttermilk soaked tenders one at a time into the flour mixture, the egg wash, & again in the flour mixture. This will be a double dip of the coating so there is a lot of batter & crispiness later. Make sure all sides are covered.Place each on a baking sheet or plate to the side. Repeat until all the chicken is covered.
- In a large skillet with tall sides (preferably a 10" cast iron skillet) add enough oil so it is one inch deep. Preheat oil to 350°F (175°C) over medium-high heat.* See tips about on how to check for the right temperature below
- Gently add tenders to the hot oil one at a time. Do not overcrowd the pan, 4-5 is typically all that will fit. Cook for 4-5 minutes on each side, flipping with tongs gently as each side turns golden brown. ** every tender is a different size/thickness so some may be done sooner or may need a minute more, ALWAYS check that each one is 165°F (74°C) with an internal meat thermometer.
- Using tongs remove and place on a plate lined with paper towels to help drain the grease. Repeat until all chicken is done.
- Serve while warm & crunchy.
Notes
Raw Chicken Food Safety
We sometimes take for a granted that we have years (or decades) of cooking experience, that the average visitor may not. Add to, or remove from, the list below with health and safety tips.
- Cook to a minimum temperature of 165 °F (74 °C) & check using a quick-read meat thermometer.
- Do not use the same utensils on cooked food, that previously touched raw meat.
- Wash hands after touching raw chicken.
- Never leave frying food unattended!
- Use oils with high smoking point to avoid harmful compounds.

Leave a Reply