
When ripe juicy berries are in season, this recipe for fresh Strawberry Ice Cream is made in our Cuisinart maker on repeat for months. It's fruity, sweet, & a little bit tart. The perfect summer dessert when the weather heats up.
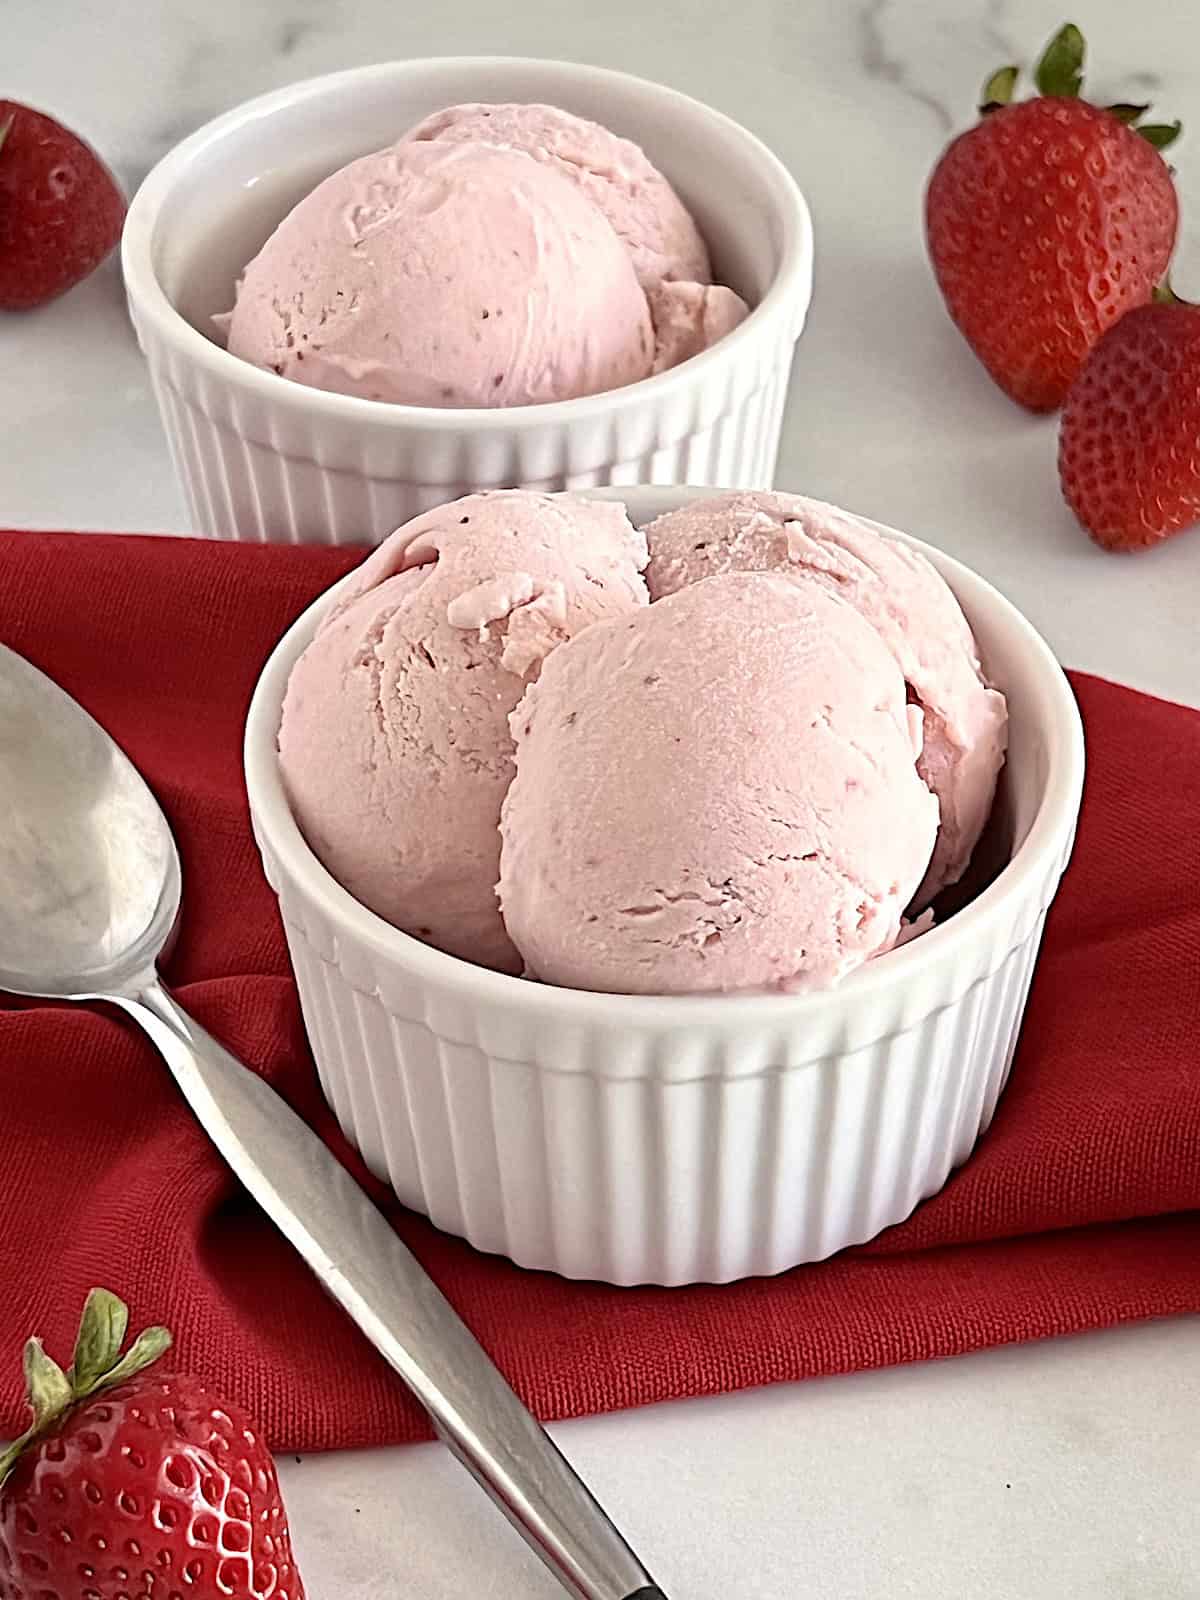
Why this Homemade Strawberry Ice Cream Recipe is Amazing: Real fresh fruit is what makes this dessert stand out. My version is an easy no-cook ice cream that is egg-free so no custard to stir over the stovetop making it so simple anyone can make it from scratch.
I know there are probably 1000s of recipes out there for homemade strawberry ice cream & why is this one any different. There isn't much to change up or get fancy with, right? True but stick with me...
What makes this one so good - it sticks with the basics; whole real liquid dairy, fresh fruit, real cane sugar, and vanilla for extra yumminess. You simply cannot mess with a true classic summer dessert. Plus making it the old-fashioned way in an ice cream maker is what makes this not just nostalgic but fantastic. (don't shortcut it with those no churn recipes using canned condensed milk - sigh!)
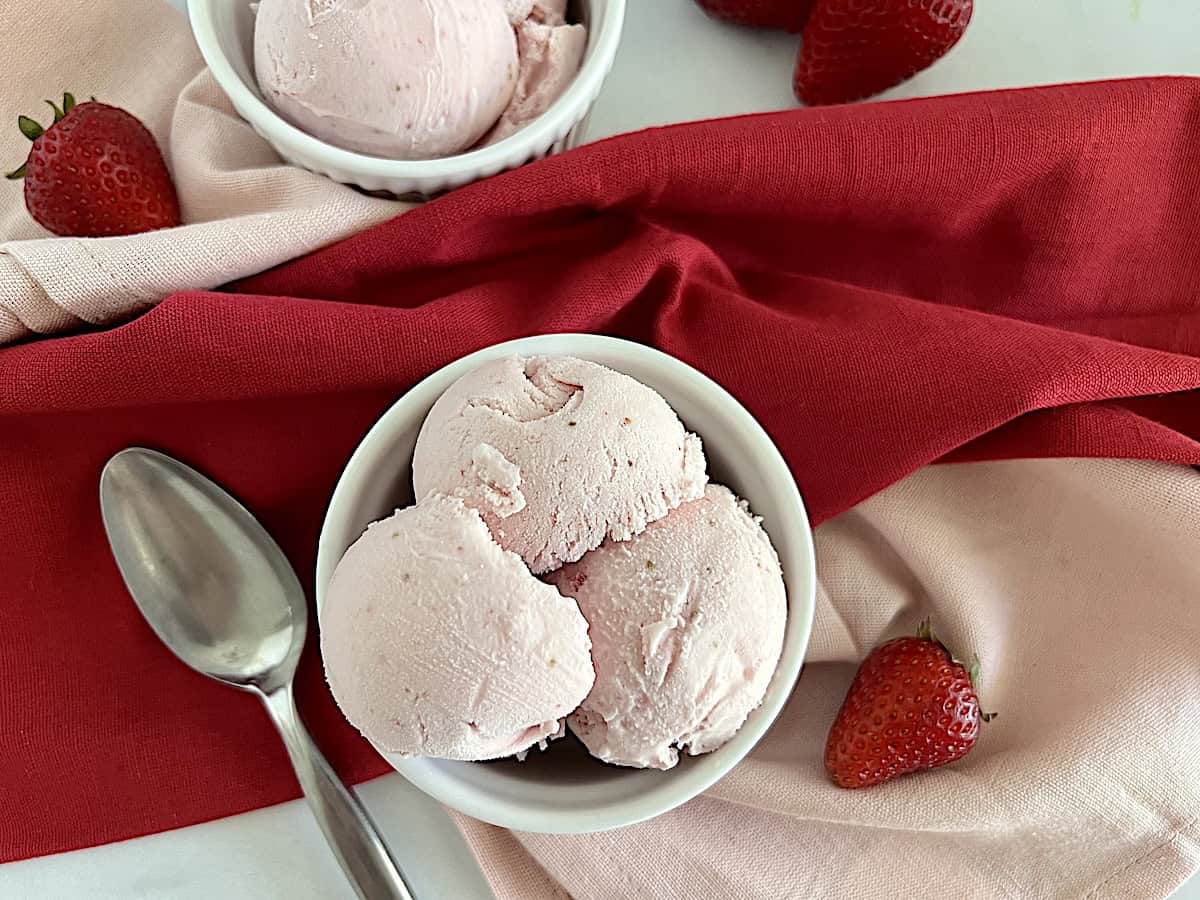
For all you berry lovers, make sure to also try my Homemade Blueberry Ice Cream recipe. The gorgeous deep purple blue color is amazing and the flavor is next level gourmet. Ok, now we churn!
Jump to:
Ingredients for Strawberry Ice Cream
This is a clean natural dessert with just real 5-ingredients. Nothing artificial and no weird or yucky stabilizers. Just real dairy, sugar, & fruit.

Here are important notes for some ingredients:
- Whole Milk - full fat makes sure this is thick & luscious (do not use low-fat or fat-free)
- Heavy Cream - for rich creamy texture
- Strawberries - fresh ripe fruit; wash, dry, & remove stem
- Sugar - to sweeten the base
- Vanilla - classic flavor boost that pairs well with berries
See the recipe card for full list, quantities, & any substitutions/variations.
How to Make Cuisinart Strawberry Ice Cream
With just 10 minutes prep, seriously you won't buy ice cream at the store ever again. The waiting for the chilling is the hardest part.
IMPORTANT NOTE: make sure you ice cream insert is frozen solid and ready to use. Most take between 24-48 hours in the freezer ahead of time.
I have been using my ice cream machine for 20+ years so I always recommend it. I am using a 1.5Quart Cuisinart model which will fit all the ingredients. But this will work in any one of my top-rated ice cream/gelato machines.
Here are the easy steps for churning old-fashioned strawberry ice cream in an ice cream maker:
- Make the Strawberry Puree -
- Mix & Chill the Ice Cream Base -
- Churn & Freeze -
See the step-by-step instructions with photos below plus the recipe card at the end of the post.
1 - Make the Strawberry Puree
Prep the berries by washing and drying them. Remove all stems and cut them in into large chunks.

Add half of the sugar and the strawberry chunks into a blender. Blend until a thick puree is created; about 30 seconds.

In a medium bowl add the milk, cream, vanilla, & remaining sugar. Whisk until the sugar has dissolved. Add the strawberry puree and whisk to combine.
Place the mixture in the freezer for 30 minutes to chill. You want this very cold before adding to your ice cream insert.
2 - Mix & Chill the Ice Cream Base
Assemble your ice cream maker per the manufacture's instructions. Take the bowl from the freezer and give it one last whisk in case any strawberry bits have settled to the bottom.

Pour the strawberry ice cream base into your ice cream maker & turn it on. Let it churn for 15-20 minutes or however long your model typically takes.

It should look like this when it is ready. The pretty pink color with specks of red berries is gorgeous.
Scoop it out from the ice cream maker into a freezer safe container and place in the freezer to set and harden.

It takes about 4 hours for it to go from soft serve to a "scoopable texture" as seen here. Times may vary based on your freezer and the container depth.

Once it reaches your desired texture, scoop & enjoy!
Serving & Storing
Scoop it into a bowl or on a cone. It will be rich, creamy, sweet, slightly tart, & tangy. Everything wonderful about any strawberry dessert. No wonder it is one of the best Easy Spring Dessert Recipes.
Store in reusable ice cream containers with tight-fitting lids that can hold at least 1.5 quarts.
Ways to enjoy Homemade Strawberry Ice Cream: this is a popular spring or summer dessert that can be enjoyed many ways. My son loves a drizzle of chocolate sauce on top - like a chocolate covered strawberry!
If you are a strawberry lover, go crazy and enjoy my Strawberry Peach Cobbler a la mode with a scoop of this on top! Or a sundae with a square of Strawberry Brownie on the bottom and this one top.

Recipe Tips & Behind the Scenes
Here's my recipe for success - including what I learned when testing, fun stories, recipe history, and more.
- #1 Tip - always make sure your ice cream insert is ready and frozen solid before using.
- Don't skip chilling the base before adding to the ice cream maker, it will churn faster & not come out runny or thin.
- Strawberry season can vary a bit depending on where you live but it typically peaks April - July but here California strawberries grow into early fall.
- For a more firm ice cream that works best on cones, freeze overnight before serving.
- This dessert is ideal to serve after any grilling or smoking recipes for your next backyard BBQ.

FAQ
Making ice cream with fresh or frozen fruit is equally yummy. I recommend defrosting the strawberries first so it is easy to puree.
I have not tested this with a sugar-free or low-carb sweetener. But here is a recipe for a keto version with eggs & without sugar.
LOVE THIS RECIPE & WANT TO SEE MORE?
Summarize this recipe content below
NOTE: The Short Order Cook is not responsible for third party content including the use of AI websites.
Strawberry Ice Cream

Equipment
- ice cream maker 1.5quart or bigger
Ingredients
- 1 pint strawberries about 1.5 cups of chunks
- 1 cup sugar divided
- 1.5 cups whole milk
- 1.5 cups heavy cream
- 1 tablespoon vanilla
Instructions
- BEFORE MAKING: make sure your insert for the ice cream maker is solid and ready to use.
- Prep the strawberries by washing, drying, removing the stems, and cutting into chunks.
- To a blender cup add the strawberries and half the sugar. Blend until a thick puree is created.1 pint strawberries, 1 cup sugar
- In a medium mixing bowl add the milk, cream, vanilla, and remaining ½ cup of sugar. Whisk until the sugar dissolves. Add the strawberry puree and whisk until combined.1.5 cups whole milk, 1.5 cups heavy cream, 1 tablespoon vanilla
- Place the bowl of ice cream base in the freezer to chill for 30 minutes. A cold mixture churns much better and faster - do not skip this step.
- Remove the bowl from the freezer and give it a final whisk so that any settled fruit bits are no longer at the bottom. Assemble your ice cream maker and slowly pour the cold strawberry mixture into the machine while it is running. Let the ice cream churn for 15-20 minutes (or per your machines instructions in the manual)
- Once the ice cream is thick and creamy reaching the top of the machine it is ready. Scoop into an air-tight freezer safe container with a tight fitting lid. Place in the freeze for 4+ hours.
- Once the ice cream is your desired consistency, scoop and enjoy.
Notes
- Store ice cream for up to 30 days in the freezer.
- Homemade ice cream freezes quite solid after about 24 hours (due to no gums, artificial ingredients or stabilizers added) so it is often best to let it sit on the counter for 5 minutes to soften for easy scooping.
- Use defrosted frozen strawberries instead of fresh.
- Do NOT substitute the full fat dairy for low-fat, skim, or nonfat. The ice cream will be "icy" and NOT creamy smooth.
Nutrition
More Fruit Ice Cream Recipes
Here are some similar recipes:
AJay says
Real good strawberry flavor and will make it again for sure.