I have been making homemade ice cream for 20 years and flavors with fresh fruit are a favorite. Banana ice cream is tops in our family & for good reason. It is a fantastic, cool, creamy, & delicious dessert. So grab those overripe bananas & follow this easy recipe to churn up a few pints.
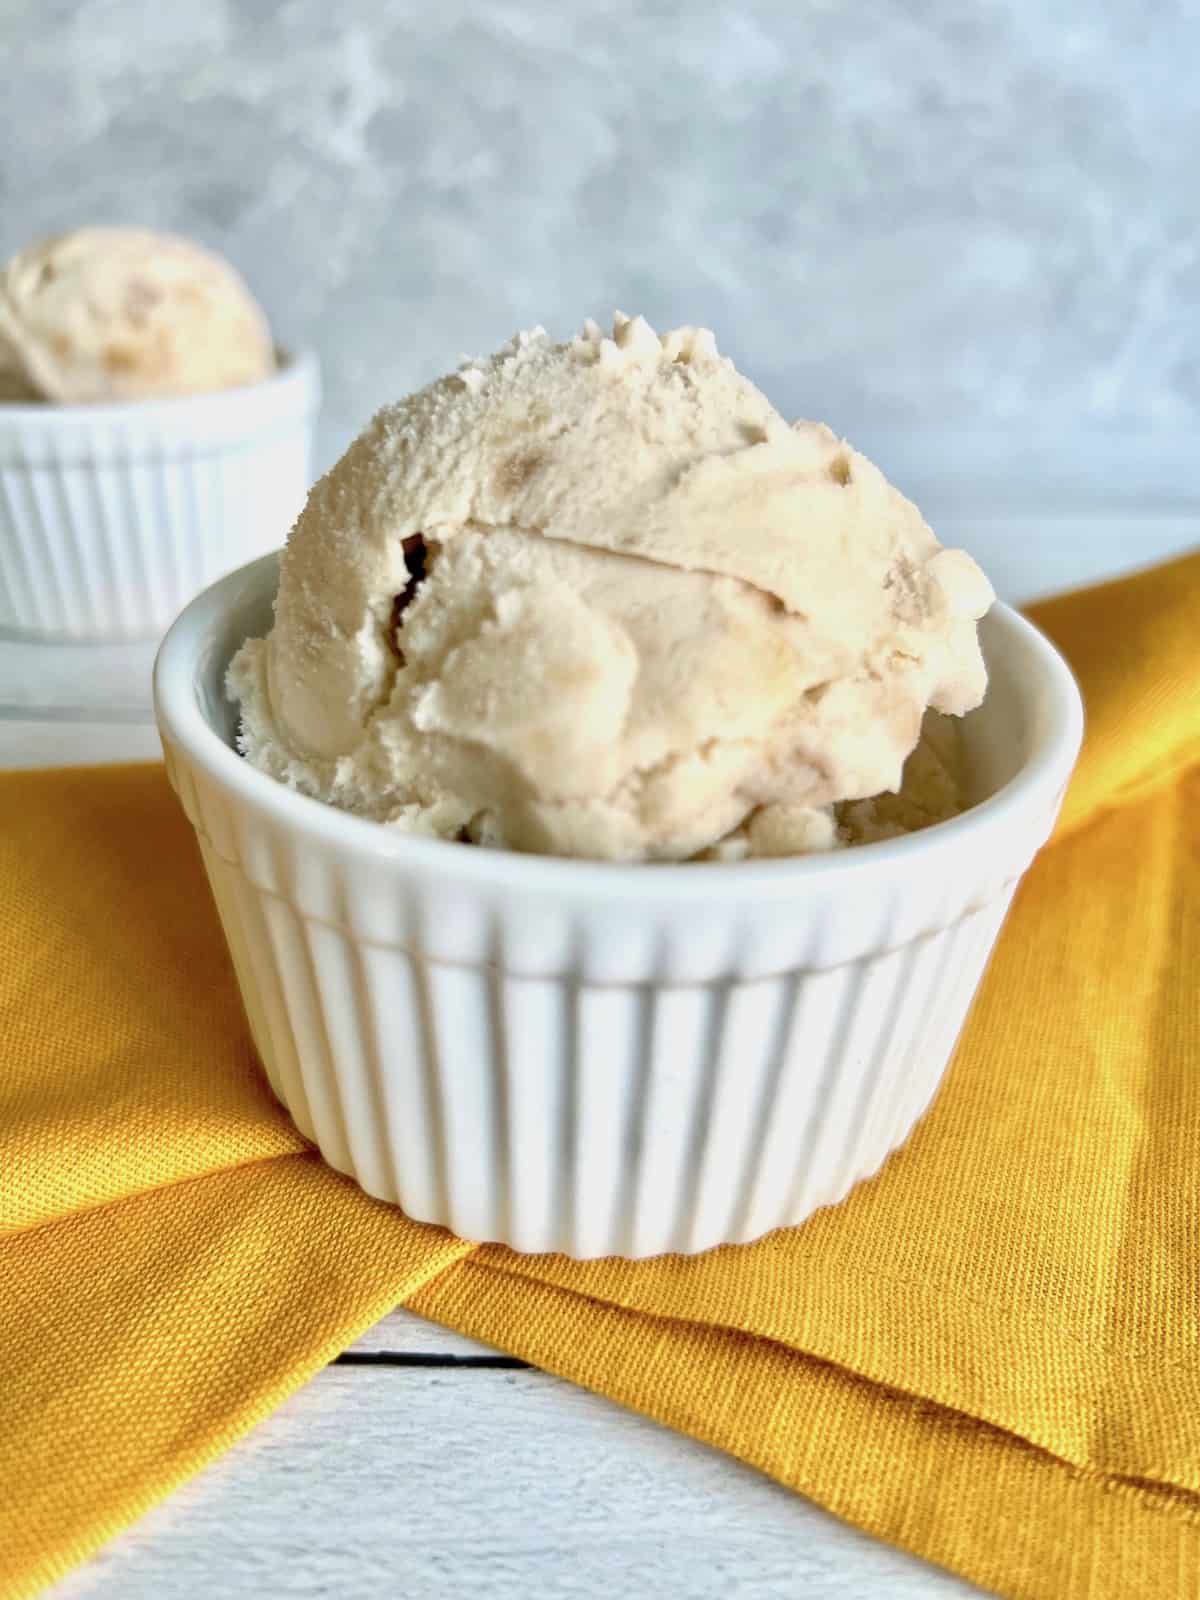
This ice cream is a summer classic. But like my recipe for mango ice cream, it is too good to not enjoy it all year long. Whenever the craving hits, it's time to pull out my Cuisinart ice cream maker.
This was inspired by my other favorite way to use overripe bananas, Banana Cinnamon Streusel Muffins. If you are like our house, bananas may sit too long. Never waste another brown, spotted, or soft banana again with these two amazing recipes.
Jump to:
Ingredients
This recipe for homemade banana ice cream only uses real whole ingredients. No fillers or anything artificial. 5 simple ingredients you likely already have at home are all you need.
This is not the "nice" cream recipes all over social media that are basically blended frozen bananas. This is REAL homemade banana ice cream with milk, cream, & sugar.
It is made without coconut milk or condensed milk, plus it has no eggs like many other recipes. It is a traditional old-fashioned ice cream recipe with hints of vanilla and sweet fruit.
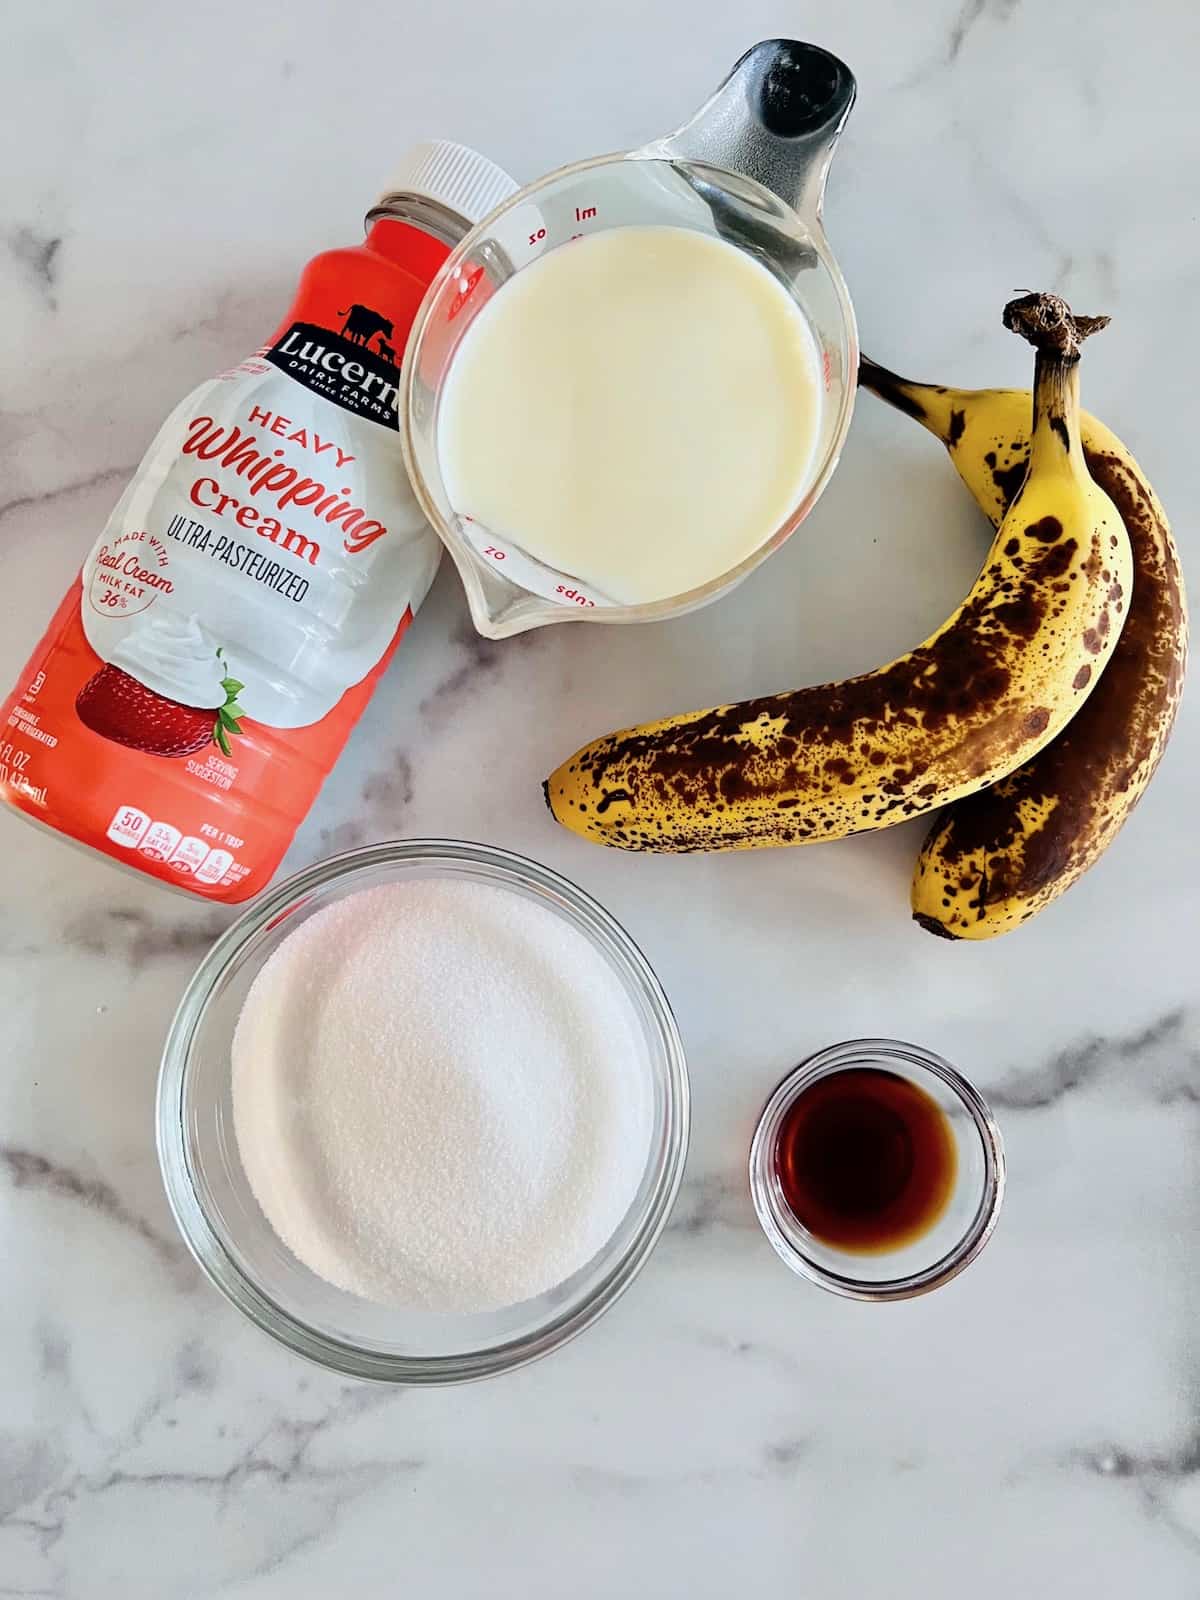
- Bananas - very ripe is best & easier for smashing
- Whole Milk - do not use low-fat or fat-free
- Heavy Whipping Cream - this adds extra creaminess
- Granulated Sugar - real sugar and no substitutes here
- Vanilla Extract - depth of flavor
See the recipe card for quantities.
How to Make Banana Ice Cream
This banana ice cream recipe is made in an ice cream maker. It is so easy to make if you follow these step-by-step instructions. In just 4 simple steps it is ready to go into the freezer.
- Mash the bananas with other ingredients.
- Chill the mixture in the freezer.
- Churn in the ice cream maker.
- Scoop it out & transfer it to the freezer.
The most important part of this recipe is planning ahead so the ice cream machine insert is frozen and solid.
*** Ensure your ice cream maker will be ready to freeze the mixture in about an hour. This usually means the insert should be in the freezer the night before. ***
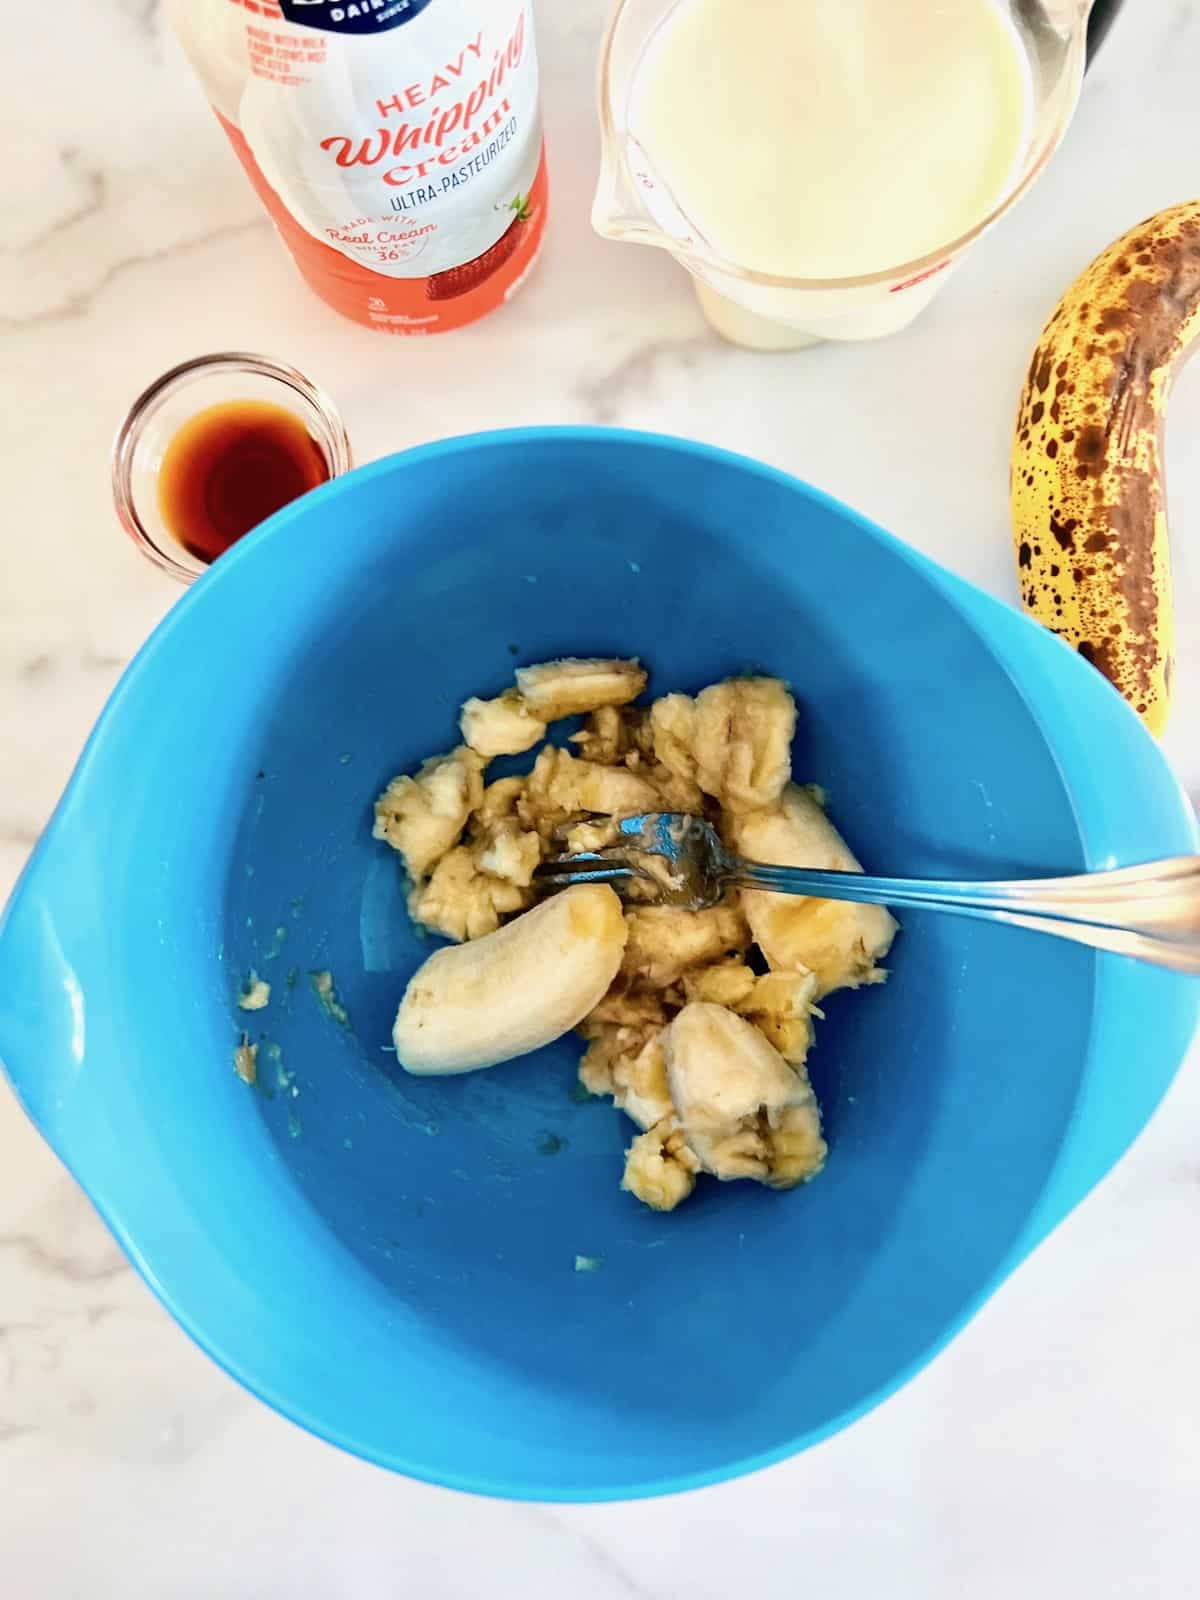
In a medium-sized bowl, use a fork to mash up the bananas.
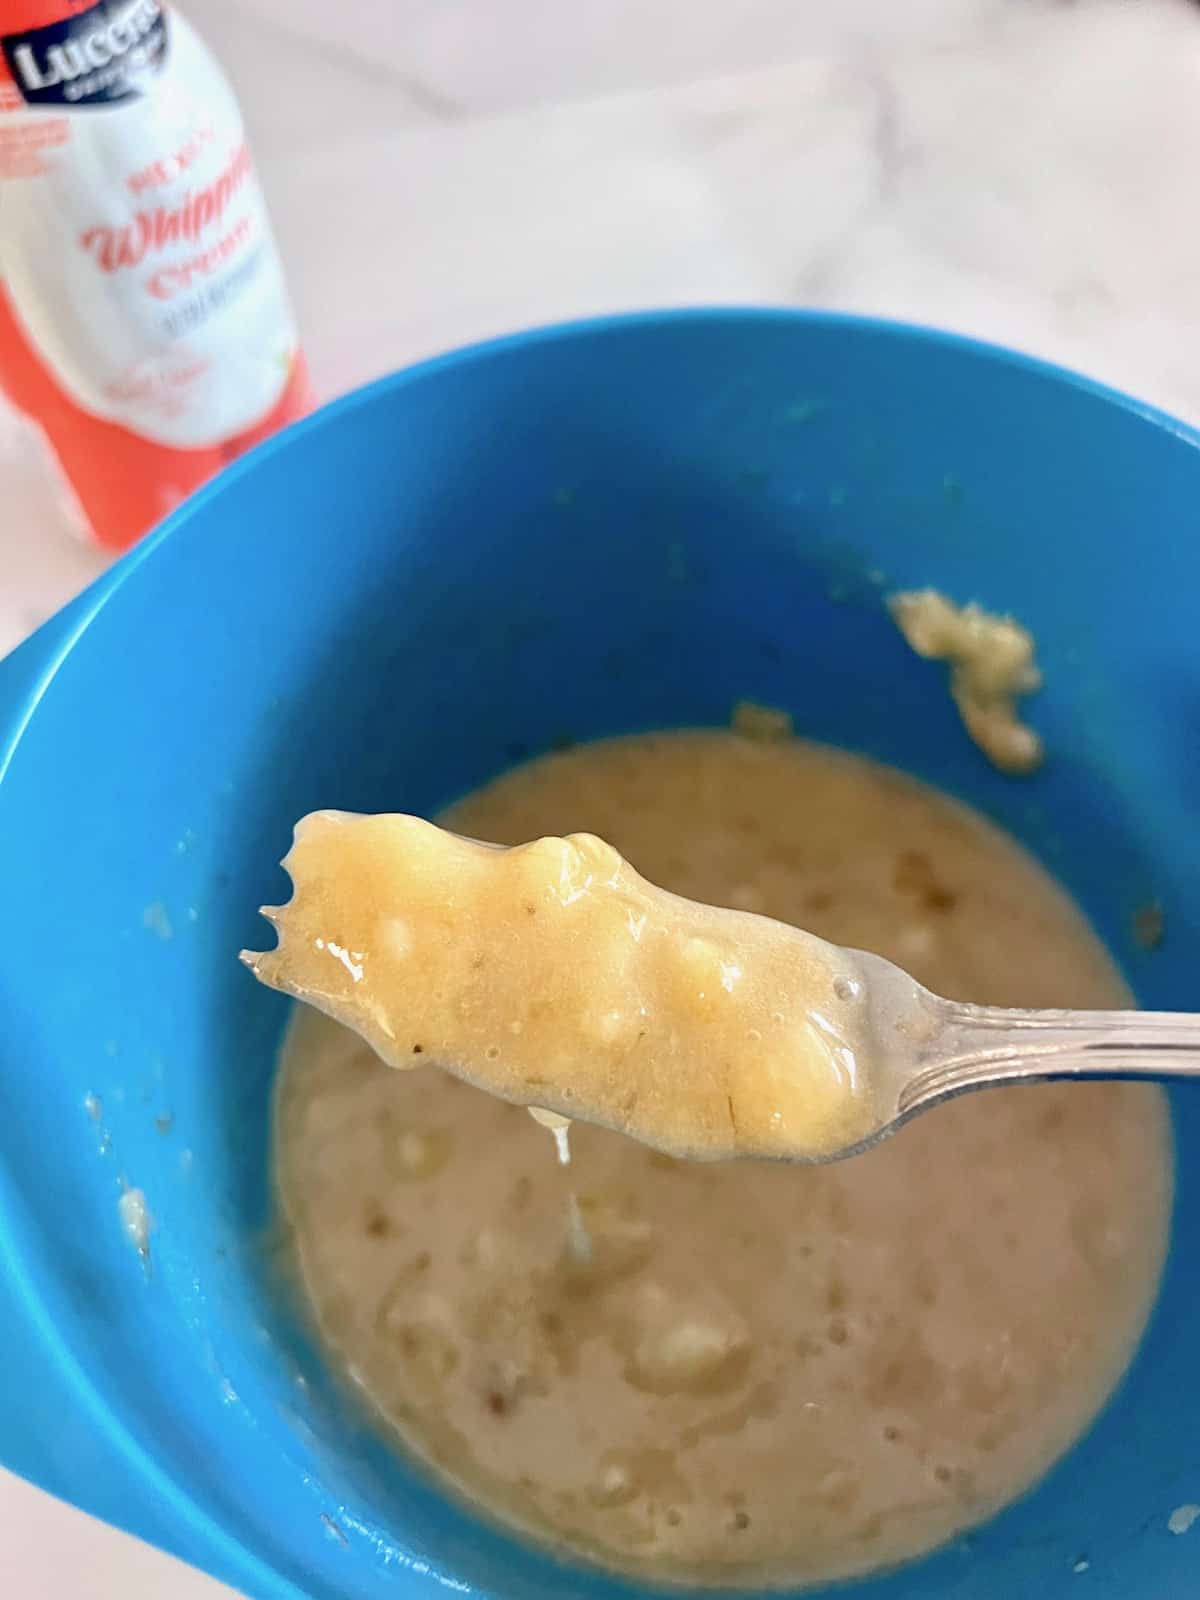
Add the sugar & mix. Next, add the cream, milk, & vanilla extract.
You can also mix all ingredients in a blender until smooth. I like to hand-mash it. The tiny pieces of banana add texture and are so delicious.
Chill & Churn the Ice Cream
When using an ice cream maker, it is ideal to add a base that is very cold. I recommend chilling the banana mixture in the freezer for 30 minutes before you begin churning.
Once churned this will make about 3 pints of ice cream. You will need an ice cream maker that is big enough to hold all the contents. As ice cream freezes it will expand and rise to the top.
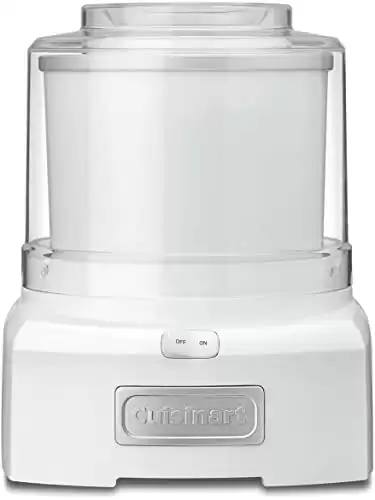
I am using a 1.5-Quart Cuisinart Ice Cream Maker. It had plenty of space to churn & expand.
Set up your ice cream maker according to the manufacturer's instructions. Based on the model you have, it can take between 15-30 minutes for it to churn. You will want it to be the consistency of soft-serve ice cream.
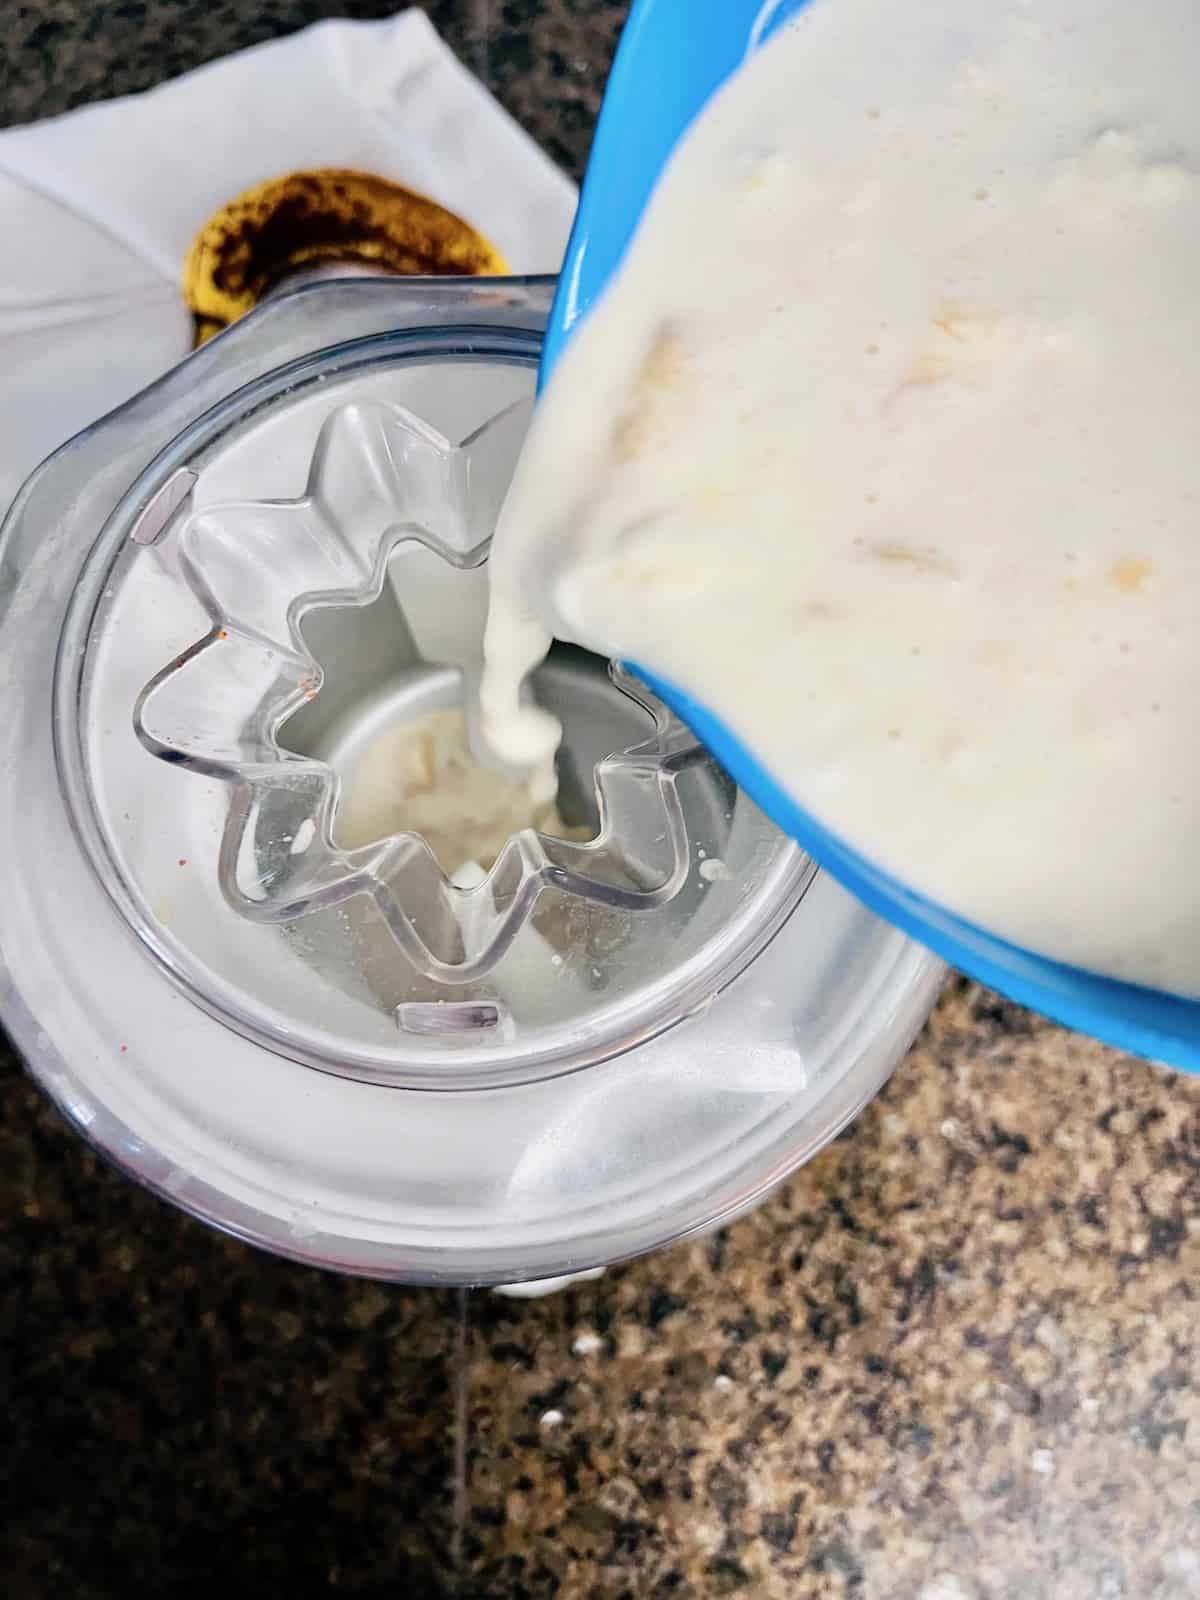
Once chilled, slowly pour the mixture into the ice cream maker insert as it is going around. It will begin to come together and chill almost immediately.
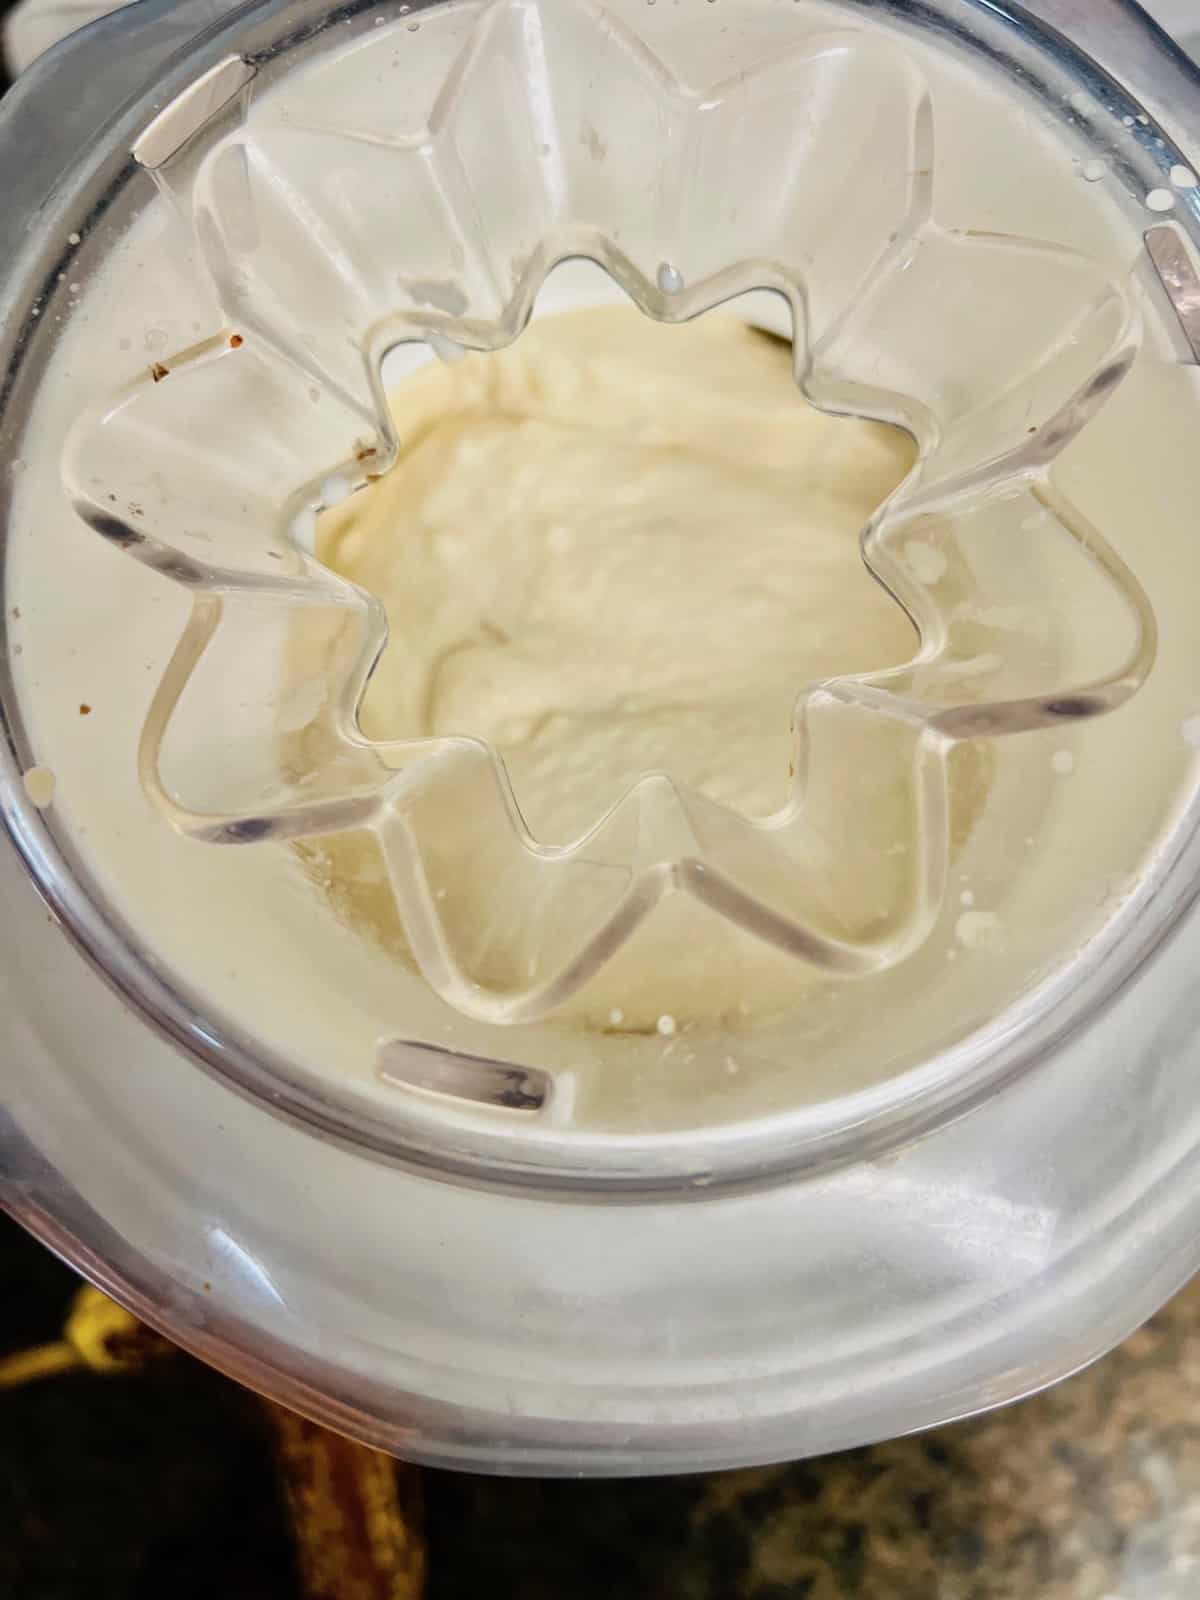
Freeze in the ice cream maker for 15-30 minutes. It should look like this when ready.
How to Freeze & Store Homemade Ice Cream
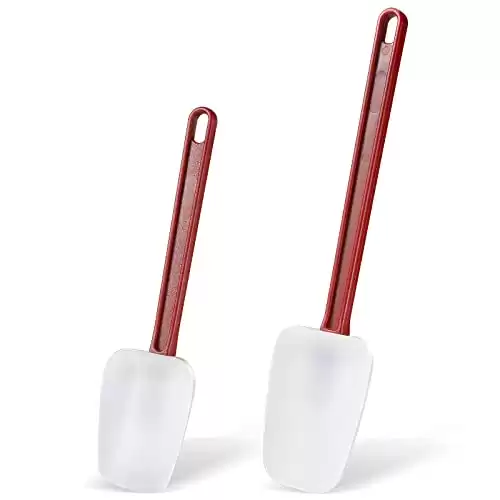
Once the homemade ice cream is done churning, time to scoop it, store it, and freeze it. I like to use a spoonula (spoon + spatula) so I can scrape and scoop the ice cream easily from the sides of the insert.
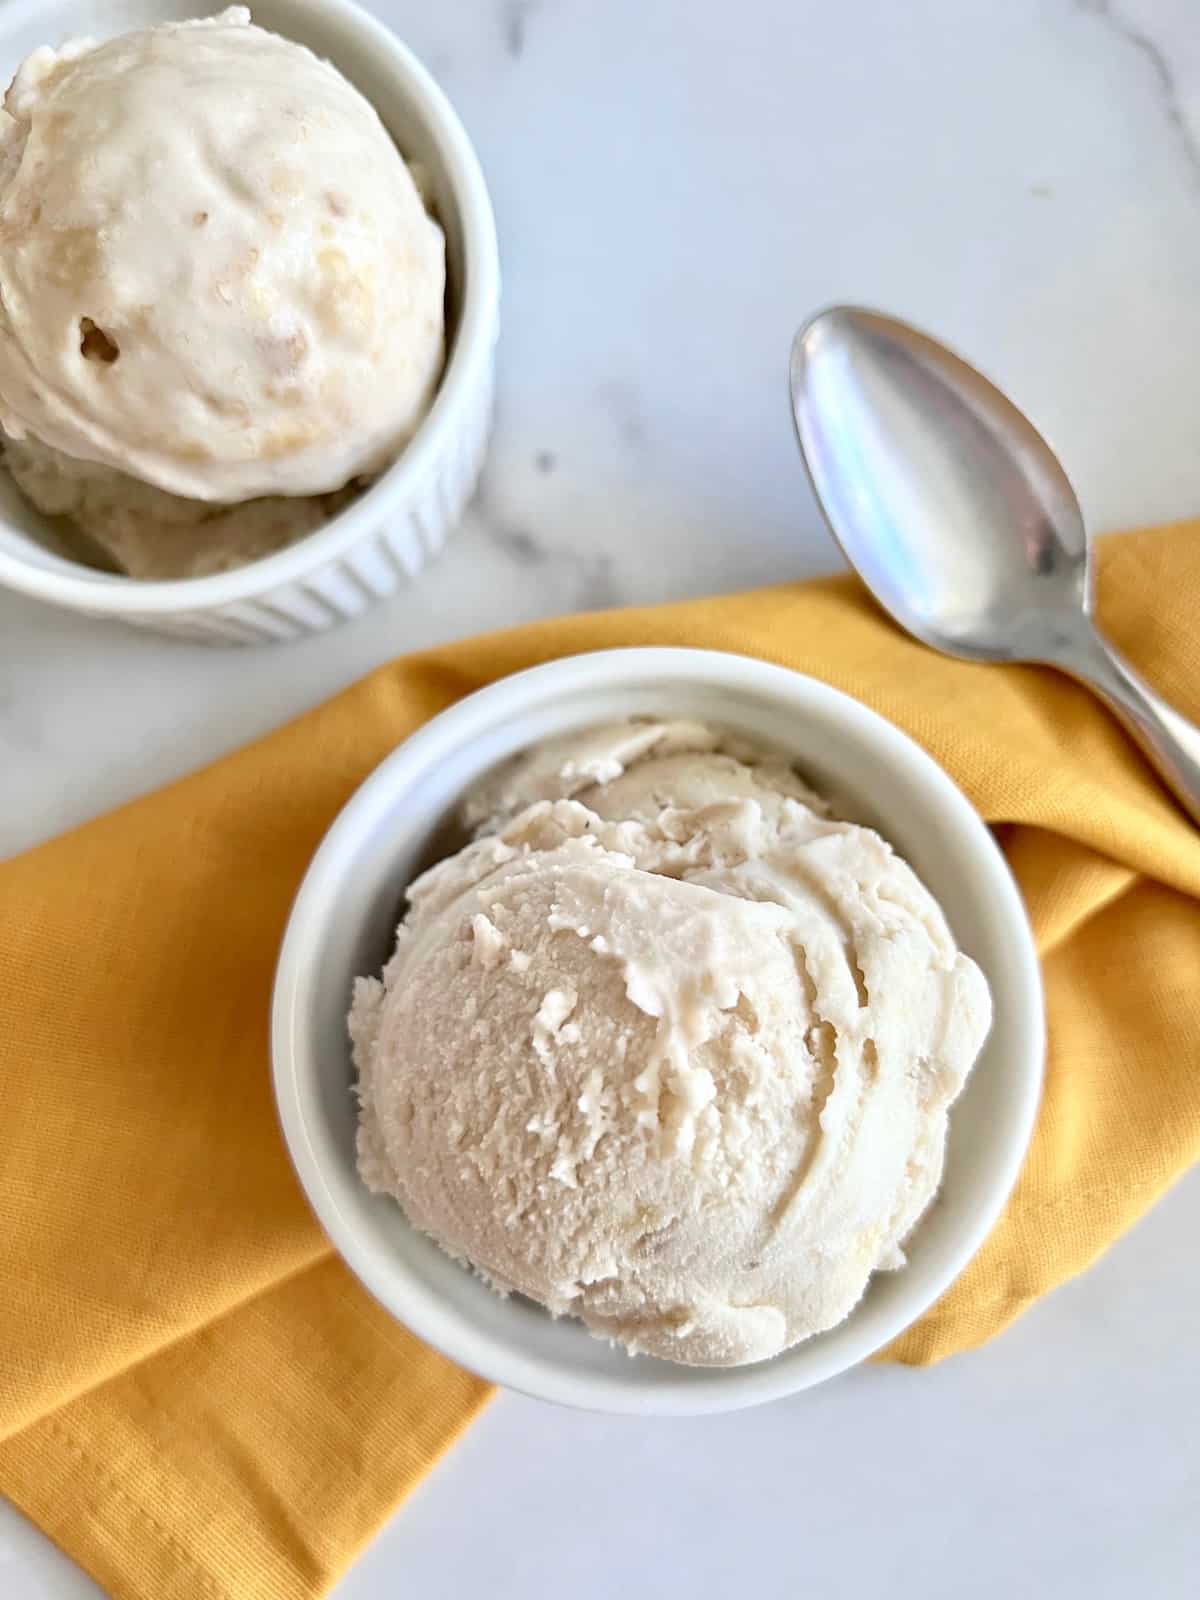
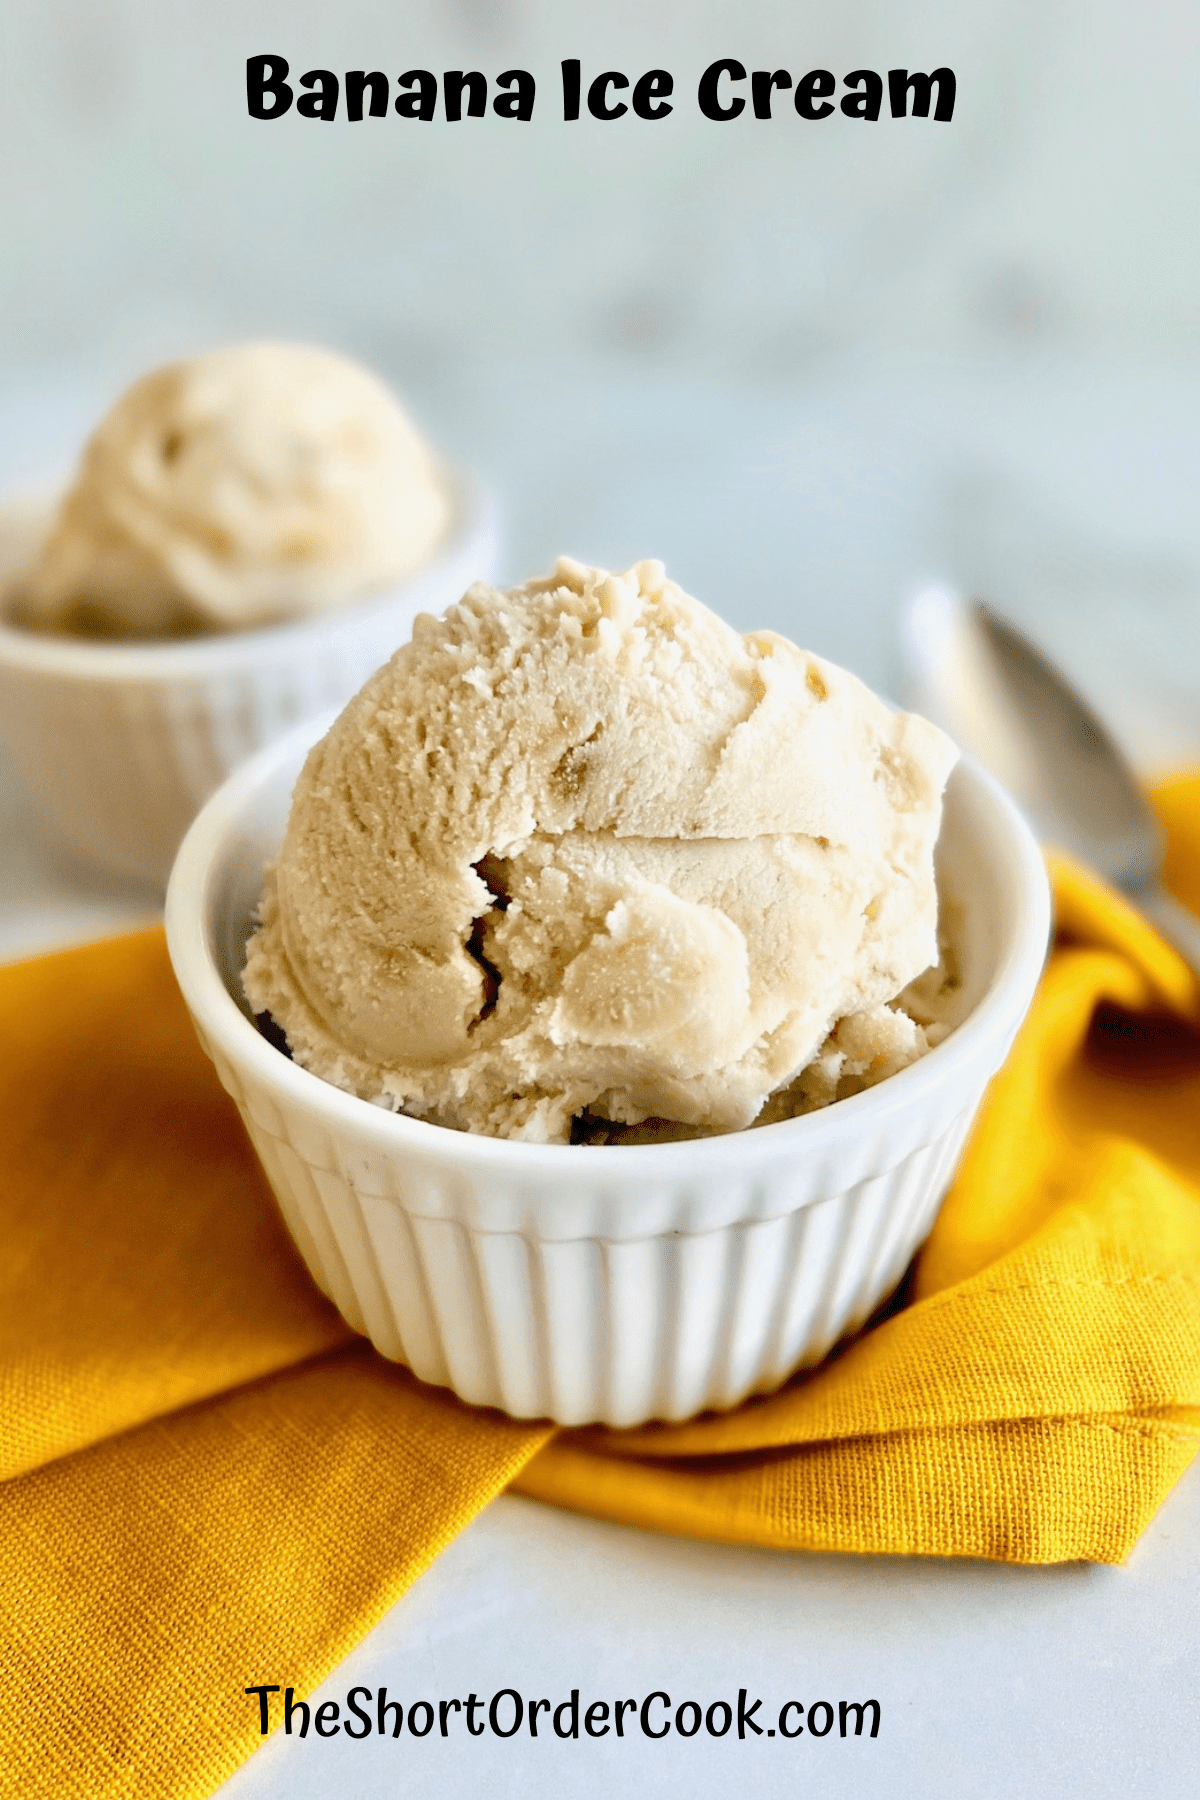
Look at those gorgeous little chunks of banana. If you love frozen bananas, these cold bits will be your favorite part.
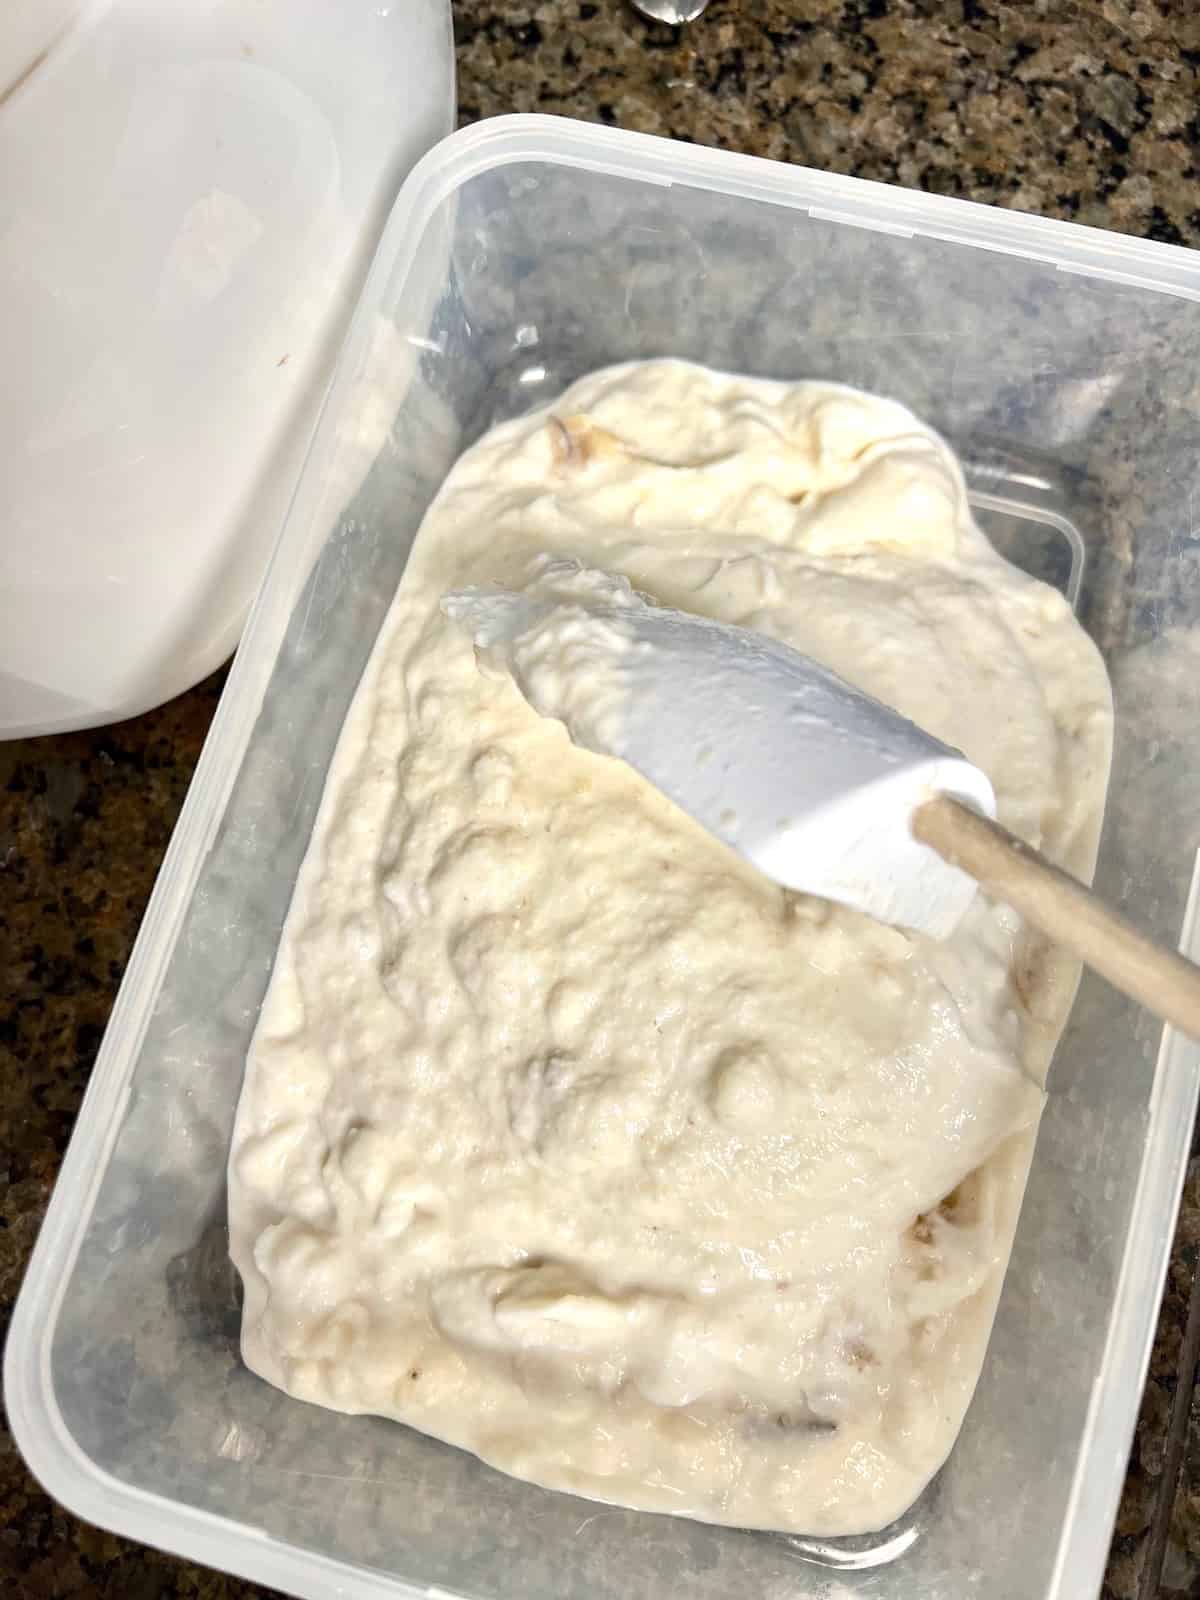
The time it will take for the ice cream to freeze and become scoopable will depend on these few factors:
- How solid or soft the ice cream is after churning
- The temperature of your freezer
- The size & shape of the container
On average it takes between 3-6 hours for the ice cream to be ready for scooping & eating.
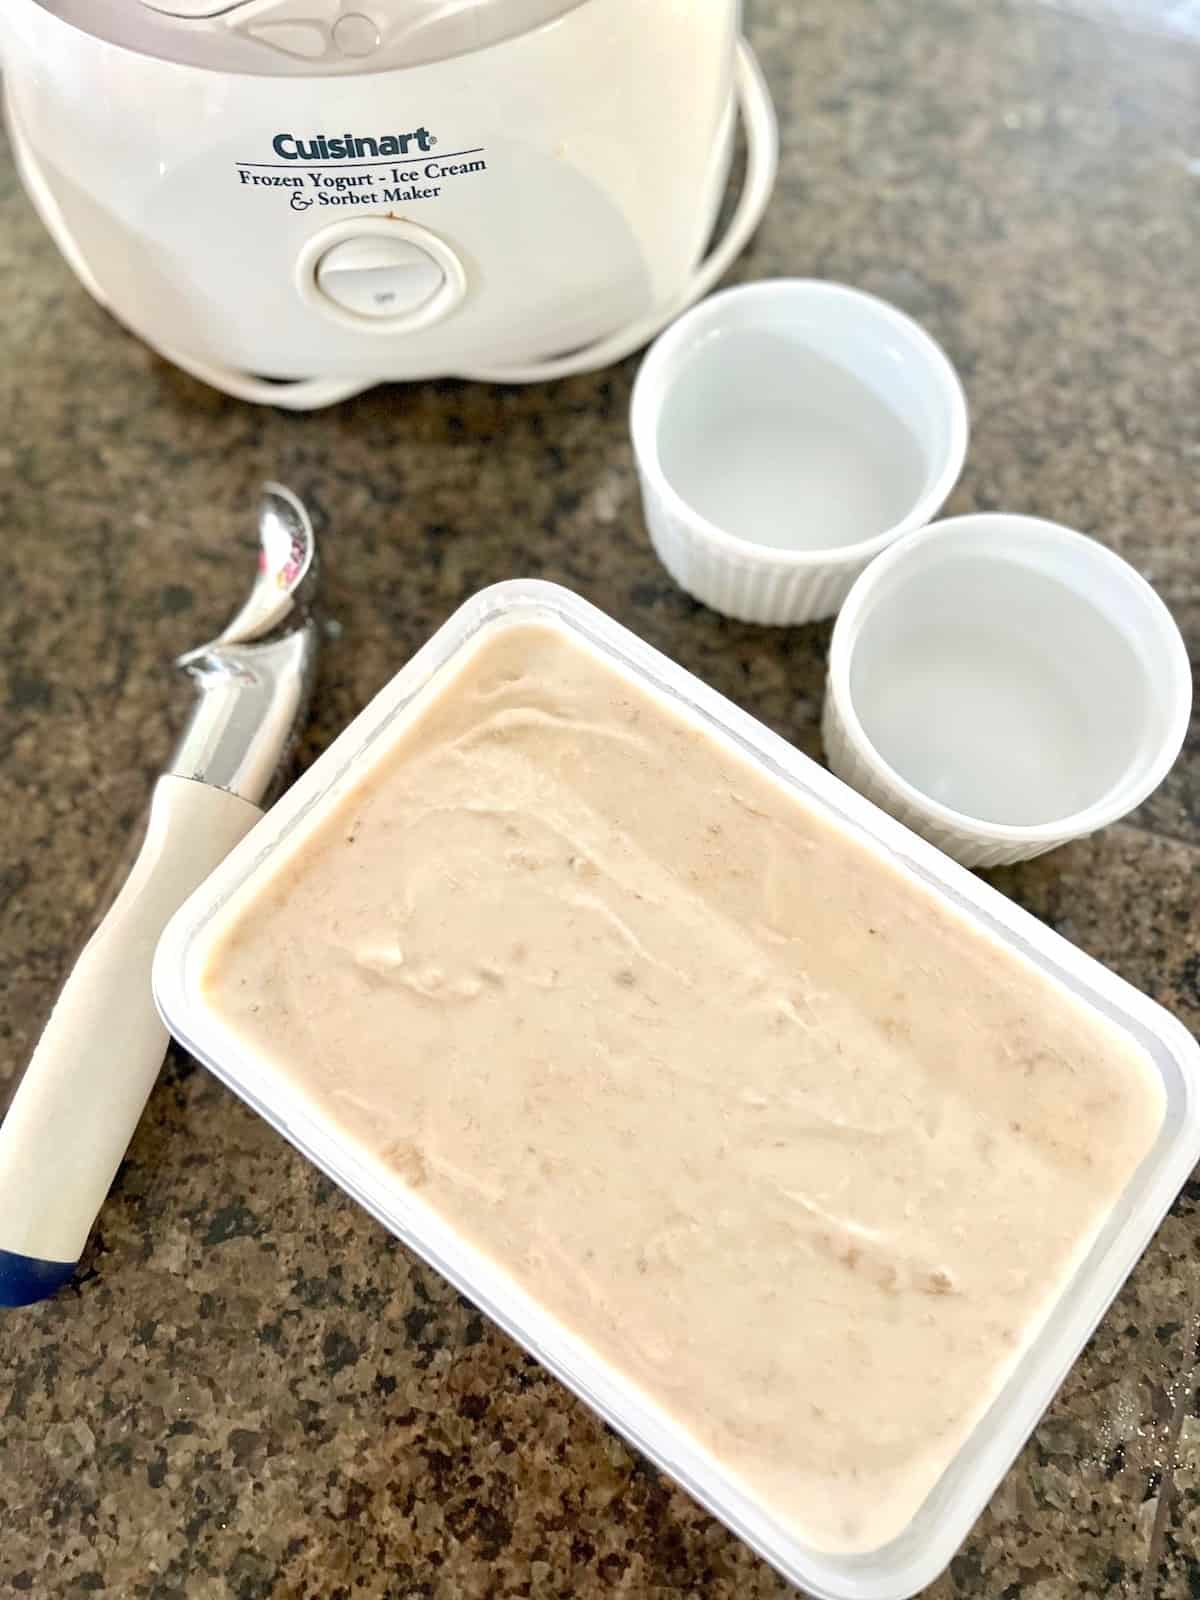
Hint: the ice cream will become more solid the longer it sits in the freezer. If very solid, let it sit at room temperature for a few minutes before you want to dig in. This makes it easier to scoop and serve.
Substitutions & Variations
I have not made this with any alternate ingredients. Using whole milk, real cream, sugar, & vanilla is key. These natural ingredients ensure this ice cream is rich, creamy, & delicious.
I do not recommend using any alternate items in this recipe. Do not use substitutions like fat-free milk or sugar substitutes.
Here are some variations and additional ingredients you can add to up the level of deliciousness. Add these mix-ins after the ice cream is done churning. Layer with these items, stir to combine, and then freeze.
- Chocolate Chips - add 1 cup of mini chocolate chips.
- Chunky Monkey Copycat - add ½ cup chopped walnuts & ⅓ cup chocolate chunks.
- Marshmallows - add swirls or marshmallow creme fluff or mini marshmallows.
- Peanut Butter - melt a cup in the microwave and then swirl & layer before freezing.
This recipe is gluten-free as written. It is not dairy-free and I have not tried using alternate milk products.
Equipment
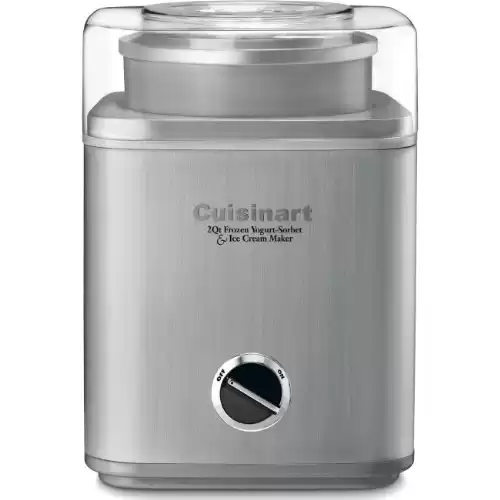
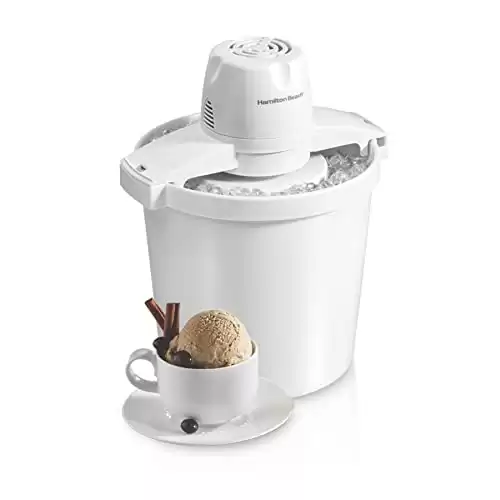
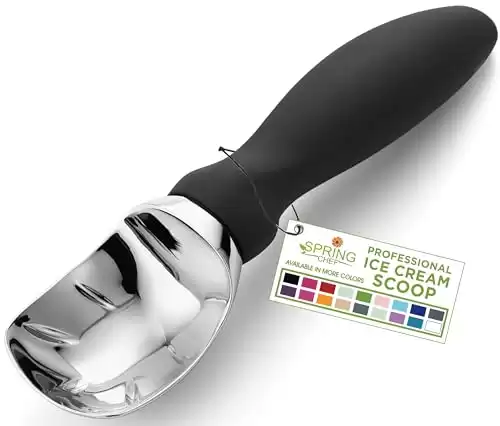
The right ingredients, supplies, & equipment help recipes taste amazing & turn out well. Here are recommendations for products that are needed for making this recipe including some of the best ice cream makers. The Cuisinart models are hands down the top-of-the-line ice cream makers you can buy.
The Short Order Cook participates in the Amazon Services LLC Associates Program. As an Amazon Associate, I earn from qualifying purchases. If you click on a link and make a purchase, I may earn a small commission on the sale at no additional cost to you. This helps with the costs of running the blog. Thank you!
Storage
Freeze ice cream in an airtight freezer-safe storage container for up to 3 months. It is best enjoyed within 30 days.
Top Tips
All of these great tips are shared in the post. But these are so good and important they are worth mentioning again so you don't miss them.
- Freeze your ice cream machine's insert according to your model's recommendations (typically 12-36 hours).
- Use very ripe bananas, they mash easier.
- Use only full-fat ingredients; not fat-free or low-fat.
- Freeze for 3-6 hours before scooping.
- Let hard ice cream sit on the kitchen counter for 5+ minutes so it is easier to scoop & serve.
FAQ
Here are answers to some common questions. I hope you find what you need but if not, you are always welcome to send me a comment and I will get back to you.
Yes. If you have a blender, just throw everything in the bowl or capsule and blend. You can make it chunky with a quick pulse or puree it until smooth.
I have not tried to make a no-churn version of this recipe. If you wish to try making banana ice cream without an ice cream maker you can try this No Churn Banana Ice Cream recipe with sweetened condensed milk.
Most store-bought and mass-produced ice creams have stabilizers & artificial ingredients that help keep them soft. Homemade ice cream with real & natural ingredients will be more solid and hard once in the freezer for more than 8 hours. Just follow my tip of letting it sit on the counter for 5-10 minutes before scooping & it will be creamy smooth.
This recipe makes about 1.5 - 2 quarts of ice cream. That is about 3 pints total & 8 servings.
More Homemade Ice Cream Recipes
Looking for other recipes like this? Try these additional easy recipes for ice cream made in your ice cream maker:
Banana Ice Cream
Equipment
- ice cream maker
Ingredients
- 2 medium bananas about 1.5 cups
- ¾ cup granulated sugar
- 2 cups heavy whipping cream
- 1 cup whole milk
- 1 tablespoon vanilla extract
Instructions
- Ensure your ice cream maker will be ready to freeze the mixture in about an hour. This usually means the insert should be in the freezer the night before.
- In a medium-sized mixing bowl add the peeled bananas. Smash with a fork or potato masher until smooth with tiny bits still visible.
- Add the granulated sugar and stir to combine.
- Add the cream, milk, & vanilla. Stir to mix.
- Place the bowl in the freezer for 30 minutes so the banana mixture is very cold before it goes into the ice cream insert.
- Get your ice cream machine ready per your model's instruction manual. Slowly pour the chilled banana ice cream base into the cold insert while it is running. Let your ice cream maker do all the work.
- Run the ice cream maker & churn for 15+ minutes or until it is ready. It should be the consistency of soft-serve ice cream and look similar to the photo above.
- Scoop out the fresh banana ice cream and place it into a freezer-safe container. You will need to freeze this for about 3-6 hours. It will then be ready to serve after it chills for hours.
- When it reaches the firmness you desire, scoop it into bowls or onto ice cream cones. ENJOY!
- If this ice cream does not get consumed all on the first day, it can be stored in the freezer for up to a week. Store in the air-tight container in your freezer. Remove the ice cream about 5 minutes before you want to eat it as homemade ice cream tends to be more solid and dense once frozen all the way through.
Notes
| Nutrition Facts | |
|---|---|
| Servings: 8 | |
| Amount per serving | |
| Calories | 219 |
| % Daily Value* | |
| Total Fat 12.2g | 16% |
| Saturated Fat 7.5g | 38% |
| Cholesterol 44mg | 15% |
| Sodium 24mg | 1% |
| Total Carbohydrate 27.5g | 10% |
| Dietary Fiber 0.7g | 3% |
| Total Sugars 23.9g | |
| Protein 1.9g | |
| Vitamin D 28mcg | 139% |
| Calcium 55mg | 4% |
| Iron 0mg | 1% |
| Potassium 168mg | 4% |
| *The % Daily Value (DV) tells you how much a nutrient in a food serving contributes to a daily diet. 2,000 calorie a day is used for general nutrition advice. | |

Billie says
This is it. Anyone that wants to make banana ice cream without eggs try this. It is really good.
Angela says
I am glad you enjoyed it.
Linda F Cote says
A great nobake ice cream. I've been craving banana ice cream, recipe mimics my favorite, and is just the right size for my KitchenAid ice cream maker attachment. I add a cup of mini semi sweet chocolate chips and is just what I wanted!
Angela says
I am glad you loved it and boy does adding chocolate chips sure sound good!