
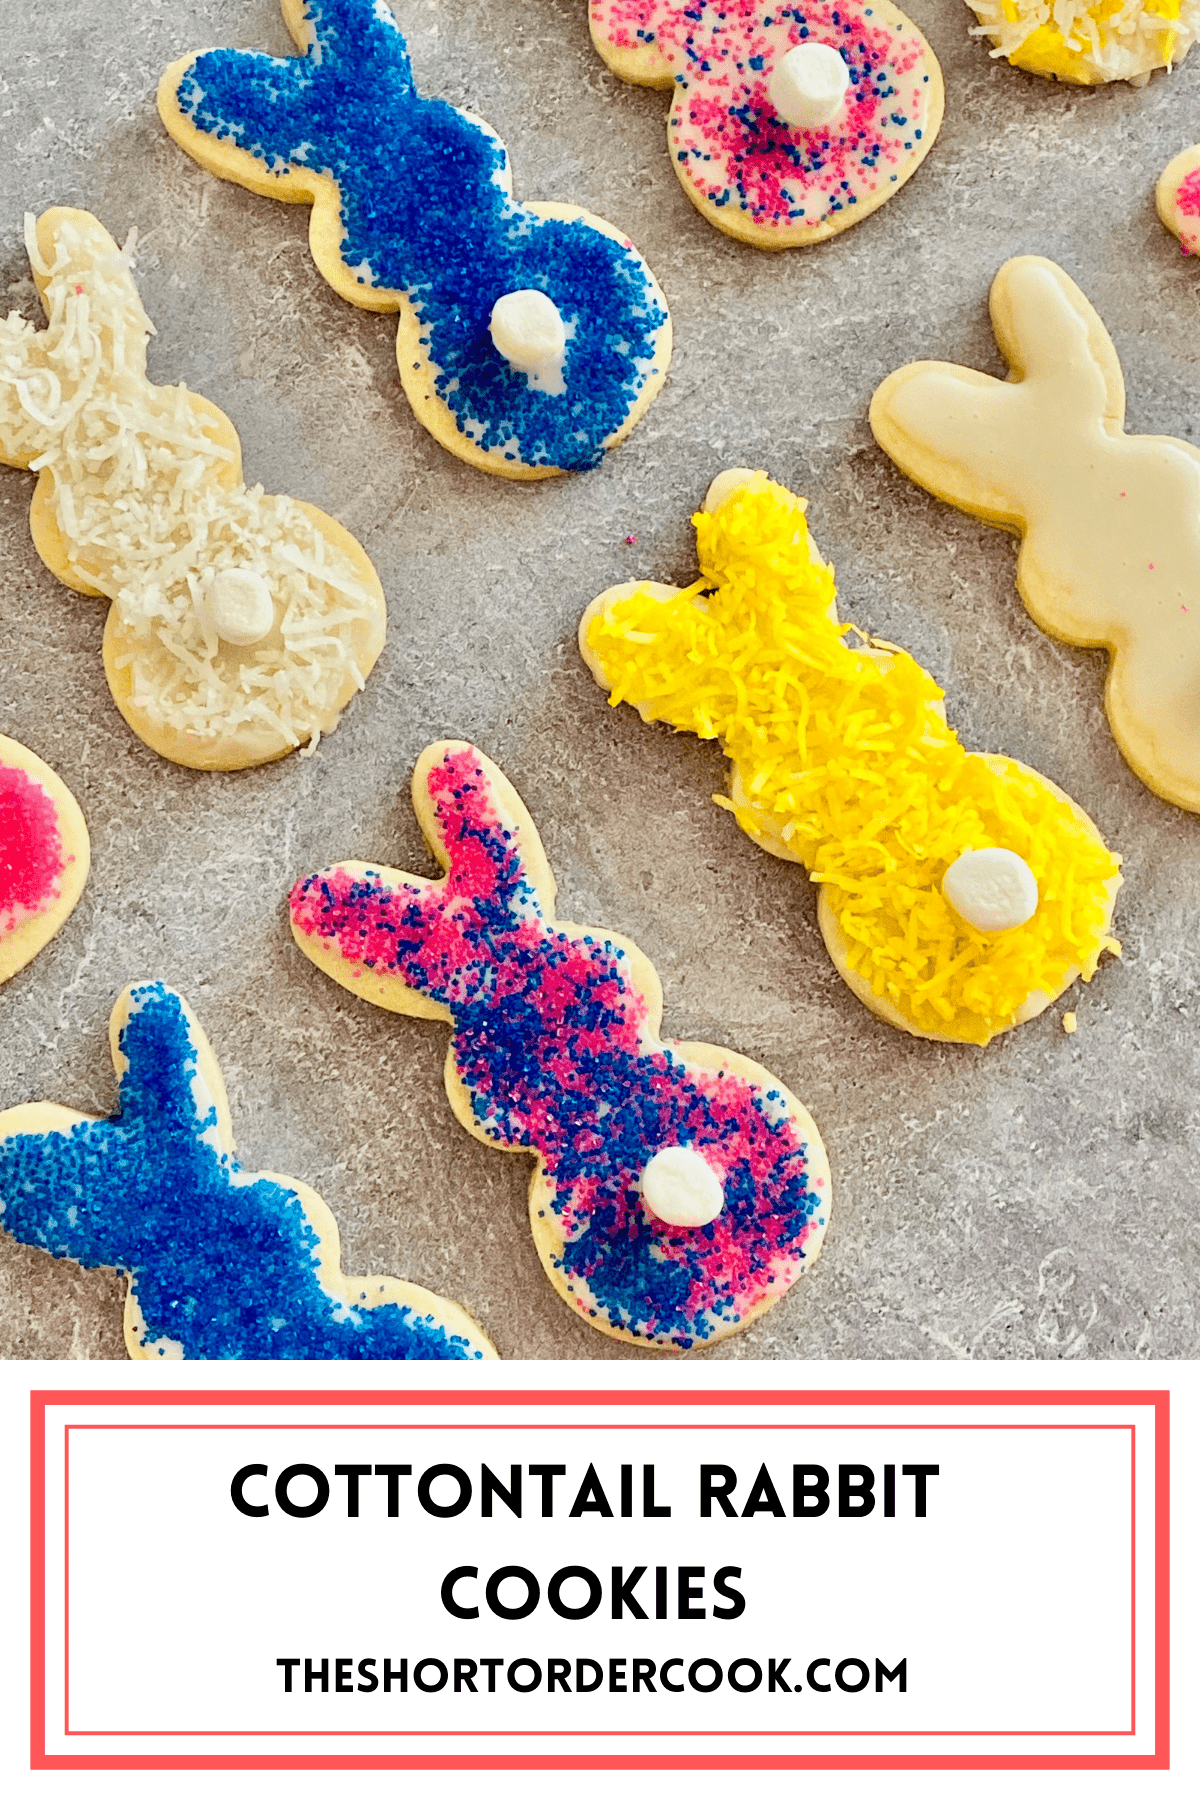
This recipe for adorable Bunny Rabbit Easter Cookies is almost too cute to eat. The classic sugar cookies are soft, chewy, and buttery with a hint of vanilla. This bunny-shaped dessert with a cute cottontail is a kid's favorite.
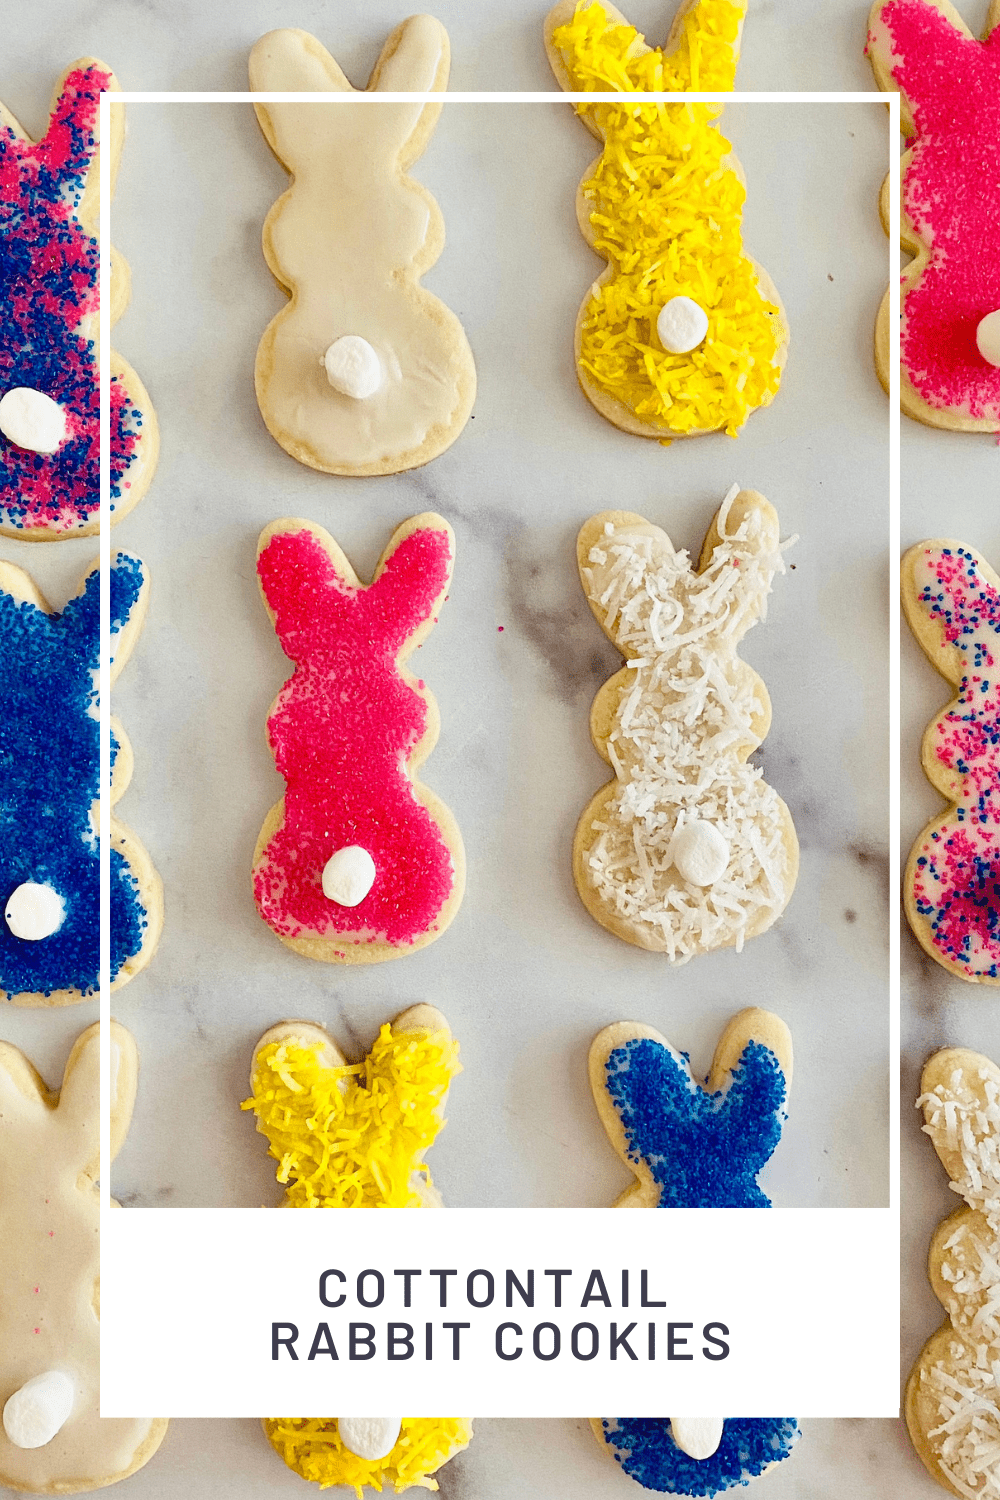
The tasty frosted cookies are decorated with coconut or sprinkles to complete the fluffy Easter bunny look. The pastel toppings make them a pretty festive Spring dessert like my Strawberry Mousse recipe.
Add them to Easter baskets or treat boxes along with my Ritz Cracker Toffee Cookies, Cadbury Mini Egg Cookie Bars, & Spritz Cookies.
They are also great for any bunny-themed event like birthdays, baby showers, and other parties. You can make them yourself or make them a fun activity for guests to decorate their own. Ok, new we bake!
Jump to:
Ingredients for Easter Rabbit Cookies
The base of these bunny rabbit Easter cookies is a classic sugar cookie. You will need the ingredients for the cookie base plus all the items for the icing. This starts with my Easy No Spread Sugar Cookie Recipe.
I like to use shredded coconut for this recipe instead of coconut flakes. The coconut is a bit finer when it is shredded. I find it not only sticks to the cookie icing better but it looks prettier. It gives the bunny cookie a more fluffy soft appearance.

- All-purpose flour - the pantry staple makes perfect sugar cookies.
- Granulated sugar - only white sugar for this cookie base, no brown sugar.
- Egg - room temperature is best when baking.
- Salted butter - for rich buttery cookies.
- Vanilla - just a touch for flavor.
- Baking powder - so the cookies are tender & chewy.
- Mini marshmallows - makes the cottontail for the bunny butt.
- Shredded coconut - yummy nutty flavor & texture used as the bunny fur decoration.
- Gel food coloring - pastel Easter colors for the rabbits.
- Colored sugar - optional as an alternate for coconut.
This recipe uses my EASY COOKIE ICING. In addition to the above ingredients, you will also need powdered sugar, milk, & corn syrup.
How to Make Bunny Rabbit Easter Cookies
The darling mini marshmallow bunny butt is a simple and sweet way to make these cookies look like a cute little cottontail rabbit. Brightly colored sugar and coconut add a pop of color to make these rabbit cut-out cookies perfect for Easter Sunday.
Here are the steps for making, baking, & decorating these Easter Cookies into Bunny Butts:
- Mix the Batter
- Roll & Cut-Out the Rabbit Shapes
- Bake the Cookies
- Cool
The pre-baking step for this recipe is to make sure the butter is softened at room temperature. The egg should also be at room temperature. The egg should be on the counter for about 30 minutes before mixing.
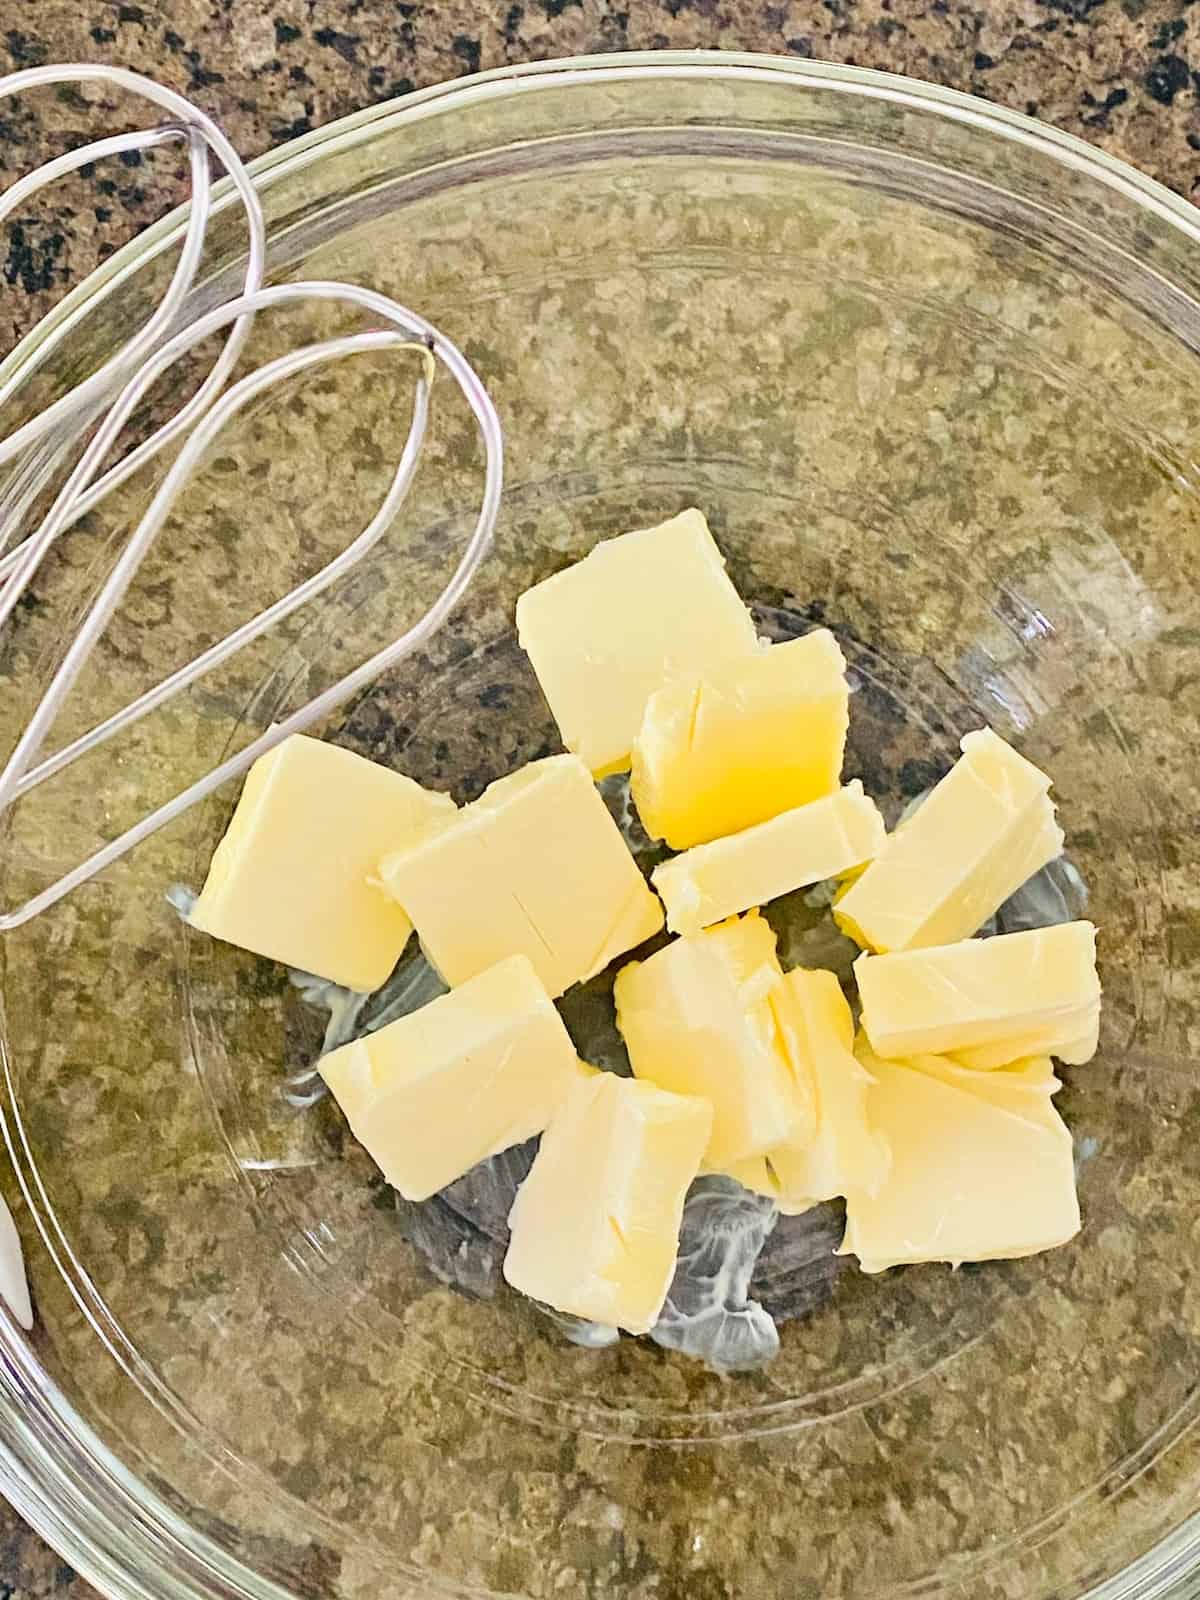
I suggest letting the butter sit on the kitchen counter for at least an hour before you begin mixing the cookie dough. If you have a cold home or want to speed up the process, you can cut it into small chunks and place them in the large mixing bowl you will be using.
1 - Mix the Batter
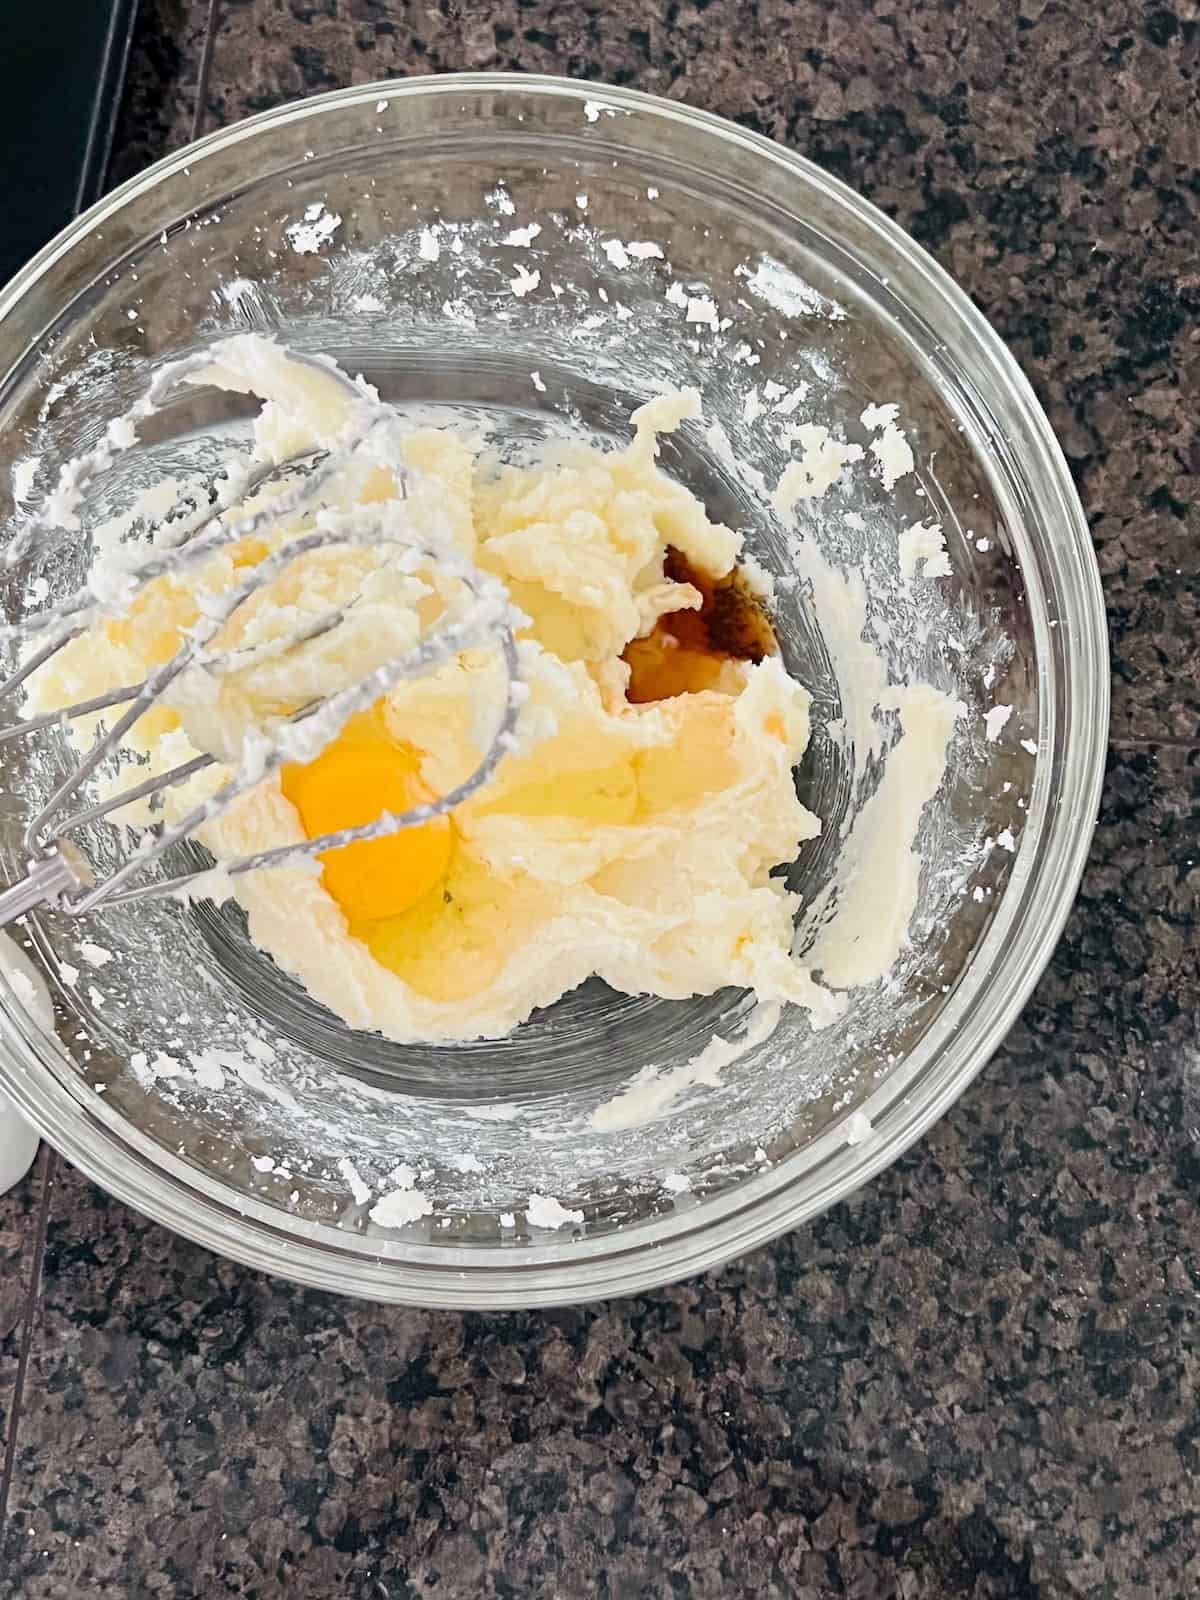
In the large mixing bowl, cream together the softened butter with the sugar. Use a hand mixer on medium speed to combine the two ingredients. Scrape the sides of the bowl when done mixing.
To the creamed mixture, add the egg and the vanilla. Using the hand mixer, combine all the ingredients for 30 seconds on medium speed. Scrape down the sides of the bowl and be sure all the wet ingredients are combined evenly.
Once all the wet ingredients are combined it is time to add the dry ingredients. Add the baking powder and 1 cup of flour. Mix on low to medium speed for 30 seconds to combine.
Scrape down the sides of the bowl and add another cup of flour. Mix again for 30 seconds. Repeat with the final cup of flour.
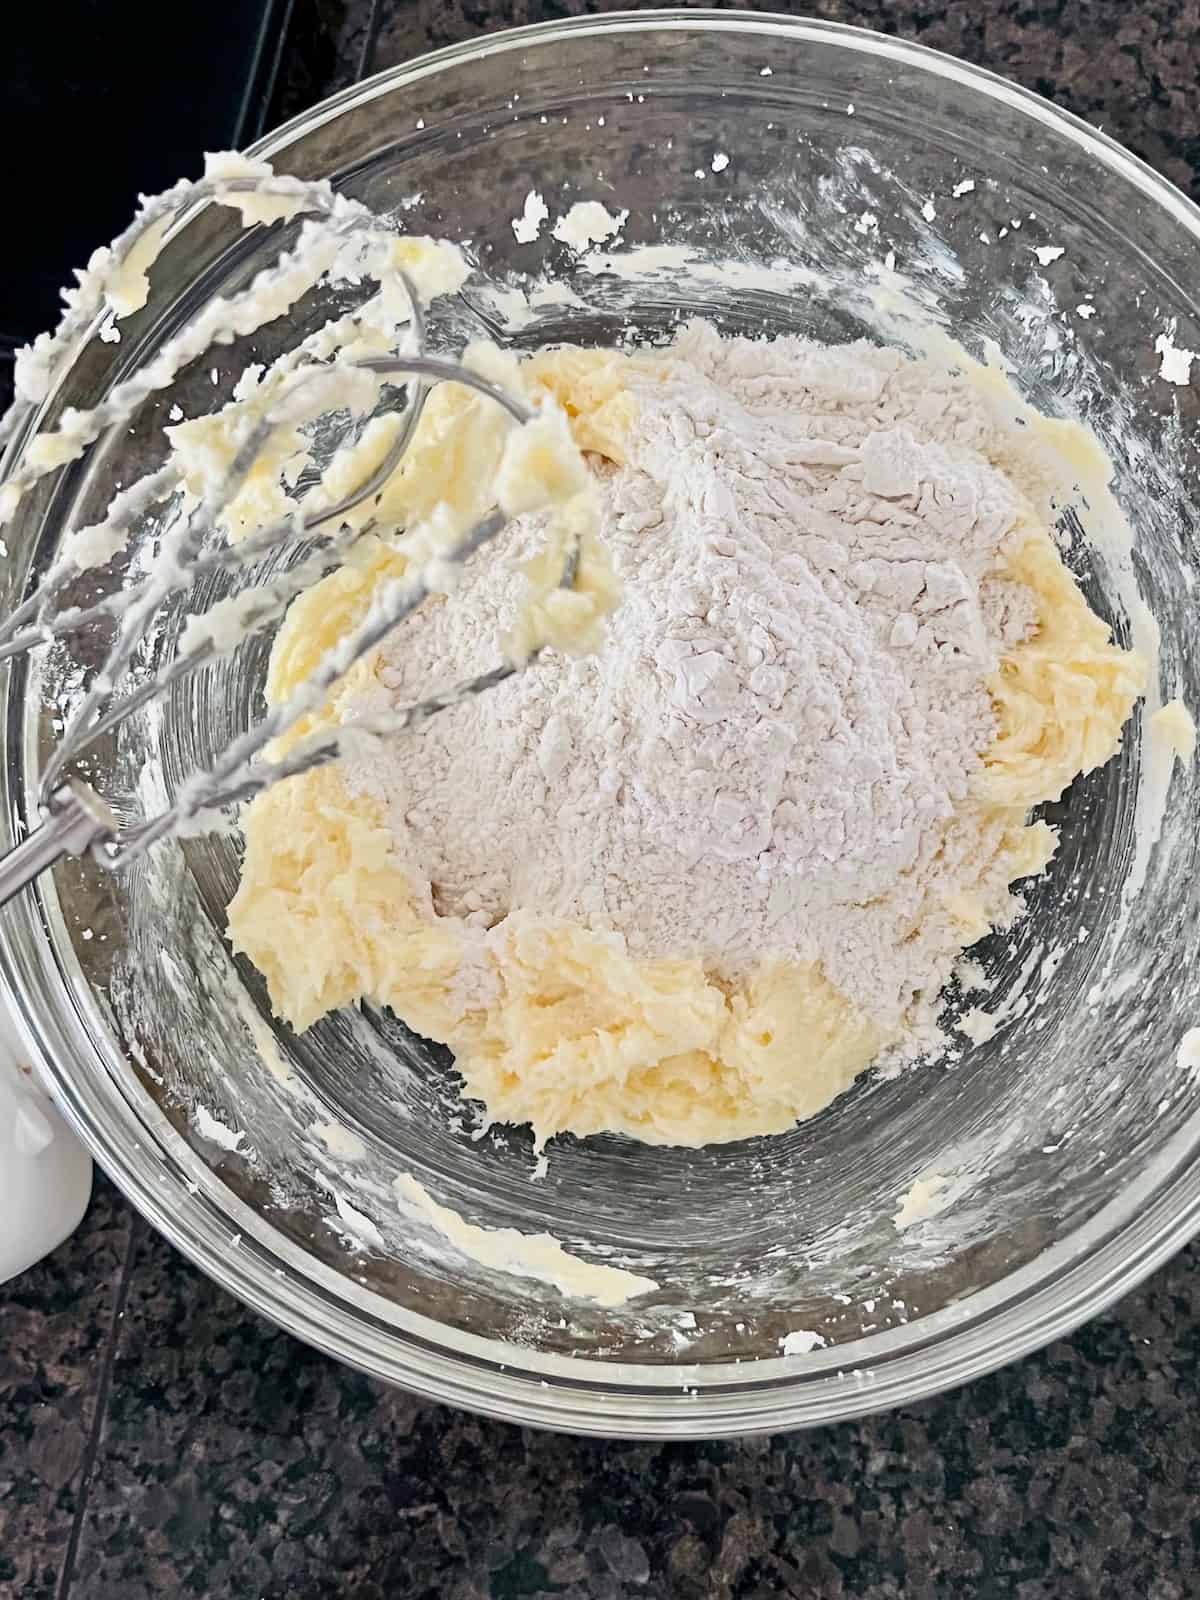
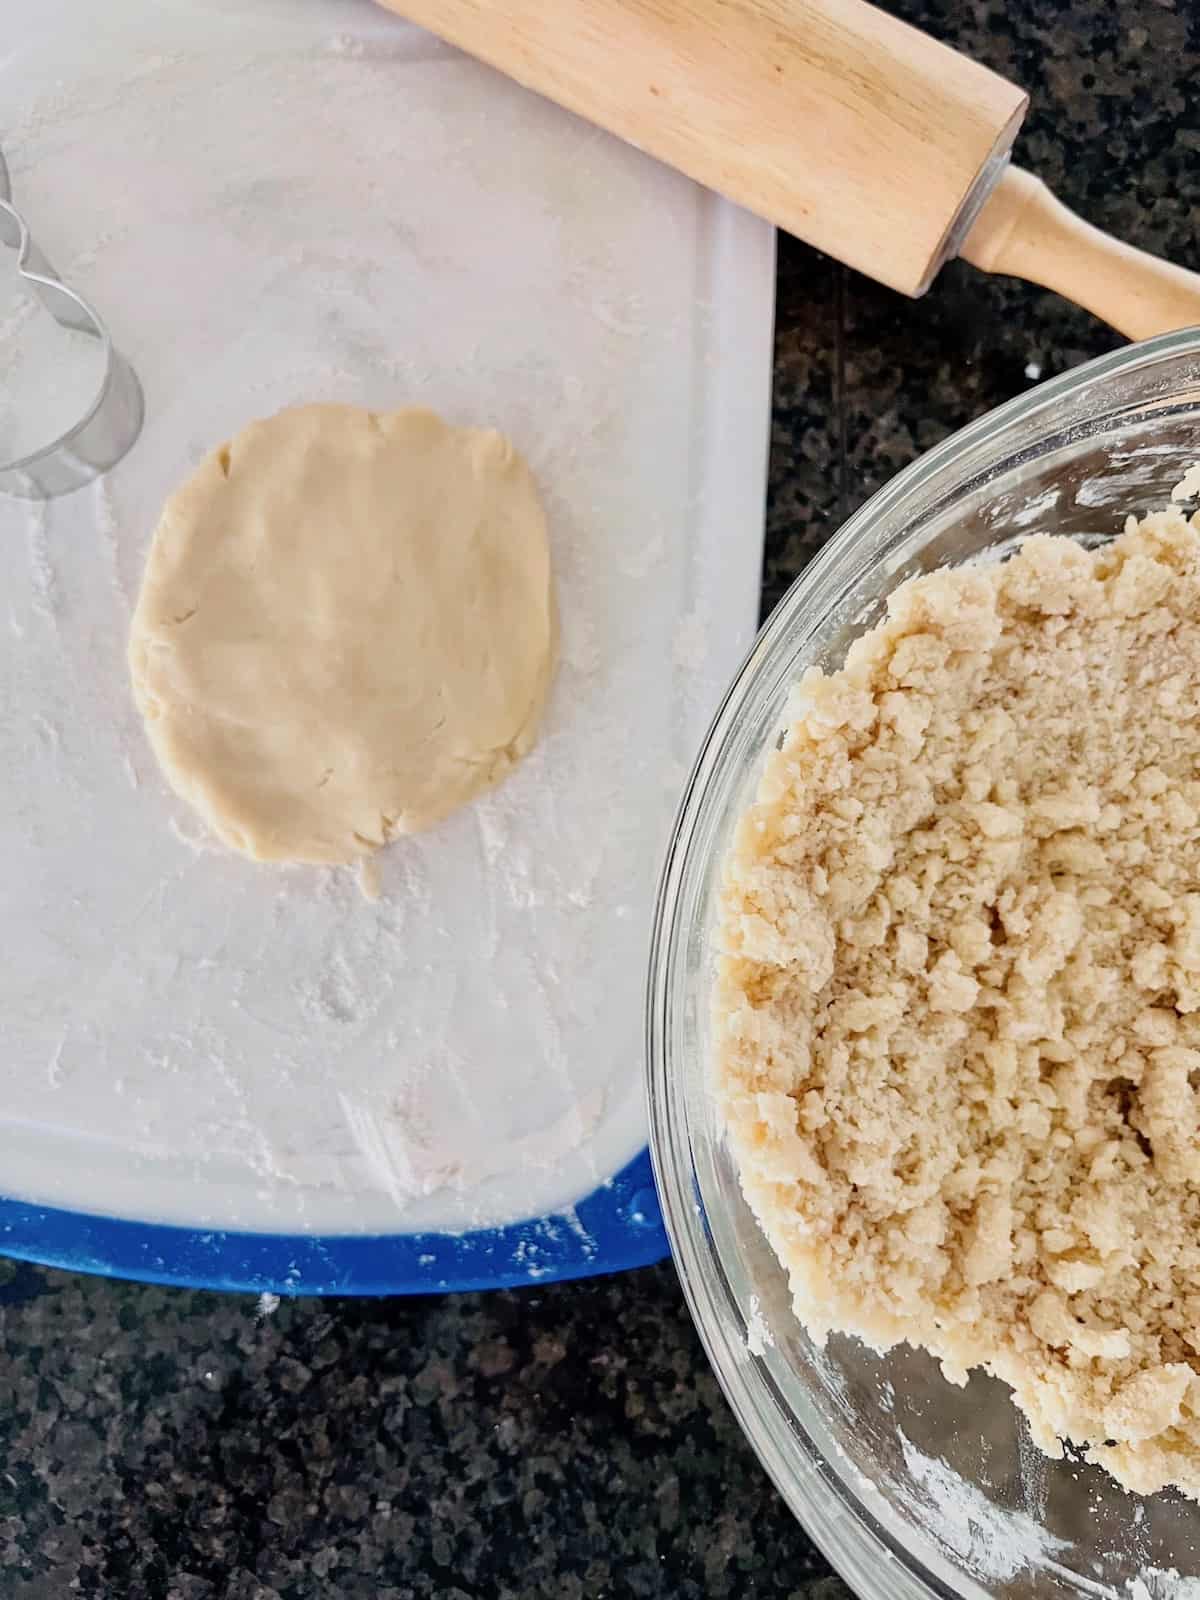
Hint: The dough will be crumbly. I should resemble large grains of sand as seen below. This is how it should look. It will come together so do not be tempted to add any liquids like milk or water.
Once the dough is done mixing, use your hands to gather about ¼ or ⅓ of the dough together. Your warm hands will help the butter continue to soften and bring the cookie dough together. Roll into a large ball and flatten it on a lightly floured cutting board or your clean counter.
2 - Roll & Cut-Out the Rabbit Shapes
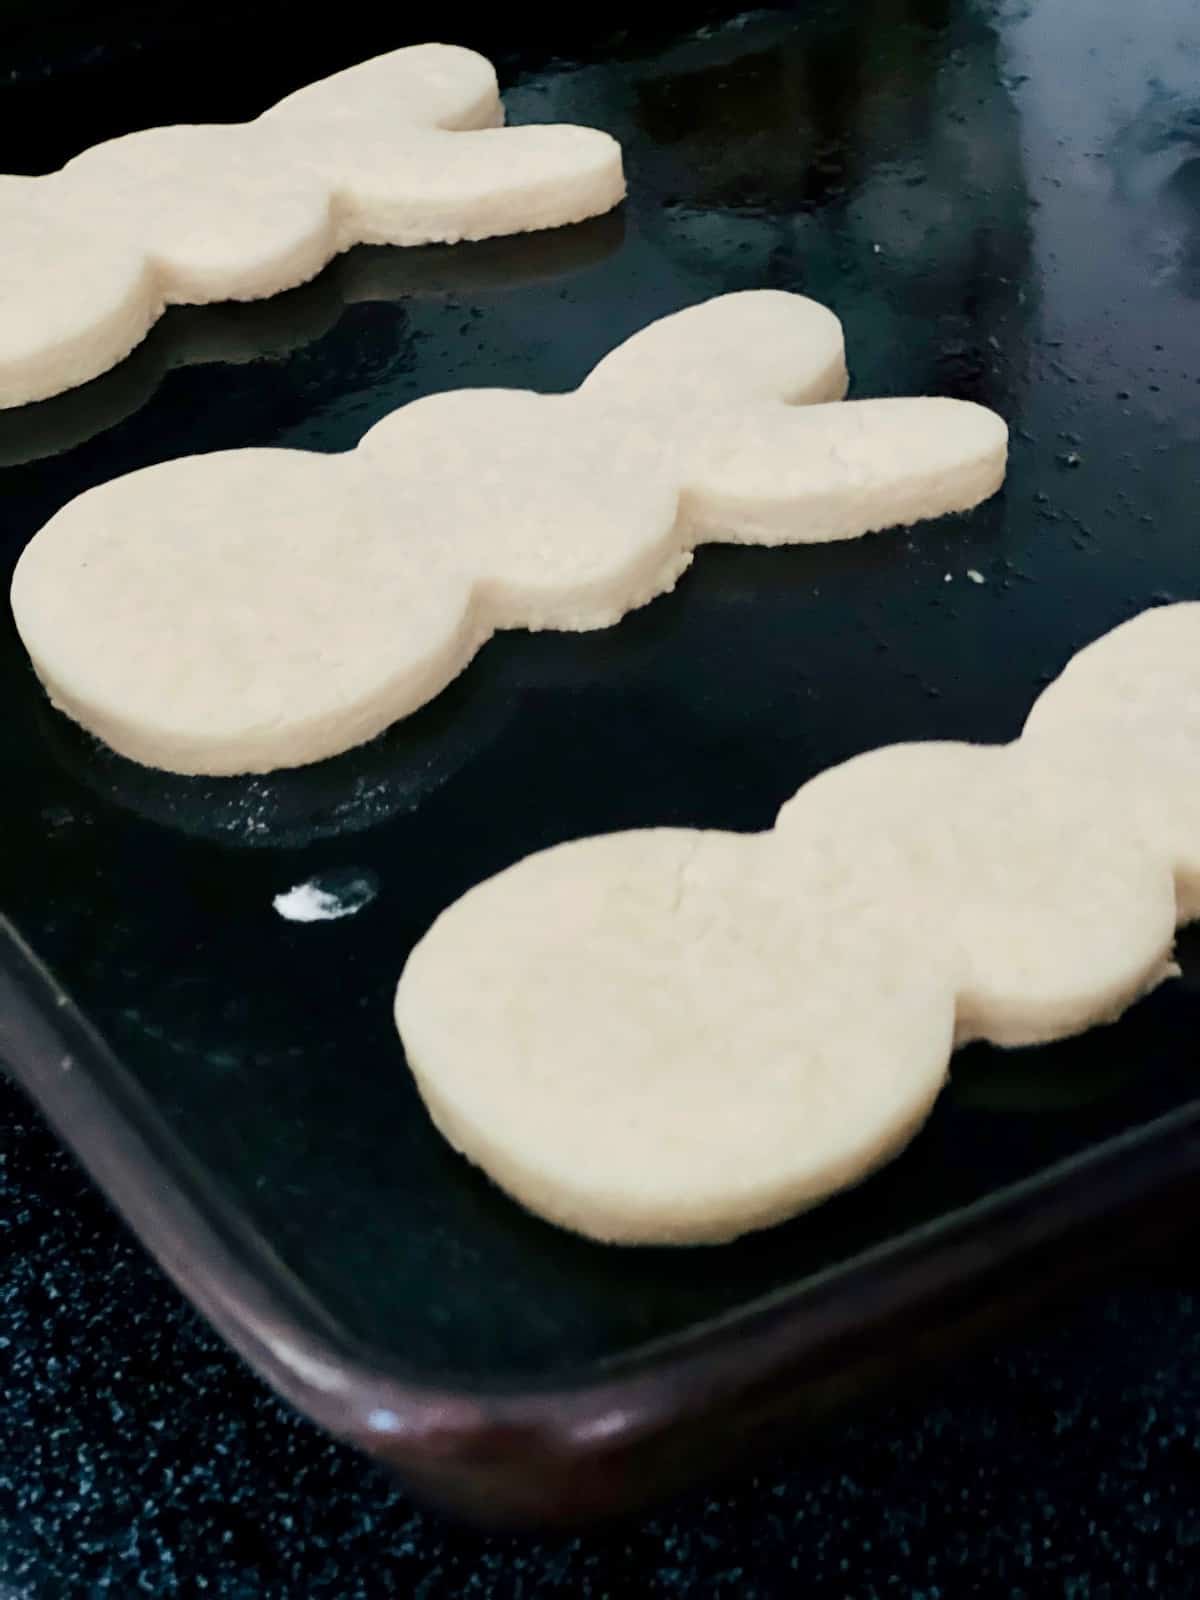
Lightly flour your rolling pin and roll out the dough until it is ½" thick. Using the bunny-shaped cookie cutters, cut out shapes. Place each one on a baking sheet lined with parchment paper or prepared with cooking spray.
These cookies do NOT spread. The sides of the cookies will hold up solid and straight as they bake. That is what makes this sugar cookie dough recipe the absolute best for cut-out shapes for any holiday.
3 - Bake the Cookies
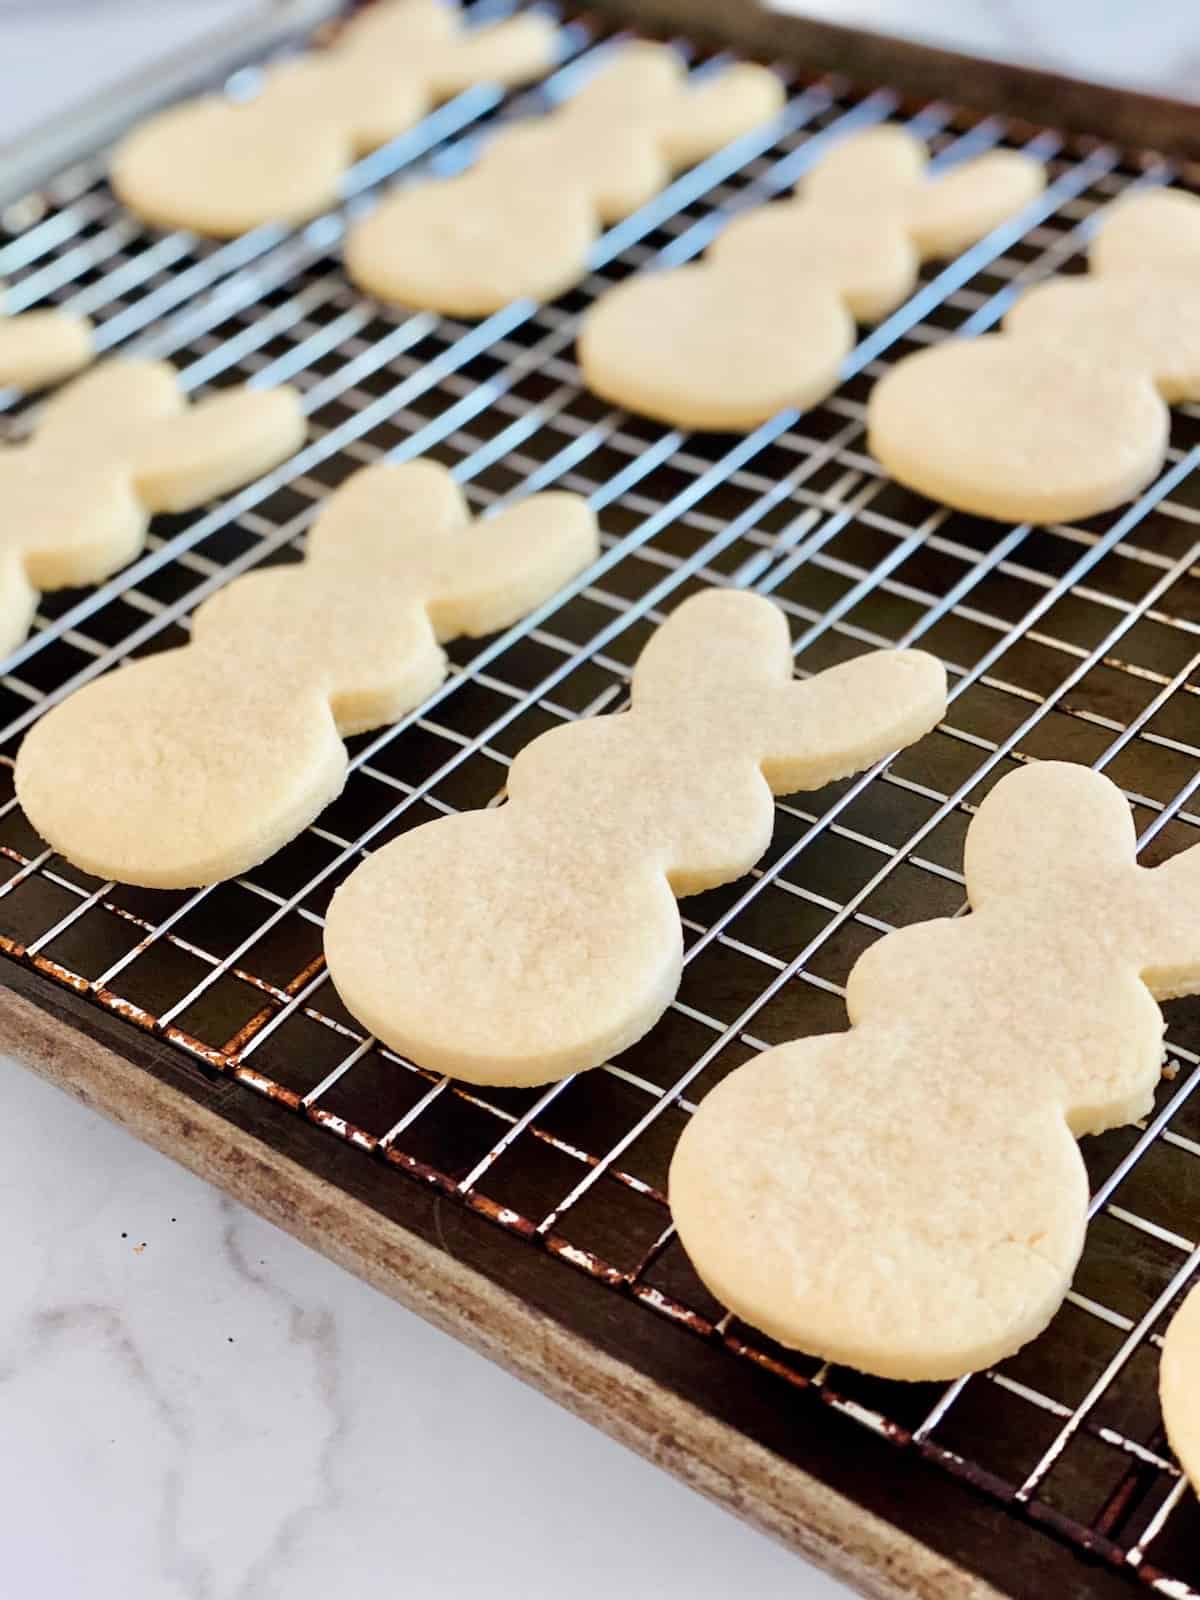
Bake the sugar cookie cut-outs in a preheated 350° oven for 8-10 minutes. Let them rest for 1 minute on the cookie sheet. Then carefully transfer them to a cooling rack using a spatula.
This is a white sugar cookie. They should not brown on the bottoms or edges. If they do start to darken, they have been cooked too long and may become dry.
4 - Cool
Let them cool for 30 minutes before topping them with homemade icing. The cookies will be set and once cooled will be soft and chewy on the inside.
Icing & Decorating Ideas
Once the cookies are cooled, you can mix up a batch of icing. The recipe used for these cookies is my EASY COOKIE ICING. It whisks together in minutes. This will be the sweet sticky base for adding all the colorful sweet decorations.
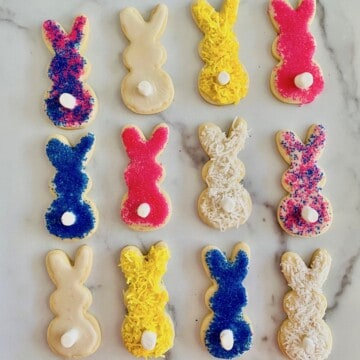
If you wish to add color to the coconut, add some of the shreds to a bowl. Squeeze in a few squeezes of gel food coloring and then mix. For these cookies, I used some yellow food coloring. I also left some coconut natural for a lovely pure white bunny rabbit look.
I also recommend colored sugar. This will give me a few bright and fun colors that are ideal for a spring or Easter cookie celebration.
Get creative and use a variety of colors and textures. In the "variations" section below are some more topping ideas.

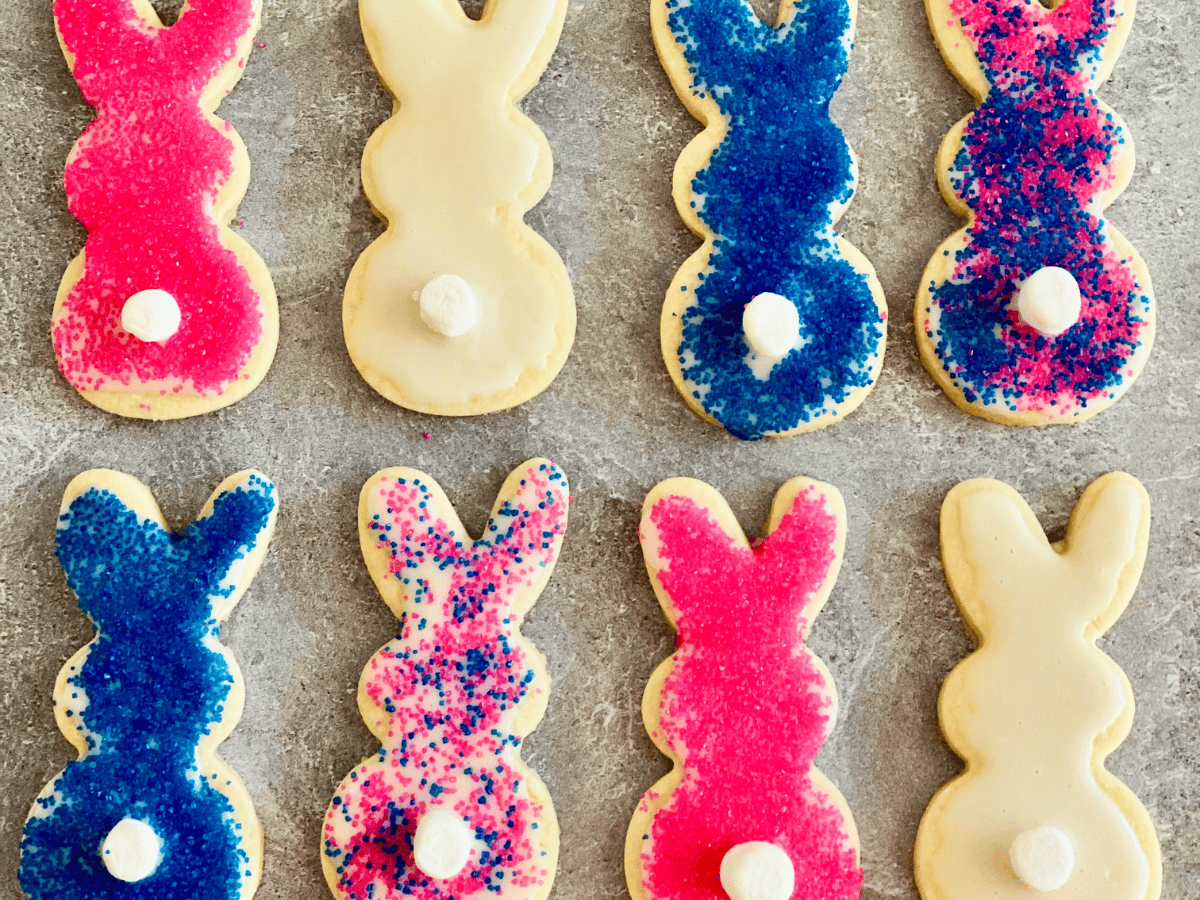
How to Decorate Cottontail Rabbit Cookies
The fun part of this recipe is decorating the bunny cut-out cookies into the cutest cottontail rabbit designs. Once you have all the ingredients ready and the icing made, it is time to start decorating.
You may be using Easter colors like pastel pink and yellow. Or you may have a party with a theme that is using a different color like green or orange, any fun color is great for these rabbit cookies.
Begin by spooning on or dipping a cooking into the icing. Do not put on too much. You want a thin layer on the cookie and you do not want it to drip down the sides. You can wipe away any excess.
Next, add a mini marshmallow in the middle of the bottom section of the bunny shape. The icing should hold this in place while you continue decorating.
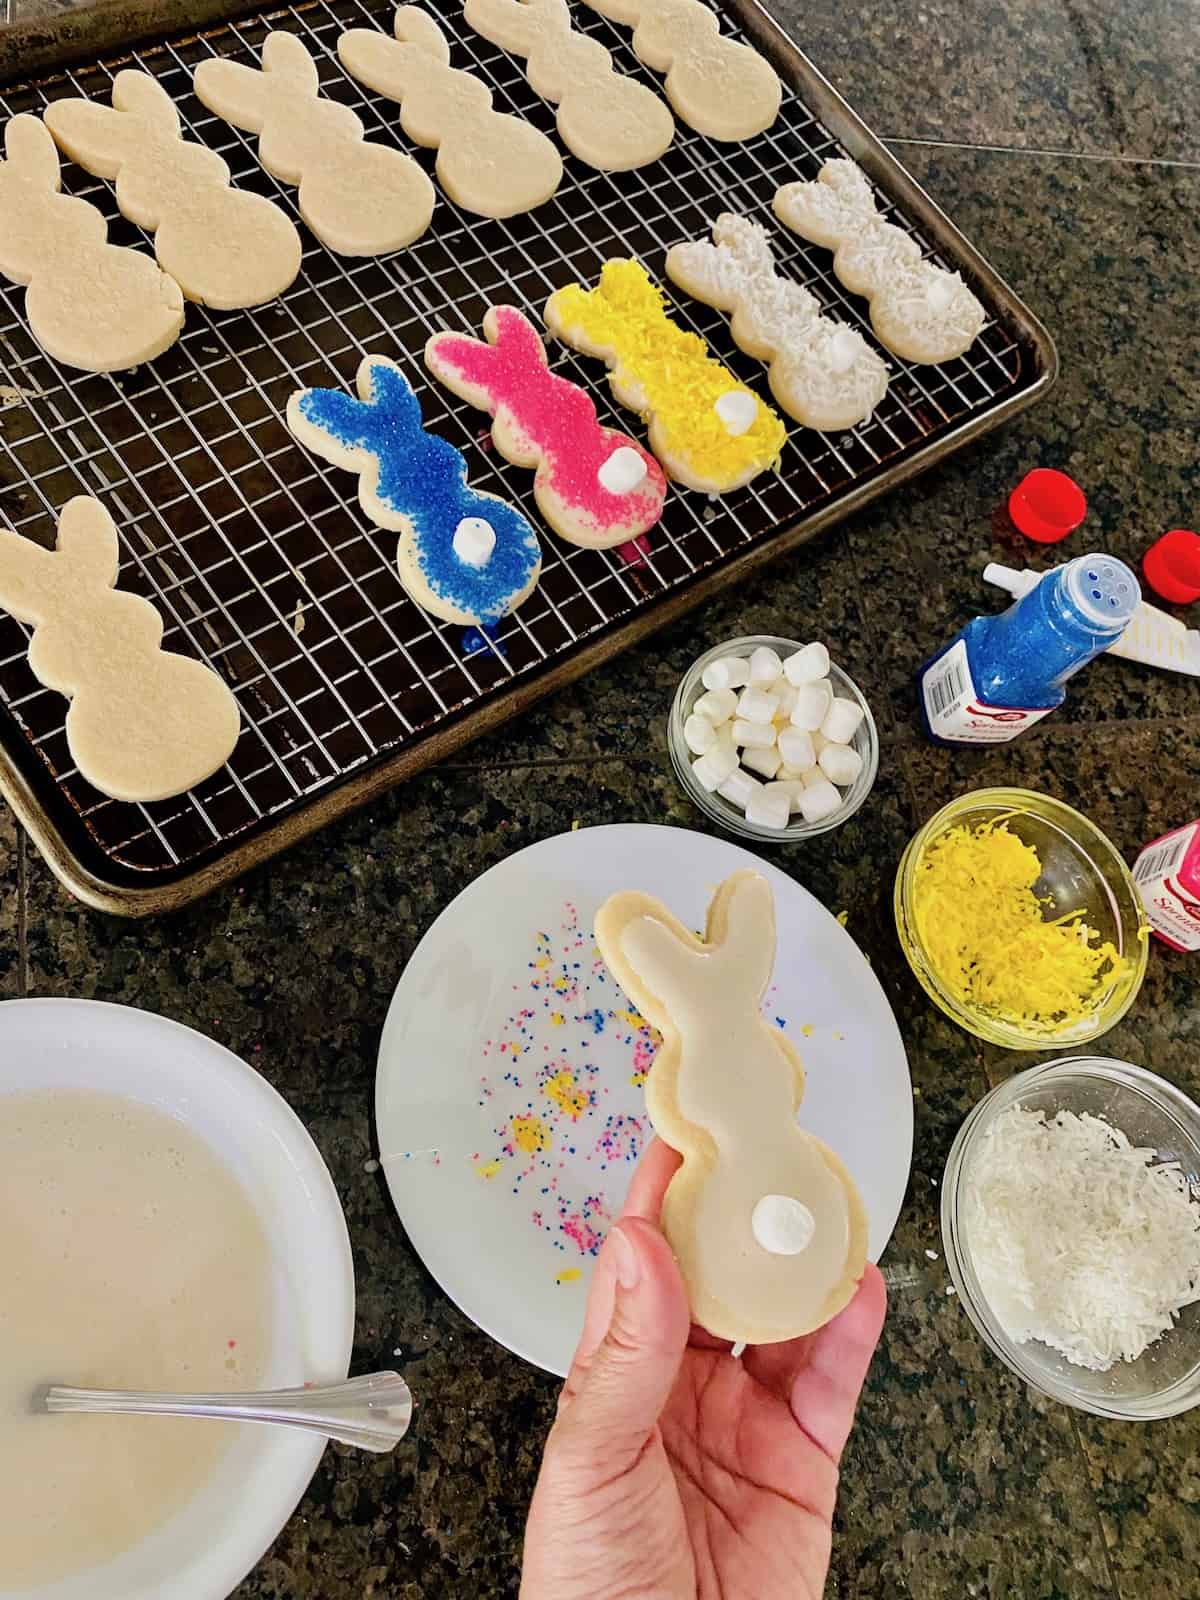
This is the messy but fun part. I like to hold the cookie over a plate so that all the excess falls and collects there versus on my counter or the other cookies. Once the marshmallow cottontail is in place, now comes the shredded coconut or sugar sprinkles.
Sprinkle the coconut or sugar over the rest of the bunny. Workaround the marshmallow and try and cover as much of the icing as possible. Tap off or gently brush off any excess sugar or coconut.

Place the cookie back on the wire rack. After 30 minutes, the icing will harden and the toppings will remain on the cookie. If you have any with just the icing, you will notice it is firm to the touch and a bit shiny. You can tip the decorated cookies over and everything will stay on!
Here are other variations for this cookie:
- Icing - You can also use frosting instead of icing. It will be softer and you will not be able to stack the cookies but it is still yummy.
- Coloring Icing - you can add gel food coloring to the icing recipe if you wish to have some without coconut or sprinkles. The icing sets hard and is shiny so it will be pretty even without some toppings.
- Sprinkles - you can use colored sprinkles along or in place of the coconut or sugar. Nonpareils will work best and are also the star of my recipe for Sprinkle Sugar Cookies. They are the small round rainbow sprinkles also found in shakers at the store like the colored sugar.
- Marshmallows - you can use colored mini marshmallows for the bunny tails on these cookies. Find the pastel-colored ones that sometimes hit stores in the spring.
You can use this recipe to make just about any shaped cookie for holidays and parties. Try some of these funny & tasty ideas.
- Butterflies with icing and marshmallow spots and spirals of colors on the wings
- Birds with feathery coconut design
Equipment
This cookie recipe requires a few things to ensure it comes outright. Besides the bunny-shaped cookie cutters, you will need the hand mixer, baking sheets, and mixing bowls. The sugar, coconut, and icing ingredients are also important to make this holiday cookie. Here are some of my favorites and recommended items to make this recipe.


The Short Order Cook is a participant in the Amazon Services LLC Associates Program. As an Amazon Associate, I earn from qualifying purchases. If you click on a link and make a purchase, I may earn a small commission on the sale at no additional cost to you. This helps with the costs of running the blog. Thank you!
Storing & Freezing
Thanks to the amazing cookie icing that hardens, these Easter bunny cookies are easy to store and stack. The cookies can be stored for up to 3 days on the counter in an air-tight container.
These cookies also freeze well, before decorating. You can freeze the dough and use it later. You can also bake the cookies and freeze them to frost and enjoy them later.
To freeze baked cookies, stack them between sheets of parchment paper in an air-tight container. Store the baked sugar cookies in the freezer for up to 30 days.
To defrost frozen cookies, thaw them in the refrigerator overnight. Once defrosted, you can add the icing and decorate. Enjoy within 2 days for the freshest cookie taste.
Other Easter Recipes
If you are celebrating Easter with a meal with family and friends, here are some recipes you will love. Ham is typically the start of the Easter menu so make sure you know how much ham to make per person.
Bunny Rabbit Easter Cookies
Equipment
- hand mixer
- bunny cookie cutter
- Baking Sheets
Ingredients
- 1 cup salted butter softened
- 1 cup granulated sugar
- 1 egg room temperature
- 1 tablespoon vanilla extract
- 2 teaspoon baking powder
- 3 cups all-purpose flour
- mini marshmallows
- 1 cup shredded coconut
- gel food coloring
- colored sugar sprinkles
Instructions
- Preheat the oven to 350°. Once your butter and egg is room temperature you can begin mixing the cookie dough
- In the large mixing bowl, cream together the softened butter with the sugar. Use a hand mixer on medium speed to combine the two ingredients. Scrape the sides of the bowl when done mixing.
- To the creamed mixture, add the egg and the vanilla. Using the hand mixer, combine all the ingredients for 30 seconds on medium speed. Scrape down the sides of the bowl and be sure all the wet ingredients are combined evenly.
- Once all the wet ingredients are combined it is time to add the dry ingredients. Add the baking powder and 1 cup of flour. Mix on low to medium speed for 30 seconds to combine. Scrape down the sides of the bowl and add another cup of flour. Mix again for 30 seconds. Repeat with the final cup of flour.
- Do NOT overmix the dough or it will get tough. The dough will be crumbly. I should resemble large grains of sand as seen above.Once the dough is done mixing, use your hands to gather about ¼ or ⅓ of the dough together. Your warm hands will help the butter continue to soften and bring the cookie dough together.
- This dough DOES NOT need to refrigerate. You can begin rolling, cutting, and baking right away.Roll into a large ball and flatten it on a lightly floured cutting board or your clean counter.
- Lightly flour your rolling pin and roll out the dough until it is ½" thick. Using the bunny-shaped cookie cutters, cut out shapes. Place each one on a baking sheet lined with parchment paper or prepared with cooking spray.
- Bake at 350° for 8-10 minutes. These cookies do not spread, nor do they brown. They will still be white when done cooking. If they are brown on the edge of the bottom they have been cooked too long - see image above.
- Let the cookies rest on the baking sheet for one minute after removing them from the oven. Then use a spatula to move them to a wire rack for cooling.
- Cool the cookies for 30 minutes on a wire rack.
- Make the Easy Cookie Icing. See link above. Add food coloring to coconut if you wish to have pink, yellow, or some other fun Easter color.
Decorating the Cookies
- Begin by spooning on a bit of the icing and spreading it around the top of a cookie. Next, add a mini marshmallow in the middle of the bottom section of the bunny shape.
- I like to hold the cookie over a plate so that all the excess falls and collect there versus on my counter or the other cookies. Once the marshmallow cottontail is in place, now comes the coconut or sugar.Sprinkle on the coconut or sugar over the rest of the bunny. Work around the marshmallow and try and cover as much of the icing as possible Tap off or gently brush off any excess sugar or coconut.
- Place the cookie back on the wire rack. After 30 minutes, the icing will harden and the toppings will remain on the cookie. You can tip them over and everything will stay on!
Notes
- Bake cookies and store for up to 3 days without the frosting. Place in a cool dry place such as the pantry or cupboard.
- For frosted/decorated cookies, store in a single layer on a plate and cover with plastic wrap or foil. Store in the refrigerator for up to 3 days. Enjoy chilled or let it sit out at room temperature for 10 minutes before enjoying.
Leave a Reply