
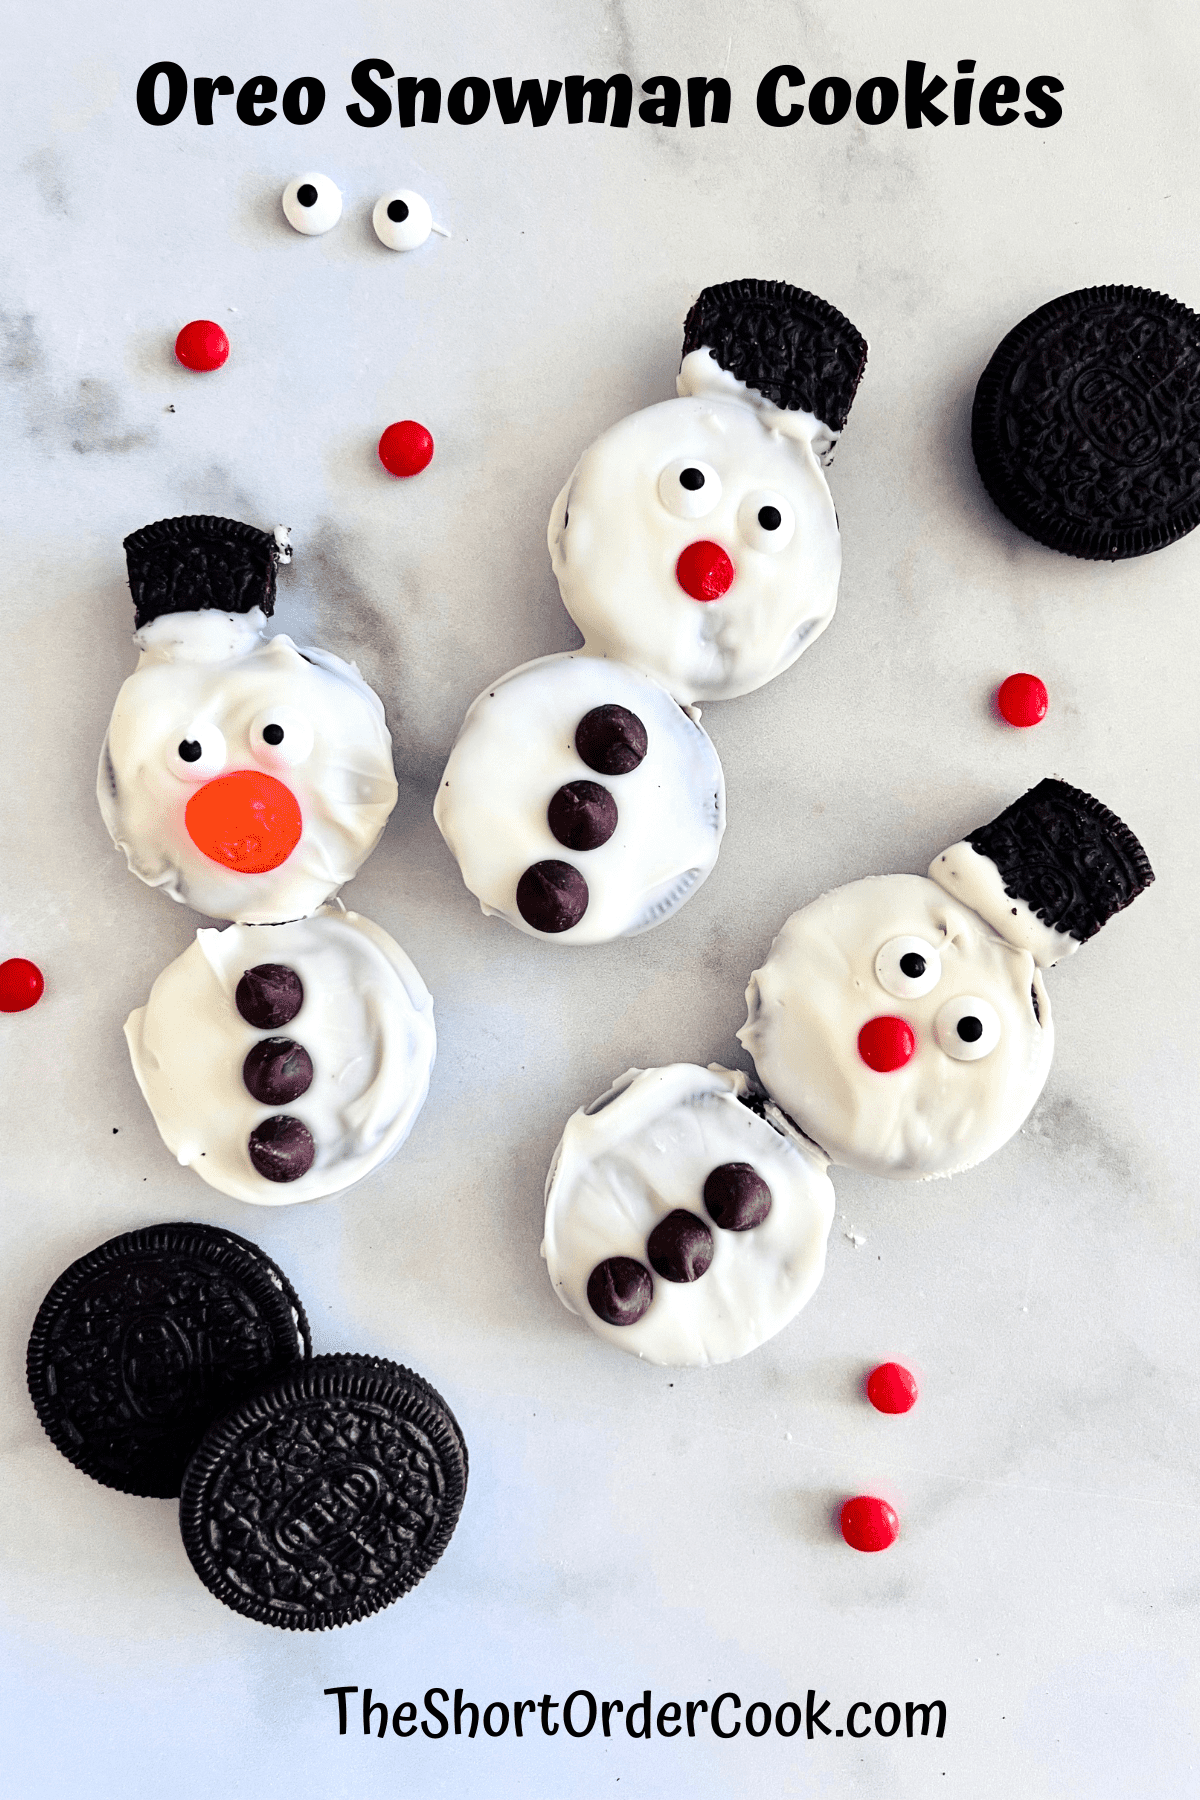
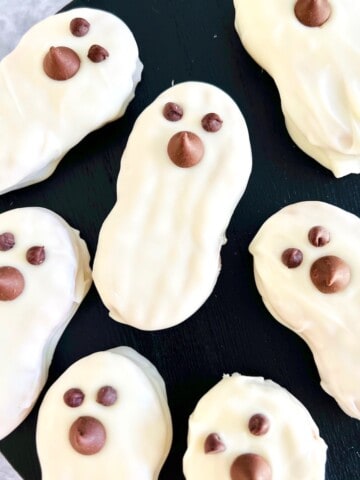
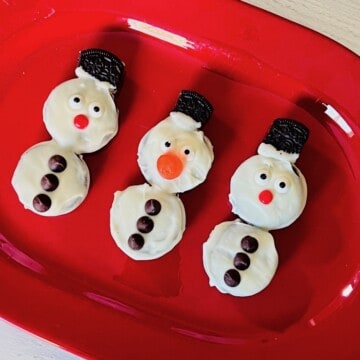
Have some holiday fun making these cute Oreo Snowman Cookies. This easy no-bake recipe is all about decorating these cute little guys - and gals. It's the best Christmas cookie you can make in under 10 minutes. These lovable snowman cookies are chocolatey, creamy, & irresistible.
These are not just snowman faces. You get both a body and head for these darling snowmen. Just a few ingredients and 5 minutes, and these Frosty the Snowman cookies using Oreos come together. Use your favorite candies, cookies, & more to
Snowman cookies are wonderful to make when the weather is cold outside and winter arrives. These adorable cookies designed to look like Frosty the Snowman are perfect for Christmas. Make some cocoa & have the ultimate holiday combination.
This is a great homemade dessert to make for Christmas gifts. Decorate some of these and add them to a goodie box with my Old-Fashioned Peanut Butter Balls & Homemade Buttery Toffee for 3 amazing holiday edible gifts.
Jump to:
Ingredients for No-Bake Snowman Cookies
Here are some of the ingredients needed to make these snowman treats. The cookie base is made with Oreos. So if you find yourself with lots of Oreos, this recipe is for you.
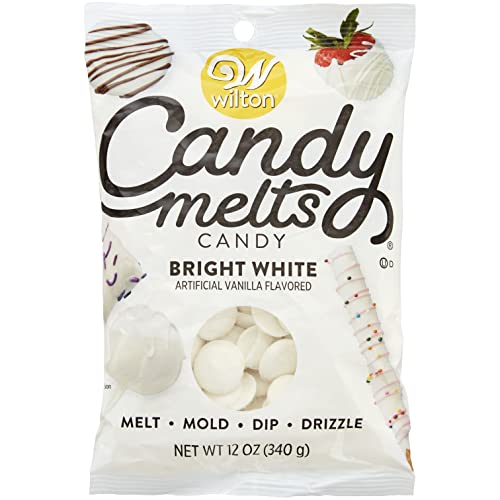
White vanilla melting wafers are ideal for dipping and coating sandwich cookies. It melts smooth and creamy. It is easy to work with and more forgiving than white chocolate.
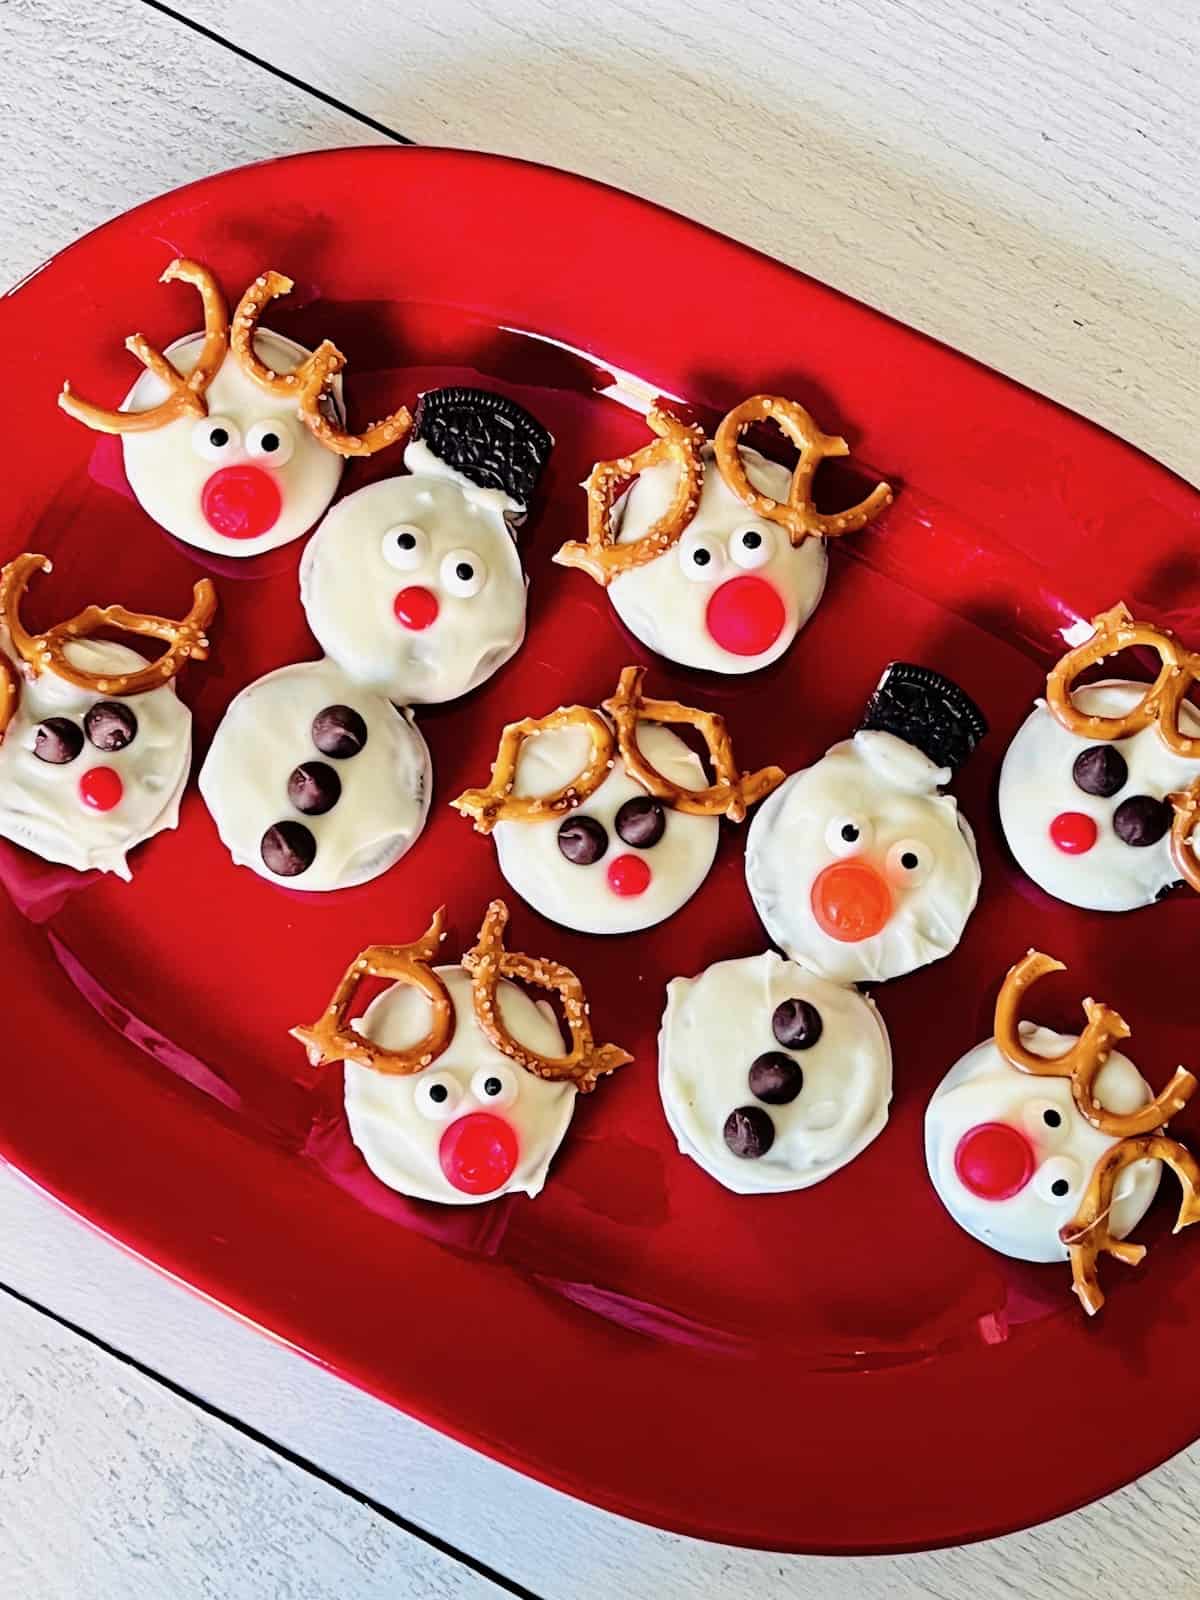
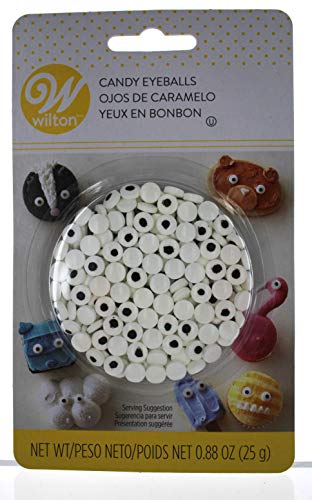
Use a combination of your favorite candies to decorate. I like to use gumdrops or red hot candies for the nose. Wilton's candy eyes are fun. If you want buttons, chocolate chips are great. Also fun stick arms with pretzels. Anything goes and it all tastes so yummy!
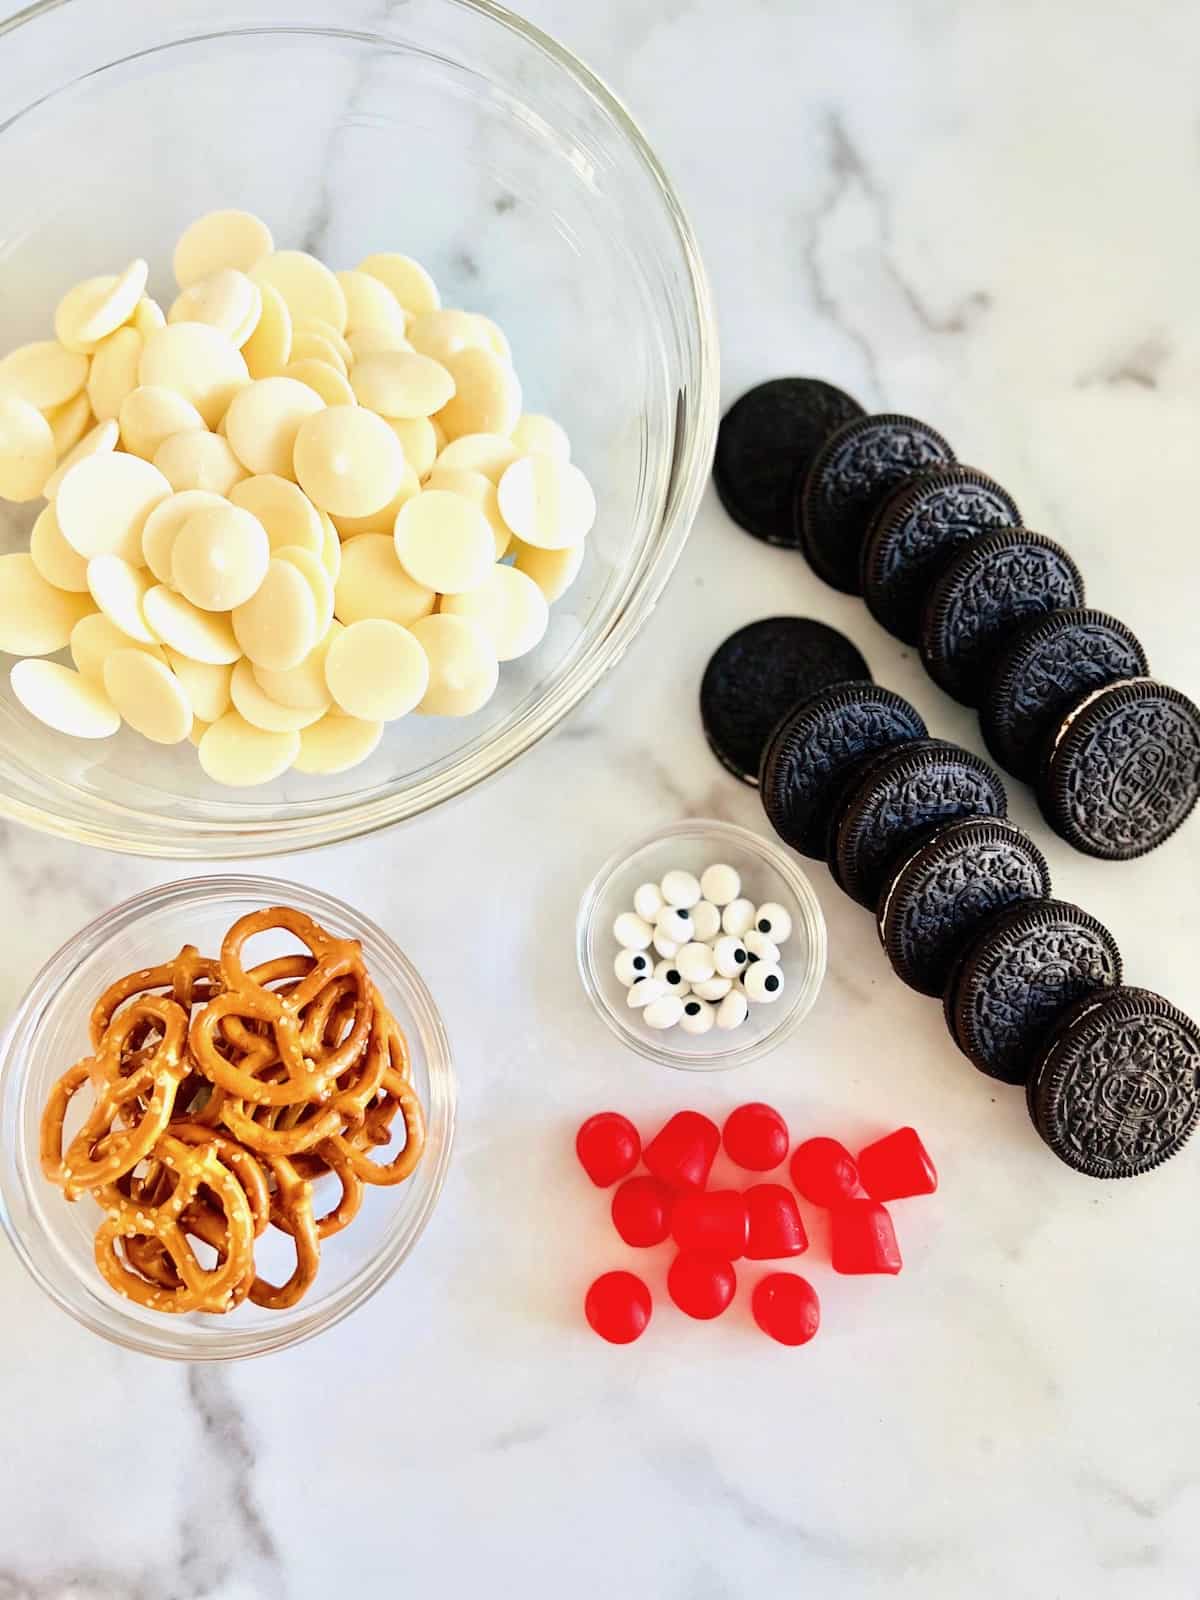
- Oreo Sandwich Cookies
- White Vanilla Melting Wafers
- Red or Orange Gum Drops
- Candy Eyeballs
- Chocolate Chips
- Cinnamon Candies - optional nose
- Pretzels - optional for arms or hats
See the recipe card for quantities.
How to Make These Cookies
Begin by gathering all your ingredients so that once you get started you can decorate quickly. Here are the step-by-step instructions for this recipe.
To a microwave-safe medium bowl add the vanilla candy wafers. They melt fast and easily in the microwave so no double-boiler on the stove is needed. Microwave on high for 30 seconds. Stir.
Continue to microwave in 30-second intervals with stirring each time. Once it is completely smooth after stirring, it is ready to begin dipping. Mine took 2 minutes to almost melted but once I stirred and distributed the heat the last few melted for total smoothness.
How to Decorate the Oreos
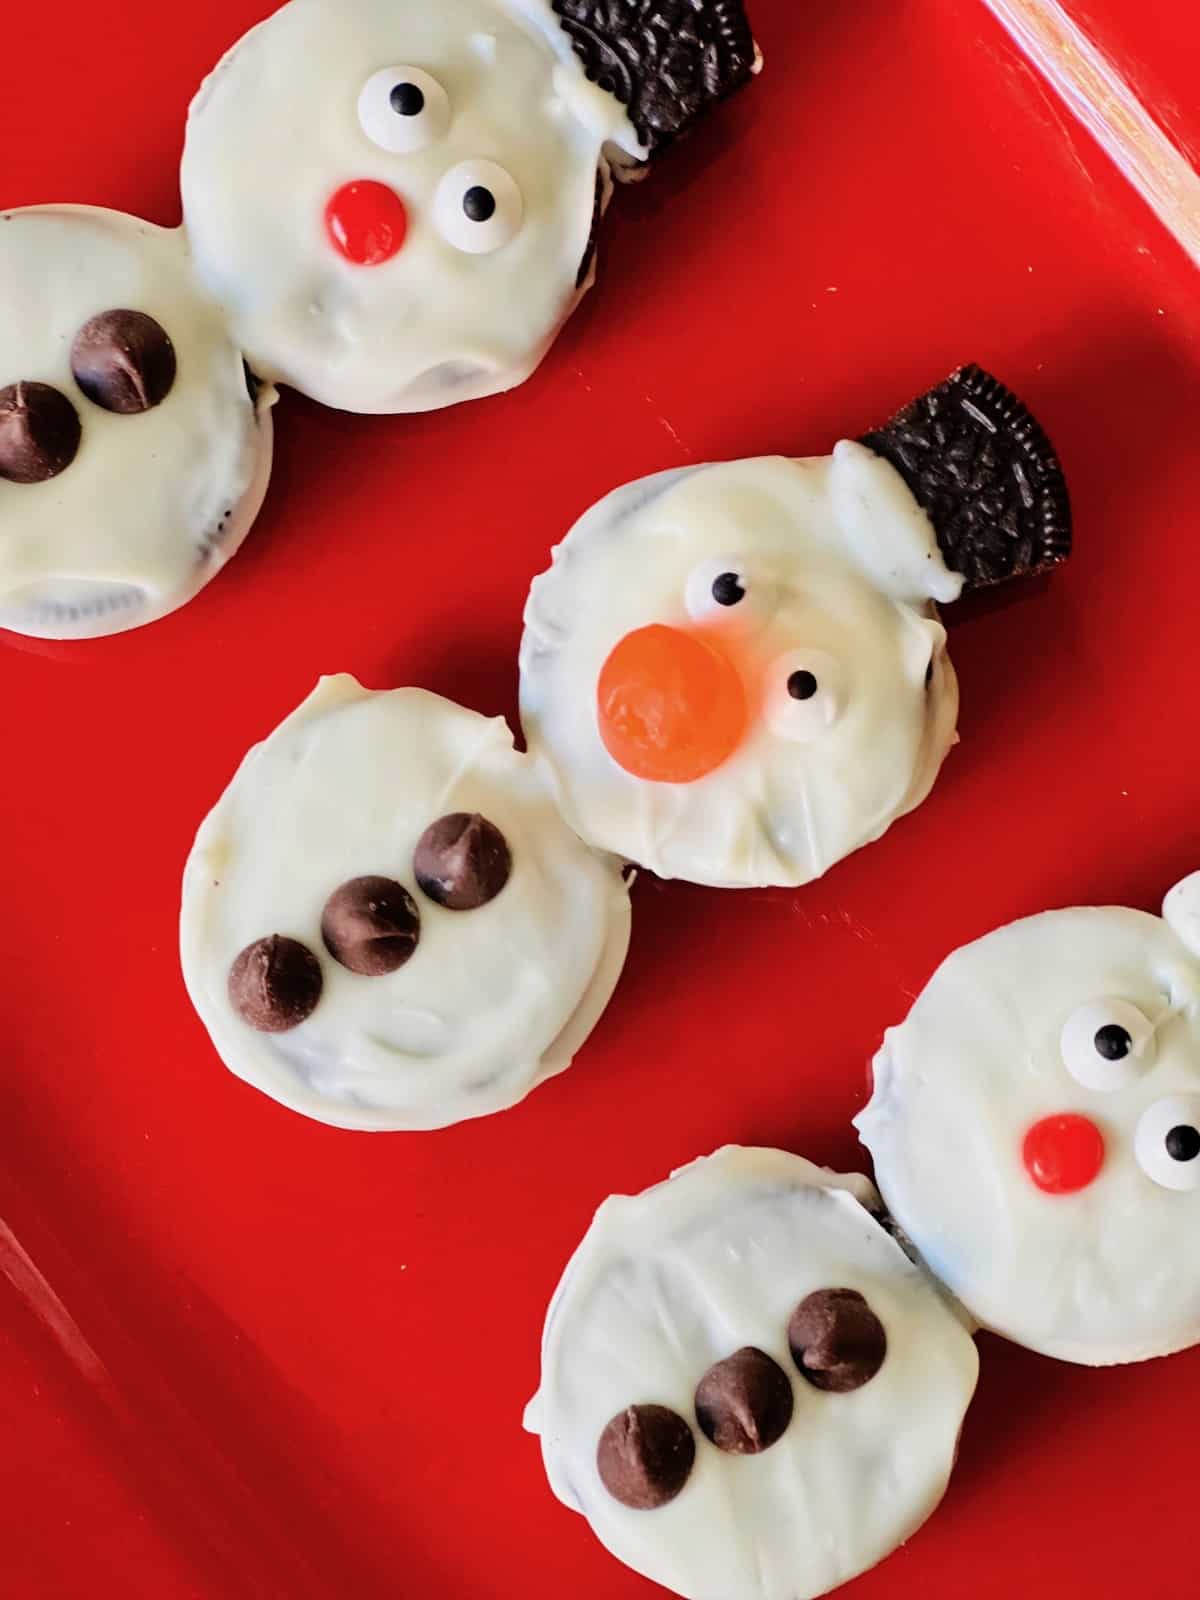
Now for the fun part. Get ready to dip those Oreos. Once they are candy-coated it is time to garnish them with faces and attire. All are edible, darling, & festive.

Dip two cookies into the melted candy coating. Place them on parchment paper touching so they can stick together and form the body and head of the snowman.
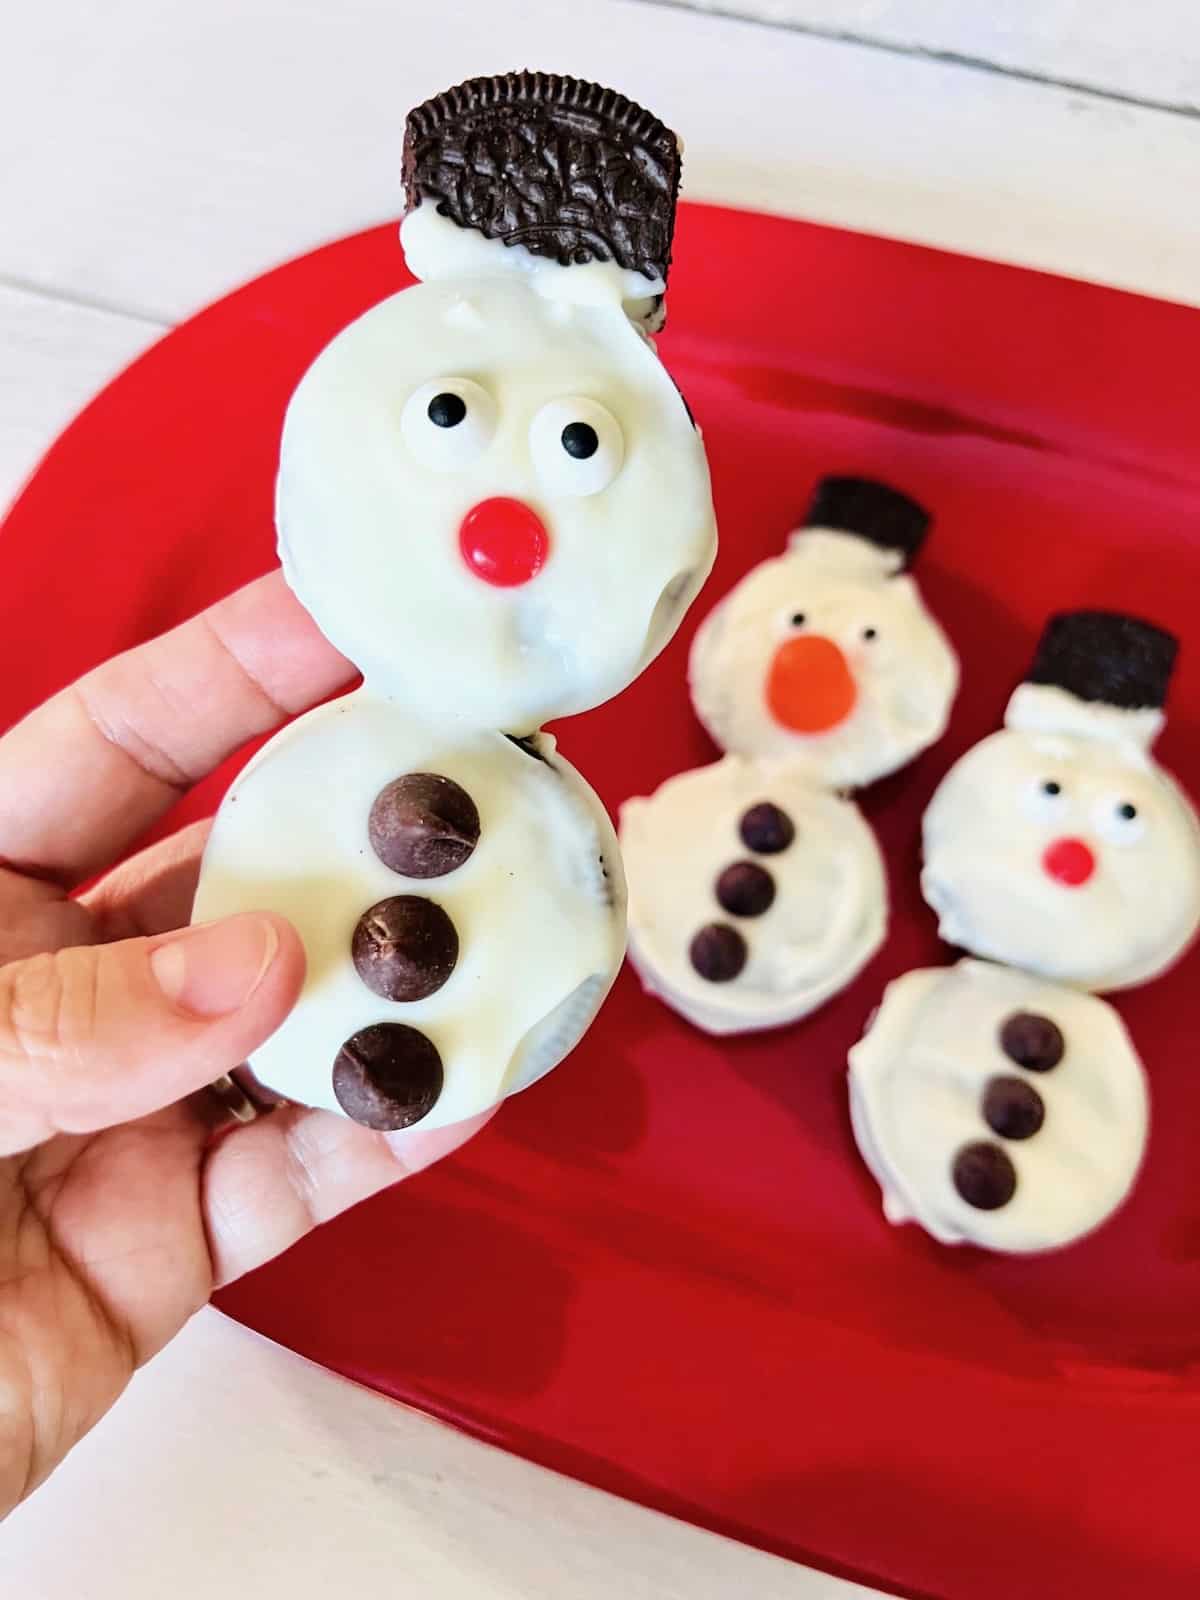
Add chocolate chip buttons, gumdrop or cinnamon candy noses, and candy eyeballs. Break an Oreo for a square top hat.
This recipe will take 10 Oreo cookies to make 5 snowmen. The other two cookies are used as the top hats.
The cookies will take 5-10 minutes to set and harden. Once they are ready they can be moved to a platter to serve. Enjoy!
Hint: keep them in a single layer so the decorations do not fall off or get smashed.
Substitutions
These cookies are vegetarian-friendly and nut-free. They are not vegan or dairy-free. However, they can be made gluten-free very easily with a simple Oreo cookie replacement.
- Gluten-Free - use Nabisco's gluten-free Oreos instead for gluten-free snowman holiday cookies.
- Melting Wafers - you can also use white chocolate or almond bark.
Variations
The beauty of cookie decorating is to have fun and get inspired. There is no wrong way to make this recipe. Get your favorite candy, sprinkles, frostings, & snacks to design unique snowman & snowwoman cookies.
- Oreo Cookies - instead of the classic chocolate sandwich cookies, use Golden Oreos or Trader Joe's Joe-Joe Cookies
- Deluxe - add pretzels for stick arms & thin rope licorice for a snowman scarf
- Cookie Frosting - use squeezable cookie frostings with a thin tip to add curly hair, smiles, & other fun designs.
These fun ingredients are also used in my Rudolph the Red-Nosed Reindeer Cookies. So make both for double the Christmas cookie decorating fun!
Equipment
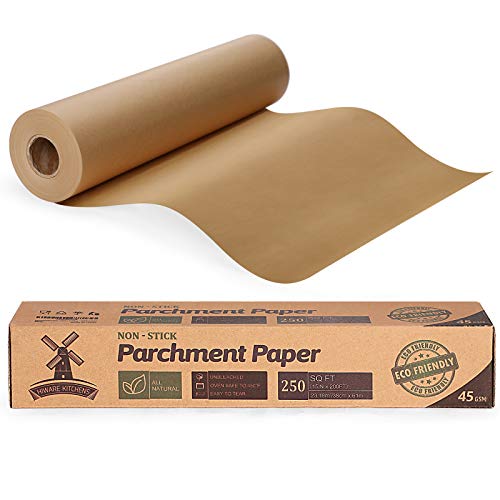
You will need a microwave-safe bowl, parchment paper, and candies to make these cookies. Here is what is recommended to ensure this recipe is easy to make and turns out pretty & tasty.

The Short Order Cook is a participant in the Amazon Services LLC Associates Program. As an Amazon Associate, I earn from qualifying purchases. If you click on a link and make a purchase, I may earn a small commission on the sale at no additional cost to you. This helps with the costs of running the blog. Thank you! Â
Storage
These are great make-ahead Christmas or winter cookies. Once they are dipped and decorated, they can be stored for up to 3 weeks in an air-tight container. Make sure they are stored in a single layer so the decorations are not disturbed. Store them in a cool & dry place, away from heat and light so they do not soften or melt.
If you want to freeze these cookies, they can be frozen for up to 3 months. Place in an air-tight container in a single layer. You can use parchment paper within each layer after you flash freeze them. Otherwise, I do not suggest stacking them to store. Make sure to use freezer-safe labels to keep track of items and dates.
Top tip
Since the candy coating hardens as it cools, it is important to work quickly. I like setting up an assembly line with all the candies and decorating ingredients ready to go. I will usually dip the cookies and place them down on the parchment and let others decorate.
Get friends and family involved. Have a fun snowman decorating contest. Each person can decorate their own. It is fun to try and make them after other famous characters, celebrities, or a look-a-like of yourself. Examples: add a cape & glasses for a Superman Snowman or use green candy melt to make Grogu or the Hulk.

FAQ
Yes, you can freeze this candy-coated Oreo cookie recipe. Oreos all by themselves can be frozen if you want to decorate them later.
Once these are decorated the combination of ingredients may hold up well to freezing and defrosting. All of the ingredients - Oreos, candy-coating, gumdrops. and chocolate chips freeze well. See above for freezing instructions!
Melting wafers are so easy to use. They tend to melt easier and smoother than white chocolate. They also do not seize up or harden like white chocolate can so quickly.
However, if you want to use white chocolate instead, that substitution is ok. Work quickly and melt it carefully. The snowman will still be white, bright, & yummy.
If Oreos are not your thing, any other basic cookie that is round will work. Some store-bought cookies that can be a substitute include Nilla Wafers or ginger snaps.
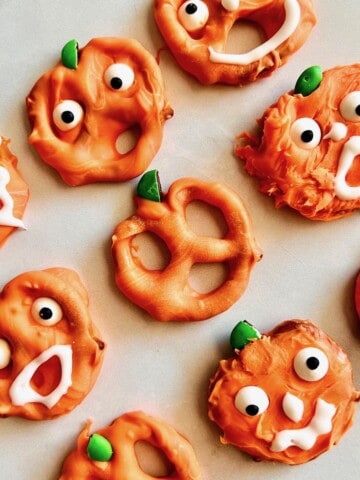
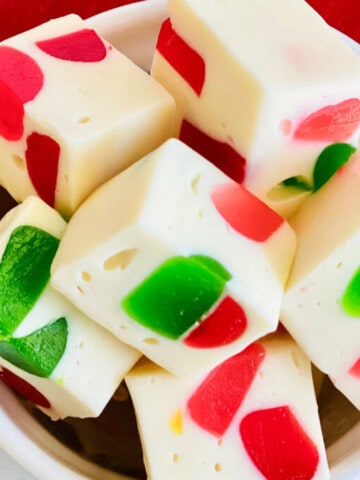
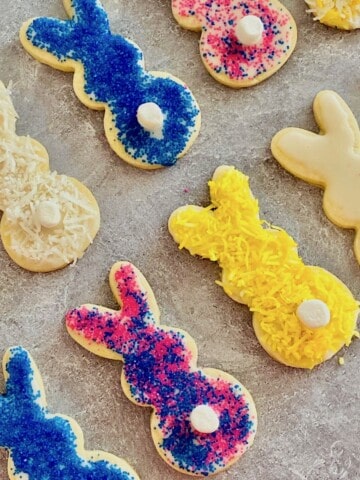
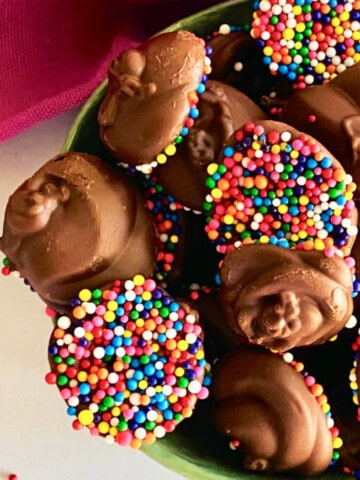
More Kid-Friendly Holiday Treats
These are fun for holidays throughout the year. Bake and make these recipes with your kids for Easter, Thanksgiving, or Christmas. They are easy, festive, & tasty.
Oreo Snowman Cookies
Equipment
- Parchment Paper
Ingredients
- 12 Oreo cookies
- 8 ounces Vanilla candy wafer melts
- 24 candy eyeballs
- 12 cinnamon red hot candies/red gumdrops
- 36 chocolate chips
- pretzels optionals
Instructions
- Gather all the ingredients needed to make and decorate the cookies.
- Line a baking sheet with parchment paper.
- In a microwave-safe medium bowl add the vanilla candy wafers. Microwave on high for 30 seconds. Stir.Continue to microwave in 30-second intervals with stirring each time. Once it is completely smooth after stirring, it is ready to begin dipping. 1 ½ - 2 minutes is average.
- Dip each cookie into the melted wafers. Coat all sides and edges. Once coated, place on the parchment paper. Dip another cookie and place that so it is touching the other cookie. This will make the body and head of the snowman. Before it sets and cools, decorate.
- Once two cookies are dipped, decorate immediately. If you wait too long the candy will harden and not hold the candies. Add two candy eyeballs and a gumdrop or cinnamon candy for a nose to one cookie. On the other add 3 chocolate chips for buttons down the center of the cookie. Break one of the cookies into 2-3 pieces to make a square piece for the top hat. Decorate with other candies or ingredients if you want to do a variety or different styles.
- Continue dipping, connecting, and decorating the cookies together. Space each set of cookies apart as you place them on the parchment. This will make 5 snowmen.
- Let them set and cool for 5-10 minutes until they are firm.
- Arrange on a cookie platter and enjoy.
- Store as directed above.
Leave a Reply