
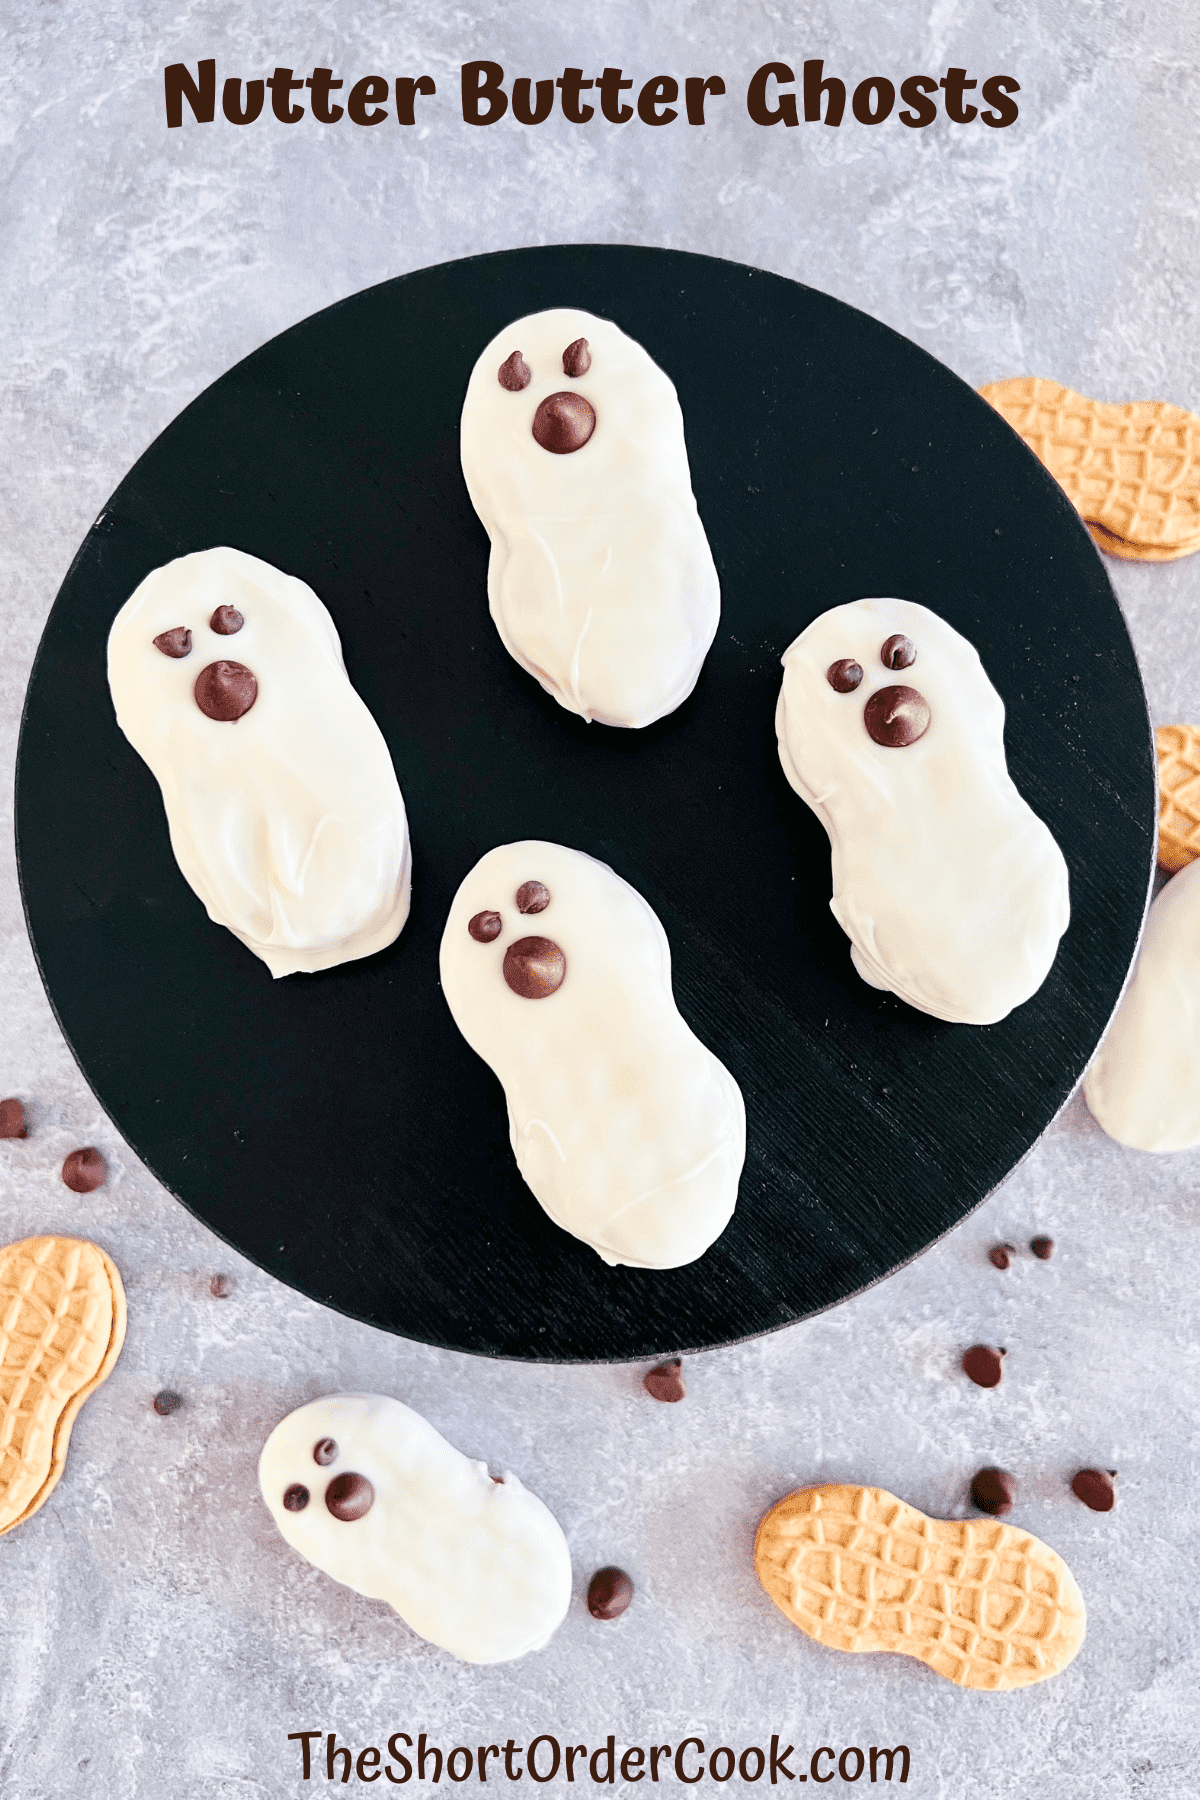
One of the best Halloween desserts are these easy Nutter Butter Ghosts. These spooky, scary, & silly cookies are fun to make and even more fun to eat. They are creamy, crunchy, & nutty.

Why this Nutter Butter Ghost Recipe is Amazing: These no-bake treats are only 4 ingredients & perfect for costume parties, potlucks, & any function you want a ghoulish phantom vibe.
Kids and adults of all ages will gobble these up. Be warned that if the kids are helping make these, they will eat some right away. Who can blame them, taste testing is important & I am all for it!

This was inspired by my Halloween Spider Nutter Butter Cookie recipe. Along with some no-bake Witch Hat Cookies, the holiday has never been more eerie. Ok, now let's have some fun!
Jump to:
Ingredients
This fun Halloween cookie recipe only needs 4 ingredients. This no-bake recipe uses a store-bought peanut butter classic cookie, Nutter Butters. Then it's all about items for making them look like little ghosts.
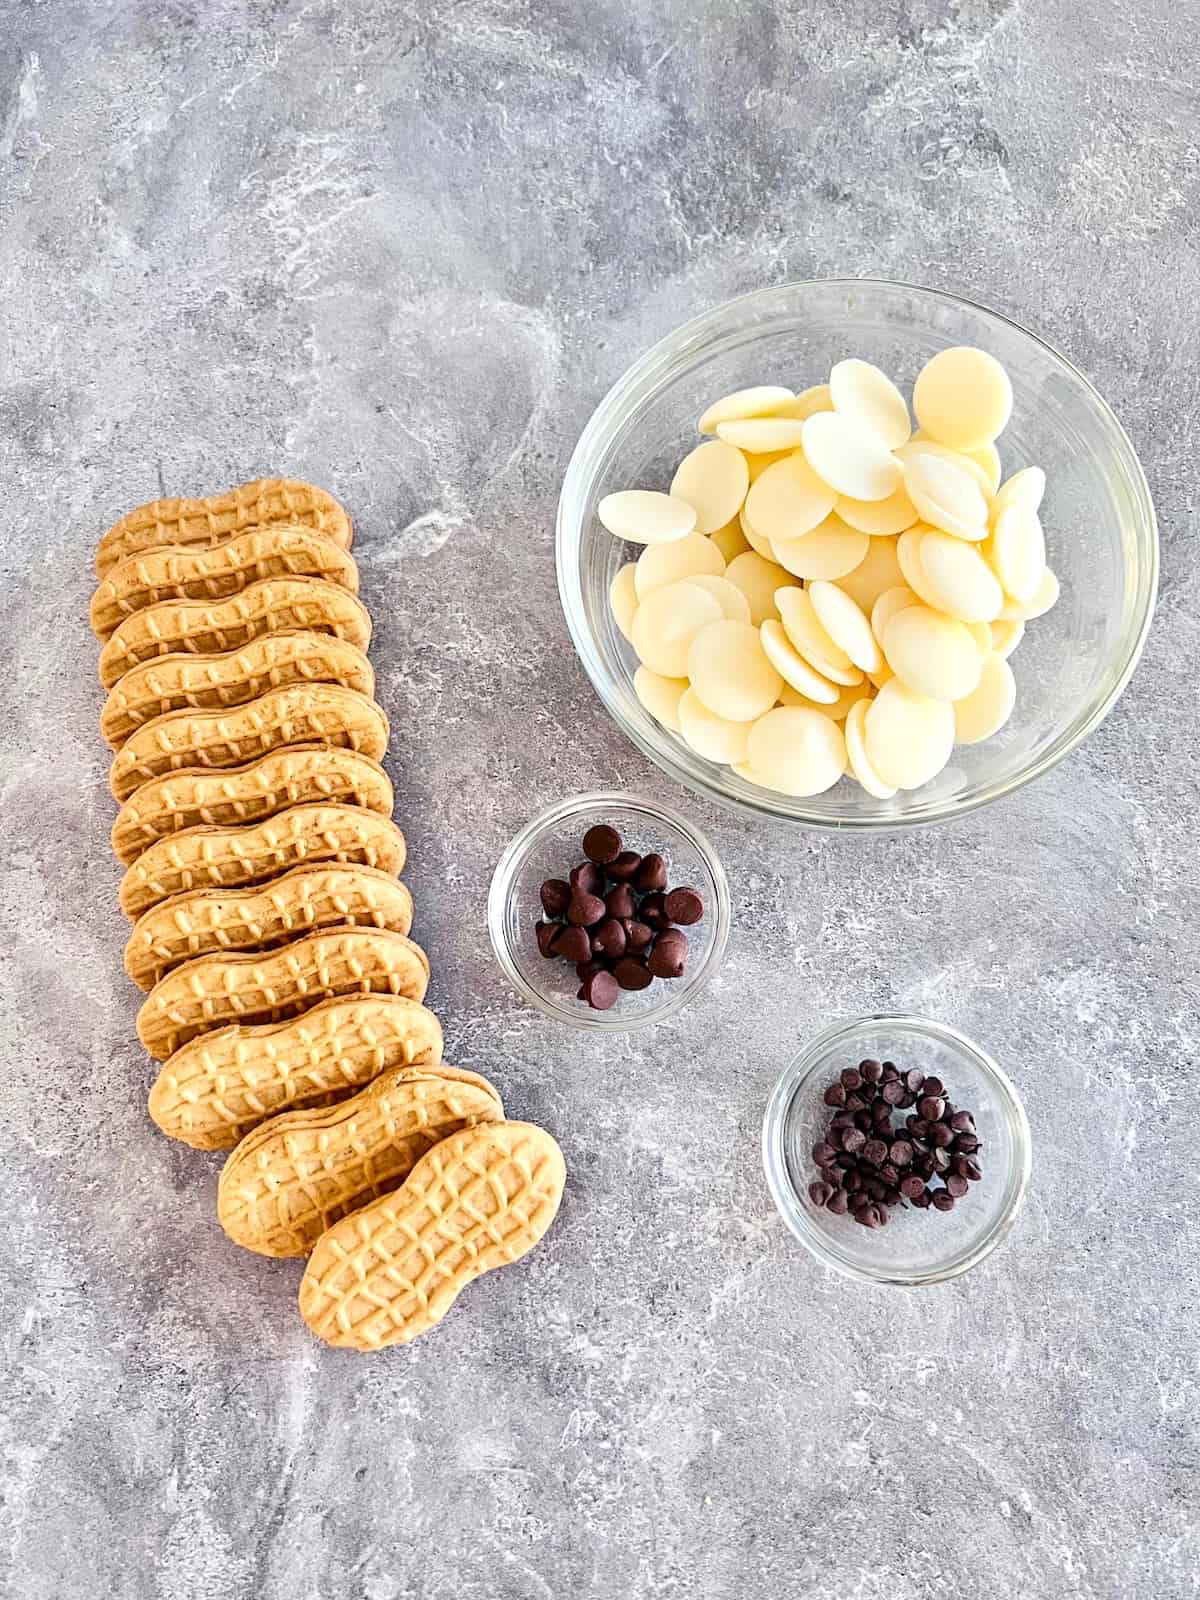
- White Candy Melts - this will give the ghosts the classic white color without using chocolate (almond bark is a good substitute too)
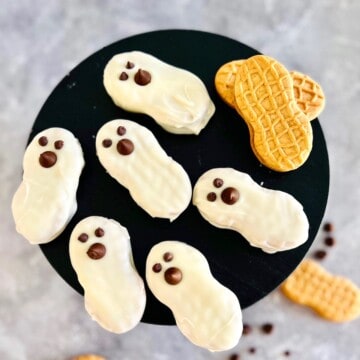
- Nutter Butter Cookies - the peanut cookie makes for the haunting shape.
- Semi-Sweet Chocolate Chips - decorating the face & the BOO-tiful expressions.
- Mini Chocolate Chips - perfect for tiny eyes.
See the recipe card for quantities.
How to Make Nutter Butter Ghosts
The classic crispy peanut-shaped cookies are drenched in vanilla-flavored candy coating for a sweet combination no one can resist.
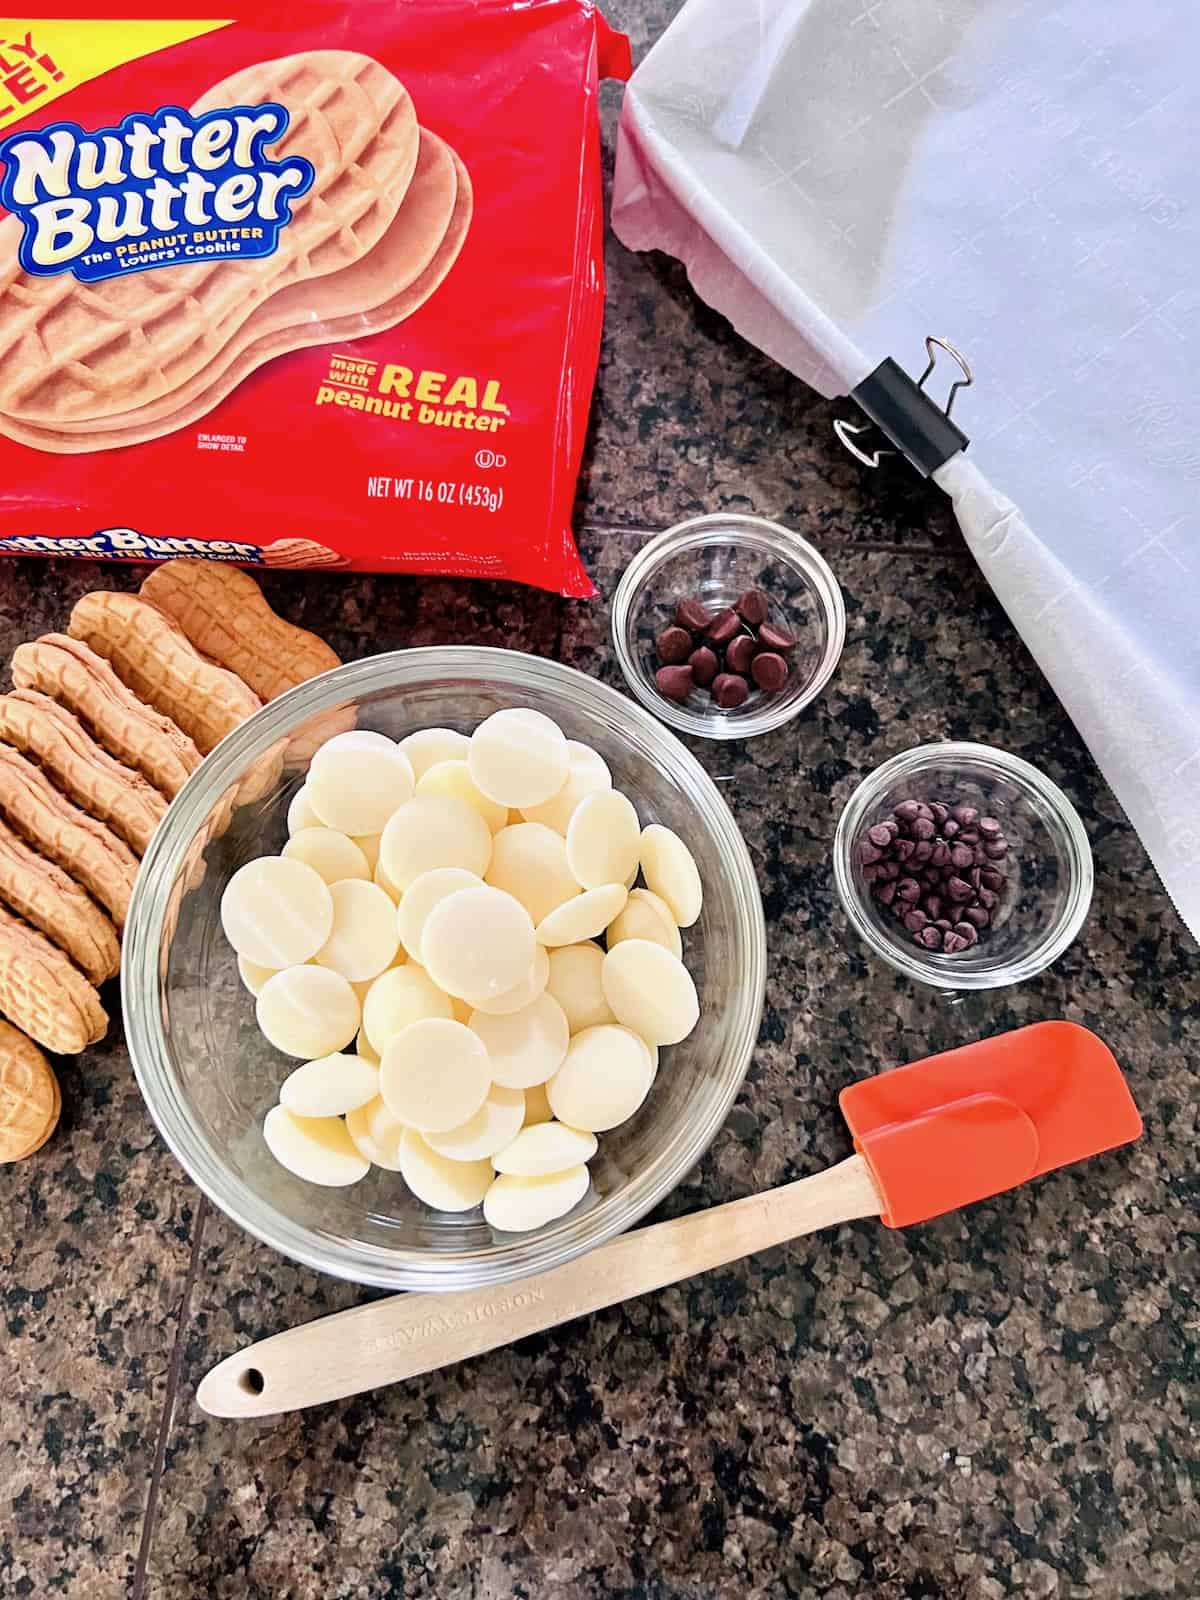
Begin this recipe by gathering all the ingredients. Next, prepare a baking sheet by lining it with parchment paper. I like to hold the parchment down using binder clips as shown below.
Here are the easy steps for making this recipe:
- Melt the White Candy
- Dip & Decorate
- Cool & Set
See the step-by-step instructions with photos below plus the recipe card at the end of the post.
1 - Melt the White Candy
In a microwave-safe glass bowl add the white melting wafers. Place the bowl of candy melts in the microwave.
Microwave in 30-second intervals, stirring with a rubber spatula between each cook time. Each microwave will vary but it only took 3 intervals, 1 and ½ minutes, for mine to be melted and smooth after stirring.
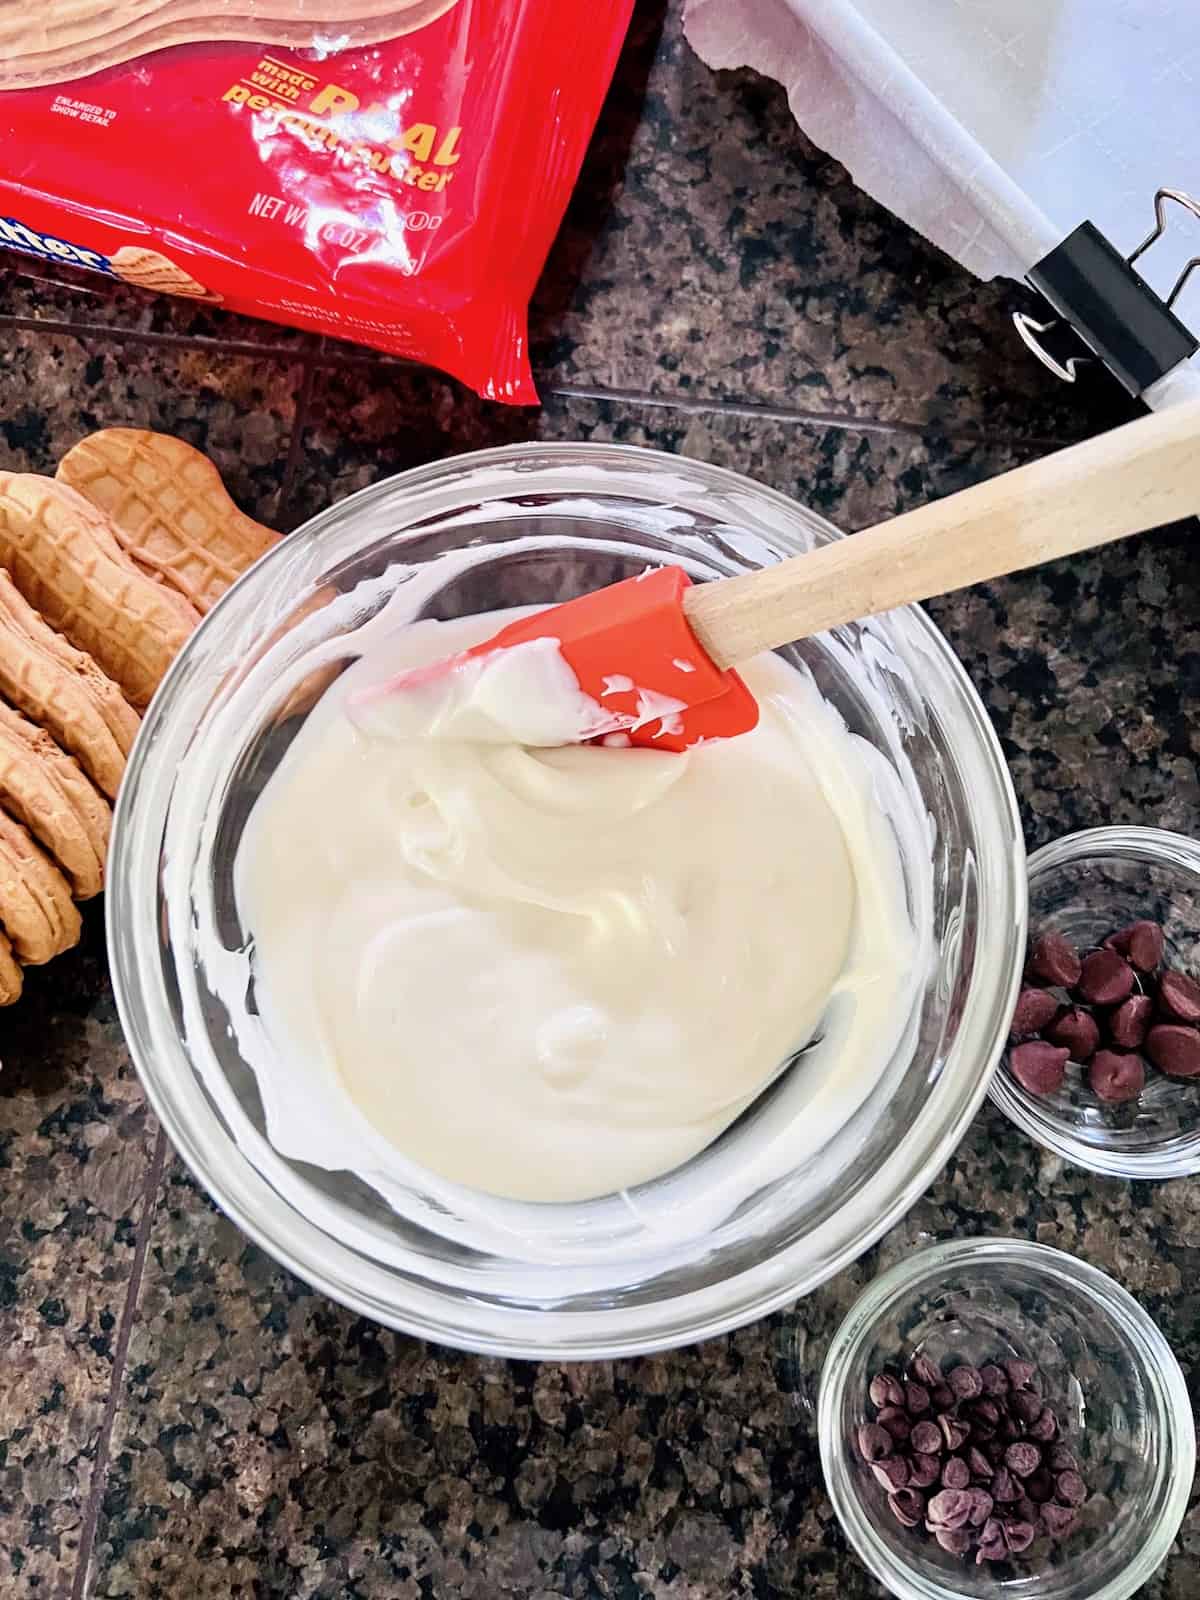
Remember that as you stir the heat will distribute and continue to heat the wafers. So if the bowl is mostly melted with just a few tiny bits of solids, continue stirring and they will melt. You do not want to overheat melting wafers, they will seize up and harden.
2 - Dip & Decorate
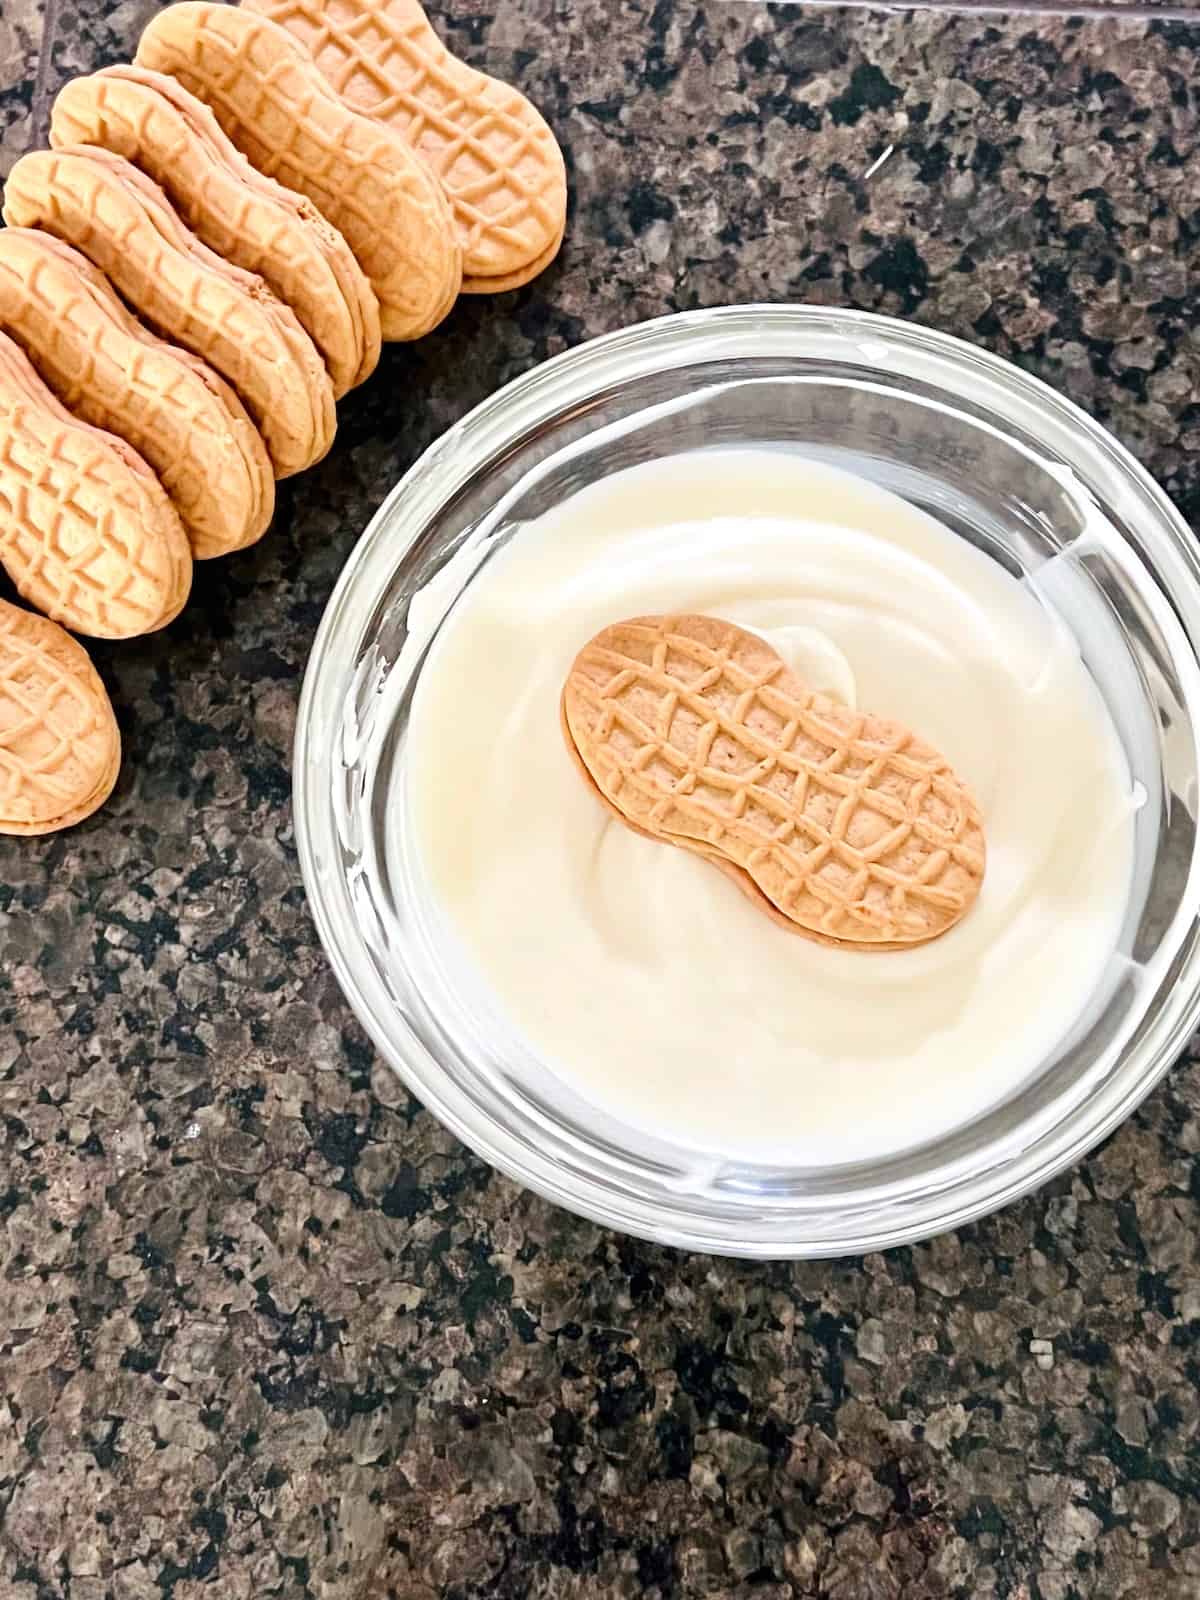
Drop a Nutter Butter cookie into the melted candy coating. Flip and rotate it around so that all sides are covered.
Hint: WORK FAST - melted candy coating will begin to harden as it cools. You will want to dip, decorate, and get to the next cookie fast. I love making these with the kids or friends. The more hands the better. I typically do the dipping and place each on the parchment. The kids then make ghost faces.
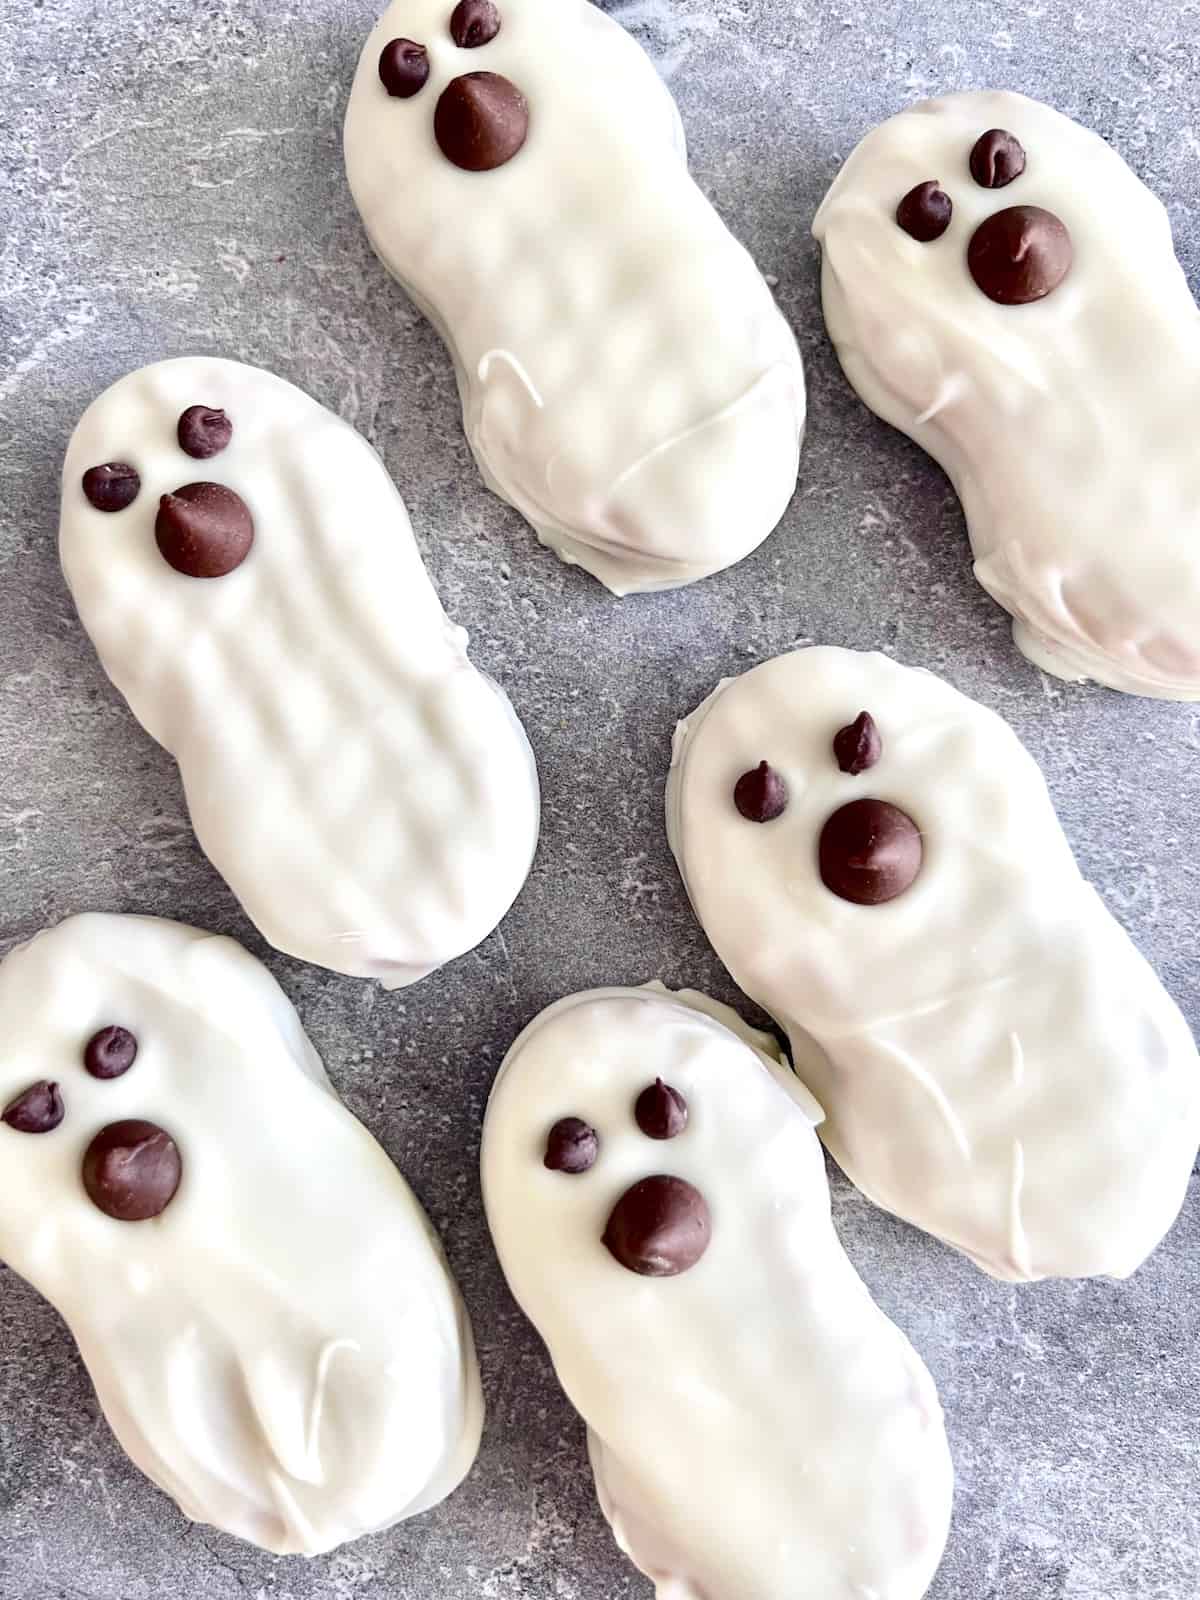
Once you dip each Nutter Butter so it is covered in the melted white candy, place them on the parchment-lined baking sheet. While the candy is still warm and melted, the chocolate chips go on.
Add two mini chocolate chips for the eyes. Then add a regular-sized chocolate chip to give each ghost a mouth.
3 - Cool & Set
The candy coating will cool and set very quickly. So you only need to let them rest on the baking sheet for 10 minutes. Make sure they are in a cool dry place to sit. You also do not want them in a sunny or warm location, like near a window or oven.
They will then be ready to eat when a light touch does not yield any give or imprint. You can then plate them and enjoy.
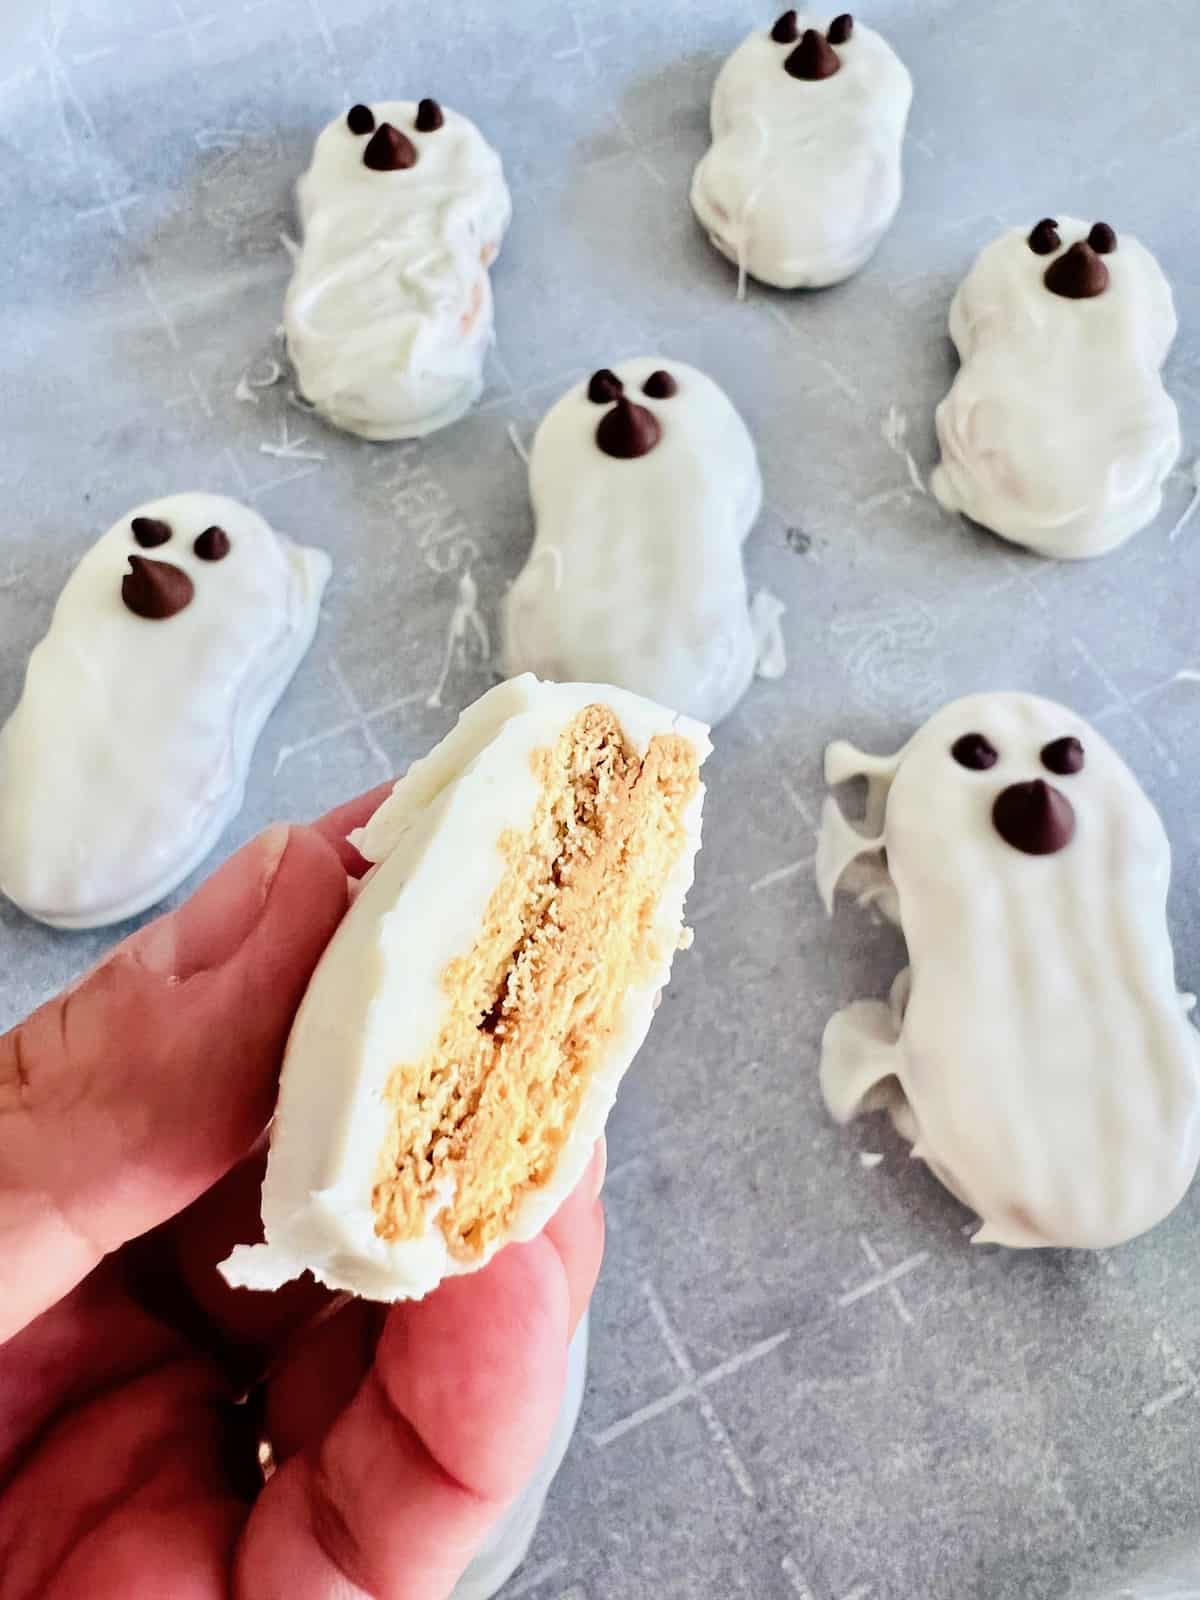
The crispy peanut butter cookie inside is crunchy when you bite into them. Then you get a taste of the sweet vanilla coating that is creamy to balance the crumbly texture. I dare you to resist! Don't be scared of these delicious Halloween snacks.

Recipe Tips & Behind the Scenes
Here is my recipe for success - including what I learned when testing, funny stories or bloopers, and more.
- #1 Tip - work fast once the vanilla candies are melted so you can finish dipping all of them before it cools & hardens.
- Try using Wilton candy eyes instead of chocolate chips.
- Use Pepperidge Farms Milano cookies instead of Nutter Butters for a nut-free cookie.
- You can use white chocolate as a substitute.
- Make them ahead of time, up to 5 days in advance, for best party & Halloween planning.
- Decorate with anything you like to add to them, sprinkles, pipe on icing, or dip in other colors.
Nutter Butter Ghosts
Equipment
- Parchment Paper
- baking sheet
Ingredients
- 15 Nutter Butter Cookies
- 1 package White Candy Melts 12 oz
- 15 Semi-Sweet Chocolate Chips
- 30 Mini Chocolate Chips
Instructions
- Prepare a baking sheet by lining it with parchment paper.
- Place the candy melts in a medium-sized microwave-safe glass bowl. Microwave in 30-second intervals, stirring with a rubber spatula between each cook time. Each microwave will vary but it only took 3 intervals, 1 and ½ minutes,
- Drop a Nutter Butter cookie into the melted candy. Flip and evenly coat it on all sides. Once you dip each Nutter Butter so it is covered in the melted white candy, place them on the parchment-lined baking sheet.
- While the candy is still warm and melted, the chocolate chips go on. Add two mini chocolate chips for the eyes. Then add a regular-sized chocolate chip to give each ghost a mouth.
- Let the decorated cookies set and cool on the parchment paper. They are ready once hard and no longer soft to the touch. This takes about 10 minutes.ENJOY!
Notes
Nutrition
More Halloween Recipes
Here are some similar dessert & cocktail recipes to make the fall holiday sweet & festive:
Allie says
This was so easy to make and the kids loved them.
Angela says
I am so happy to hear that - Happy Halloween.
Reeanna says
I am making these for a class halloween party. I tried a few today and yum What other cookie can I use in case some kids have a peanut allergy?
Angela says
That's a great question. I may update the recipe to include this information since there are many schools that do not allow for nuts due to allergies. Since the shape would be different you can try Oreo cookies and have big round ghosts. The closest in shape I can think of is Milano cookies - per the Pepperidge Farms website they are manufactured in a nut-free facility. I hope this helps!
Leslie Betts says
I wish I can add a photo. We used white and purple candy melts. These were so fun and my daughter loved making purple ghosts. Thanks for the recipe.
Angela says
The purple sounds so cute.